中国大学MOOC·Python网络爬虫与信息提取(一)
二、第1周 网络爬虫之规则
1.requests库的安装
打开cmd—输入pip3 install requests

博主遇到的问题:一开始提示不是内部命令也不是外部命令,在python的安装文件夹–script-也没有找到相应的pip.exe文件,于是在网上找到解决办法
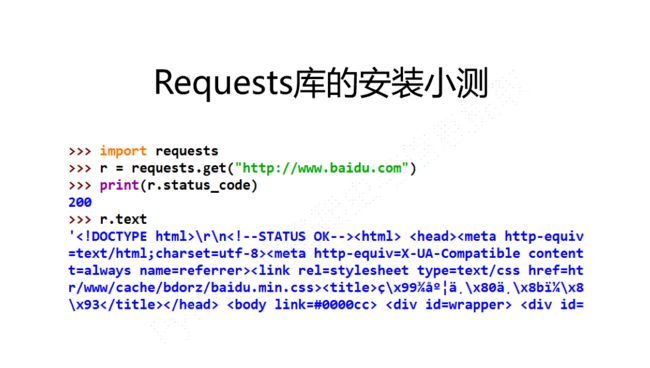
2.requests库的测试调用
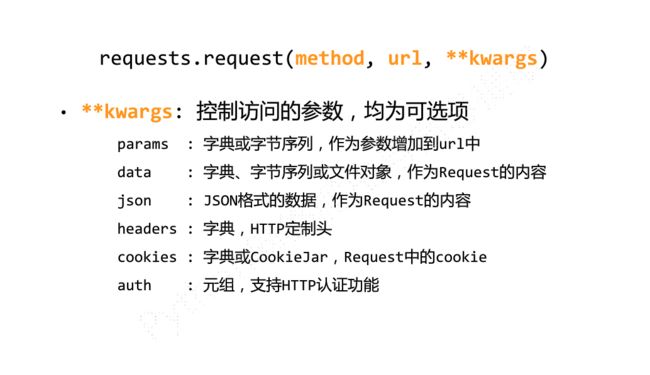
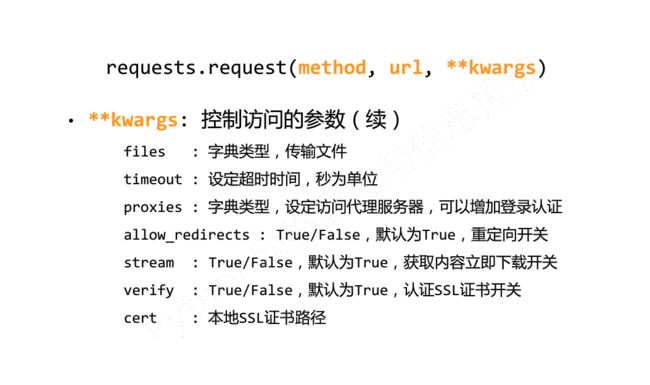
3.requests库的主要七个方法
[外链图片转存失败,源站可能有防盗链机制,建议将图片保存下来直接上传(img-hyWGxAsc-1569659527232)(https://img-blog.csdn.net/20170902205718344?watermark/2/text/aHR0cDovL2Jsb2cuY3Nkbi5uZXQveGlhb3Rhbmdfc2FtYQ==/font/5a6L5L2T/fontsize/400/fill/I0JBQkFCMA==/dissolve/70/gravity/SouthEast)]
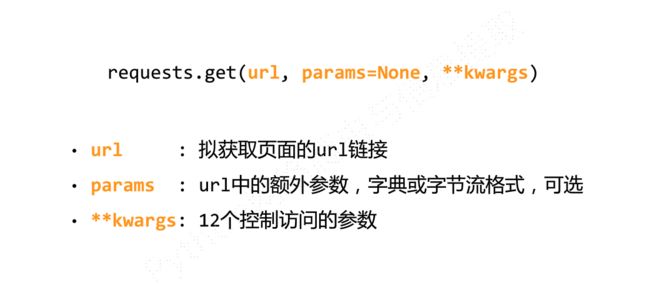
4.requests.get的主要使用方法
4.1
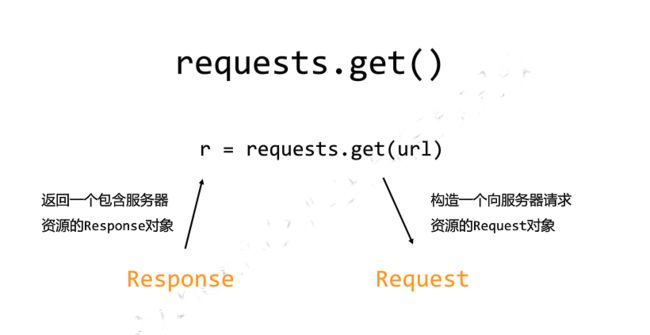
response对象中包含服务器所返回的所有信息,也包含请求的Request信息
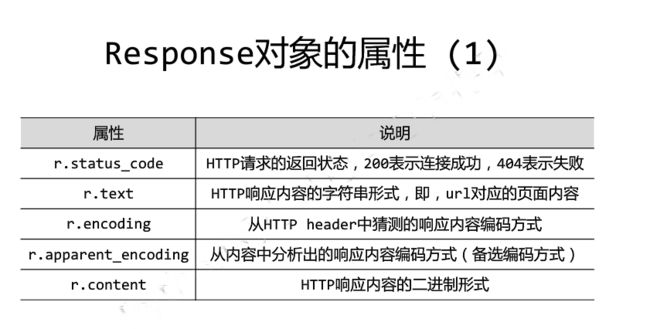
4.3

这很好的解释了下图代码的转换
这张图片有了某些中文信息,是因为我们将获取的编码格式即加入到了encoding中使得原先的代码变成了中文信息
>>> r.apparent_encoding//用来获取编码格式
'utf-8'
5.爬虫的通用代码框架
import requests
def getHTMLText(url):
    try:
        r = requests.get(url,timeout=30)
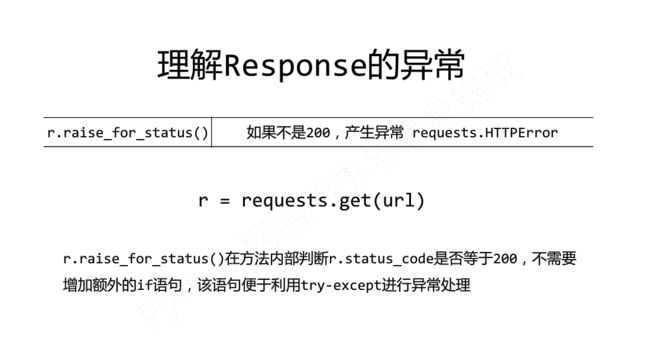
        r.raise_for_status()#如果状态不是200,引发HTTPError异常
        r.encoding = r.apparent_encoding
        return r.text
    except:
        return"产生异常"

if __name__=="__main__":
    url="http://www.baidu.com"
    print(getHTMLText(url))
5.1常见返回错误类型
[外链图片转存失败,源站可能有防盗链机制,建议将图片保存下来直接上传(img-vjkSvjcQ-1569659527241)(https://img-blog.csdn.net/20170903094002144?watermark/2/text/aHR0cDovL2Jsb2cuY3Nkbi5uZXQveGlhb3Rhbmdfc2FtYQ==/font/5a6L5L2T/fontsize/400/fill/I0JBQkFCMA==/dissolve/70/gravity/SouthEast)]
6.HTTP协议以及Requests库方法
6.1
6.4代码演练部分
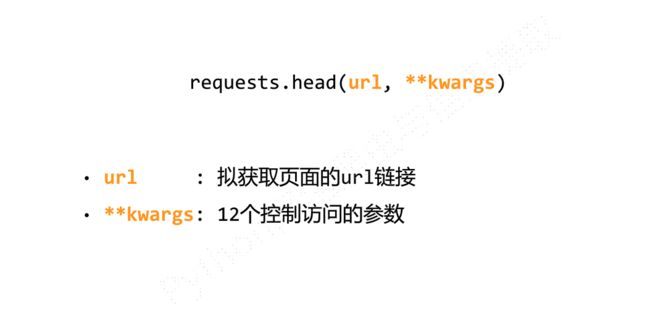
6.4.1 head()方法
>>> import requests
>>> r = requests.head("http://httpbin.org/get")
>>> r.headers
{'Connection': 'keep-alive', 'Server': 'meinheld/0.6.1', 'Date': 'Sun, 03 Sep 2017 02:04:02 GMT', 'Content-Type': 'application/json', 'Access-Control-Allow-Origin': '*', 'Access-Control-Allow-Credentials': 'true', 'X-Powered-By': 'Flask', 'X-Processed-Time': '0.00120496749878', 'Content-Length': '267', 'Via': '1.1 vegur'}
>>> r.text
''
6.4.2 post()方法
>>> r = requests.post('http://httpbin.org/post',data='ABC')
#注意字符串的引号别忘记
>>> r.text
'{\n  "args": {}, \n  "data": "ABC", \n  "files": {}, \n  "form": {}, \n  "headers": {\n    "Accept": "*/*", \n    "Accept-Encoding": "gzip, deflate", \n    "Connection": "close", \n    "Content-Length": "3", \n    "Host": "httpbin.org", \n    "User-Agent": "python-requests/2.18.4"\n  }, \n  "json": null, \n  "origin": "124.128.158.35", \n  "url": "http://httpbin.org/post"\n}\n'

>>> print(r.text)

{
  "args": {},
  "data": "ABC",
  "files": {},
  "form": {},
  "headers": {
    "Accept": "*/*",
    "Accept-Encoding": "gzip, deflate",
    "Connection": "close",
    "Content-Length": "3",
    "Host": "httpbin.org",
    "User-Agent": "python-requests/2.18.4"
  },
  "json": null,
  "origin": "124.128.158.35",
  "url": "http://httpbin.org/post"
}
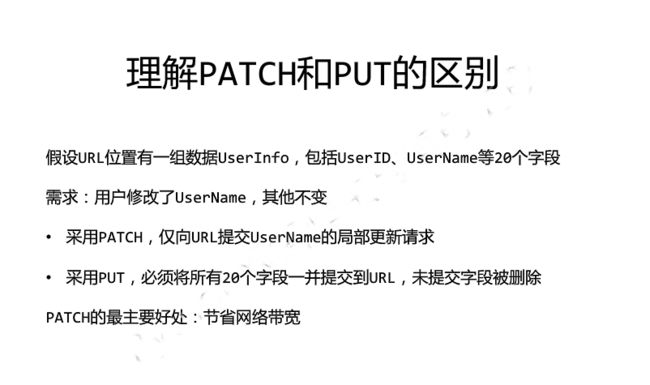
6.4.3 put方法
python
>>> payload={'key1':'value1','key2':'value2'}
>>> r = requests.put('http://httpbin.org/put',data = payload)
>>> print(r.text)
{
  "args": {},
  "data": "",
  "files": {},
  "form": {
    "key1": "value1",
    "key2": "value2"
  },
  "headers": {
    "Accept": "*/*",
    "Accept-Encoding": "gzip, deflate",
    "Connection": "close",
    "Content-Length": "23",
    "Content-Type": "application/x-www-form-urlencoded",
    "Host": "httpbin.org",
    "User-Agent": "python-requests/2.18.4"
  },
  "json": null,
  "origin": "124.128.158.35",
  "url": "http://httpbin.org/put"
}
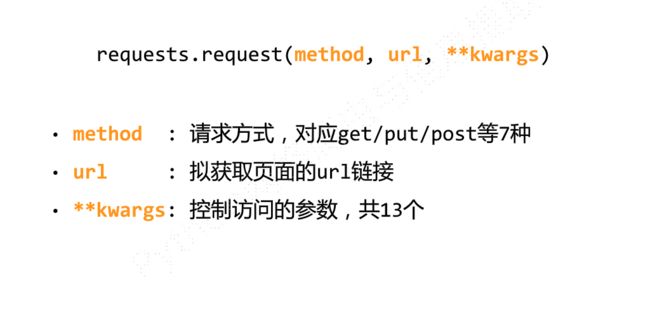
7.requests库主要方法的解析
代码部分
import requests
#1.params 用来使得服务器接收其带入的某些参数
kv = {'key1':'value1','key2':'value2'}
r = requests.request('GET','http://python123.io/ws',params=kv)#要用命名方法去引入参数
print(r.url)

#2.data  向服务器提供或提交数据使用
r = requests.request('POST','http://python123.io/ws',data=kv)
body='主体内容'
r = requests.request('POST','http://python123.io/ws',data=body)
讨论部分:
Requests库的爬取性能分析
尽管Requests库功能很友好、开发简单(其实除了import外只需一行主要代码),但其性能与专业爬虫相比还是有一定差距的。请编写一个小程序,“任意”找个url,测试一下成功爬取100次网页的时间。(某些网站对于连续爬取页面将采取屏蔽IP的策略,所以,要避开这类网站。)
请回复代码,并给出url及在自己机器上的运行时间。
import time
import requests

def getHTMLText(url):
    try:
        r = requests.get(url,timeout=30)
        r.raise_for_status()
        r.encoding = r.apparent_encoding
        return 'success'
    except:
        return"fail"

def count_time(times,url):
    start_time=time.time()
    for i in range  (times):
        getHTMLText(url)

    end_time=time.time()
    TIME=end_time-start_time
    return TIME

times=100
url="http://www.baidu.com"
TIME=count_time(times,url)
print('%d次访问需要的时间是%d'% (times,TIME))


