iOS进阶 - UIDynamic
一、简单概述
1.什么是UIDynamic
UIDynamic是从iOS 7开始引入的一种新技术,隶属于UIKit框架 ,可以认为是一种物理引擎,能模拟和仿真现实生活中的物理现象 如:重力、弹性碰撞等现象
其实就是UIKit的一套动画和交互体系。我们现在进行UI动画基本都是使用CoreAnimation或者UIView animations。而UIKit动力学最大的特点是将现实世界动力驱动的动画引入了UIKit,比如重力,铰链连接,碰撞,悬挂等效果。总之就是,将2D物理引擎引入了人UIKit。需要注意,UIKit动力学的引入,并不是以替代CA或者UIView动画为目的的,在绝大多数情况下CA或者UIView动画仍然是最优方案,只有在需要引入逼真的交互设计的时候,才需要使用UIKit动力学它是作为现有交互设计和实现的一种补充而存在的。
UIKit Dynamic构架图
2.相关的基本概念
UIDynamicAnimator;动画的播放者,动力行为(UIDynamicBehavior)的容器,添加到容器内的行为将发挥作用;
UIDynamicBehavior:动力行为的描述,用来指定UIDynamicItem应该如何运动,即定义适用的物理规则。一般我们使用这个类的子类对象来对一组UIDynamicItem应该遵守的行为规则进行描述;
UIDynamicItem:用来描述一个力学物体的状态,其实就是实现了UIDynamicItem委托的对象,或者抽象为有面积有旋转的质点;
ReferenceView:等同于力学参考系,如果你的初中物理不是语文老师教的话,我想你知道这是啥..只有当想要添加力学的UIView是ReferenceView的子view时,动力UI才发生作用。
3.UIDynamic的相关类
(1)UIDynamicAnimator(仿真器)
它代表着实现仿真行为的上下文(为实行仿真行为提供的场所)
须知:它可以让物理仿真元素执行物理仿真行为
它是UIDynamicAnimator类型的对象
1>初始化和管理一个 Dynamic Animator
// 传入一个 Reference view创建一个 Dynamic Animator
- (instancetype)initWithReferenceView:(UIView*)view;
   //view参数:是一个参照视图,表示物理仿真的范围
// 获取在 CGRect 内所有的动力项,这个 CGRect是基于 Reference view的二维坐标系统的
- (NSArray*)itemsInRect:(CGRect)rect;
//添加1个物理仿真行为
- (void)addBehavior:(UIDynamicBehavior *)behavior;
//移除1个物理仿真行为
- (void)removeBehavior:(UIDynamicBehavior *)behavior;
//移除之前添加过的所有物理仿真行为
- (void)removeAllBehaviors;
2>获取 Dynamic Animator’s的状态
//是否正在进行物理仿真
@property (nonatomic, readonly, getter = isRunning) BOOL running;
// 获取所有的 Behaviors
@property (nonatomic, readonly, copy) NSArray* behaviors;
//获取参照视图
@property (nonatomic, readonly) UIView* referenceView;
//这个 delegate中有两个回调方法,一个是在 animator暂停的时候调用,一个是在将要恢复的时候调用
@property (nonatomic, assign) id  delegate;
// 已经运行了多久的时间,是一个 NSTimeInterval
- (NSTimeInterval)elapsedTime;
//如果动力项不是通过 animator自动计算改变状态,比如,通过代码强制改变一个 item的 transfrom时,可以用这个方法通知 animator这个 item 的改变。如果不用这个方法,animator之后的动画会覆盖代码中对 item做的改变,相当于代码改变 transform变得没有意义。
- (void)updateItemUsingCurrentState:(id )item;
3>Collection View Additions
- (instancetype)initWithCollectionViewLayout:(UICollectionViewLayout*)layout //传入一个 CollectionViewLayout创建一个 Dynamic Animator
– layoutAttributesForCellAtIndexPath:
– layoutAttributesForDecorationViewOfKind:atIndexPath:
– layoutAttributesForSupplementaryViewOfKind:atIndexPath:(2)UIDynamicBehavior(仿真行为)
1>主要的方法
//在将要进行动画时的 block回调
@property(nonatomic, copy) void (^action)(void)
//添加到该动态行为中的子动态行为
@property(nonatomic, readonly, copy) NSArray *childBehaviors
//  该动态行为相关联的dynamicAnimator
@property(nonatomic, readonly) UIDynamicAnimator *dynamicAnimator
2>常用方法
//添加一个子动态行为
- (void)addChildBehavior:(UIDynamicBehavior *)behavior
// 移除一个子动态行为
- (void)removeChildBehavior:(UIDynamicBehavior *)behavior
// 当该动态行为将要被添加到一个UIDynamicAnimator中时,这个方法会被调用。
- (void)willMoveToAnimator:(UIDynamicAnimator *)dynamicAnimator
注意:
在开发中,大部分情况下使用 UIDynamicBehavior 的子类就足够了,因为UIKit 中已经有几个现成的模拟现实的 UIDynamicBehavior 类。
3>UIDynamicBehavior的子类,几种物理仿真行为
UIGravityBehavior:重力行为
UICollisionBehavior:碰撞行为
UISnapBehavior:捕捉行为
UIPushBehavior:推动行为
UIAttachmentBehavior:附着行为
UIDynamicItemBehavior:动力元素行为
注意:上述所有物理仿真行为都继承自UIDynamicBehavior所有的UIDynamicBehavior都可以独立进行组合使用多种行为时,可以实现一些比较复杂的效果
二、使用方法
要想使用UIDynamic来实现物理仿真效果,大致的步骤如下
(1)创建一个物理仿真器(顺便设置仿真范围)
(2)创建相应的物理仿真行为(顺便添加物理仿真元素)
(3)将物理仿真行为添加到物理仿真器中开始仿真
示例:
@interface DynamicItemBehavior ()
@property(nonatomic) UIDynamicAnimator * dynmicAnimation;
@property(nonatomic) UIImageView       * imageView;
@end
@implementation DynamicItemBehavior
-(void)viewDidLoad{
    [super viewDidLoad];
    [self createUIDynmicAnimationObject];
    [self createDynamicItemObject];
    [self createUIDynamicBehaviorObject];
}
//第一步:创建UIDynamic Animation对象
-(void)createUIDynmicAnimationObject{
    UIDynamicAnimator * dynmicAnimation = [[UIDynamicAnimator alloc]initWithReferenceView:self.view];
    //参数:ReferenceView表示一个参照视图,表示物理仿真的范围
    self.dynmicAnimation = dynmicAnimation;
}
//第二步:创建任何遵守了UIDynamicItem协议的对象 UIView默认已经遵守了UIDynamicItem协议,因此任何UI控件都能做物理仿真
-(void)createDynamicItemObject{
    UIImageView * imageView = [[UIImageView alloc]initWithImage:[UIImage imageNamed:@"image"]];
    self.imageView          = imageView;
    imageView.frame         = CGRectMake(0, 0, 50, 50);
    imageView.center        = self.view.center;
    [self.view addSubview:imageView];
 }
//第三步:创建UIDynamicBehavior对象
-(void)createUIDynamicBehaviorObject{
   //UIDynamicBehavior的子类类型
    UIGravityBehavior* gravityBeahvior = [[UIGravityBehavior alloc] initWithItems:@[_imageView]];
    //将要实现的效果添加到仿真器中
    [self.dynmicAnimation addBehavior:gravityBeahvior];
}
三、相关说明
1.三个概念
(1)谁要进行物理仿真?
物理仿真元素(Dynamic Item)
(2)执行怎样的物理仿真效果?怎样的动画效果?
物理仿真行为(Dynamic Behavior)
(3)让物理仿真元素执行具体的物理仿真行为
物理仿真器(Dynamic Animator)
2.物理仿真元素
(1)不是任何对象都能做物理仿真元素,不是任何对象都能进行物理仿真
(2)物理仿真元素要素:
任何遵守了UIDynamicItem协议的对象
UIView默认已经遵守了UIDynamicItem协议,因此任何UI控件都能做物理仿真
UICollectionViewLayoutAttributes类默认也遵守UIDynamicItem协议
四、相关UIDynamicBehavior的子类介绍
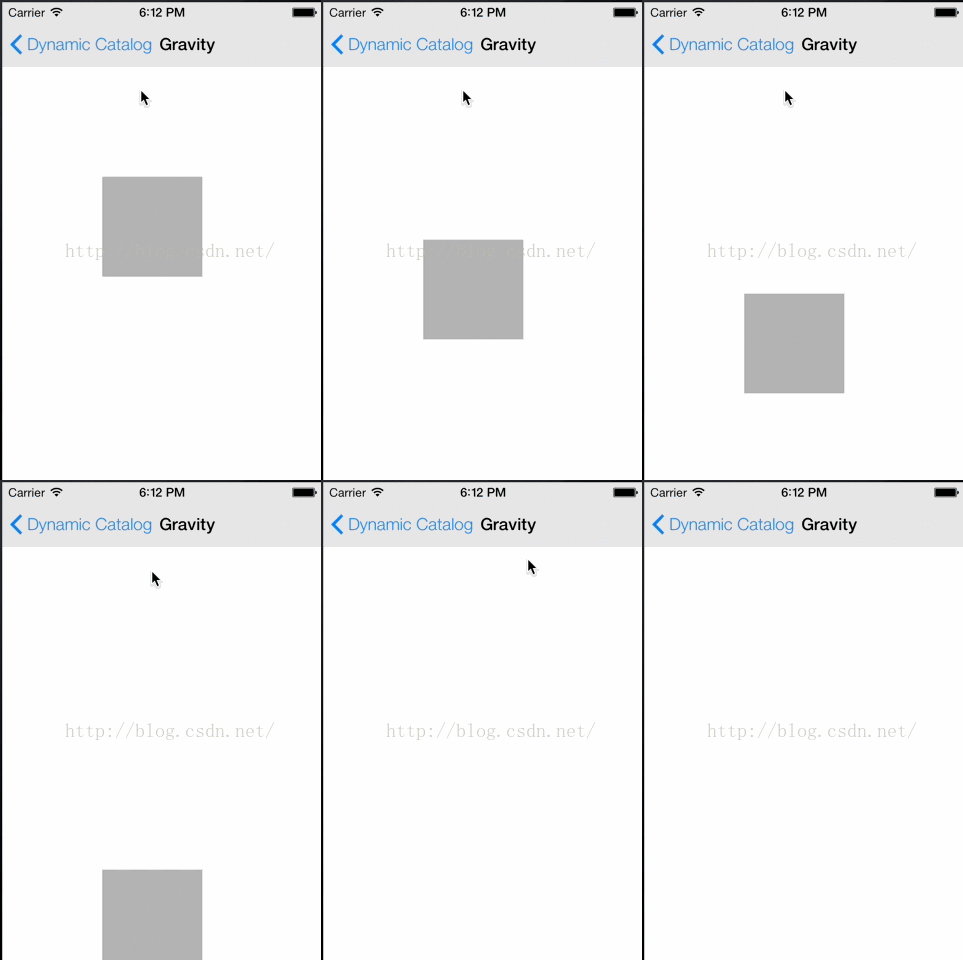
1.UIGravityBehavior_重力
重力行为,可以指定重力的方向和大小。用gravityDirection指定一个向量,或者设置 angle 和 magnitude。(1)相关属性
// 添加到重力行为中的所有物理仿真元素
@property (nonatomic, readonly, copy) NSArray* items;
//运动方向,默认是(0.0f, 1.0f)。dx为-1.0f时向左运动,dy为-1.0时向上运动,所以根据0.0~1.0可以定位所有的方向。
@property (readwrite, nonatomic) CGVector gravityDirection;
// 重力方向(是一个角度,以x轴正方向为0°,顺时针正数,逆时针负数)
@property (readwrite, nonatomic) CGFloat angle;
// 量级(用来控制加速度,1.0代表加速度是1000 points /second²)
@property (readwrite, nonatomic) CGFloat magnitude;
解释:
vector就是一个点,从坐标原点向这个点连线就是一个矢量,也就是重力的方向,默认是(0.0, 1.0)。这个属性的数据量很丰富,由这个点向X轴和Y轴分别做垂线构成了一个矩形,对角线与X轴夹角就是重力加速度的方向,即angle,对角线的长度就是重力加速度的值,即magnitude。也就是说我们完全可以用gravityDirection变量确定angle和magnitude的值,反之用angle和magnitude也可以确定gravityDirection的值。
(2)常用方法
//初始化方法
- (instancetype)initWithItems:(NSArray> *)items NS_DESIGNATED_INITIALIZER;
//参数:items是实现UIDynamicItem委托协议的对象
- (void)addItem:(id )item;  //添加一个物理仿真对象
- (void)removeItem:(id )item; //删除一个物理仿真对象
- (void)setAngle:(CGFloat)angle magnitude:(CGFloat)magnitude;  //动态设置重力加速度方向和重力加速度的大小
(3)示例
- (void)viewDidAppear:(BOOL)animated {
    [super viewDidAppear:animated];
    UIGravityBehavior *gravity = [[UIGravityBehavior alloc] initWithItems:@[self.squareView]]; // 创建一个重力行为
    gravity.gravityDirection = CGVectorMake(0, 1); // 在垂直向下方向 1000 点/平方秒 的速度
    [self.animator addBehavior:gravity];
}
2.UICollisionBehavior_碰撞,弹力
碰撞行为,指定一个边界,物体在到达这个边界的时候会发生碰撞行为。通过实现 UICollisionBehaviorDelegate 可以跟踪物体什么时候开始碰撞和结束碰撞。(1)相关属性
@property (nonatomic, readonly, copy) NSArray> *items; //碰撞行为数组
@property (nonatomic, readwrite) UICollisionBehaviorMode collisionMode;//碰撞模式(分三种,
        UICollisionBehaviorModeItems        = 1 << 0,元素碰撞
        UICollisionBehaviorModeBoundaries   = 1 << 1,边界碰撞
        UICollisionBehaviorModeEverything   = NSUIntegerMax全体碰撞)
@property (nonatomic, readwrite) BOOL translatesReferenceBoundsIntoBoundary;//是否以参照视图的bounds为边界
@property (nullable, nonatomic, weak, readwrite) id  collisionDelegate;//代理
@property (nullable, nonatomic, readonly, copy) NSArray> *boundaryIdentifiers;//
(2)常用的方法
- (instancetype)initWithItems:(NSArray> *)items;//初始化方法
- (void)addItem:(id )item;//添加一个物理仿真对象
- (void)removeItem:(id )item;//移除一个物理仿真对象
- (void)removeAllBoundaries;//移除所有边界
- (void)removeBoundaryWithIdentifier:(id )identifier; //移除ID对应的边界
 - (UIBezierPath*)boundaryWithIdentifier:(id )identifier; //通过ID找到边界路径
- (void)addBoundaryWithIdentifier:(id )identifier forPath:(UIBezierPath *)bezierPath;//添加一个path作为碰撞边界
- (void)addBoundaryWithIdentifier:(id )identifier fromPoint:(CGPoint)p1 toPoint:(CGPoint)p2;//通过添加两个点连成的线 作为边界
- (nullable UIBezierPath *)boundaryWithIdentifier:(id )identifier;//添加一个贝塞尔曲线路径的边界
 - (void)setTranslatesReferenceBoundsIntoBoundaryWithInsets:(UIEdgeInsets)insets;//
(3)代理方法
//两个元素相互碰撞
// item 与 item 之间开始碰撞
- (void)collisionBehavior:(UICollisionBehavior *)behavior beganContactForItem:(id )item1 withItem:(id )item2 atPoint:(CGPoint)p;
// item 与 item 之间结束碰撞
- (void)collisionBehavior:(UICollisionBehavior *)behavior endedContactForItem:(id )item1 withItem:(id )item2;
// item 和边界开始碰撞
- (void)collisionBehavior:(UICollisionBehavior*)behavior beganContactForItem:(id )item withBoundaryIdentifier:(nullable id )identifier atPoint:(CGPoint)p;
// item 和边界结束碰撞
- (void)collisionBehavior:(UICollisionBehavior*)behavior endedContactForItem:(id )item withBoundaryIdentifier:(nullable id )identifier;
(3)示例
@interface  CollisionBehavior ()
@property(nonatomic) UIDynamicAnimator * theAnimator;
@property(nonatomic) UIImageView       * aimageView;
@end
@implementation CollisionBehavior
-(void)viewDidLoad{
    [super viewDidLoad];
    self.aimageView = [[UIImageView alloc]initWithImage:[UIImage imageNamed:@"1"]];
    self.aimageView.frame = CGRectMake(100, 100, 100, 100);
    [self.view addSubview:self.aimageView];
    self.theAnimator = [[UIDynamicAnimator alloc]initWithReferenceView:self.view];
}
-(void)viewDidAppear:(BOOL)animated{
    [super viewDidAppear:animated];

    UIGravityBehavior * gravity = [[UIGravityBehavior alloc]initWithItems:@[self.aimageView]];
    [self.theAnimator addBehavior:gravity];

    UICollisionBehavior * collsion = [[UICollisionBehavior alloc]initWithItems:@[self.aimageView]];
    collsion.translatesReferenceBoundsIntoBoundary = YES;
    collsion.collisionDelegate = self;
    [self.theAnimator addBehavior:collsion];
}
#pragma --mark  Delegate
-(void)collisionBehavior:(UICollisionBehavior *)behavior beganContactForItem:(id)item withBoundaryIdentifier:(id)identifier atPoint:(CGPoint)p{
    self.aimageView.image = [UIImage imageNamed:@"3"];
}
-(void)collisionBehavior:(UICollisionBehavior *)behavior endedContactForItem:(id)item withBoundaryIdentifier:(id)identifier{
    self.aimageView.image = [UIImage imageNamed:@"4"];
}
现在运行项目将会看到如下效果:
3.UIAttachmentBehavior_吸附力
附着行为,让物体附着在某个点或另外一个物体上。可以设置附着点的到物体的距离,阻尼系数和振动频率等。(1)相关属性
@property (readonly, nonatomic) UIAttachmentBehaviorType  attachedBehaviorType;// 吸附行为的类型
typedef NS_ENUM(NSInteger, UIAttachmentBehaviorType) {
UIAttachmentBehaviorTypeItems:表示连接两个item的吸附行为
UIAttachmentBehaviorTypeAnchor:表示连接一个item与锚点的吸附行为
 } NS_ENUM_AVAILABLE_IOS(7_0);
@property (readwrite, nonatomic) CGPoint anchorPoint;//锚点
@property (readwrite, nonatomic) CGFloat length;// 吸附行为中的两个吸附点之间的距离,通常用这个属性来调整吸附的长度,可以创建吸附行为之后调用。系统基于你创建吸附行为的方法来自动初始化这个长度
@property (readwrite, nonatomic) CGFloat damping; // // 描述吸附行为减弱的阻力大小,经测试,这个值越大,可以减震
@property (readwrite, nonatomic) CGFloat frequency; //// 吸附行为震荡的频率 ,  该值越大,物理仿真元素运动越剧烈
@property (readwrite, nonatomic) CGFloat frictionTorque NS_AVAILABLE_IOS(9_0);// 反抗旋转的程度
@property (readwrite, nonatomic) UIFloatRange attachmentRange NS_AVAILABLE_IOS(9_0);
(2)常用方法
initWithItem:attachedToAnchor:
初始化连接动力item的中心和锚点的吸附行为
- (instancetype)initWithItem:(id)item attachedToAnchor:(CGPoint)point
参数:item是你要应用吸附行为的动力项,point是吸附行为的锚点,与跟行为相关的动态动画所在在系统坐标有关。
返回:初始化的attachment behavior,如果初始化过程出错将会返回nil。
该初始化方法的吸附行为的类型是 UIAttachmentBehaviorTypeAnchor
initWithItem:attachedToItem:
初始化 连接两个动力项中心的 吸附行为
- (instancetype)initWithItem:(id)item1 attachedToItem:(id)item2
参数:item1第一个被吸附行为连接的动力项,item2第二个被吸附行为连接的动力项
返回:初始化的attachment behavior,如果初始化过程出错将会返回nil。
该初始化方法的吸附行为的类型是UIAttachmentBehaviorTypeItems
initWithItem:offsetFromCenter:attachedToAnchor:
初始化 连接动力项中某一点和锚点的 吸附行为
- (instancetype)initWithItem:(id)item offsetFromCenter:(UIOffset)p1 attachedToAnchor:(CGPoint)point
参数:item要应用吸附行为的动力项,p1相对于item中心的偏移,point 是吸附行为的锚点,与跟行为相关的动力动画所在在系统坐标有关。
返回: 初始化的 attachment behavior,如果初始化过程出错将会返回nil。
该初始化方法的吸附行为的类型是UIAttachmentBehaviorTypeAnchor
initWithItem:offsetFromCenter:attachedToItem:offsetFromCenter:
初始化连接一个动力item中某一点和另一个动力item中某一点的吸附行为
- (instancetype)initWithItem:(id)item1 offsetFromCenter:(UIOffset)p1 attachedToItem:(id)item2 offsetFromCenter:(UIOffset)p2
参数:item1第一个被吸附行为连接的动力项,p1相对于item1中心的偏移,item2第二个被吸附行为连接的动力项,p2相对于item2中心的偏移
返回:返回:初始化的attachment behavior,如果初始化过程出错将会返回nil。
这是为UIAttachmentBehavior类指定的初始化程序。
(3)示例:
#import "AttachmentBehavior.h"
@interface AttachmentBehavior ()
@property(nonatomic) UIDynamicAnimator    * animator;
@property(nonatomic) UIImageView          * imageView;
@property(nonatomic) UIAttachmentBehavior * attachmentBehave;
@end
@implementation AttachmentBehavior
-(void)viewDidLoad{
    [super viewDidLoad];
    [self createGeture];
    [self addGravity];
}
-(void)createGeture{
   UIPanGestureRecognizer * panGesture = [[UIPanGestureRecognizer alloc]
                                          initWithTarget:self
                                                  action:@selector(handleAttachmentGesture:)];
   [self.view addGestureRecognizer:panGesture];
}
-(UIImageView *)imageView{
    if (!_imageView) {
        _imageView = [[UIImageView alloc]initWithImage:[UIImage imageNamed:@"1"]];
        _imageView.frame =CGRectMake(100, 100, 50, 50);
        [self.view addSubview:_imageView];
    }
    return _imageView;
}
-(void)addGravity{
    self.animator = [[UIDynamicAnimator alloc]initWithReferenceView:self.view];
    UICollisionBehavior * collsionBehaviour = [[UICollisionBehavior alloc]initWithItems:@[self.imageView]];
    collsionBehaviour.translatesReferenceBoundsIntoBoundary = YES;
    [self.animator addBehavior:collsionBehaviour];
    UIGravityBehavior * gravityBehaviour = [[UIGravityBehavior alloc]initWithItems:@[self.imageView]];
    [self.animator addBehavior:gravityBehaviour];
}
-(void)handleAttachmentGesture:(UIPanGestureRecognizer *)panGesture{
    if (panGesture.state ==UIGestureRecognizerStateBegan) {
        CGPoint imageViewCenterPoint =CGPointMake(self.imageView.center.x, self.imageView.center.y-100);

        UIAttachmentBehavior * attachmentBehave = [[UIAttachmentBehavior alloc]initWithItem:self.imageView attachedToAnchor:imageViewCenterPoint ];
        [self.animator addBehavior:attachmentBehave];
        self.attachmentBehave = attachmentBehave;

    }else if(panGesture.state ==UIGestureRecognizerStateChanged){
        [self.attachmentBehave setAnchorPoint:[panGesture locationInView:self.view]];

    }else if(panGesture.state ==UIGestureRecognizerStateEnded){
        [self.animator removeBehavior:self.attachmentBehave];
    }
}
@end
效果:
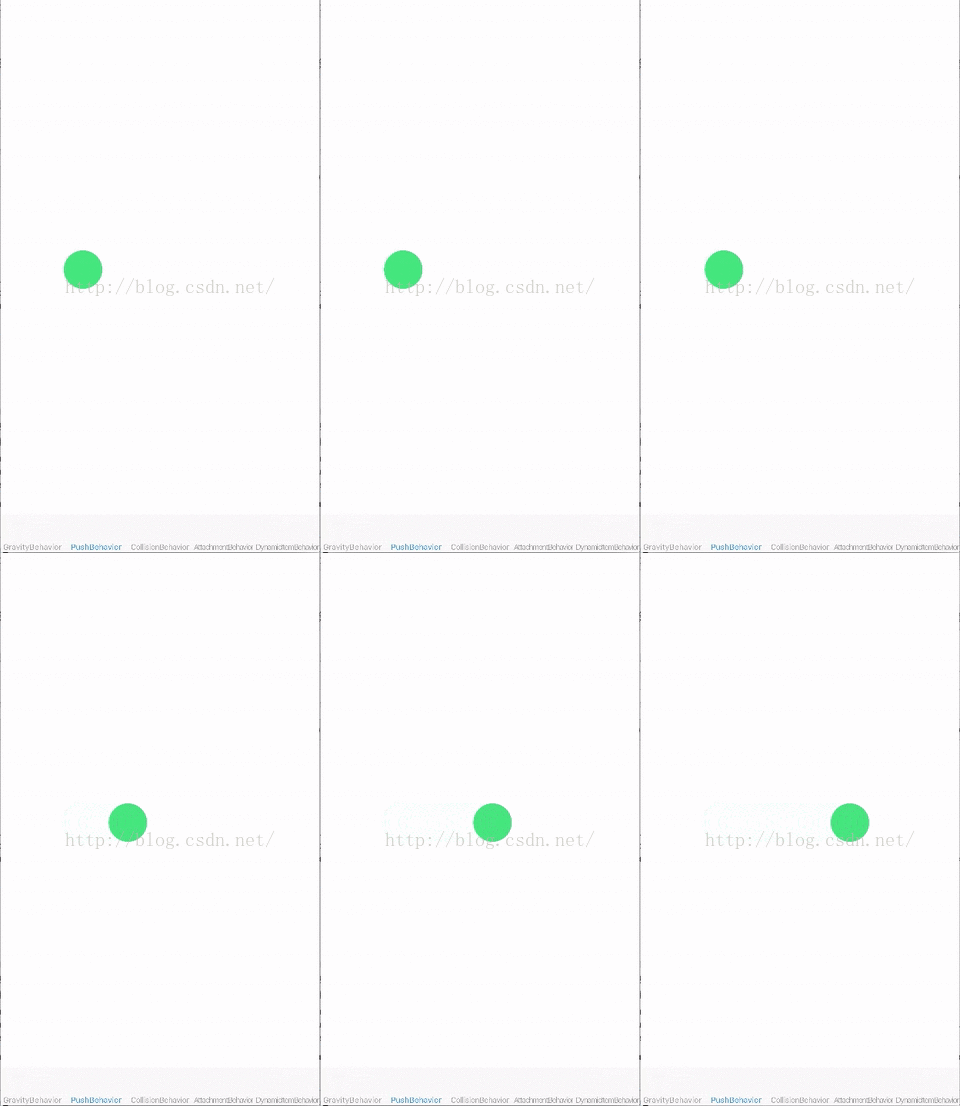
4.UIPushBehavior_推力
(1)相关属性
@property (nonatomic, readonly, copy) NSArray> *items;
@property (nonatomic, readonly) UIPushBehaviorMode mode;// 推力模式
{
    UIPushBehaviorModeContinuous,//持续的力
    UIPushBehaviorModeInstantaneous //一次性的力
}
@property (nonatomic, readwrite) BOOL active;//默认值是YES,将其设置为NO,可以将行为停止。在激活状态下,物体才会受到推力效果
@property (readwrite, nonatomic) CGFloat angle;//角度
@property (readwrite, nonatomic) CGFloat magnitude;//加速度
@property (readwrite, nonatomic) CGVector pushDirection;//运动方向
(2)常见方法
- (instancetype)initWithItems:(NSArray> *)items mode:(UIPushBehaviorMode)mode;
- (void)addItem:(id )item;
- (void)removeItem:(id )item;
- (UIOffset)targetOffsetFromCenterForItem:(id )item;//
- (void)setTargetOffsetFromCenter:(UIOffset)o forItem:(id )item;//方法是说推力作用点的偏移量,默认是center。
- (void)setAngle:(CGFloat)angle magnitude:(CGFloat)magnitude;//
(3)示例
#import "PushBehavior.h"
@interface PushBehavior ()
@property(nonatomic) UIDynamicAnimator * animator;
@property(nonatomic) UIImageView * imageView;
@end
@implementation PushBehavior
-(void)viewDidLoad{
    [super viewDidLoad];
    [self imageView];
    [self createGesture];
}
-(void)createGesture{
    UIPanGestureRecognizer * leftPanGesture = [[UIPanGestureRecognizer alloc]initWithTarget:self action:@selector(handlePanGesture:)];
    [self.view addGestureRecognizer:leftPanGesture];
}
#pragma mark  --lasyLoad
-(UIDynamicAnimator *)animator{
    if (!_animator) {
        _animator = [[UIDynamicAnimator alloc]initWithReferenceView:self.view];
    }
    return _animator;
}
-(UIImageView *)imageView{
    if (!_imageView) {
        _imageView = [[UIImageView alloc]initWithImage:[UIImage imageNamed:@"1"]];
        _imageView.frame = CGRectMake(0, 0, 50,50);
        _imageView.center = CGPointMake(self.view.bounds.size.width/2-100, self.view.bounds.size.height/2);
        [self.view addSubview:_imageView];
    }
    return _imageView;
}
#pragma mark  --gesture触发方法
-(void)handlePanGesture:(UIPanGestureRecognizer *)panGesture{
    if (panGesture.state==UIGestureRecognizerStateEnded) {
        if ([self  gestureHitsBarView:panGesture]) {
            UIPushBehavior * pushBehavior = [[UIPushBehavior alloc]initWithItems:@[self.imageView] mode:UIPushBehaviorModeInstantaneous];
            [pushBehavior setPushDirection:CGVectorMake([panGesture velocityInView:self.view].x /5000.f, 0)];
            [self.animator removeAllBehaviors];
            [self.animator addBehavior:pushBehavior];
        }
    }
}
-(BOOL)gestureHitsBarView:(UIPanGestureRecognizer *)panGesture{
    CGPoint  locationInView =[panGesture locationInView:self.view];
    return self.imageView.frame.origin.x <=locationInView.x &&locationInView.y<=self.imageView.frame.origin.y +self.imageView.frame.size.height;
}
@end
效果图:
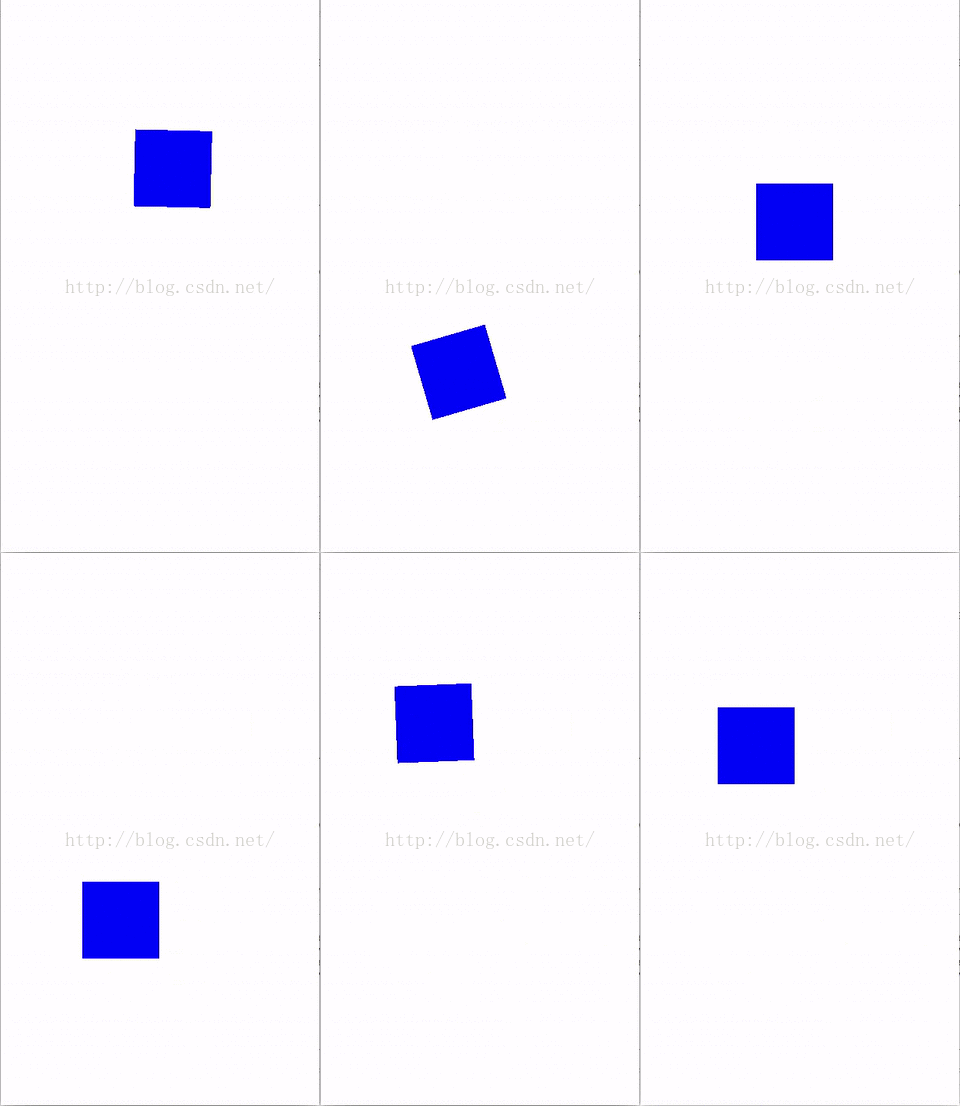
5.UISnapBehavior_甩行力
将一个物体钉在某一点。它只有一个初始化方法和一个属性。
(1)相关属性
@property (nonatomic, assign) CGPoint snapPoint;
@property (nonatomic, assign) CGFloat damping;//用于减幅、减震(取值范围是0.0 ~ 1.0,值越大,震动幅度越小)
(2)常见方法
- (instancetype)initWithItem:(id )item snapToPoint:(CGPoint)point;//初始化, 根据 item 和 point 来确定一个 item 要被定到哪个点上。 (3)示例
#import "ViewController.h"
@interface ViewController ()
@property(nonatomic) UIView * blueView;
@property(nonatomic) UIDynamicAnimator * animator;
@end

@implementation ViewController
- (void)viewDidLoad {
    [super viewDidLoad];
    UIView * View =({
        UIView  * blueView = [[UIView alloc]initWithFrame:CGRectMake(100, 100, 100, 100)];
        blueView.backgroundColor = [UIColor blueColor];
        [self.view addSubview:blueView];
        blueView;
    });
    self.blueView = View;
}
-(UIDynamicAnimator *)animator{
    if (!_animator) {
        _animator = [[UIDynamicAnimator alloc]initWithReferenceView:self.view];
    }
    return _animator;
}
-(void)touchesBegan:(NSSet *)touches withEvent:(UIEvent *)event{
     //获取一个触摸点
    UITouch * touch = [touches anyObject];
    CGPoint point = [touch locationInView:self.view];

    UISnapBehavior * snap =[[UISnapBehavior alloc]initWithItem:self.blueView snapToPoint:point];
    snap.damping = arc4random_uniform(10)/10.0;

    [self.animator removeAllBehaviors];
    [self.animator addBehavior:snap];
}
效果图:
6.UIDynamicItemBehavior _自定义行为
(1)相关属性
@property (nonatomic, readonly, copy) NSArray> *items;
@property (readwrite, nonatomic) CGFloat elasticity; // Usually between 0 (inelastic) and 1 (collide elastically) //(弹性系数)决定了碰撞的弹性程度,比如碰撞时物体的弹性
@property (readwrite, nonatomic) CGFloat friction; // 0 being no friction between objects slide along each other.//(摩擦系数)决定了沿接触面滑动时的摩擦力大小
@property (readwrite, nonatomic) CGFloat density; // 1 by default//(密度) 跟size结合使用,计算物体的总质量。质量越大,物体加速或减速就越困难
@property (readwrite, nonatomic) CGFloat resistance; // 0: no velocity damping //(阻力):决定线性移动的阻力大小,与摩擦系数不同,摩擦系数只作用于滑动运动
@property (readwrite, nonatomic) CGFloat angularResistance; // 0: no angular velocity damping  //(角阻力) :决定旋转运动时的阻力大小
@property (readwrite, nonatomic) CGFloat charge NS_AVAILABLE_IOS(9_0);
@property (nonatomic, getter = isAnchored) BOOL anchored NS_AVAILABLE_IOS(9_0);
@property (readwrite, nonatomic) BOOL allowsRotation; // force an item to never rotate ////(允许旋转):这个属性很有意思,它在真实的物理世界没有对应的模型。设置这个属性为 NO 物体就完全不会转动,而无论施加多大的转动力
(2)常见方法
- (instancetype)initWithItems:(NSArray> *)items NS_DESIGNATED_INITIALIZER;
- (void)addItem:(id )item;
- (void)removeItem:(id )item;
- (void)addLinearVelocity:(CGPoint)velocity forItem:(id )item;
- (CGPoint)linearVelocityForItem:(id )item;
- (void)addAngularVelocity:(CGFloat)velocity forItem:(id )item;
- (CGFloat)angularVelocityForItem:(id )item;
(3)示例:
#import "PushBehavior.h"
@interface PushBehavior ()
@property(nonatomic) UIDynamicAnimator * animator;
@end
@implementation PushBehavior
-(void)viewDidLoad{
    [super viewDidLoad];
}
- (UIView *) newViewWithCenter:(CGPoint)paramCenter  backgroundColor:(UIColor *)paramBackgroundColor{
    UIView *newView = [[UIView alloc] initWithFrame: CGRectMake(0.0f, 0.0f, 50.0f, 50.0f)];
    newView.backgroundColor = paramBackgroundColor;
    newView.center = paramCenter;
    return newView;
}
- (void)viewDidAppear:(BOOL)animated{
    [super viewDidAppear:animated];

    UIView *topView = [self newViewWithCenter:CGPointMake(100.0f, 0.0f)
                              backgroundColor:[UIColor greenColor]];
    UIView *bottomView = [self newViewWithCenter:CGPointMake(100.0f, 50.0f)
                                 backgroundColor:[UIColor redColor]];

    [self.view addSubview:topView];
    [self.view addSubview:bottomView];

    //构造动画
    self.animator = [[UIDynamicAnimator alloc] initWithReferenceView:self.view];

    //gravity
    UIGravityBehavior *gravity = [[UIGravityBehavior alloc]
                                  initWithItems:@[topView, bottomView]];
    [self.animator addBehavior:gravity];

    //collision
    UICollisionBehavior *collision = [[UICollisionBehavior alloc]
                                      initWithItems:@[topView, bottomView]];
    collision.translatesReferenceBoundsIntoBoundary = YES;
    [self.animator addBehavior:collision];

    //指派不同特性值  弹性bounce
    UIDynamicItemBehavior *moreElasticItem = [[UIDynamicItemBehavior alloc]
                                              initWithItems:@[bottomView]];
    moreElasticItem.elasticity = 1.0f;

    UIDynamicItemBehavior *lessElasticItem = [[UIDynamicItemBehavior alloc]
                                              initWithItems:@[topView]];
    lessElasticItem.elasticity = 0.5f;
    [self.animator addBehavior:moreElasticItem];
    [self.animator addBehavior:lessElasticItem];

}
@end


