在OEL6.5平台安装Oracle11g 数据库
Oracle11g 数据库
环境介绍:Oracle Enterprise Linux6.5
数据库版本:11.2.0.3
安装流程概述:
一、安装前准备
                1.查看并修改临时文件系统大小
                2.配置yum源
                3.添加组、用户
                4.配置限制参数以及修改内核参数
                5.创建oracle目录 并赋目录权限给oracle用户
                6.设置oracle用户的环境变量
                7.在root下 做域名解析、关闭SElinux、关闭防火墙
二、安装操作
                1.上传并解压文件
                2.开启OUI(oracle图像化界面)
                3.执行安装文件
                4.安装数据库软件
                5.安装数据库
安装前的准备
1.临时文件系统大小(tmpfs)
tmpfs 要大于 oracle内存,oracle内存一般情况下为物理机内存的40%
查看tmpfs大小
df -h /dev/shm
修改临时文件系统大小(tmpfs)
vi /etc/fstab
 tmpfs行 在defaults + ,size=3072M
 保存退出
mount -o remount /dev/shm   //使修改生效
2.配置yum源,通过yum源来安装oracle数据库需要的系统包
挂载上系统盘
查看光驱的挂载地址
命令:df -h
结果:/dev/sr0        3.1G  3.1G     0 100% /media/OL6.5 i386 Disc 1 20131125
最后/media/OL6.5 i386 Disc 1 20131125 为挂载点(挂载地址)
修改配置yum源内容
vi /etc/yum.repos.d/任意一个文件
删除文件内内容,并添加配置光驱
--------------------------------------------------------
[oel6]
name=OEL6.5
baseurl=file:///media/OL6.5\ x86_64\ Disc\ 1\ 20131125
gpgcheck=0
enabled=1
--------------------------------------------------------
 第一行:标签,任意填写
 第二行:name,任意填写
 第三行:将前面找到的光驱的挂载点
 第四行:关闭检查(检查挂载点内)
 第五行:开启使用
 注意:一定要在空格前加“\” 表示转义,不然没办法识别 “空格”
查看yum是否配置成功
  yum list
  成功即返回很多列表
  ---------------------------------------------------------
........
xsane-gimp.i686              0.997-8.0.1.el6    oel6
xsettings-kde.i686           0.11-1.el6         oel6
xterm.i686                   253-1.el6          oel6
xvattr.i686                  1.3-18.el6         oel6
ypserv.i686                  2.19-26.el6_4.2    oel6
yum-plugin-aliases.noarch    1.1.30-14.0.1.el6  oel6
........
  ---------------------------------------------------------
安装oracle所需的系统包
 yum install ..包名 包名.. -y     //可一起安装 -y则省略的其中要求选择yes的操作
 写包名的时候只需写包名,版本号可忽略。
   例如binutils-2.20.51.0.2-5.11.el6.i686
       binutils  此为包名
都需要哪些包呢?我这里列出了oracle在linux6需要的包,其他版本需要哪些可查看官方文档2.4.3部分
------------------------------------------
binutils-2.20.51.0.2-5.11.el6.i686
compat-libcap1-1.10-1.i686
compat-libstdc++-33-3.2.3-69.el6.i686
gcc-4.4.4-13.el6.i686
gcc-c++-4.4.4-13.el6.i686
glibc-2.12-1.7.el6.i686
glibc-devel-2.12-1.7.el6.i686
ksh
libgcc-4.4.4-13.el6.i686
libstdc++-4.4.4-13.el6.i686
libstdc++-devel-4.4.4-13.el6.i686
libaio-0.3.107-10.el6.i686
libaio-devel-0.3.107-10.el6.i686
make-3.81-19.el6.i686
sysstat-9.0.4-11.el6.i686
  ------------------------------------------
3.添加组、用户
groupadd -g 1000 oinstall  //添加一个组名为oinstall,gid为1000的组
groupadd -g 1001 dba
创建用户 设置用户uid为1101(任意设置) -g 将用户归为oinstall主组 -G  将用户归为dba辅组
useradd -u 1101 -g oinstall -G dba oracle
加密码
passwd oracle
id oracle //可查看用户信息
返回此,既成功。
uid=1101(oracle) gid=1000(oinstall)  groups=1000(oinstall),1001(dba)
4.配置限制参数以及修改内核参数
配置限制参数
vi /etc/security/limits.conf  将一下内容添加到此文件内
  ---------------------------
oracle soft nofile 1024
oracle hard nofile 65536
oracle soft nproc 2047
oracle hard nproc 16384
oracle soft stack 10240
oracle hard stack 32768
  ---------------------------
配置内核参数
vi /etc/sysctl.conf  将一下内容添加到此文件内
  ----------------------------------------------
fs.aio-max-nr = 1048576
fs.file-max = 6815744
kernel.shmall = 2097152
kernel.shmmax = 4294967295
kernel.shmmni = 4096
kernel.sem = 250 32000 100 128
net.ipv4.ip_local_port_range = 9000 65500
net.core.rmem_default = 262144
net.core.rmem_max = 4194304
net.core.wmem_default = 262144
net.core.wmem_max = 1048576
  ----------------------------------------------
*注意:kernel.shmall kernel.shmmax 文件中存在,删除或修改均可
执行/sbin/sysctl -p 使内核参数生效
5.创建oracle目录 并赋目录权限给oracle
mkdir -p /u01/app/oracle
chown -R oracle:oinstall /u01          //-R 递归(目录内所有目录权限均改变)
6.设置oracle用户的环境变量
 在oracle下设置环境变量(su - oracle)
 vi .bash_profile

     export ORACLE_BASE=/u01/app/oracle   //基目录
     export ORACLE_HOME=$ORACLE_BASE/product/11.2.0/dbhome_1   //oracle的家目录
     export ORACLE_SID=xxxx(任意填写但要记住)  //oracle的SID
     export PATH= $ORACLE_HOME/bin:$PATH      //命令的路径 ": 追加的意思" 继承 整体的path

source .bash_profile  生效这个文件
echo $ORACLE_HOME 查看是否生效 若有返回,即成功
/u01/app/oracle/product/11.2.0/dbhome_1
7.在root下 做域名解析、关闭SElinux、关闭防火墙
7.1 域名解析
  ifconfig 查看ip
  hostname 主机名
  vi /etc/hosts
  IP hostname

7.2 关闭SElinux
setenforce 0   临时修改为 0 permissive  /  1 enforcing
vi /etc/selinux/config  //永久修改
将 SELINUX=disable

7.3 关闭防火墙
/etc/init.d/iptables stop
chkconfig iptables off // 永久关闭
安装开始
1.将两文件上传linux下,并解压 建议上传后拷入某目录内,不要在桌面进行
拷贝到/usr/local/src下
我这里安装的是11.2.0.3版本
p10404530_112030_LINUX_1of7.zip
p10404530_112030_LINUX_2of7.zip
unzip +文件名 //此命令即可解压zip文件
解压后会生成 database 目录
2.开启OUI oracle图像化界面(在root用户下执行该命令)
xhost +
3.在oracle用户下 执行database内的runIntaller
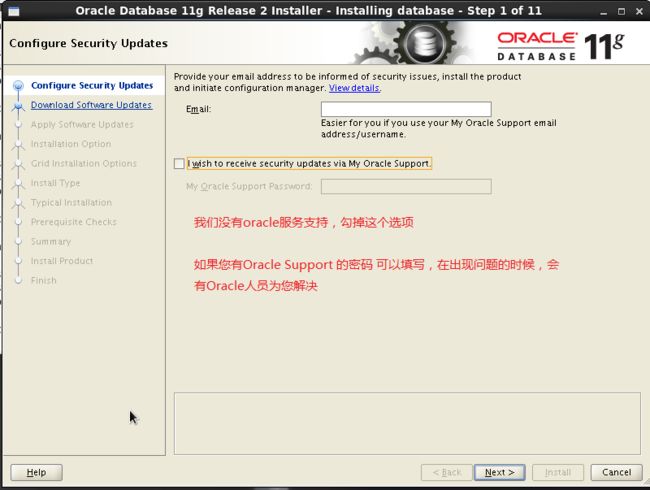
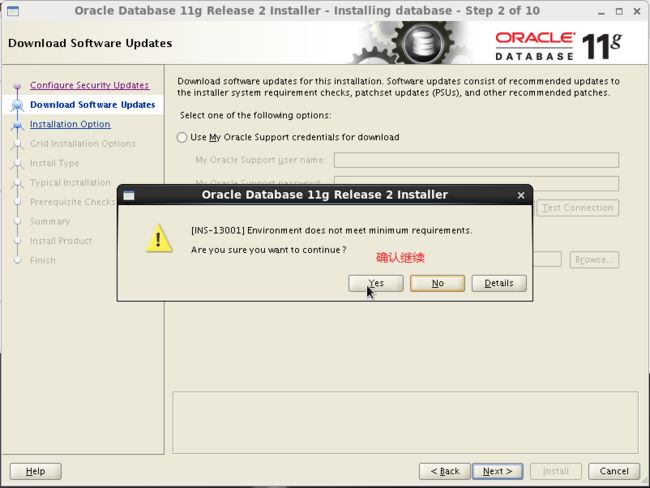
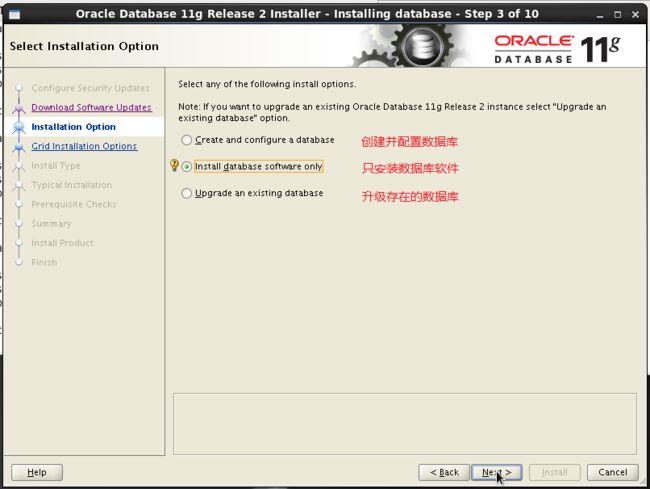
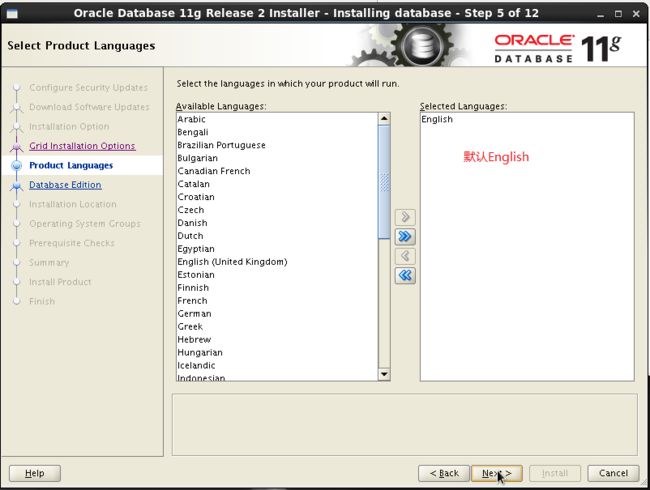
./runIntaller 安装开始



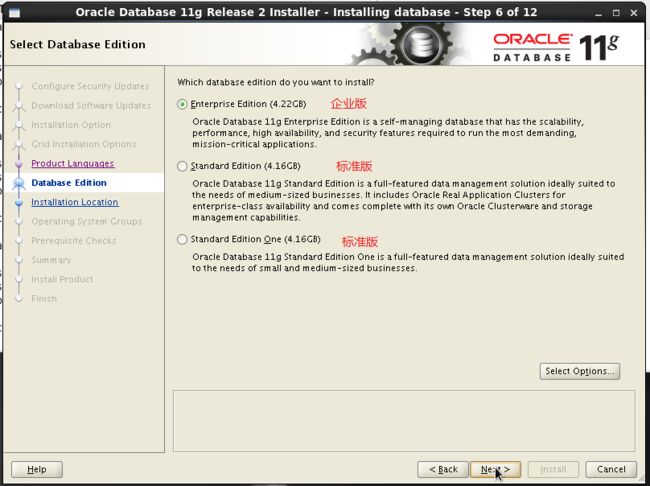
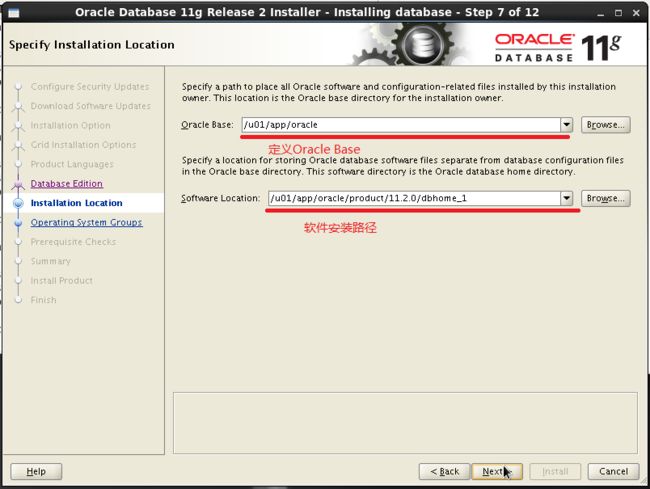
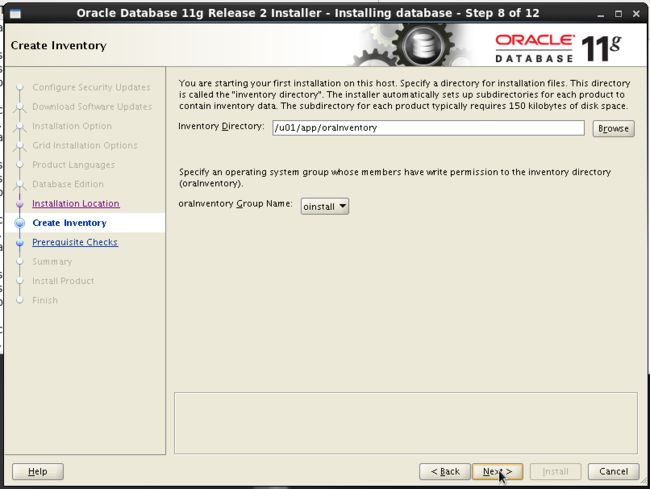
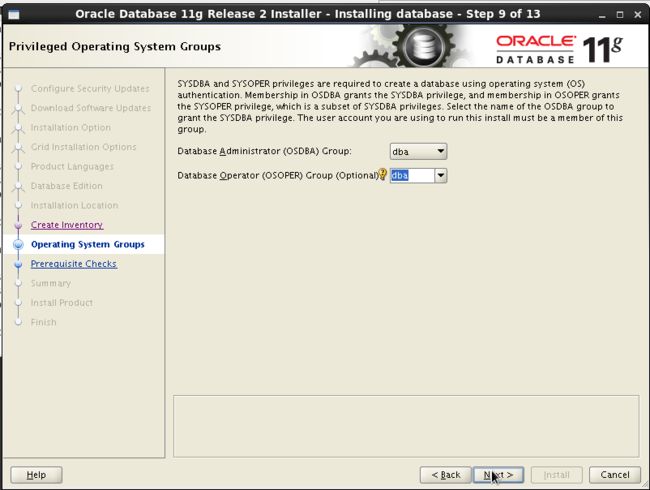

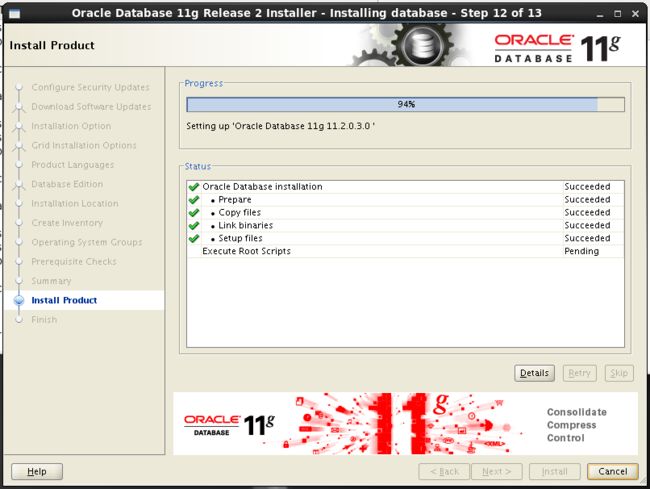
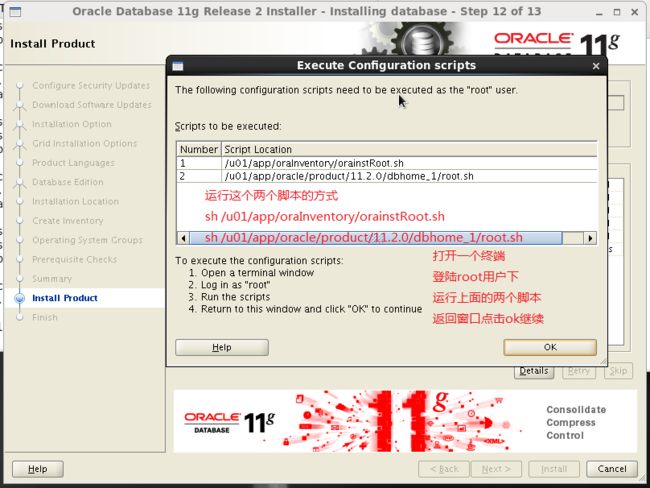

===========================================================
[root@vast /]# sh /u01/app/oraInventory/orainstRoot.sh
Changing permissions of /u01/app/oraInventory.
Adding read,write permissions for group.
Removing read,write,execute permissions for world.
Changing groupname of /u01/app/oraInventory to oinstall.
The execution of the script is complete.
===========================================================
[root@vast /]# sh /u01/app/oracle/product/11.2.0/dbhome_1/root.sh
Performing root user operation for Oracle 11g
The following environment variables are set as:
ORACLE_OWNER= oracle
ORACLE_HOME= /u01/app/oracle/product/11.2.0/dbhome_1
Enter the full pathname of the local bin directory: [/usr/local/bin]:
按回车
Copying dbhome to /usr/local/bin …
Copying oraenv to /usr/local/bin …
Copying coraenv to /usr/local/bin …
Creating /etc/oratab file…
Entries will be added to the /etc/oratab file as needed by
Database Configuration Assistant when a database is created
Finished running generic part of root script.
Now product-specific root actions will be performed.
Finished product-specific root actions.
==========================================
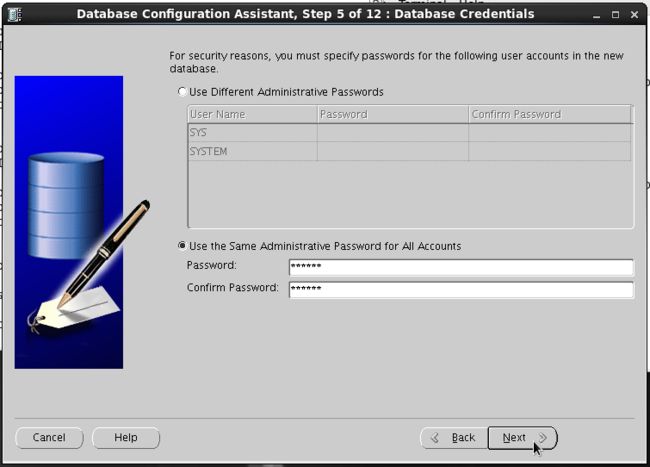
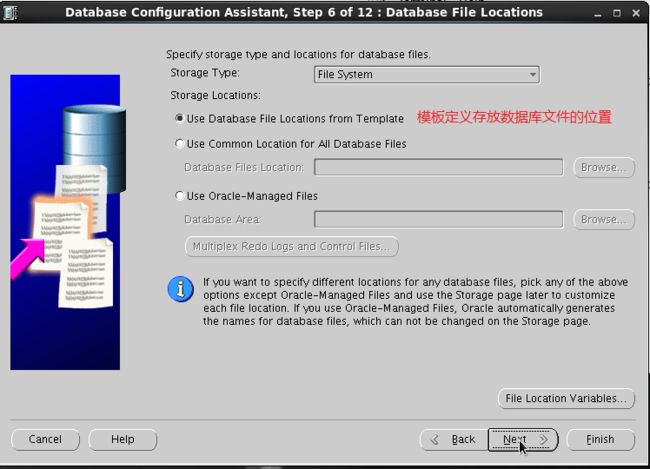
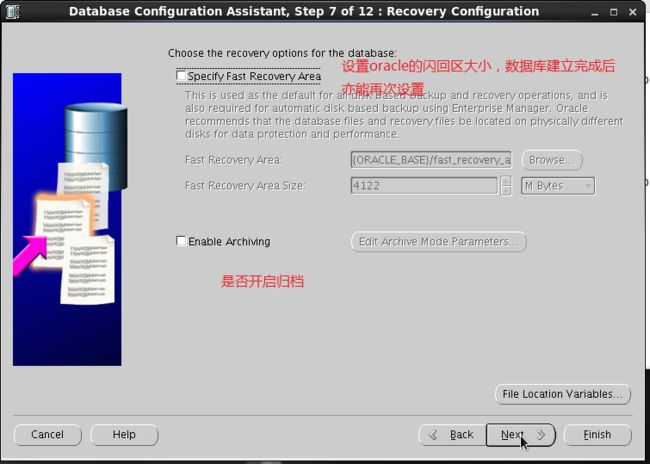
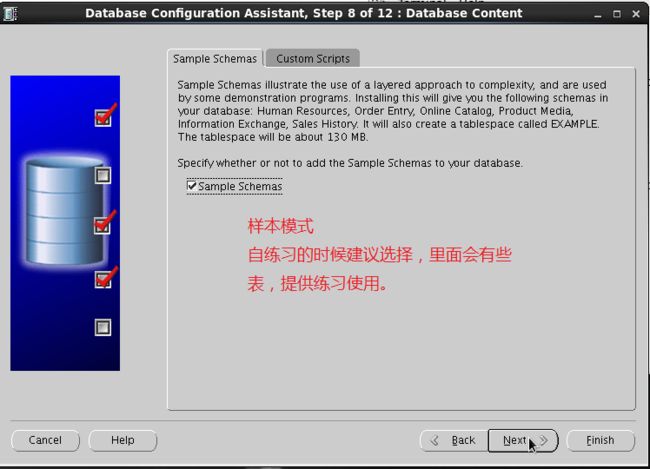
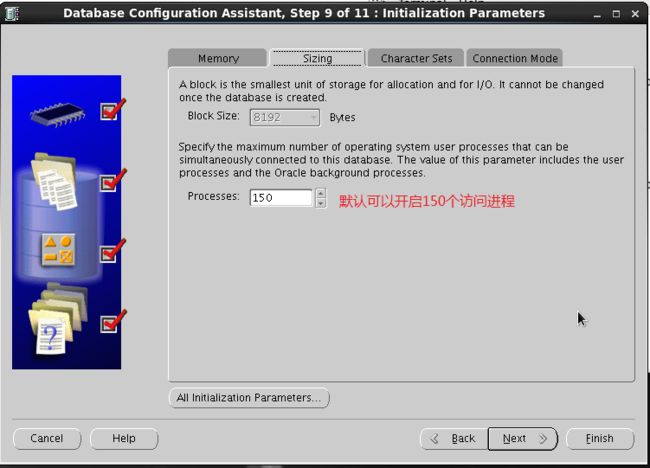
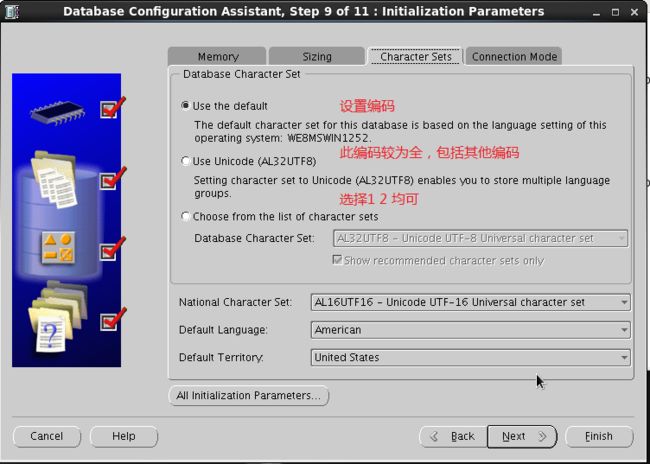
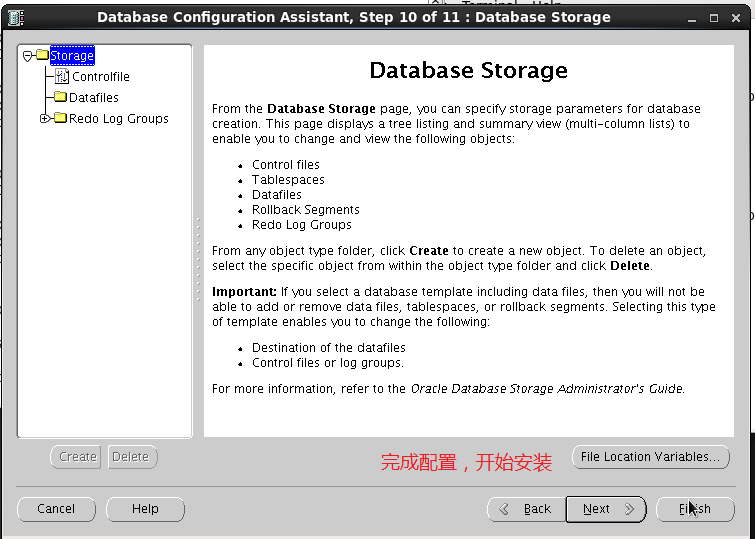
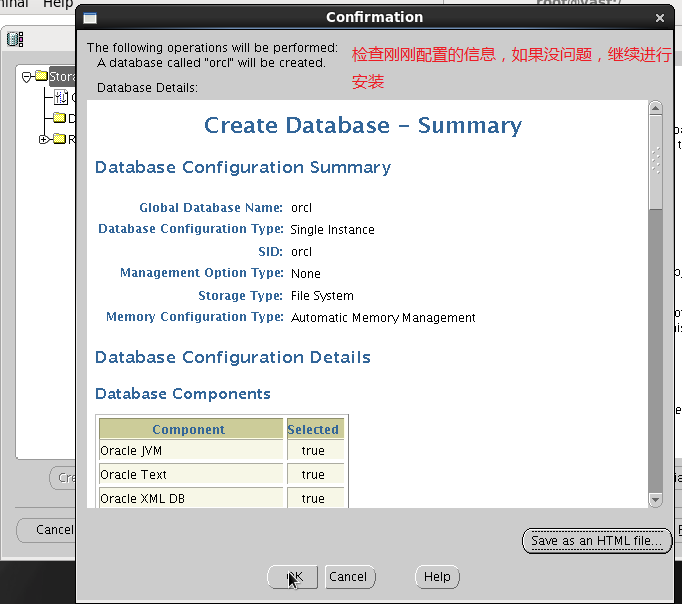
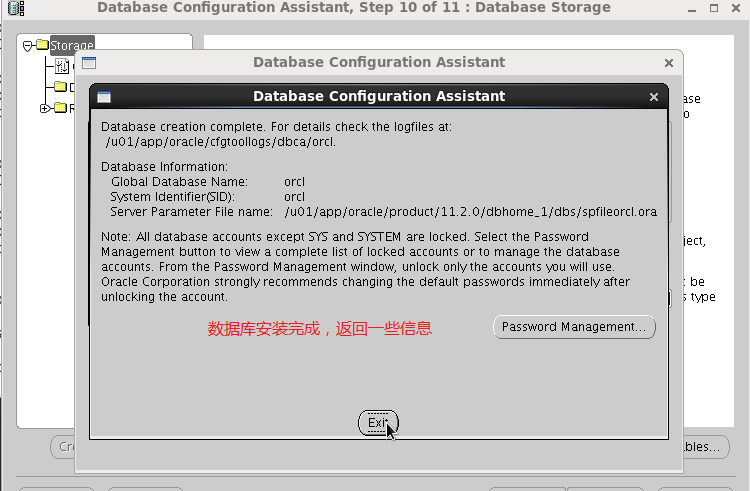
[oracle@vast database]$ dbca
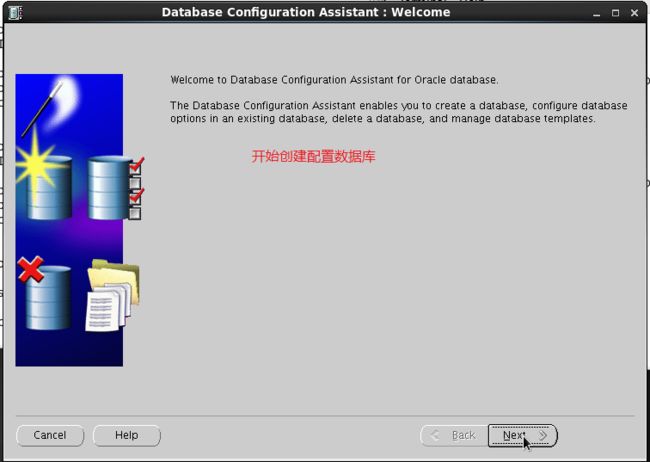
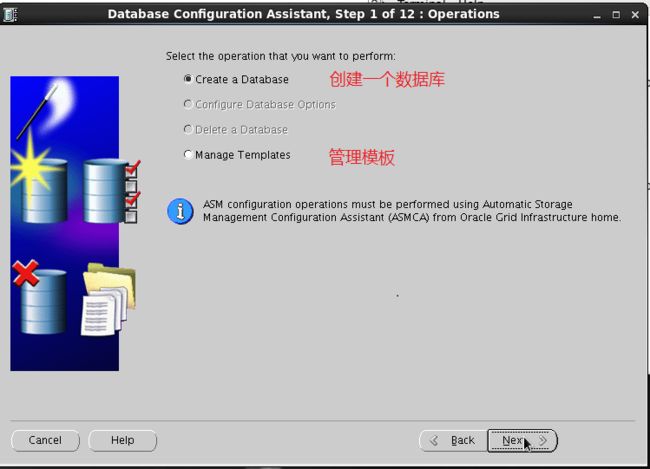
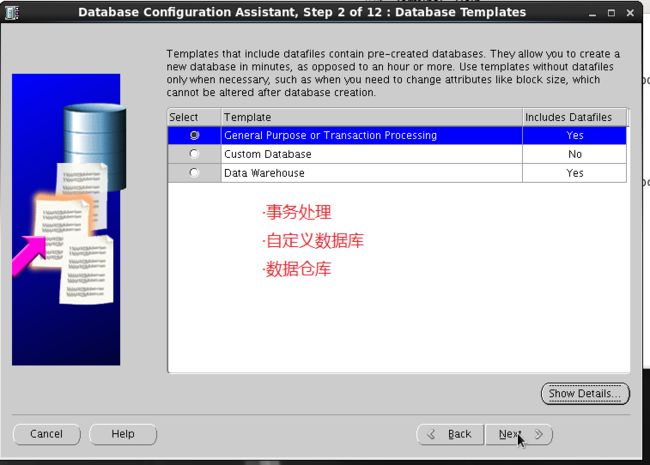
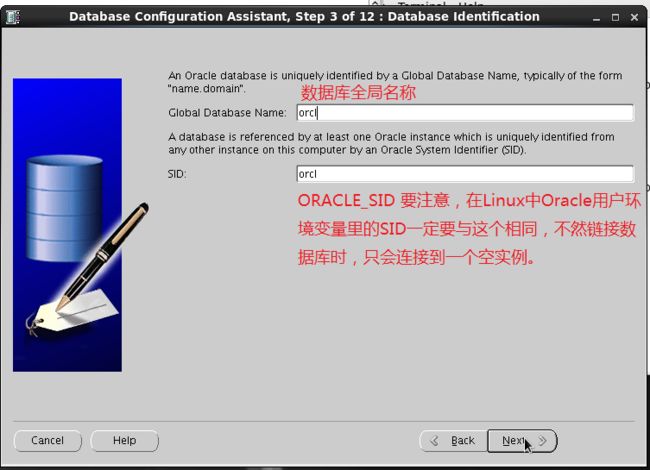
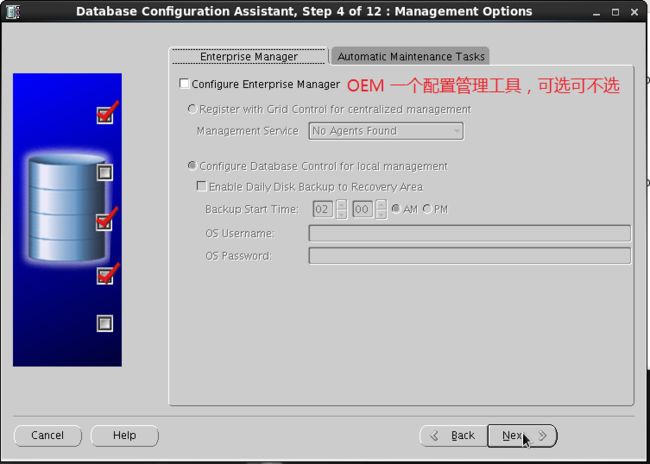
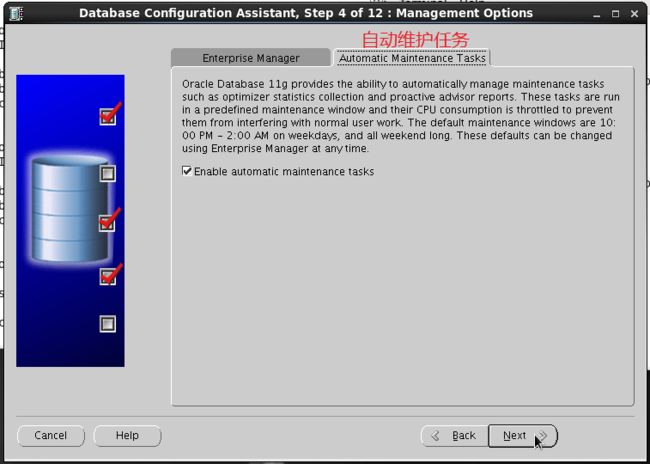




==========================================
[oracle@vast ~]$ sqlplus / as sysdba;
SQL*Plus: Release 11.2.0.3.0 Production on Thu Jul 14 09:06:01 2016
Copyright (c) 1982, 2011, Oracle. All rights reserved.
Connected to:
Oracle Database 11g Enterprise Edition Release 11.2.0.3.0 - Production
With the Partitioning, OLAP, Data Mining and Real Application Testing options
SQL>