Tensorflow利用图像处理函数生成DataSet
第二次发博客啦!第一次没有一个朋友看,好伤心!自己想了一下,一定是自己发的内容太水了,那就接着水喽。哈哈哈。
问题描述:扩充图像分类的原始数据集
人工方法:用win10自带的图像编辑器手动处理(信不信我一开始就是这样做的,批量上下左右翻转,因为实验室大佬就是这么教我哒,,,,)
我的小方法:用tensorflow自带的处理函数随机处理,生成新的图片放到一个文件夹下,貌似比手动的稍微好一点点,但我觉得还是不行,应该预处理后直接feed进神经网络。目前还没太搞懂tfrecord格式,就先这样玩了玩。
直接上代码吧!
@author: ziyang
"""

import numpy as np
import tensorflow as tf
import scipy.misc
import os

def distort_color(image, color_ordering=0):
    if color_ordering == 0:
        image = tf.image.random_brightness(image, max_delta=32. / 255.)
        image = tf.image.random_saturation(image, lower=0.5, upper=1.5)
        image = tf.image.random_hue(image, max_delta=0.2)
        image = tf.image.random_contrast(image, lower=0.5, upper=1.7)
    elif color_ordering == 1:
        image = tf.image.random_contrast(image, lower=0.5, upper=1.7)
        image = tf.image.random_hue(image, max_delta=0.2)
        image = tf.image.random_saturation(image, lower=0.5, upper=1.5)
        image = tf.image.random_brightness(image, max_delta=32. / 255.)
    elif color_ordering == 2:
        image = tf.image.random_hue(image, max_delta=0.2)
        image = tf.image.random_saturation(image, lower=0.5, upper=1.5)
        image = tf.image.random_contrast(image, lower=0.5, upper=1.7)
        image = tf.image.random_brightness(image, max_delta=32. / 255.)
    return tf.clip_by_value(image, 0.0, 1.0)
def preprocess_for_train(image, height, width, bbox):
    if bbox is None:
        bbox = tf.constant([0.0, 0.0, 1.0, 1.0], dtype=tf.float32, shape=[1, 1, 4])

    if image.dtype != tf.float32:
        image = tf.image.convert_image_dtype(image, dtype=tf.float32)

    bbox_begin, bbox_size, _ = tf.image.sample_distorted_bounding_box(tf.shape(image), bounding_boxes=bbox)
    distort_image = tf.slice(image, bbox_begin, bbox_size)
    distort_image = tf.image.resize_images(distort_image, [height, width], method=np.random.randint(4))
    distort_image = tf.image.random_flip_left_right(distort_image)
    distort_image = distort_color(distort_image, np.random.randint(3))

    return distort_image


with tf.Session() as sess:
    boxes = tf.constant([[[0.05, 0.05, 0.9, 0.7], [0.35, 0.47, 0.5, 0.56]]])
    file_dir_original = 'C:/Users//Desktop/inceptionV3/TianJin/D'
    m = 0
    for file in os.listdir(file_dir_original):
        m += 1
        src = os.path.join(os.path.abspath(file_dir_original),file)
        image_raw_data = tf.gfile.FastGFile(src, 'rb').read()
        img_data = tf.image.decode_jpeg(image_raw_data)
        for i in range(6):
            result = preprocess_for_train(img_data, 299, 299, boxes)
            result_eval = result.eval()
            chance = np.random.randint(10000)
            file_dir = 'C:/Users//Desktop/inceptionV3/TianJin/duan'
            name = 'duanlu'
            dst = os.path.join(os.path.abspath(file_dir),  name+str(chance) + '.jpg')
            scipy.misc.imsave(dst, result_eval)
        if m%10 == 0 :
            print('finsh a image from original dataset' + "  " + str(m))
    print('all finished!!!')
方法比较笨,大神勿喷,不要打击小弟的学习积极性啦!
其中distort_color函数是处理图像的颜色。preprocess_for_train函数是图像预处理函数,该部分扩展性比较强(处理方式多种多样,可以随机组合),百度一下也会有很多关于处理函数的介绍,我就不多说了,具体讲解参考《tensorflow实战Google深度学习框架》图像预处理部分。但是我百度很多都是举了一个图片处理的例子,也是写这个博客的原因。我这里也是在它的基础上更改的(所以说我比较菜),不明白的可以私信我。总之,比手动处理进步一丢丢!
file_dir_original 后面放的是需要扩充的原始数据集。
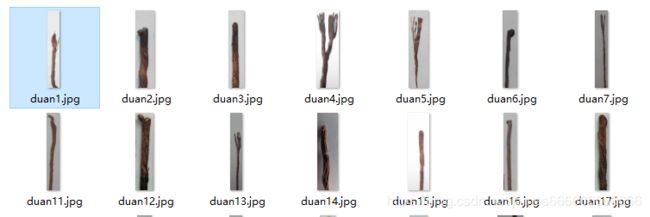
file_dir 后面放的是扩充后的数据集。
for i in range(6) 其中6表示一张原始图片(放在file_dir_original)生成 6张新的图片(放在file_dir),你可以根据自己的需要改为其他的数字N。理论上扩充后的数据集是原来的N倍,但是可能会略差一些,因为我这里用的chance = np.random.randint(10000)随机生成的chance数字可能会重复。
该方法不建议使用,计算多,好像容易dead,不知道指定用GPU会不会好点(猜测)。接下来我会好好了解一下tfrecord,尝试其他方法。
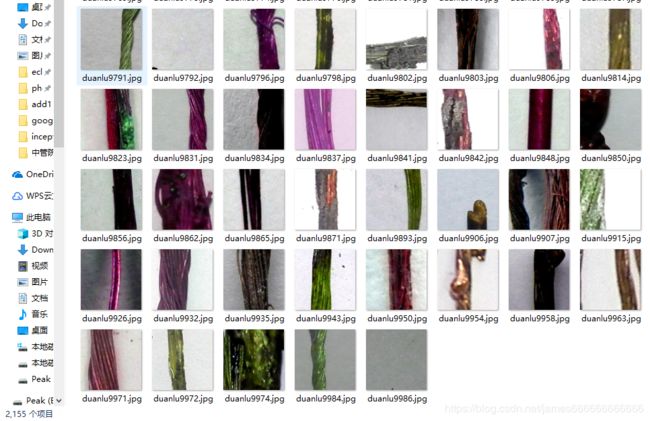
随机扩充后生成的数据集
顺便粘一段更改文件中数据集名的代码
import os

def rename(file_dir,name):


    i=1
    for file in os.listdir(file_dir):
        '''获取该路径文件下的所有图片'''
        src = os.path.join(os.path.abspath(file_dir), file)
        '''修改后图片的存储位置(目标文件夹+新的图片的名称)'''
        dst = os.path.join(os.path.abspath(file_dir),  name+str(i) + '.jpg')
        os.rename(src, dst) #将图片重新命名
        i=i+1

file_dir='C:/Users/Desktop/inceptionV3/TianJin'  #目标下的文件夹名称
rename(file_dir+'/D','duan')  #获取目标文件夹下,子文件的的路径 并进行重命名
rename(file_dir+'/F','fei')
print('success!!!')
这段代码用来更改图片名
参考:https://blog.csdn.net/Strive_For_Future/article/details/81867721

