复现Faster-RCNN-TensorFlow-Python3.5代码,并用自己的数据集来训练
本文用的系统是Ubuntu 16.04,
虚拟环境:tensorflow-gpu, python=3.5
代码下载地址:https://github.com/dBeker/Faster-RCNN-TensorFlow-Python3.5
教程链接:https://github.com/dBeker/Faster-RCNN-TensorFlow-Python3.5(就在代码页面的下面)
一、首先下载Faster-RCNN-TensorFlow-Python3.5代码,并把它放在Home/new目录下。
git clone https://github.com/dBeker/Faster-RCNN-TensorFlow-Python3.5.git
二、激活带有python3.5版本的tensorflow-gpu环境
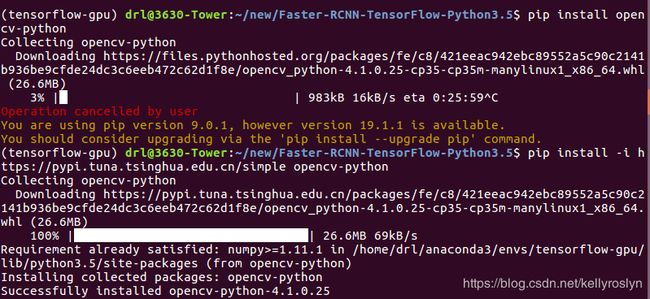
三、安装opencv-python等
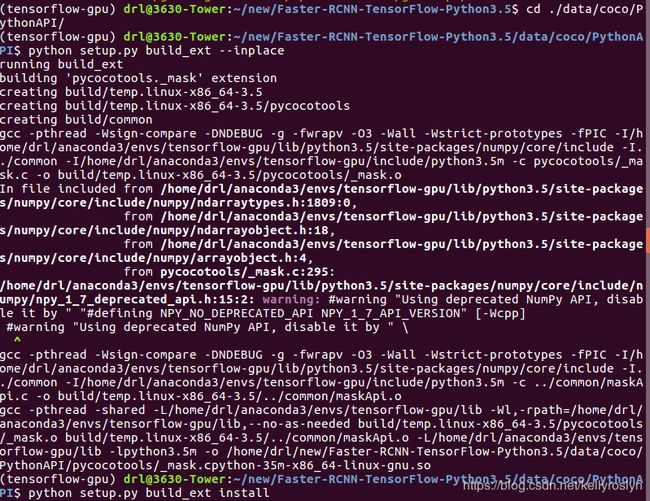
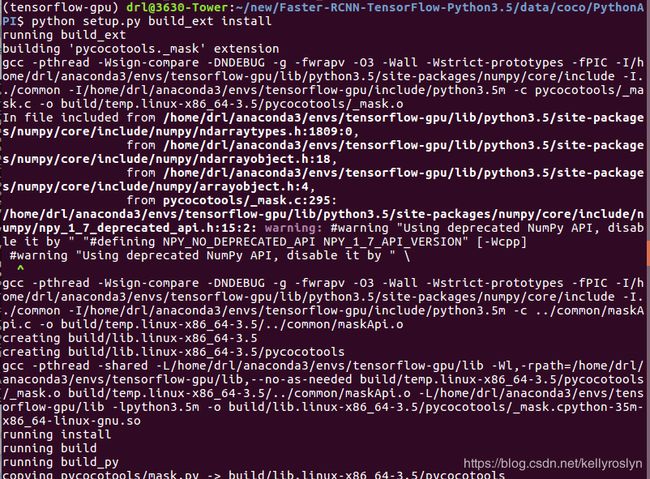
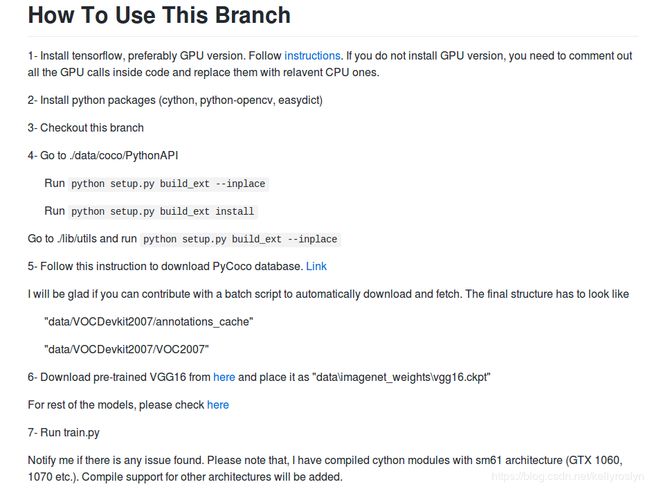
四、Go to ./data/coco/PythonAPI
         Run python setup.py build_ext --inplace
         Run python setup.py build_ext install
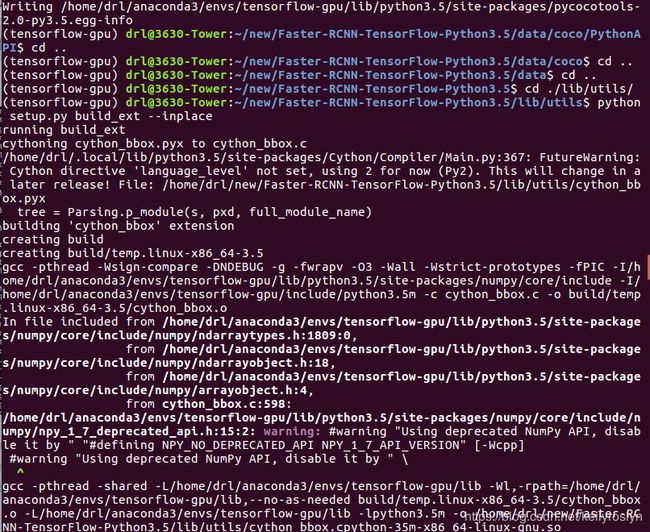
Go to ./lib/utils and run python setup.py build_ext --inplace
(记得要去两个路径执行python setup.py那行命令)
cd ./data/coco/PythonAPI/
python setup.py build_ext --inplace
python setup.py build_ext install
cd ..
cd ..
cd ./lib/utils/
python setup.py build_ext --inplace
五、下载VOC2007数据集
数据集使用的是VOC2007,下载地址:
http://host.robots.ox.ac.uk/pascal/VOC/voc2007/VOCtrainval_06-Nov-2007.tar http://host.robots.ox.ac.uk/pascal/VOC/voc2007/VOCtest_06-Nov-2007.tar http://host.robots.ox.ac.uk/pascal/VOC/voc2007/VOCdevkit_08-Jun-2007.tar
由于被墙,可以下载百度云盘的数据集,链接:https://pan.baidu.com/s/1Y_RzqLvW4CAzTEq4ICFVUA ,提取码:m9dl
将下载后的三个压缩包解压到同一个文件夹:方法为同时选中这三个压缩包,选择解压到当前文件夹,可得到VOCDevkit文件夹,如下图1所示,将VOCdevkit重命名为VOCdevkit2007,然后将这个文件夹复制到data目录下 。文件夹目录:
/home/drl/new/Faster-RCNN-TensorFlow-Python3.5/data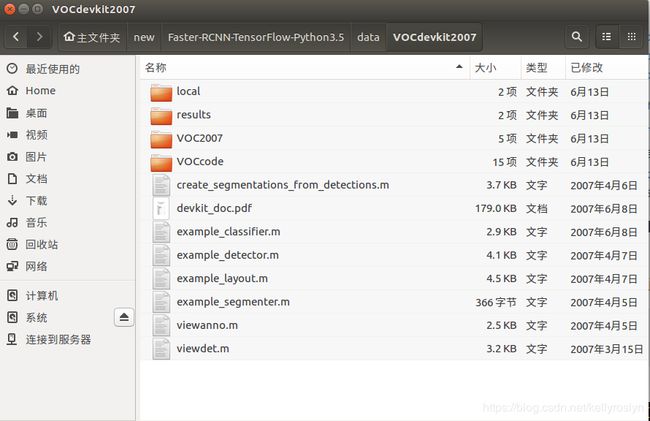
图1 数据集VOC2007的文件夹
六、下载预训练模型VGG16,并把它复制到data\imagenet_weights\vgg16.ckpt,即在data下新建imagenet_weights文件夹,然后把从VGG16解压出来的vgg16.ckpt文件复制到imagenet_weights里面。
Download pre-trained VGG16 from here and place it as “data\imagenet_weights\vgg16.ckpt”
VGG16模型的下载地址:http://download.tensorflow.org/models/vgg_16_2016_08_28.tar.gz,也可去百度云盘下载,
链接:https://pan.baidu.com/s/11Ty10NJ-rgXkkvM92SVVKw ,提取码:d2jz
下载完后解压,文件重命名为vgg16.ckpt,如图2所示。新建文件夹imagenet_weights,把vgg16.ckpt放到imagenet_weights下,再将imagenet_weights文件夹复制到data文件夹下。文件夹目录:
/home/drl/new/Faster-RCNN-TensorFlow-Python3.5/data/imagenet_weights
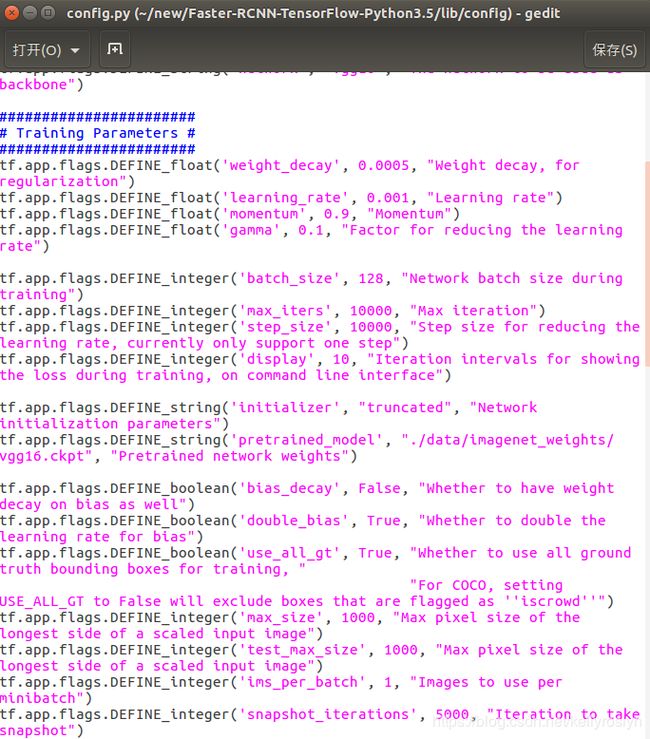
训练模型的参数可以在Faster-RCNN-TensorFlow-Python3.5-master\lib\config文件夹里的config.py修改,包括训练的总步数、权重衰减、学习率、batch_size等参数。
tf.app.flags.DEFINE_float('weight_decay', 0.0005, "Weight decay, for regularization")
tf.app.flags.DEFINE_float('learning_rate', 0.001, "Learning rate")
tf.app.flags.DEFINE_float('momentum', 0.9, "Momentum")
tf.app.flags.DEFINE_float('gamma', 0.1, "Factor for reducing the learning rate")

tf.app.flags.DEFINE_integer('batch_size', 128, "Network batch size during training")
tf.app.flags.DEFINE_integer('max_iters', 10000, "Max iteration")
tf.app.flags.DEFINE_integer('step_size', 10000, "Step size for reducing the learning rate, currently only support one step")
tf.app.flags.DEFINE_integer('display', 10, "Iteration intervals for showing the loss during training, on command line interface")

tf.app.flags.DEFINE_string('initializer', "truncated", "Network initialization parameters")
tf.app.flags.DEFINE_string('pretrained_model', "./data/imagenet_weights/vgg16.ckpt", "Pretrained network weights")

tf.app.flags.DEFINE_boolean('bias_decay', False, "Whether to have weight decay on bias as well")
tf.app.flags.DEFINE_boolean('double_bias', True, "Whether to double the learning rate for bias")
tf.app.flags.DEFINE_boolean('use_all_gt', True, "Whether to use all ground truth bounding boxes for training, "
                                                "For COCO, setting USE_ALL_GT to False will exclude boxes that are flagged as ''iscrowd''")
tf.app.flags.DEFINE_integer('max_size', 1000, "Max pixel size of the longest side of a scaled input image")
tf.app.flags.DEFINE_integer('test_max_size', 1000, "Max pixel size of the longest side of a scaled input image")
tf.app.flags.DEFINE_integer('ims_per_batch', 1, "Images to use per minibatch")
tf.app.flags.DEFINE_integer('snapshot_iterations', 5000, "Iteration to take snapshot")
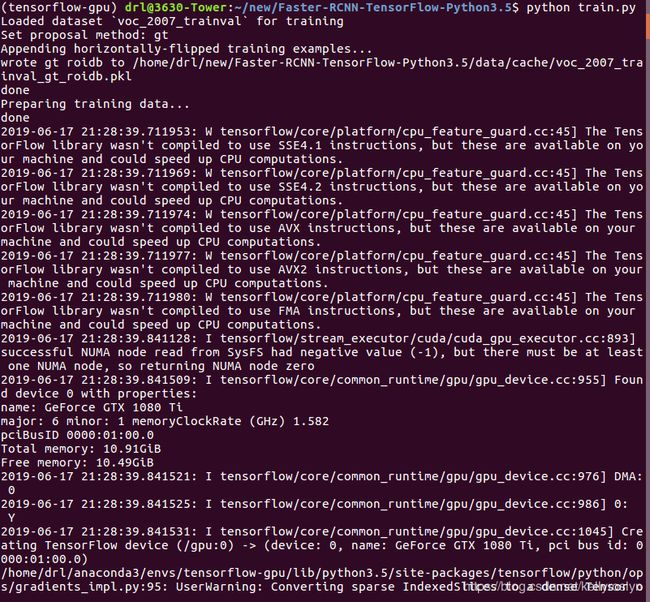
七、运行python train.py文件开始训练
cd ..
cd ..
python train.py
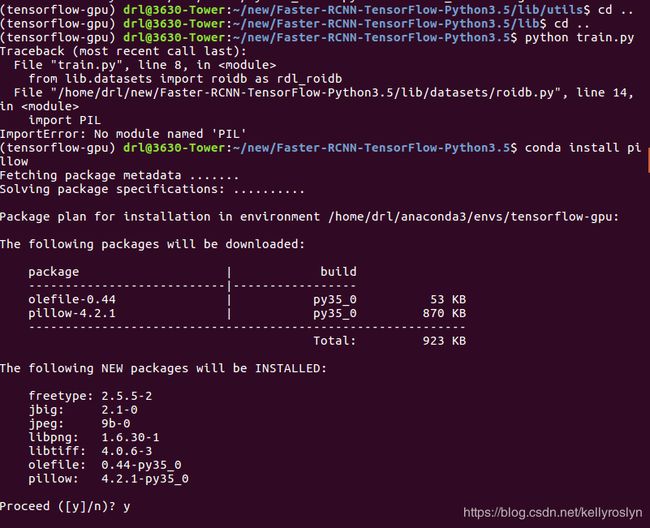 中途发现少了两个模块 pillow和scipy,所以进行安装。

安装完毕之后,运行python train.py文件
python train.py
八、运行demo.py文件
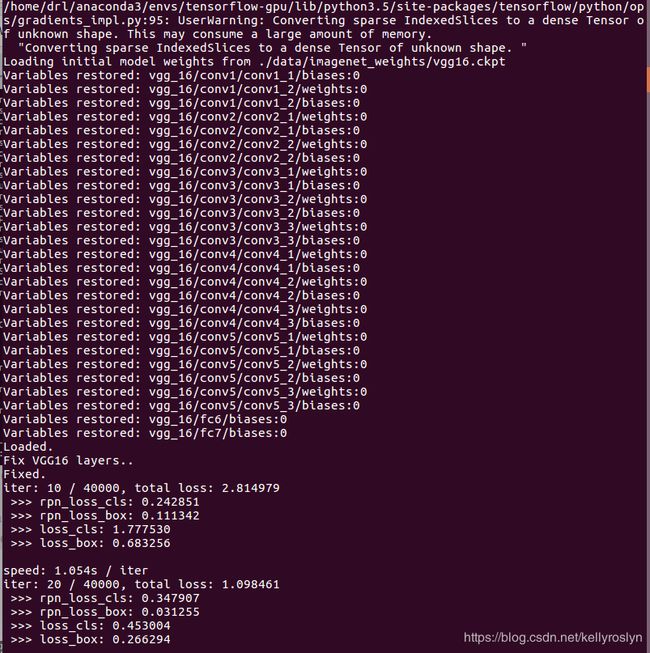
(1)运行train.py文件之后会进行模型训练,模型训练结束后,在 Home/new/Faster-RCNN-TensorFlow-Python3.5/default/voc_2007_trainval/default目录下可以看到训练的模型,一个迭代了40000次。(备注:迭代次数可在Faster-RCNN-TensorFlow-Python3.5-master\lib\config文件夹里的config.py修改。)
训练模型文件如下所示:
 (2)在Home/new/Faster-RCNN-TensorFlow-Python3.5-master目录下新建文件夹output/vgg16/voc_2007_trainval,最后得到路径如下:
/home/drl/new/Faster-RCNN-TensorFlow-Python3.5/output/vgg16/voc_2007_trainval/default/
将训练生成的文件复制到/home/drl/new/Faster-RCNN-TensorFlow-Python3.5/output/vgg16/voc_2007_trainval/default/文件下,并改名如下:“vgg16.ckpt.meta”
更改名字前:
 更改名字后:
 (3)运行demo.py 测试模型
对demo.py进行如下的修改:
1、将NETS中的“vgg16_faster_rcnn_iter_70000.ckpt”改成“vgg16.ckpt”,如下所示;
NETS = {'vgg16': ('vgg16.ckpt',), 'res101': ('res101_faster_rcnn_iter_110000.ckpt',)}
2、将DATASETS中的“voc_2007_trainval+voc_2012_trainval”改为“voc_2007_trainval”,如下所示;
DATASETS = {'pascal_voc': ('voc_2007_trainval',), 'pascal_voc_0712': ('voc_2007_trainval',)}
3、将def parse_args()函数的两个default分别改成vgg16和pascal_voc,如下所示;

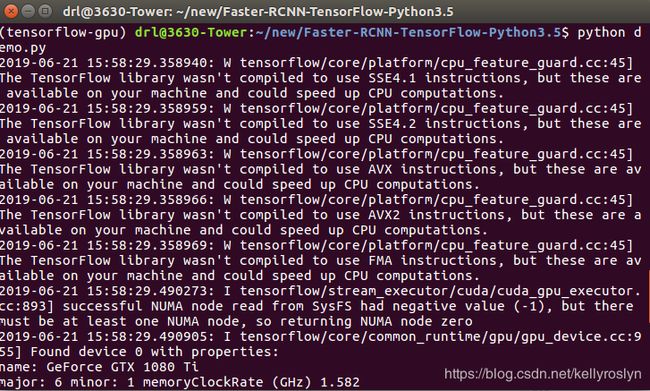
4、修改上述参数后,source activate tensorflow-gpu激活tensorflow-gpu环境,然后输入python demo.py运行demo.py,得到以下结果:
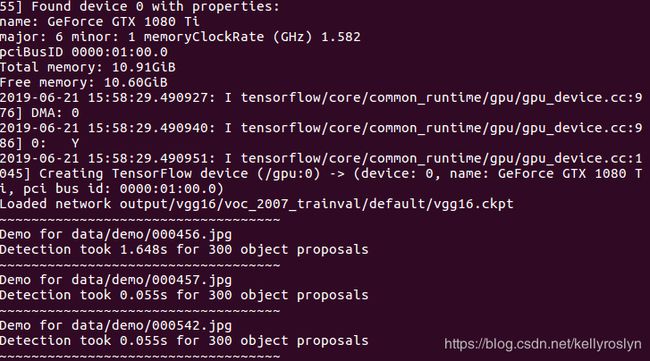
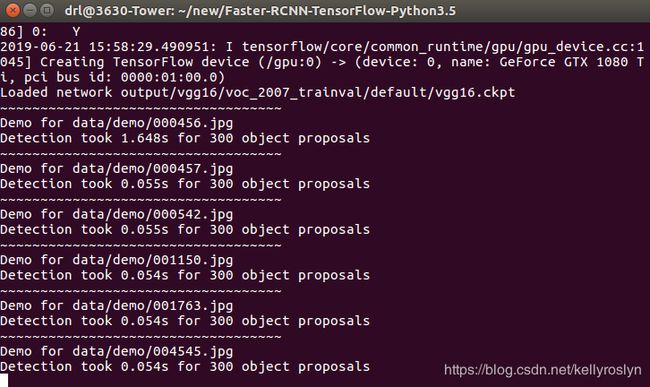
效果图如下所示:
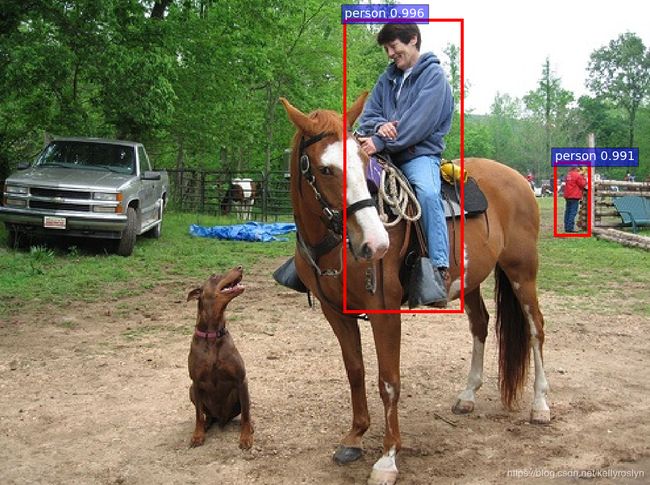
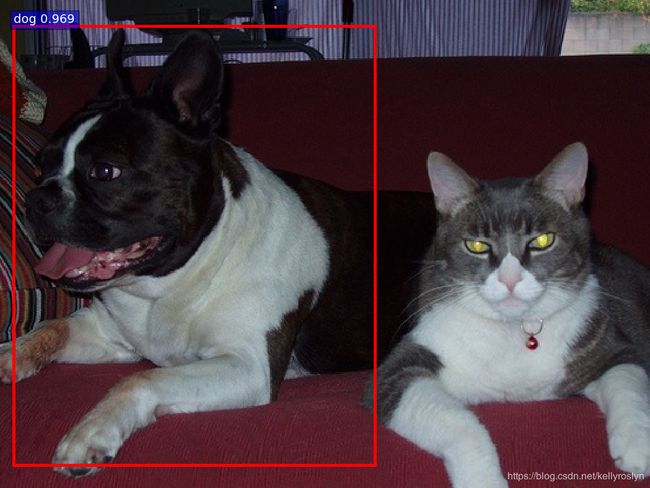
到此,用voc_2007数据集训练的faster-rcnn模型成功,下一篇写用自己的数据集来训练。


