android 调用系统拍照、选择本地照片
一直以来也没写过拍照和选择本地照片的功能,最近项目中有这个功能,就写下来,网上看了很多,但很多都有问题。
本来是想再当前页面直接自定义dialog的,这样的话就少写一次setResult(),但怎么写都出错,只能跳另一个activity,在设置其透明。没办法,下面是activity跳 activity来拍照,选择照片,不废话上代码:
下面是自己写的,有什么不足,望大家见谅。
我是通过图片路径来获得需要的照片的。
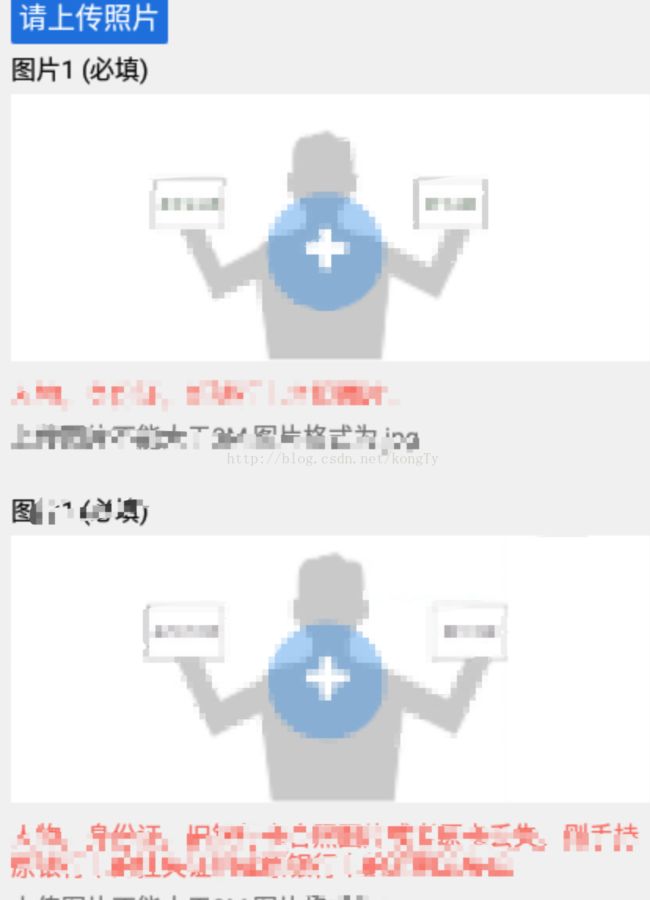
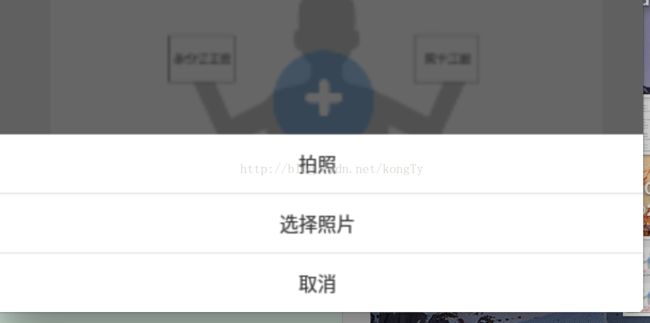
效果图:
因为我的有两个ImageView,不管imageview是拍照还是选择本地照片,它只需要一个path地址就行了,所以下面我返回的都是path。
注意:如果你avticityA中有n个imageview,activityB返回的path,就定义n个String类型的路径去接收
activityA:
int NEW_SCANNIN_GREQUEST_CODE = 1
int OLD_SCANNIN_GREQUEST_CODE = 2;
String photoPath = "";
String imgPath = "";
Intent IntentA = new Intent();
IntentA.setClass(ActivityA.this, ActivityB.class);
Bundle bundle = new Bundle();
IntentA.putExtras(bundle);
startActivityForResult(IntentA, NEW_SCANNIN_GREQUEST_CODE);
Intent oldIntentCard = new Intent();
oldIntentCard.setClass(ActivityA.this, ActivityB.class);
Bundle bundle2 = new Bundle();
oldIntentCard.putExtras(bundle2);
startActivityForResult(oldIntentCard, OLD_SCANNIN_GREQUEST_CODE);
@Override
protected void onActivityResult(int requestCode, int resultCode, Intent data) {
    if (resultCode == RESULT_OK) {
        if (requestCode == NEW_SCANNIN_GREQUEST_CODE){//图片1
            imgPath = data.getStringExtra("photoPath");
            Bitmap cameraBitmap = BitmapFactory.decodeFile(imgPath);
            if(null != cameraBitmap ) {
                // 下面这两句是对图片按照一定的比例缩放,这样就可以完美地显示出来。
                int scale = ImageThumbnail.reckonThumbnail(cameraBitmap.getWidth(), cameraBitmap.getHeight(), 578, 304);
                Bitmap myBitmap = ImageThumbnail.PicZoom(cameraBitmap, cameraBitmap.getWidth() / scale, cameraBitmap.getHeight() / scale);
                //由于Bitmap内存占用较大,这里需要回收内存,否则会报out of memory异常
                //接收返回图片,并且设置到ImageView里面
                fullImage.setImageBitmap(myBitmap);
            }
}else if (requestCode == OLD_SCANNIN_GREQUEST_CODE){//图片2
    		photoPath = data.getStringExtra("photoPath");
    		Bitmap cameraBitmap = BitmapFactory.decodeFile(photoPath);

    		// 下面这两句是对图片按照一定的比例缩放,这样就可以完美地显示出来。
    		int scale = ImageThumbnail.reckonThumbnail(cameraBitmap.getWidth(),cameraBitmap.getHeight(), 578, 304);
    		Bitmap myBitmap = ImageThumbnail.PicZoom(cameraBitmap, cameraBitmap.getWidth() / scale,cameraBitmap.getHeight() / scale);
    		//由于Bitmap内存占用较大,这里需要回收内存,否则会报out of memory异常
    		//接收返回图片,并且设置到ImageView里面
    		oldCard.setImageBitmap(myBitmap);//图片2
	}
}}
activityB:
private static final int PHOTO_REQUEST_CAREMA = 1;// 拍照
private static final int PHOTO_REQUEST_GALLERY = 2;// 从相册中选择
private String cameraPath = "";
private String imgPath = "";
//拍照取图片
public void camera() {
    Intent intent = new Intent(MediaStore.ACTION_IMAGE_CAPTURE);
    // TODO: 2017/7/13
    SimpleDateFormat format = new SimpleDateFormat("yyyyMMddHHmmss");//获取当前时间,进一步转化为字符串
    Date date =new Date();
    String strDte = format.format(date);
    cameraPath = Environment.getExternalStorageDirectory() + "/" + strDte + ".jpg";
    //指定照片保存路径(SD卡)传的是uri
    intent.putExtra(MediaStore.EXTRA_OUTPUT, Uri.fromFile(new File(cameraPath)));
    startActivityForResult(intent, PHOTO_REQUEST_CAREMA);
}
//从相册取图片
public void gallery() {
    // 激活系统图库,选择一张图片
    Intent intent = new Intent(Intent.ACTION_PICK, null);
    intent.setDataAndType(MediaStore.Images.Media.EXTERNAL_CONTENT_URI,
            "image/*");
    startActivityForResult(intent, PHOTO_REQUEST_GALLERY);
}
@Override
protected void onActivityResult(int requestCode, int resultCode, Intent data) {
    super.onActivityResult(requestCode, resultCode, data);

    if (resultCode == RESULT_OK && requestCode == PHOTO_REQUEST_GALLERY) {//相册
        if (data != null) {
                Uri uri = data.getData();
               /**获取路径**/
                String[] proj = {MediaStore.Images.Media.DATA};
                Cursor cursor = getContentResolver().query(uri, proj, null, null, null);
                if(cursor.moveToFirst()) {
                    int column_index = cursor.getColumnIndexOrThrow(MediaStore.Images.Media.DATA);
                    imgPath = cursor.getString(column_index);
                }

                Intent resultIntent = new Intent();
                Bundle bundle2 = new Bundle();
                bundle2.putString("photoPath", imgPath);
                resultIntent.putExtras(bundle2);
                setResult(RESULT_OK, resultIntent);
                finish();
        }
    } else if (resultCode == RESULT_OK && requestCode == PHOTO_REQUEST_CAREMA){//拍照

            Intent resultIntent = new Intent();
            Bundle bundle2 = new Bundle();
            bundle2.putString("photoPath", cameraPath);
            resultIntent.putExtras(bundle2);
            setResult(RESULT_OK, resultIntent);
            finish();
        }
}
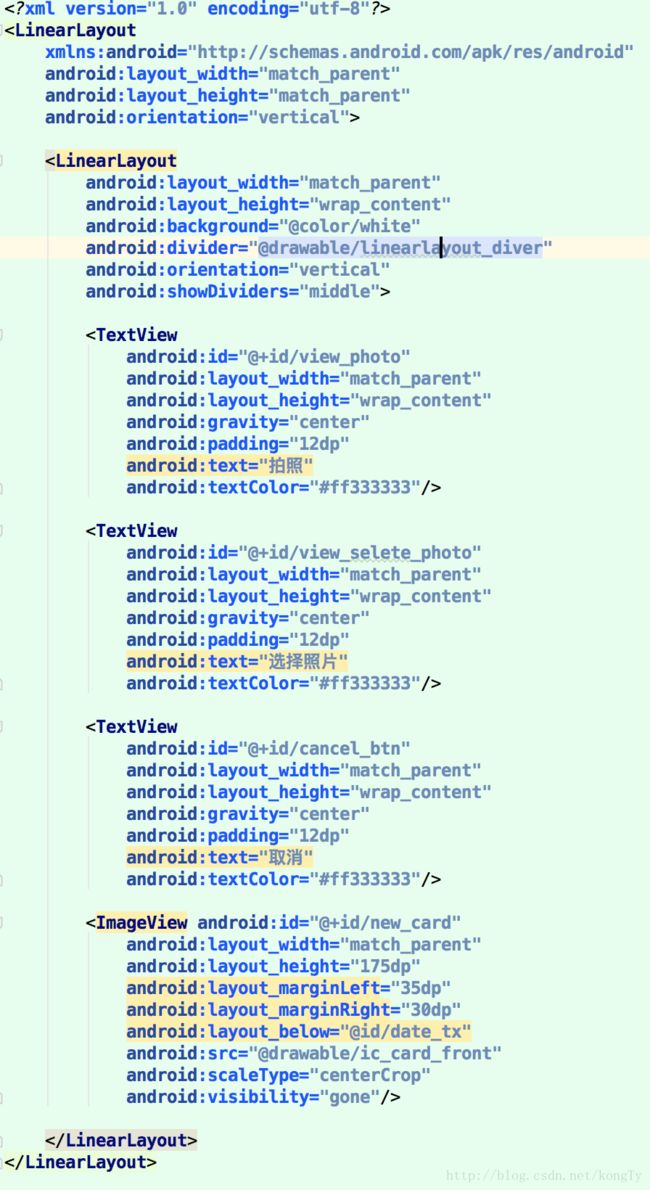
activityB的透明设置及布局:
@Override
protected void onCreate(Bundle savedInstanceState) {
    super.onCreate(savedInstanceState);
    setContentView(R.layout.dialog_show_photo);

    WindowManager m = getWindowManager();
    Display d = m.getDefaultDisplay(); // 为获取屏幕宽、高
    WindowManager.LayoutParams p = getWindow().getAttributes(); // 获取对话框当前的参数值
    p.width = (int) (d.getWidth() * 1);
    p.alpha = 1.0f; // 设置本身透明度
    getWindow().setAttributes(p); // 设置生效
    getWindow().setGravity(Gravity.BOTTOM);

    cancelBtn = findViewById(R.id.cancel_btn);
    View viewPhoto = findViewById(R.id.view_photo);
    View viewSelPhoto = findViewById(R.id.view_selete_photo);
    new_card = (ImageView) findViewById(R.id.new_card);
    viewPhoto.setOnClickListener(this);
    viewSelPhoto.setOnClickListener(this);
    cancelBtn.setOnClickListener(this);
}
AndroidManifest中样式theme不加,activityB就没有透明的效果了
<activity
    android:name=".ui.activity.ShowPhotoDialogActivity"
    android:screenOrientation="portrait"
    android:theme="@style/ShareTheme"/>
<style name="ShareTheme" parent="@android:style/Theme.Dialog">
    <item name="android:windowBackground">@android:color/transparentitem>
    <item name="android:windowTitleStyle">@nullitem>
    <item name="android:windowNoTitle">trueitem>
style>

工具类:
import android.content.Intent;
import android.graphics.Bitmap;
import android.graphics.BitmapFactory;
import android.graphics.Matrix;
import android.os.Environment;
import android.util.Base64;

import java.io.File;
import java.io.FileNotFoundException;
import java.io.FileOutputStream;

/**
 * Created by ky on 2017/7/13.
 * PicZoom()方法做了修改,原方法有bug 在项目中调用recycle()释放资源时将原有对象一起释放掉了
 * (原因创建对象未成功还是以前的对象,童鞋们可以调试下就能看到)
 */

public class ImageThumbnail {
    public static int reckonThumbnail(int oldWidth, int oldHeight, int newWidth, int newHeight) {
        if ((oldHeight > newHeight && oldWidth > newWidth)
                || (oldHeight <= newHeight && oldWidth > newWidth)) {
            int be = (int) (oldWidth / (float) newWidth);
            if (be <= 1)
                be = 1;
            return be;
        } else if (oldHeight > newHeight && oldWidth <= newWidth) {
            int be = (int) (oldHeight / (float) newHeight);
            if (be <= 1)
                be = 1;
            return be;
        }
        return 1;
    }
    public static Bitmap PicZoom(Bitmap bmp, int width, int height) {
        int bmpWidth = bmp.getWidth();
        int bmpHeght = bmp.getHeight();
        Matrix matrix = new Matrix();
        matrix.postScale((float) width / bmpWidth, (float) height / bmpHeght);
        //此处做了修改,新建对象,判断是否为同一个对象
        Bitmap newbitmap = Bitmap.createBitmap(bmp, 0, 0, bmpWidth, bmpHeght, matrix, true);
        if(newbitmap != bmp){
            bmp.recycle();
            bmp = null;
        }
        return newbitmap;
    }

    public static String savaPhotoToLocal(Intent data, Bitmap btp) {
        // 如果文件夹不存在则创建文件夹,并将bitmap图像文件保存
        File rootdir = Environment.getExternalStorageDirectory();
        String imagerDir = rootdir.getPath() + "/sdcard/myImage/";
        File dirpath = new File(imagerDir);
        String filename = System.currentTimeMillis() + ".jpg";
        File tempFile = new File(dirpath, filename);
        String filePath = tempFile.getAbsolutePath();
        try {
            // 将bitmap转为jpg文件保存
            FileOutputStream fileOut = new FileOutputStream(tempFile);
            btp.compress(Bitmap.CompressFormat.JPEG, 100, fileOut);
        } catch (FileNotFoundException e) {
            e.printStackTrace();
        }
        return filePath;
    }

    /** * string转成bitmap *  * @param st */
    public static Bitmap convertStringToIcon(String st) {
        // OutputStream out;
        Bitmap bitmap = null;
        try {
            // out = new FileOutputStream("/sdcard/aa.jpg");
            byte[] bitmapArray;
            bitmapArray = Base64.decode(st, Base64.DEFAULT);
            bitmap = BitmapFactory.decodeByteArray(bitmapArray, 0, bitmapArray.length);
            // bitmap.compress(Bitmap.CompressFormat.PNG, 100, out);
            return bitmap;
        } catch (Exception e) { return null; } }
}
记得➕权限哦
<uses-permission android:name="android.permission.CAMERA" />
<uses-permission android:name="android.permission.WRITE_EXTERNAL_STORAGE"/>
重要代码都贴在上面了,我的是从项目中贴出来的。 至于dialog为什么不能使用到现在还不知道,有知道的童鞋让我也学习学习,谢谢了

