python3.0环境下利用tkinter模块的可视化编写的基于TCP的可视化社交平台(客户端)的实现
源代码:
"""
Version 1.1.0
Author lkk
Email [email protected]
DESC 基于TCP的界面社交平台(客户端)的实现
"""
import tkinter
from tkinter import *
import threading
import socket
import time
# 定义服务器信息
HOST = '192.168.11.203'
PORT = 8888
ADDRESS = (HOST, PORT)
BUFFER = 1024
ck = None  # 用于储存客户端的信息
users = {}  # 用户字典,也可以连接数据库


def get_info():
    while True:
        data = ck.recv(BUFFER)  # 用于接受服务其发送的信息
        print(data.decode('utf-8'))
        if data == '退出':
            ck.close()
            break
        else:
            if ':' in data.decode('utf-8'):
                print(data.decode('utf-8'))
                text.insert(tkinter.INSERT, data.decode("utf-8"))  # 显示在信息框上
            else:
                lstNE.insert('end', data.decode('utf-8'))


def insert_user():  # 将用户名插入到显示好友列表中
    Insert = lstNE.get(lstNE.curselection())
    send_to.delete(0, 'end')
    send_to.insert(0, Insert)


def connect_server():
    global ck
    user_str = e_user.get()
    client = socket.socket(socket.AF_INET, socket.SOCK_STREAM)  # socked所准守ipv4或ipv6,和相关协议的
    client.connect(ADDRESS)  # 连接ip和端口号!!!1:注意输入的端口号是str型而这里的要传入int型
    #  2:bind()的参数是一个元组的形式
    client.send(user_str.encode("utf-8"))
    ck = client

    t = threading.Thread(target=get_info)
    t.start()


def send_mail():

    friend = send_to.get()
    send_str = entrySend.get(0.0, 2.0)
    text.insert(INSERT, time.strftime('%Y-%m-%d %H:%M:%S', time.localtime()) + '\n'+'我:' + send_str)
    entrySend.delete('0.0', END)
    send_str = friend + ":" + send_str
    ck.send(send_str.encode("utf-8"))


def cancel():
    entrySend.delete('0.0', END)  # 取消发送消息,即清空发送消息


# 实现退出系统函数
def exit_system():
    """
    程序退出的函数
    """
    sys.exit(1)


def login_sever():
    connect_server()
    root.deiconify()
    win1.withdraw()


# 结束回话
def shout_down():
    friend = send_to.get()
    send_str1 = '退出'
    send_str1 = friend + ":" + send_str1
    ck.send(send_str1.encode('utf-8'))
    root.destroy()
    win1.update()
    win1.deiconify()

# 下面是关于界面的操作
# 主界面


win1 = tkinter.Tk()
win1.title('客户端登录')
win1.geometry('400x500+200+300')
win1.resizable(width=False, height=False)  # 宽不可变, 高可变,默认为True
e_user = tkinter.Variable()
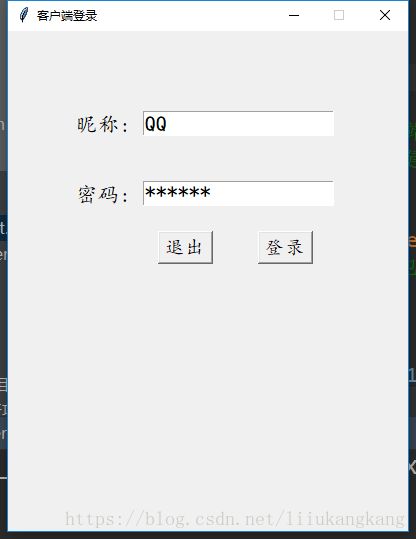
labelUse = tkinter.Label(win1, text='昵称:', font=('楷体', 16)).place(x=65, y=80)
entryUser = tkinter.Entry(win1, font=('楷体', 16), width=17, textvariable=e_user).place(x=135, y=80)
input_password = tkinter.Label(win1, text='密码:', font=('楷体', 16)).place(x=65, y=150)
input_password_entry = tkinter.Entry(win1, show='*', font=('楷体', 16), width=17).place(x=135, y=150)
no_login = tkinter.Button(win1, text='退出', font=('楷体', 14), command=exit_system).place(x=150, y=200)
button = tkinter.Button(win1, text='登录', font=('楷体', 14), command=login_sever).place(x=250, y=200)
# 子界面
root = tkinter.Tk()
root.withdraw()
# 设置窗口标题
root.title("PY1808")
root.geometry('940x700')
root.resizable(width=False, height=False)  # 宽不可变, 高可变,默认为True
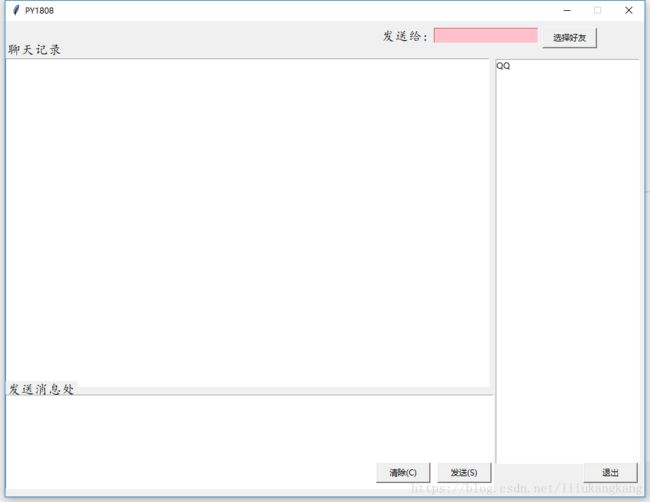
lstNE = tkinter.Listbox(root, height=33, width=30)
lstNE.place(x=720, y=55)
text = tkinter.Text(root, height=20, width=59, font=("楷体", 18))
text.place(x=0, y=55)
label_text = tkinter.Label(root, text="聊天记录", font=('楷体', 14)).place(x=0, y=30)
e_send = tkinter.Variable()
label_send = tkinter.Label(root, text="发送消息处", font=('楷体', 14)).place(x=0, y=530)
entrySend = tkinter.Text(root, height=5, width=51, font=('楷体', 20))
entrySend.place(x=0, y=550)
e_friend = tkinter.Variable()
label_friend = tkinter.Label(root, text="发送给:", font=('楷体', 14))
label_friend.place(x=550, y=10)
button1 = tkinter.Button(root, text='选择好友', width=10, command=insert_user)
button1.place(x=790, y=10)
send_t = tkinter.StringVar()
send_to = tkinter.Entry(root, bg="pink", font=('楷体', 14), width=15, textvariable=send_t)
send_to.place(x=630, y=10)
button2 = tkinter.Button(root, text="发送(S)", width=10, command=send_mail).place(x=635, y=650)
button3 = tkinter.Button(root, text="清除(C)", width=10, command=cancel).place(x=545, y=650)
button4 = tkinter.Button(root, text='退出', width=10, command=shout_down).place(x=850, y=650)
root.mainloop()
win1.mainloop()
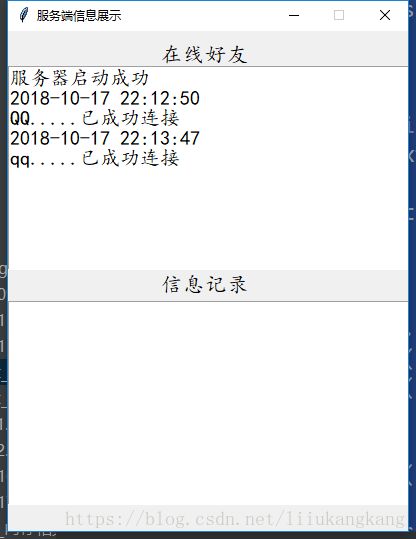
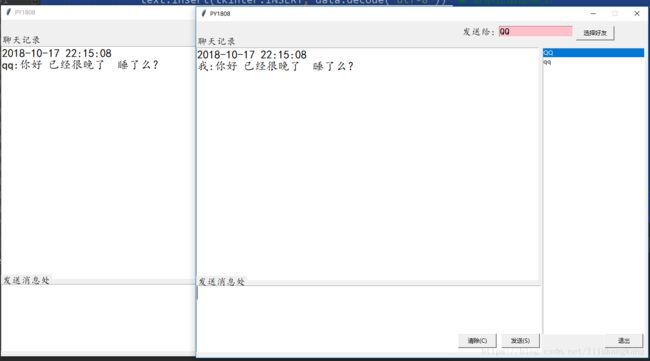
运行截图:
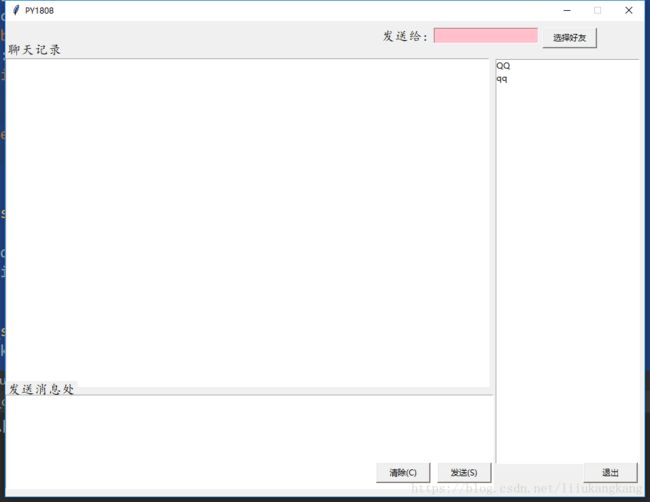
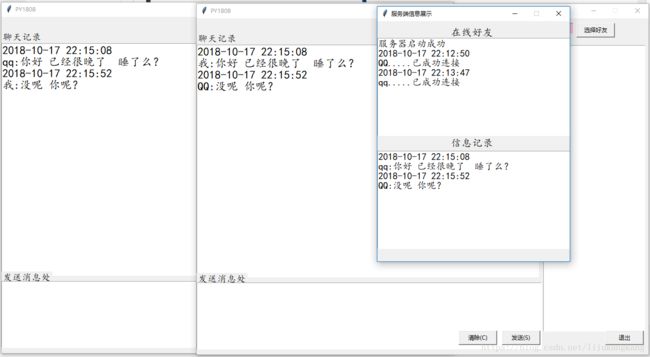
点击登录按钮之后运行截图:
