mmdetection训练自己的数据
上篇文章提到了mmdetection的配置并且测试好啦。下面关于如何train我们自己的数据。
主要讲一下一些改动原配置文件的问题,毕竟mmdetection开源的时间不长,还是在不断更新的。
官方建议自己的数据在mmdetection目录下创建data目录,以coco数据格式为例吧。
mmdetection
├── mmdet
├── tools
├── configs
├── data
│   ├── coco
│   │   ├── annotations
│   │   ├── train2017
│   │   ├── val2017
│   │   ├── test2017
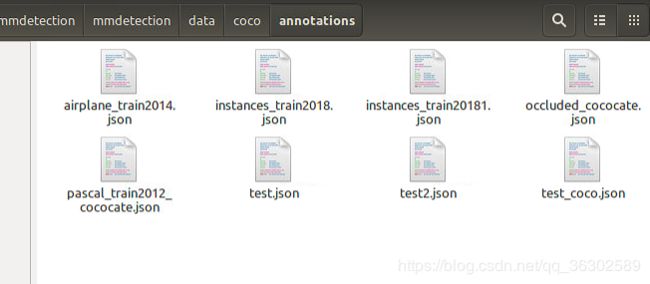
我的训练数据比较多,也是正好赶上时候,前20天刚刚pull了一个可以支持多个json ann_files的版本,所以我的对应模型的cfg里面关于数据的放置是这样的:
注意一个ann_file需要对应一个img_prefix,否则会报错,同时现在也支持多尺度训练了,看我的img_scale格式怎么写的比葫芦画瓢即可(这些都在github对应的issue栏有体现,我直接拿结果过来贴了)
数据集是这样的:
当然官方推荐通过创建软连接方式
cd mmdetection
mkdir data
ln -s $COCO_ROOT data
其中,$COCO_ROOT需改为你的coco数据集根目录
voc格式整体类似。可以参考这篇blog:https://blog.csdn.net/hajlyx/article/details/83542167
然后输入train的命令 有分布式和非分布式两种训练,官方推荐使用分布式训练过程。
./tools/dist_train.sh configs/cascade_rcnn_r101_fpn_1x.py 4 --validate如果不想采用分布式的训练方式,或者你只有一块显卡,则运行下方的代码
python tools/train.py --gpus --work_dir 下面摘自官方:
Supported arguments are:
- --validate: perform evaluation every k (default=1) epochs during the training.
- --work_dir
: if specified, the path in config file will be overwritten.
Expected results in WORK_DIR:
- log file
- saved checkpoints (every k epochs, defaults=1)
- a symbol link to the latest checkpoint
Important: The default learning rate is for 8 GPUs. If you use less or more than 8 GPUs, you need to set the learning rate proportional to the GPU num. E.g., modify lr to 0.01 for 4 GPUs or 0.04 for 16 GPUs.
所以大家看到了,默认的学习率是8核gpu的 我只有4核 所以调整了配置文件里的学习率为0.001
如果你的数据集没有什么异常情况的话这个时候模型就可以开始train了。还有一个疑惑的地方是这样的:
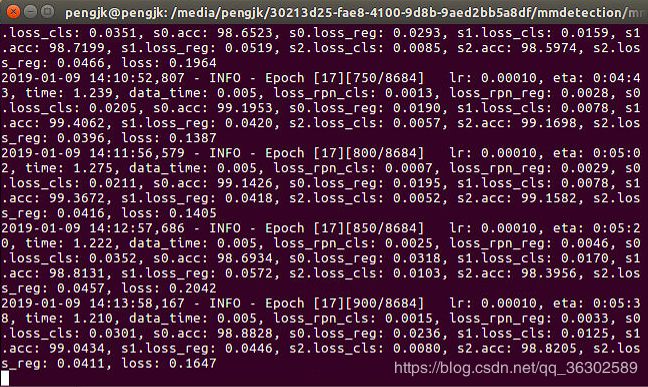
epoch后面的8684是总图片的数量 ,可是我明明放进去了69000+的图片,为什么会有这样的结果呢?
mmdetection默认一张gpu训练2张图片,而我开启了4个gps,所以一个batch的大小是2*4=8 所以一共8684个batch。
模型train完后测试:
如果你在训练的时候加入了--validate指令的话,在每个epoch结束的时候会进行val数据集的一次评估,对于test数据集的评估需要执行下面的指令。
python tools/test.py configs/cascade_rcnn_r101_fpn_1x.py ../work_dirs/cascade_rcnn_r101_fpn_1x/epoch_16.pth --gpus 4 --out ./result/result_16.pkl --eval bbox --show官方给出的参数有
To perform evaluation after testing, add --eval . Supported types are: [proposal_fast, proposal, bbox, segm, keypoints]. proposal_fast denotes evaluating proposal recalls with our own implementation, others denote evaluating the corresponding metric with the official coco api.
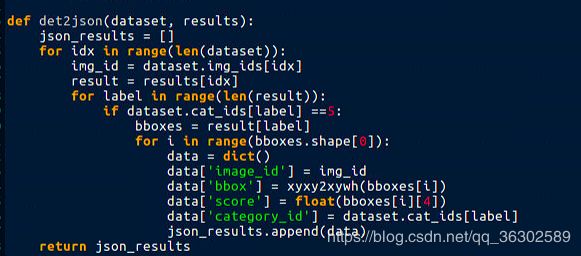
我没有跟分割有关的所以就评估bbox ,这里还有一个改动,我只想要某一类的AP而coco默认AP即mAP,所以有一个改动的小tricks:
修改coco_utils.py的det2json文件:
if后面的id改成你的category id。我的是飞机 也就是5 如果你是在conda环境下的话,要在这个路径下面修改:
anaconda3/envs/mmdetection/lib/python3.6/site-packages/mmdet-0.5.5+1b9f9b8-py3.6.egg/mmdet/core/evaluation然后输入test命令,得到的就是飞机类的AP啦。贴一张效果图:
可以看出ap还是不错的


