Quartz 2D。是 iOS 和 Mac OS X 环境下的2D绘图引擎。Quartz 2D 也被称为 Core Graphics,缩写前缀为CG,Quartz 2D 与 Quartz Compositor 统称为 Quartz,Quartz 原本是 Mac OS X 的 Darwin 核心之上的绘图技术。它的 API 接口都是基于 C 的。
1.绘制原理
摆事实,讲道理。在 iOS 中,所有的绘制都离不开 UIView ,绘制都发生在 UIView 对象区域内。在绘制发生的时候,如果是使用的系统提供的视图,则绘制工作会自动发生。若不是,则我们需要重写 drawRect: 方法,在此方法中提供相应的绘制代码。
2.绘制周期
通常我们会设置一个标志,在每一轮的事件中扫描标志,看是否需要重新绘制,如果需要我们则调用 drawRect: 方法进行绘制。于是我们除了 drawRect: ,还有 setNeedsDisplay 和 setNeedsDisplayInRect: 方法供我们使用。他们分别的作用如下:
setNeedsDisplay:设置整个视图重新绘制。
setNeedsDisplayInRect::设置部分区域的视图重新绘制。
3.绘制 - Quartz 图形上下文
Quartz 图形上下文是包含绘制系统执行后,绘制命令所需要的信息,定义了各种基本的绘制参数,比如绘制使用的颜色、裁剪区域、线段的宽度及风格信息、文体信息、合成选项以及几个其他信息。
在调用 drawRect: 方法之前,视图对象会自动配置其绘制环境使代码能够立即执行进行绘制。作为这些配置的一部分,UIView 对象会为当前绘制环境创建一个图形上下文(对应于 CGContextRef 封装类型)。我们可以在 drawRect: 方法中通过 UIGraphicsGetCurrentContext()来获取和访问图形上下问对象,再对当前的图形进行定制的绘制。
4.绘制 - 具体实现
4.1 绘制一条直线
#import "BJView.h"

@implementation BJView

- (void)drawRect:(CGRect)rect {

    //获取图形上下文
    CGContextRef context = UIGraphicsGetCurrentContext();

    //设置线条颜色
    CGContextSetRGBStrokeColor(context, 1, 0, 0, 1);

    //设置线条宽度
    CGContextSetLineWidth(context, 2.f);

    //设置线条起点和终点的样式
    CGContextSetLineCap(context, kCGLineCapRound);

    //设置线条的转角的样式
    CGContextSetLineJoin(context, kCGLineJoinRound);


    // 绘制线方式 1
    //    CGContextMoveToPoint(context, 100, 120);
    //    CGContextAddLineToPoint(context, 150, 120);

    // 绘制线方式 2
    CGPoint apoint[2];
    apoint[0] = CGPointMake(100, 120);
    apoint[1] = CGPointMake(150, 120);
    CGContextAddLines(context, apoint, 2);

    //是否闭合路径
    //    CGContextClosePath(context);

    CGContextDrawPath(context, kCGPathFillStroke);
}

@end
效果:
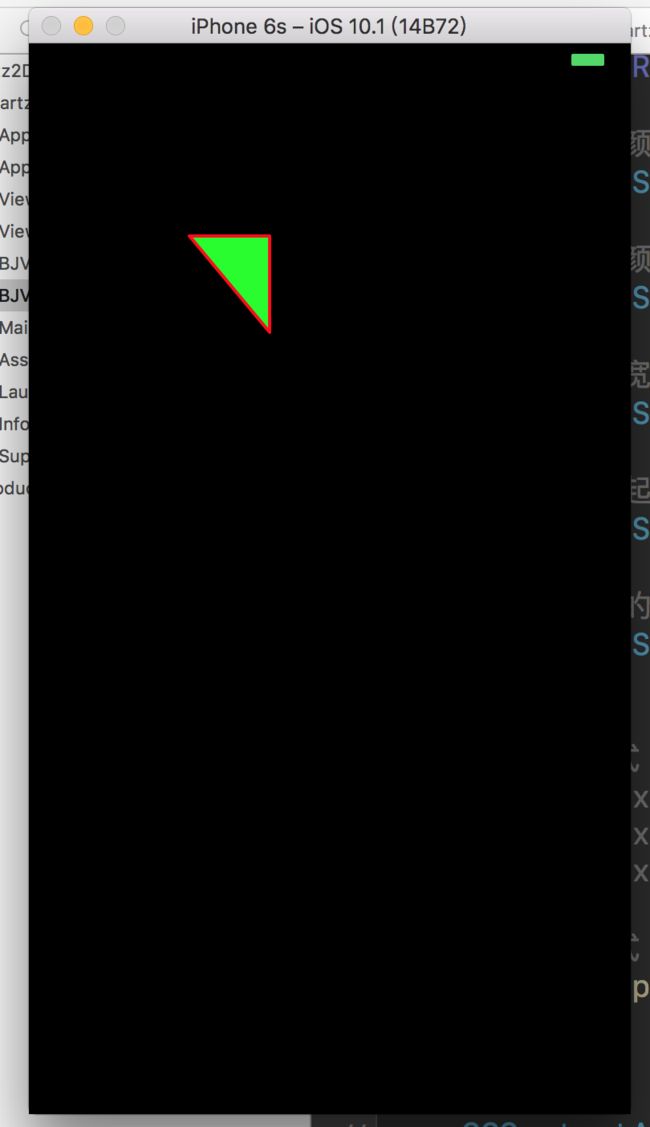
4.2 绘制一条折线(闭合且填充内容,相当于三角形)
#import "BJView.h"

@implementation BJView

- (void)drawRect:(CGRect)rect {

    //获取图形上下文
    CGContextRef context = UIGraphicsGetCurrentContext();

    //设置边框颜色
    CGContextSetRGBStrokeColor(context, 1, 0, 0, 1);

    //设置填充颜色
    CGContextSetRGBFillColor(context, 0, 1, 0, 1);

    //设置线条宽度
    CGContextSetLineWidth(context, 2.f);

    //设置线条起点和终点的样式
    CGContextSetLineCap(context, kCGLineCapRound);

    //设置线条的转角的样式
    CGContextSetLineJoin(context, kCGLineJoinRound);


    // 绘制线方式 1
    //    CGContextMoveToPoint(context, 100, 120);
    //    CGContextAddLineToPoint(context, 150, 120);
    //    CGContextAddLineToPoint(context, 150, 180);

    // 绘制线方式 2
    CGPoint apoint[3];
    apoint[0] = CGPointMake(100, 120);
    apoint[1] = CGPointMake(150, 120);
    apoint[2] = CGPointMake(150, 180);
    CGContextAddLines(context, apoint, 3);

    //闭合路径
    CGContextClosePath(context);

    CGContextDrawPath(context, kCGPathFillStroke);
}

@end
效果:
4.3 绘制一个矩形
#import "BJView.h"

@implementation BJView

- (void)drawRect:(CGRect)rect {

    //获取图形上下文
    CGContextRef context = UIGraphicsGetCurrentContext();

    //设置边框颜色
    CGContextSetRGBStrokeColor(context, 1, 0, 0, 1);

    //设置填充颜色
    CGContextSetRGBFillColor(context, 0, 1, 0, 1);

    //设置线条宽度
    CGContextSetLineWidth(context, 2.f);

    //设置线条起点和终点的样式
    //    CGContextSetLineCap(context, kCGLineCapRound);

    //设置线条的转角的样式
    CGContextSetLineJoin(context, kCGLineJoinRound);

    // 通过绘制线的方式 1
    //    CGContextMoveToPoint(context, 100, 100);
    //    CGContextAddLineToPoint(context, 150, 100);
    //    CGContextAddLineToPoint(context, 150, 150);
    //    CGContextAddLineToPoint(context, 100, 150);

    // 通过绘制线的方式 2
    //    CGPoint apoint[4];
    //    apoint[0] = CGPointMake(100, 100);
    //    apoint[1] = CGPointMake(150, 100);
    //    apoint[2] = CGPointMake(150, 150);
    //    apoint[3] = CGPointMake(100, 150);
    //    CGContextAddLines(context, apoint, 4);

    // 绘制矩形方法
    CGContextAddRect(context, CGRectMake(100, 100, 50, 50));

    //闭合路径
    //    CGContextClosePath(context);

    CGContextDrawPath(context, kCGPathFillStroke);
}

@end
效果:
4.4 绘制一个圆(椭圆的特殊形态)
#import "BJView.h"

@implementation BJView

- (void)drawRect:(CGRect)rect {

    //获取图形上下文
    CGContextRef context = UIGraphicsGetCurrentContext();

    //设置边框颜色
    CGContextSetRGBStrokeColor(context, 1, 0, 0, 1);

    //设置填充颜色
    CGContextSetRGBFillColor(context, 0, 1, 0, 1);

    //设置线条宽度
    CGContextSetLineWidth(context, 2.f);

    //设置线条起点和终点的样式
    //    CGContextSetLineCap(context, kCGLineCapRound);

    //设置线条的转角的样式
    //    CGContextSetLineJoin(context, kCGLineJoinRound);

    // 绘制圆方法(其实所绘制的圆为所绘制用的Rect的矩形的内切圆,当宽度等于高度时,即为正圆)
    CGContextAddEllipseInRect(context, CGRectMake(100, 100, 200, 100));

    //闭合路径
    //    CGContextClosePath(context);

    CGContextDrawPath(context, kCGPathFillStroke);
}

@end
效果:
4.5 绘制一段圆弧(闭合且填充内容,相当于扇形)
#import "BJView.h"

#define arc(angle) ((angle)*(M_PI/180.0))

@implementation BJView

- (void)drawRect:(CGRect)rect {

    //获取图形上下文
    CGContextRef context = UIGraphicsGetCurrentContext();

    //设置边框颜色
    CGContextSetRGBStrokeColor(context, 1, 0, 0, 1);

    //设置填充颜色
    CGContextSetRGBFillColor(context, 0, 1, 0, 1);

    //设置线条宽度
    CGContextSetLineWidth(context, 2.f);

    //设置线条起点和终点的样式
    CGContextSetLineCap(context, kCGLineCapRound);

    //设置线条的转角的样式
    //    CGContextSetLineJoin(context, kCGLineJoinRound);

    // 绘制圆弧方法1 (参数由左至右分别是,图形上下文、圆心x、圆心y、半径、起始弧度、结束弧度、圆弧伸展的方向(0为顺时针,1为逆时针))
    CGContextAddArc(context, 150, 100, 100, arc(0), arc(160), 0);

    // 绘制圆弧方法2,由起始点、结束点分别与中间节点连线,同时以半径切过这两边则确定一段圆弧(不建议使用,因为理解不方便)
    // CGContextMoveToPoint(context, 100, 100);
    // CGContextAddArcToPoint(context, 150, 100, 150, 150, 50);

    //闭合路径
    CGContextClosePath(context);

    CGContextDrawPath(context, kCGPathFillStroke);
}

@end
效果:
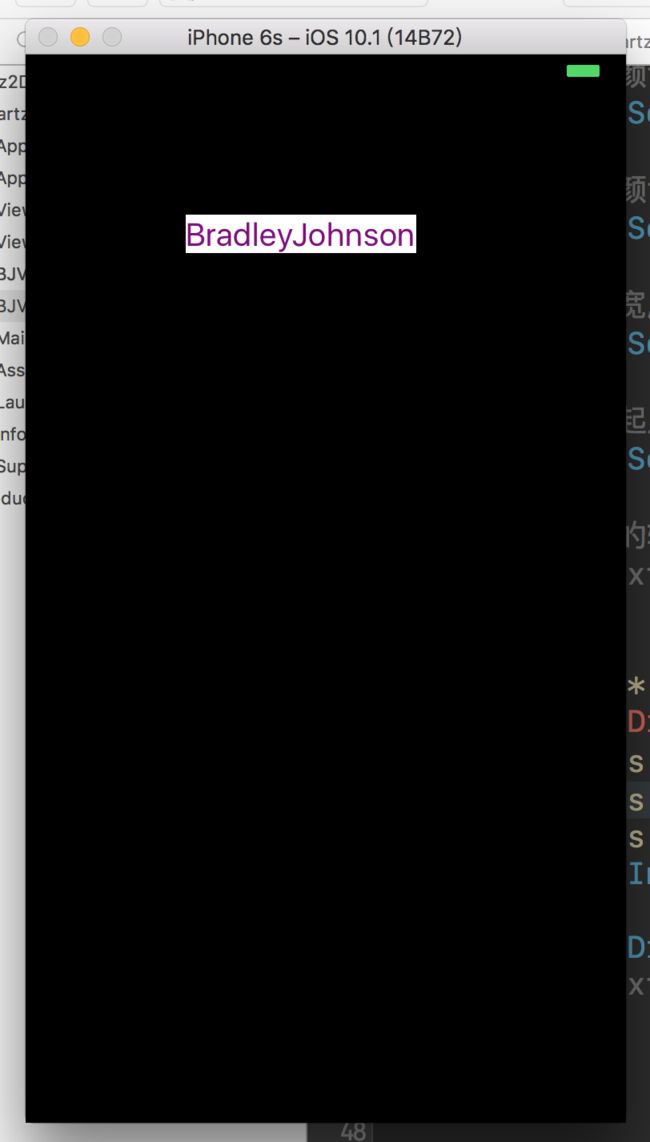
4.6 绘制一段文字
#import "BJView.h"

#define arc(angle) ((angle)*(M_PI/180.0))

@implementation BJView

- (void)drawRect:(CGRect)rect {

    NSString * str = @"BradleyJohnson";
    NSMutableDictionary * attributes = [NSMutableDictionary dictionary];
    attributes[NSFontAttributeName] = [UIFont systemFontOfSize:20];         attributes[NSForegroundColorAttributeName] = [UIColor purpleColor];
    attributes[NSBackgroundColorAttributeName] = [UIColor whiteColor];
    [str drawInRect:CGRectMake(100, 100, 200, 30) withAttributes:attributes];

}

@end
效果:
4.6 绘制一张图片
#import "BJView.h"

@implementation BJView

- (void)drawRect:(CGRect)rect {

    UIImage * img = [UIImage imageNamed:@"bradleyJohnson.jpg"];

    // 在指定的范围内绘制图片,有可能引起图片拉伸
    [img drawInRect:rect];
}

@end
效果:
5.绘制 - 贝塞尔曲线绘制
贝塞尔曲线,使用UIBezierPath类可以创建基于矢量的路径,这个类在UIKit中。它基本可以实现我们上面利用图形上下文做到的功能。
例如:
#import "BJView.h"

@implementation BJView

- (void)drawRect:(CGRect)rect {

    [[UIColor redColor] setStroke];

    UIBezierPath * path = [UIBezierPath bezierPath];
    path.lineWidth = 2.0;
    path.lineCapStyle = kCGLineCapRound;
    path.lineJoinStyle = kCGLineJoinBevel;

    [path moveToPoint:CGPointMake(10, 20)];
    [path addLineToPoint:CGPointMake(50, 20)];

    [path closePath];

    [path stroke];
}

@end
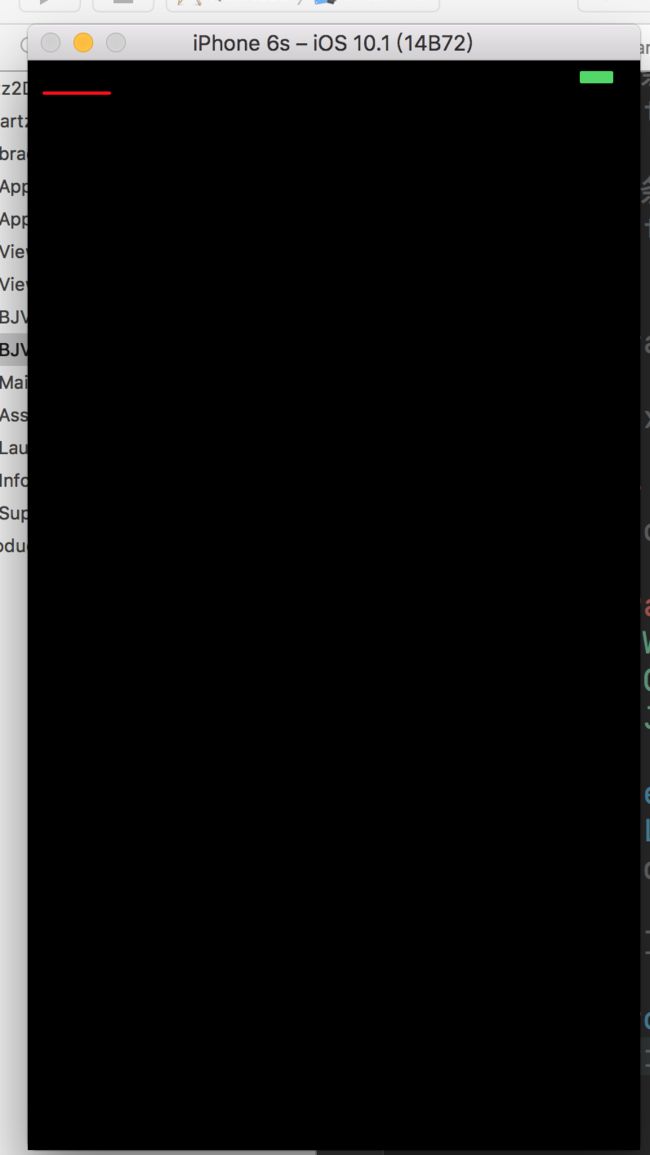
这就可以轻易的绘制出一条直线,效果如图:
同样的,我们也可以轻易的绘制出三角形、矩形、椭圆(圆)、圆弧如下:
#import "BJView.h"
#define arc(angle) ((angle)*(M_PI/180.0))

@implementation BJView

- (void)drawRect:(CGRect)rect {

    /* 三角形 */
    [[UIColor redColor] setStroke];

    UIBezierPath * path = [UIBezierPath bezierPath];
    path.lineWidth = 2.0;
    path.lineCapStyle = kCGLineCapRound;
    path.lineJoinStyle = kCGLineJoinBevel;

    [path moveToPoint:CGPointMake(10, 20)];
    [path addLineToPoint:CGPointMake(50, 20)];
    [path addLineToPoint:CGPointMake(50, 60)];

    [path closePath];

    [path stroke];

    /* 圆弧 */
    [[UIColor redColor] setStroke];

    UIBezierPath *path = [UIBezierPath bezierPathWithArcCenter:CGPointMake(100,100) radius:100 startAngle:0 endAngle:arc(135) clockwise:YES];

    [path stroke];

    /* 矩形 */
    [[UIColor redColor] setStroke];

    UIBezierPath *path = [UIBezierPath bezierPathWithRect:CGRectMake(20, 20, 100, 100)];

    [path stroke];

    /* 椭圆(圆) */
    [[UIColor redColor] setStroke];

    UIBezierPath *path = [UIBezierPath bezierPathWithOvalInRect:CGRectMake(20, 20, 100, 100)];

    [path stroke];
}

@end
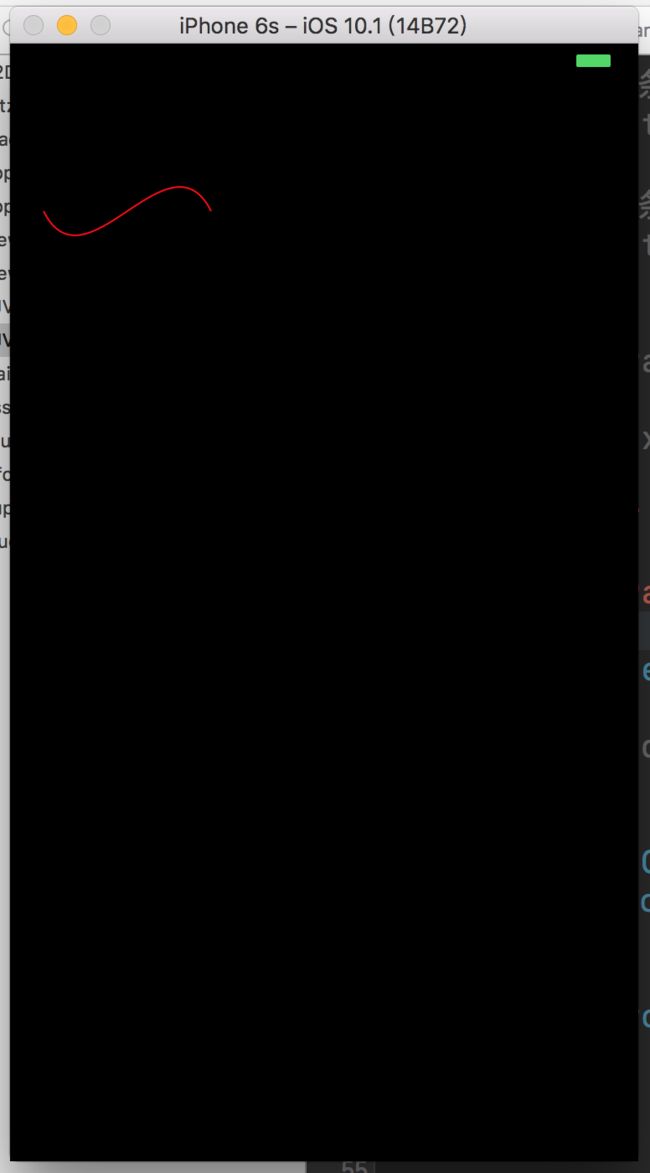
当然最经典的就是,我们可以绘制二次和三次的贝塞尔曲线:
#import "BJView.h"

@implementation BJView

- (void)drawRect:(CGRect)rect {

    [[UIColor redColor] setStroke];

    UIBezierPath *path = [UIBezierPath bezierPath];

    [path moveToPoint:CGPointMake(20, 100)];

    // 绘制二次贝塞尔曲线
    //    [path addQuadCurveToPoint:CGPointMake(120, 100) controlPoint:CGPointMake(70, 150)];

    // 绘制三次贝塞尔曲线
    [path addCurveToPoint:CGPointMake(120, 100) controlPoint1:CGPointMake(45, 150) controlPoint2:CGPointMake(95, 50)];


    [path stroke];
}

@end
效果如下:
如果你想要看到源码,可以到我的github上下载使用:Demo。
如果你喜欢我的文章,请不要吝啬你的喜欢和关注,这是我的个人博客.


