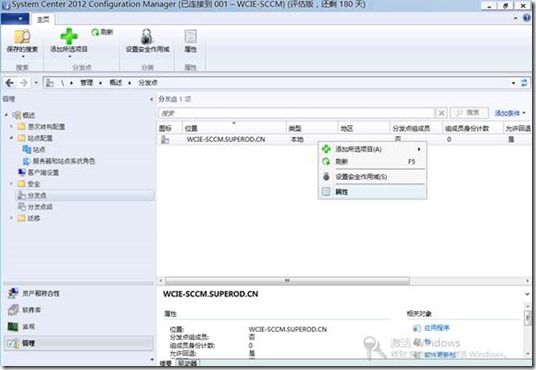
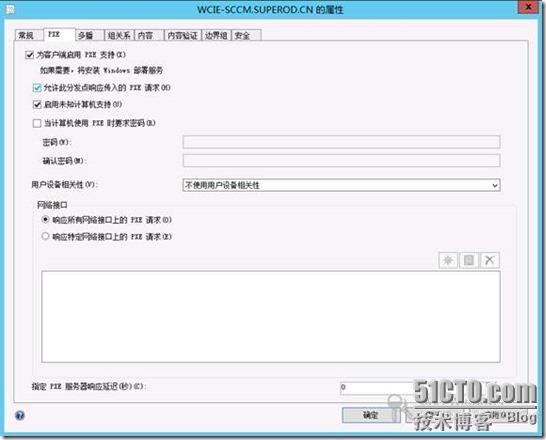
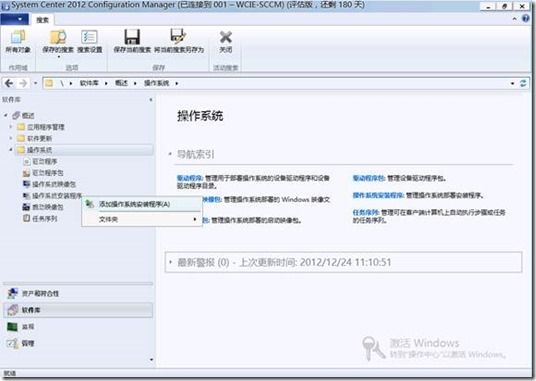
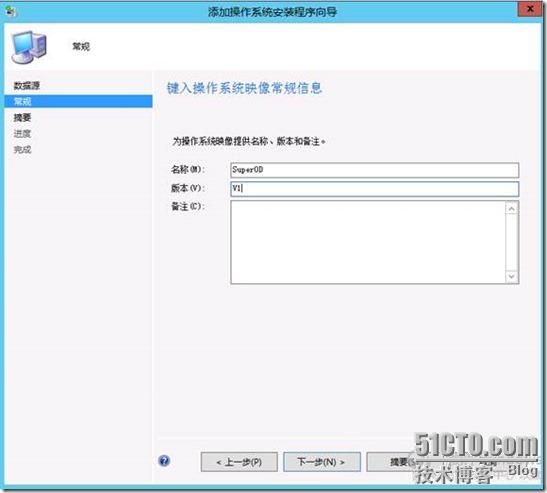
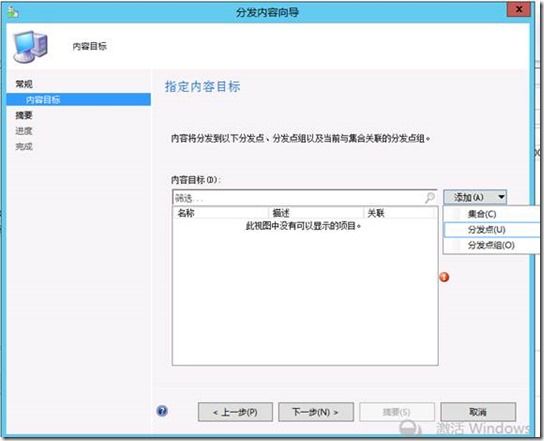
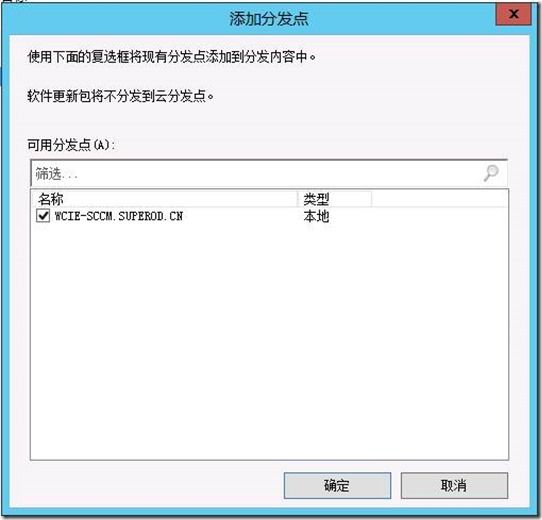
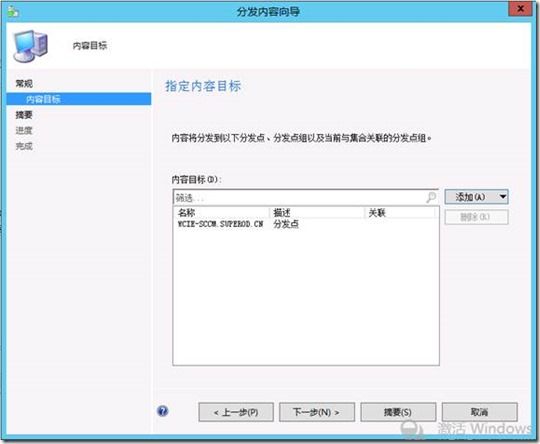
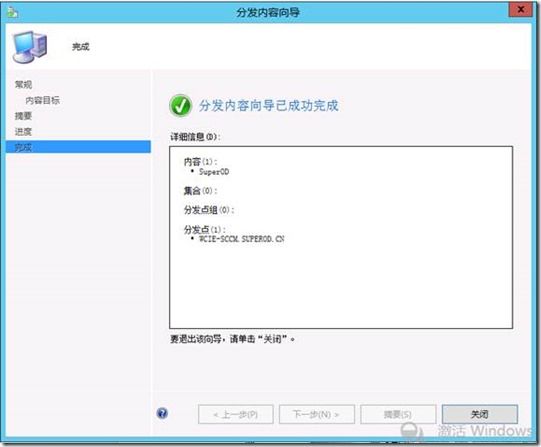
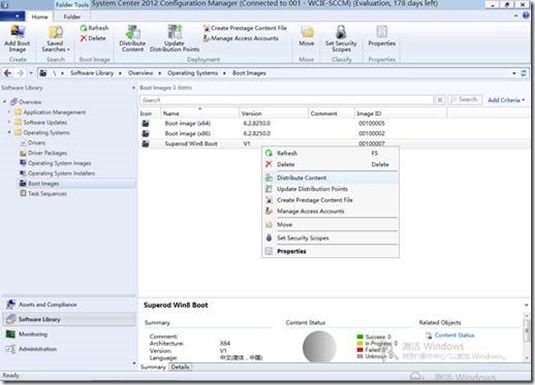
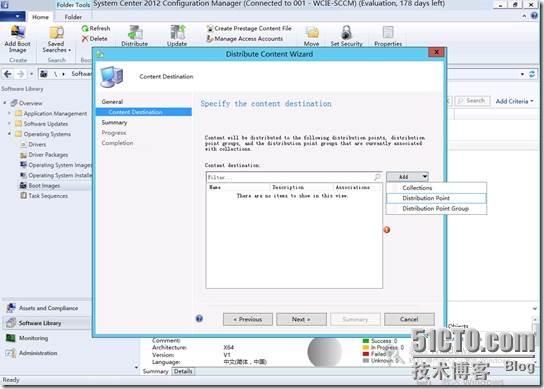
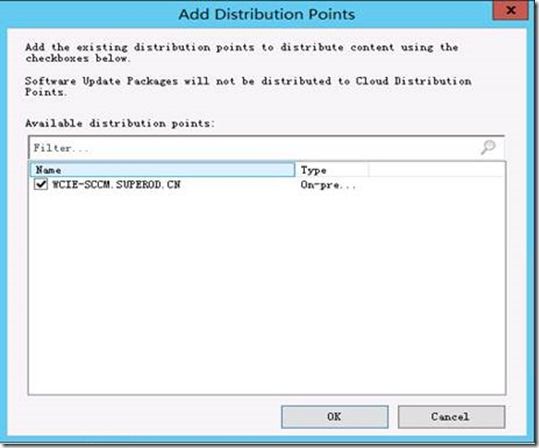
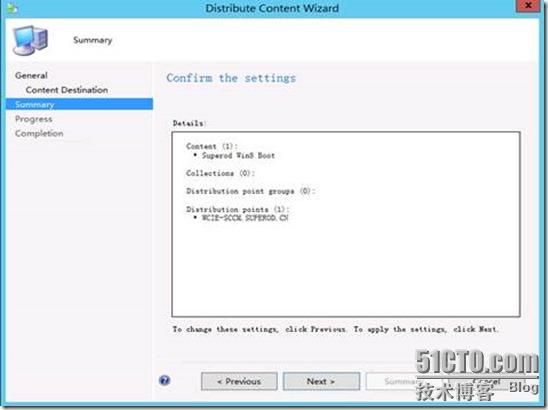
SCCM操作系统部署是一个很重要的功能,我们可以利用SCCM为企业做零接触部署,这篇文章介绍如何利用SCCM做系统部署分发的。 1. 在SCCM控制台,Administration--点击Distribution Points--右键其下的WCIE-SCCM.SUPEROD.CN--点击Properties 2. 勾选 Enable PXE support for clients ,Allow this distribution point to respond to incoming PXE requests , Enable unknown computer support ,不勾选Require a password when computers use PXE ,出现提示点击是,勾选结束后点击OK 3. Software Libraryè展开Operating System--右键Operating System Installers--点击Add Operating System Installer 4. 在Path 下输入 \\WCIE-SCCM\ OSD\Sources\Windows8 点击 Next 5. 输入相关信息如 Name: Superod ,Version: V1 ;点击Next 6. 点击Next 7. 点击OK 8. 右键新建的项 选择Distribute Content 9. 点击Next 10. 点击Add --选择Distribution Point 11. 勾选创建的Distribution Point点击OK 12. 点击Next 13. 点击Next 14. 完成好后,点击Close 15. Software Libraryè展开Operating Systemè右键Boot Imagesè点击Add Boot Image 16. Path 输入 \\WCIE-SCCM\OSD\Boot\Boot.wim ,点击Next 17. 输入相关信息如:Name : Superod Win8 Boot ,Veresion: V1 ,点击Next 18. 点击Next 19. 成功后点击Close 20. 右键创建好的项,点击Properties 21. 点击Customization 选项卡,勾选 Enable command support(testing only) 22. 点击Data Source 选项卡,勾选Deploy this boot p_w_picpath from the PXE-enabled distribution point ,点击Ok,(出现提示点击是) 23. 点击Next 24. 完成后点击Close 25. 右键创建的项 点击Distribute Content 26. 点击Next 27. 点击Add èDistribution Point 28. 勾选 创建的 Distribution Points 点击OK 29. 添加好后点击Next 30. 点击Next 31. 完成后点击Close 32. Software Library--展开Application Management--右键Packages--点击Create Package from Definition 33. 选择Configuration Manager Client Upgrade点击Nex 34. 点击Always obtain source files from a source folder ,点击Next 35. 选择Network path 并输入\\WCIE-SCCM\SMS_001\Client 点击Next 36. 点击Next 37. 完成后点击Close 38. 右键创建的项 并点击 Distribute Content 39. 点击Next 40. 同样添加Distribution Point ,点击Add 选择Distribution Point 41. 勾选创建的Distribution Point 点击Ok 42. 点击Next 43. 点击 Next 44. 完成后点击Close 45. Software Library--展开Operating System--右键Operating System Images--点击Add Operating System Image 46. 在Path 输入 \\WCIE-SCCM\OSD\Image\Install.wim 点击Next 47. 输入相关信息,点击Next 48. 点击Next 49. 完成后点击Close 50. 右键创建的项 并点击 Distribute Content 51. 点击Next 52. 点击Add 并选择 Distribute Point 53. 勾选创建的Distribution Points 54. 添加好后点击Next 55. 56. 完成后点击Close 57. Software Libraryè展开Operating Systemè右键Task Sequencesè点击Create Task Sequences 58. 选择Insall an existiong p_w_picpath package 59. 输入 Task sequence name: SuperOD OS 并点击Browse 60. 选择创建好的Boot p_w_picpath :Superod Win8 Boot ,选择后点击OK 61. 返回后点击Next 62. 点击Browse 63. 选择创建好的Operating System Image ,点击Ok 64. 返回后勾选并设置相关配置点击Next(如下图) 65. 根据要求设置信息(如下)点击Next 66. 点击Browse 67. 选择创建好的Microsoft Configuration Manager Client upgrade 5.0 All 并点击OK 68. 点击Next 69. 此处不勾选任何项,点击Next 70. 选择Do not install any software updates,点击Next 71. 默认点击Next 72. 点击Next 73. 完成后点击Close 74. 右键创建好的Task Sequence ,点击Deploy 75. 点击 Collection 后的Browse 76. 选择Collection 如:All Systems 并OK 77. 返回后点击Next 78. 设置Purpose:Available ;Make available to the following : Conifguration Manager clients, media and PXE 79. 默认不设置,点击Next 80. 默认(如下图),点击Next 81. 默认,点击Next 82. 默认,点击Next 83. 点击Next 84. 完成后,点击Close |
