Migrate不生成表
makemigrations 和 migrate ,新加的这两个实体无法生成表。
1, 删除school下面的migrations文件夹
2, 执行makemigrations school和 migrate school发现没有生成表
3,打开migrations文件夹中的0001_initial.py,删除 Student/StudentGoods模块代码
4, 再次执行第二步,表就生成了
Django权限认证
笔记:该认证方式为数据库中新建一张表,生成一个Token与User关联,访问需认证的接口时提供这个Token,DRF会根据Token直接找到对应的用户。这种认证有很大的缺点,就是Token永不过期,因此仅作学习,实际不建议使用。
settiong中的默认值只有在 设置了permission_classes并且没设置authentication_classes 时才生效,正常情况下很多接口无需Token,因此一般不默认Token
REST_FRAMEWORK = {
'DEFAULT_AUTHENTICATION_CLASSES': (
#'rest_framework.authentication.TokenAuthentication',
'rest_framework.authentication.BasicAuthentication',
'rest_framework.authentication.SessionAuthentication',
)
}
@api_view(['GET']) @authentication_classes((SessionAuthentication, BasicAuthentication)) @permission_classes((IsAuthenticated,)) defexample_view(request, format=None):
class ExampleView(APIView):authentication_classes = (SessionAuthentication, BasicAuthentication)permission_classes = (IsAuthenticated,) def get(self,request, format=None):
BasicAuthentication
使用HTTP基本认证,针对用户的用户名和密码进行认证。基本认证通常只适用于测试
TokenAuthentication
INSTALLED_APPS = ( ... 'rest_framework.authtoken' )
需要在数据库中建表,执行migrate
获取用户Token
fromrest_framework.authtoken.viewsimport obtain_auth_token
#drf自带的token认证模式
path(r'api-token-auth/',obtain_auth_token),
http://127.0.0.1:8000/api-token-auth/
经过实验,即使库里不预先生成Token,调用该方法时会自动生成Token入库并返回
调整一个接口用来实验
class UserViewSet(viewsets.ModelViewSet):
#只使用TokenAuthentication 的时候,用网页版测试时,始终无法登陆(登陆成功也显示未登录),因为登陆的状态未保存,需添加SessionAuthentication
# authentication_classes =(authentication.TokenAuthentication,)
authentication_classes =(authentication.SessionAuthentication, authentication.TokenAuthentication,)
permission_classes =(permissions.IsAdminUser,)
#authentication_classes =(authentication.SessionAuthentication, authentication.BasicAuthentication)
#permission_classes =(permissions.IsAuthenticated,)
queryset = User.objects.all().order_by('-date_joined')
serializer_class = UserSerializer
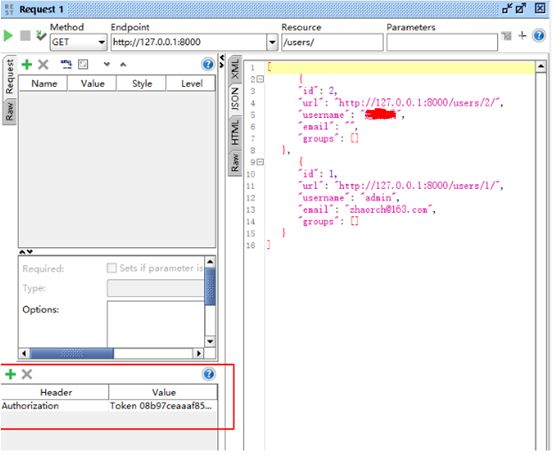
Header中加入Token Authorization: Token 9944b09199c62bcf9418ad846dd0e4bbdfc6ee4b
令牌错误则:
JWT权限认证
pip installdjangorestframework-jwt
Settings设置
url设置
from rest_framework_jwt.views import obtain_jwt_token
创建Serializer以及UserViewSet
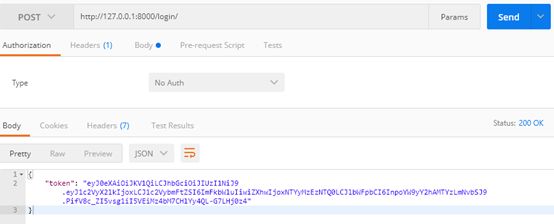
PostMan测试一下可以返回Token
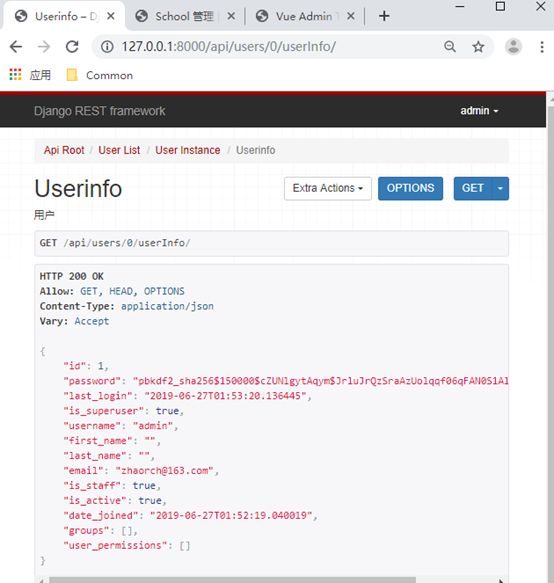
获取当前登陆用户信息
http://127.0.0.1:8000/api/users/0/userInfo/
创建用户后直接返回JWT token
from rest_framework_jwt.serializers
import jwt_encode_handler, jwt_payload_handler
class UserViewSet(CreateModelMixin,
RetrieveModelMixin,UpdateModelMixin,viewsets.GenericViewSet):
# 重写create方法
def create(self, request, *args, **kwargs):
serializer = self.get_serializer(data=request.data)
serializer.is_valid(raise_exception=True)
user = self.perform_create(serializer)
# 在新建用户保存到数据库之后
tmp_dict = serializer.data
# 生成JWT Token
payload = jwt_payload_handler(user)
tmp_dict['token'] = jwt_encode_handler(payload)
headers = self.get_success_headers(serializer.data)
return Response(tmp_dict, status=status.HTTP_201_CREATED,headers=headers)
def perform_create(self, serializer):
return serializer.save()
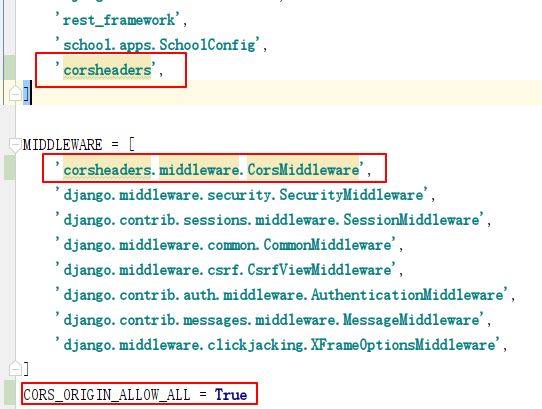
设置跨域访问
对于前后端分离的系统来讲,此时依然无法跨域访问
pip installdjango-cors-headers
登陆成功
Windows使用Redis缓存
安装drf-extensions
pip install drf-extensions
在上一章的分页功能已经安装过
Settings 中设置参数
首先测试一下目前的,未加缓存,根据日志可以看出,每调用一次接口,均会进行数控查询操作。
修改View
根据日志可以看出,本次的4次查询,仅第一次进行了Grades的数据访问
下载Redis windows版https://github.com/MicrosoftArchive/redis/tags
安装后可将redis添加到环境变量
查看windows服务
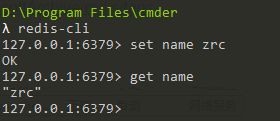
测试Redis
项目中配置Redis
安装django_redis
pip install django-redis
Settings 配置文件
Linux使用Redis缓存
下载
wget http://download.redis.io/releases/redis-5.0.5.tar.gz
解压安装
tar xzf redis-5.0.5.tar.gzcd redis-5.0.5 makemake install
安装后路径
/usr/local/bin/redis-server
启动:
redis-server
测试
redis-cli
AB压力测试
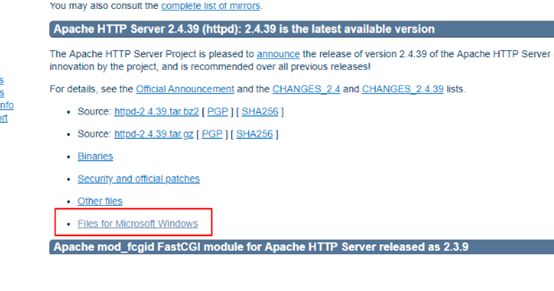
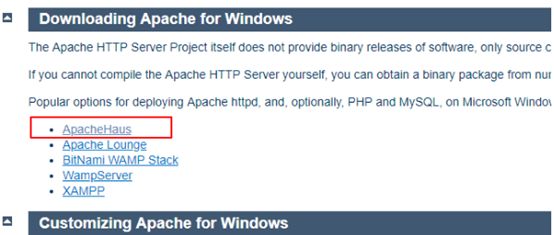
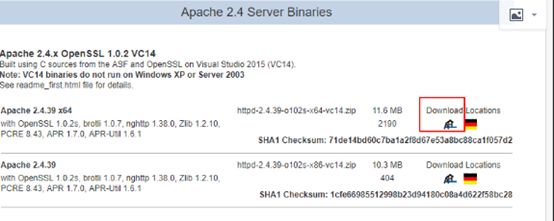
http://httpd.apache.org/download.cgi
D:\Program Files\Apache24\bin 加到环境变量
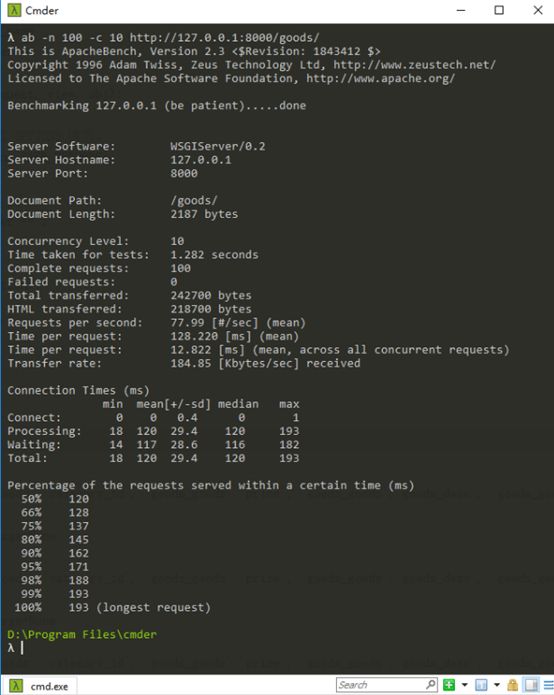
ab -n 100 -c 10 http://127.0.0.1:8000/goods/
ab -n 100 -c 10 http://192.168.74.128:8014/goods/
开启缓存后测试如下
基于方法的APIView
request 获取参数
http://127.0.0.1:8000/hello/?a=ZRC&c=233
fromrest_framework.decoratorsimport api_view
fromrest_framework.responseimport Response
@api_view(http_method_names=['GET','POST'])
def hello_world(request):
if request.method =='GET':
a =request.query_params.get('a','Default Name')
c = request.query_params.get('c',123)
return Response({"message":"Hello {0}! From Get".format(a)})
else:
a = request.data.get('a','Default Name')
return Response({"message":"Hello {0}! From Post".format(a)})
path('hello/', views.hello_world),
read_only和write_only
read_only=True表示只能读,不能进行修改。例如定义序列化器时,id字段通常指定read_only=True。在序列化时,即对象转为字典、JSON字符串时,字典、JSON字符串包含着id字段。但是反序列化时,即JSON字符串、字典转换为对象时,在参数校验的时候,即使字典有id的键值对,校验不会出错,但是校验后的数据不会有id这个字段,所以id也不会存进数据库。不存在validate_data里
write_only=True表示只能写,不能读。例如定义序列化器时,password字段(还有短信验证码等)通常指定write_only=True。在序列化时,即对象转为字典、JSON字符串时,字典、JSON字符串不会包含着字段。但是反序列化时,即JSON字符串、字典转换为对象时,在参数校验的时候,校验通过,而且校验后的数据有password这个字段,并且能存进数据库。存在validate_data里
Read_only = True :只读,返回给客户端,但是返回来的时候validate_data中会舍弃id属性。Id的默认属性就是read_only=True
Read_only = False:返回给客户端,也会返回来,且会出现在validate_data中
Write_only = True:不会返回给客户端,因此也无法修改
Write_only = Flase: 返回给客户端,也会返回来,且会出现在validate_data中
Require=False:新建goods的时候验证的时候如果不加上这个参数则会抛异常:id必须出现
生成doc及测试接口
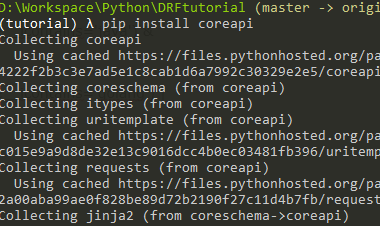
pip install coreapi
配置URL即可
http://127.0.0.1:8000/docs/
可直接进行测试接口
Python常用命令
pip install virtualenv
pip install virtualenvwrapper-win
mkvirtualenv testvir 新建环境
rmvirtualenv testvir 删除环境
workon 显示虚拟环境列表
workon tutorial 进入环境
deactivate 退出环境
pip freeze >requirements.txt
pip install -r requirements.txt
收集静态资源
python manage.py collectstatic
uwsgi 相关命令
uwsgi --ini uwsgi.ini
uwsgi --reload uwsgi.pid
uwsgi --stop uwsgi.pid
uwsgi --connect-and-read uwsgi.status
动态查看日志tail -f uwsgi.log
uwsgi --http :8888 --module MyProject.wsgi 启动项目,测试的时候使用,此后用nginx启动
nginx 相关命令
启动服务:nginx
退出服务:nginx -s quit
强制关闭服务:nginx -s stop
重启服务:nginx -s reload
验证配置文件:nginx -t
使用配置文件:nginx -c "配置文件路径"
使用帮助:nginx -h
LINUX 下运行
启动
iptables-I INPUT -p tcp --dport 8014 -j ACCEPT
redis-server
uwsgi --ini uwsgi.ini # 当文件发生修改时需要执行
nginx
http://192.168.74.128:8014
更新文件 重启
uwsgi --reload uwsgi.pid
nginx -s reload
退出
uwsgi --stop uwsgi.pid
nginx -s quit
不使用nginx启动
python3 manage.py runserver 0.0.0.0:8014
AB压力测试
ab -n 100 -c 10 http://192.168.74.128:8014/goods/
第一章 DRF概述
第二章 DRF安装与项目创建
第三章 DRF之View进化论
第四章 DRF之Router 和 Serializer
第五章 DRF权限分页查询排序访问限制
第六章 DRF Linux部署
第七章 DRF其他知识


