1.配置yum工具
[root@localhost ~]# vim /etc/yum.repos.d/rhel-debuginfo.repo
[rhel-server]
name=Red Hat Enterprise Linux serverbaseurl=file:///mnt/cdrom/Server
enabled=1
gpgcheck=1
gpgkey=file:///mnt/cdrom/RPM-GPG-KEY-redhat-release
2.新建挂载点,挂在光盘
[root@localhost ~]# mkdir /mnt/cdrom
[root@localhost ~]# mount /dev/cdrom /mnt/cdrom
3.安装postfix软件
[root@localhost Server]# yum install postfix -y
4.关闭sendmail 或者卸载
[root@localhost Server]# service sendmail stop
关闭 sm-client: [确定]
关闭 sendmail: [确定]
5.启动postfix,查看端口号,监听在127.0.0.1 的25 号端口上
[root@localhost Server]# service postfix start
启动 postfix: [确定]
[root@localhost Server]# netstat -tupln |grep 25
tcp 0 0 127.0.0.1:25 0.0.0.0:* LISTEN 2168/master
6.修改本地主机名
[root@localhost ~]# vim /etc/sysconfig/network
NETWORKING=yes
NETWORKING_IPV6=no
HOSTNAME=mail.sina.com
[root@localhost ~]# vim /etc/hosts
127.0.0.1 localhost.localdomain localhost
::1 localhost6.localdomain6 localhost6
临时设定主机名
[root@localhost ~]# hostname mail.sina.com
7.新建账户user1 user2
[root@localhost ~]# useradd user1
[root@localhost ~]# useradd user2
[root@localhost ~]# passwd user1
[root@localhost ~]# passwd user2
8.登录到本地邮件服务器,user1向user2 发送信件
[root@localhost ~]# telnet 127.0.0.1 25
EHLO 127.0.0.1
mail from:[email protected]
rcpt to:[email protected]
data
sssssss
.
250 2.0.0 Ok: queued as 9A80B1DAE5B
9.查看邮件日志记录,邮件被延迟发送,说是主机名或者域名不对。
10.换一种方式发送
[root@localhost ~]# telnet 127.0.0.1 25
mail from:[email protected]
250 2.1.0 Ok
rcpt to:[email protected]
250 2.1.5 Ok
data
dsdsdsdsd
.
250 2.0.0 Ok: queued as 67B721DAE63
日志记录显示已发送
切换到user2 ,接收邮件
.接受者的主机名为[email protected] 时无法接受邮件,但是当改为[email protected]时,却可以接收邮件。此时应该修改postfix的配置文档。
11.修改postfix的配置文件main.cf
[root@mail ~]# cd /etc/postfix/
[root@mail postfix]# vim main.cf
myhostname = mail.sina.com 定义主机名
mydomain = sina.com 域名
myorigin = $myhostname 发信时,信件来为$myhostname的值,可做地址伪装
inet_interfaces = all 监听所有的请求,默认为localhost表示只能在邮件主机上才能寄信
mydestination = $myhostname, localhost.$mydomain, localhost, $mydomain 第10步骤定义哪些属于本地信件。当信件的目的地址为本地时,它才会接收邮件。
mynetworks = 192.168.101.0/24, 127.0.0.0/8 表示只有192.168.101.0/24, 127.0.0.0/8 网段的主机邮件客户端发来的信件才会接收闭关转发,其他网段拒绝
12.root账户可以修改/etc/aliases文件,设置别名,当有邮件向别名发送邮件时,自动向定义的其他用户发送邮件。但是普通用户不能修改该文件,权限不足
[root@mail postfix]# ll /etc/aliases
-rw-r--r-- 1 root root 1512 2005-04-26 /etc/aliases
但是普通用户可以通过在家目录下新建文件.forward文件,进行别名设置,可以达到同样的效果.当与人向自己user1 发送邮件时,同时向user2 和[email protected]发送一份
vim ~/.forward
user1
user2
13.重启postfix服务
root@mail postfix]# service postfix restart
关闭 postfix: [确定]
启动 postfix: [确定]
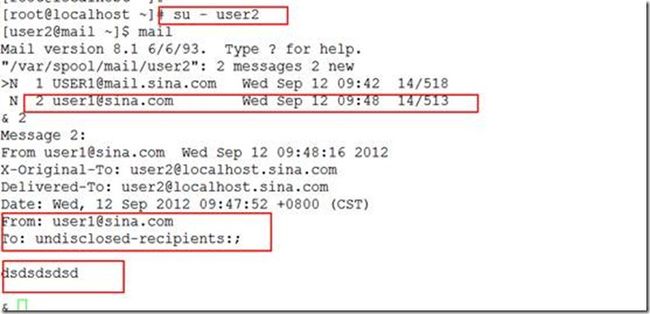
14.使用一个不存在的账户向[email protected] 发送邮件
15.切换到user2 接收邮件
可以看到,user2 收到了邮件
16.这样该邮件服务器容易成为垃圾中转站。所以要设置基于身份验证的发送。只有验证通过的账户才能发送邮件
查看postfix的手册,找到下面几句话
man 5 postconf
broken_sasl_auth_clients = yes
smtpd_sasl_auth_enable = yes
smtpd_sasl_security_options = noanonymous
#smtpd_sasl_application_name = smtpd
#smtpd_client_restrictions = permit_sasl_authenticated,reject 连接时控制
#smtpd_client_restrictions = permit_sasl_authenticated
smtpd_recipient_restrictions = permit_mynetworks,permit_sasl_authenticated,reject_unauth_destination 验证接收者
smtpd_sender_restrictions = permit_sasl_authenticated,reject 控制发送者,需要认证
smtpd_helo_restrictions = permit_sasl_authenticated,reject 发送hlo 时进行验证
17.编辑/etc/main.cf ,插入上面几句话
18.
重启postfix服务器,启动验证服务:
[root@mail ~]# service postfix restart
关闭 postfix: [确定]
启动 postfix: [确定]
[root@mail ~]# service saslauthd restart
停止 saslauthd: [确定]
启动 saslauthd: [确定]
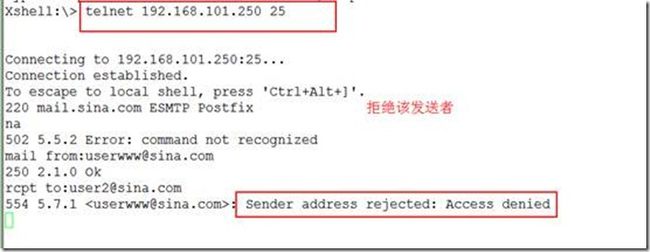
再次使用不存在的用户登录
19安装squirrelmail 使用网页来发送,接收邮件
[root@mail Server]# yum install squirrelmail
依赖的软件包
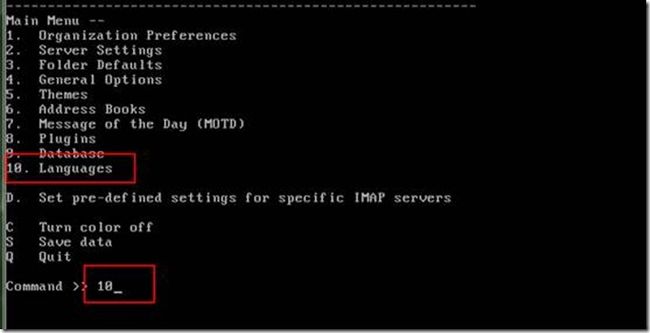
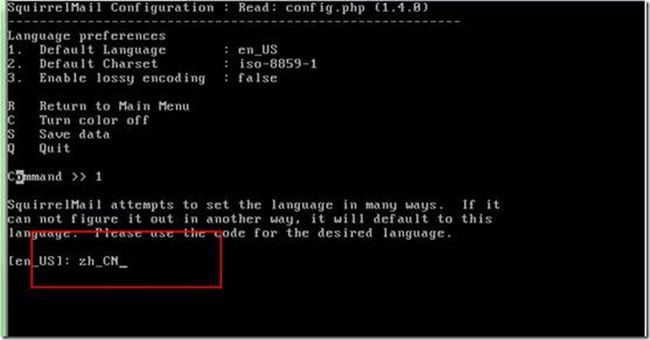
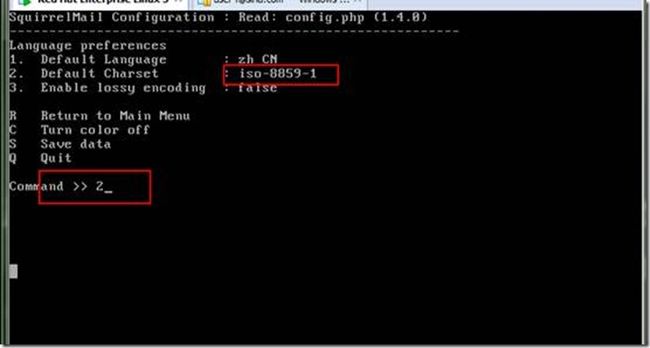
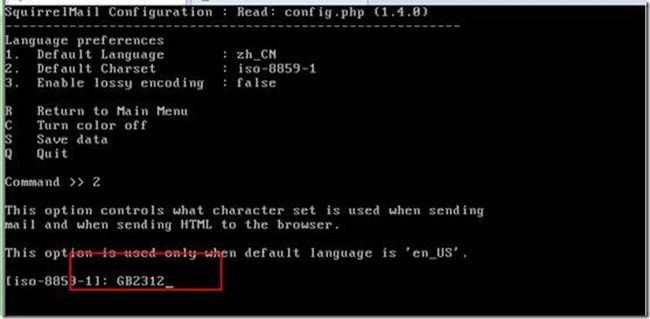
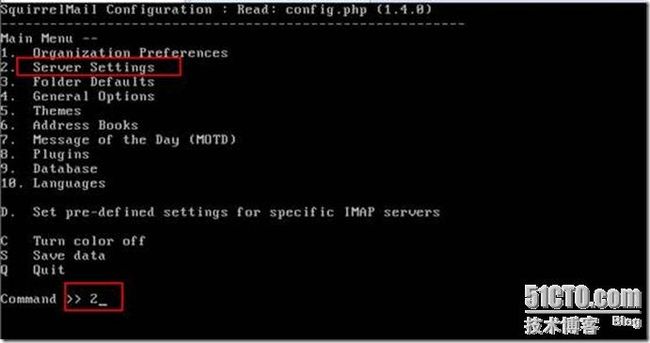
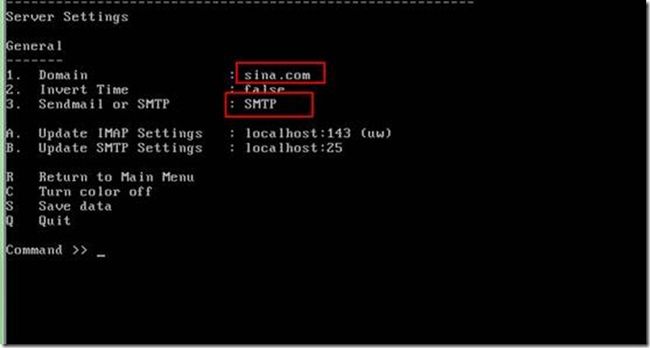
20.切换到[root@mail Server]# cd /usr/share/squirrelmail/config/ 下,执行conf.pl 脚本
[root@mail config]# ./conf.pl
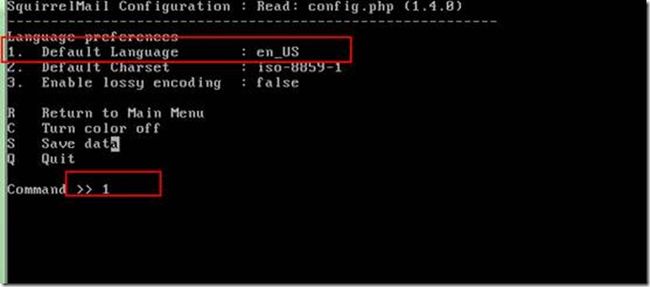
修改语言
修改字符集
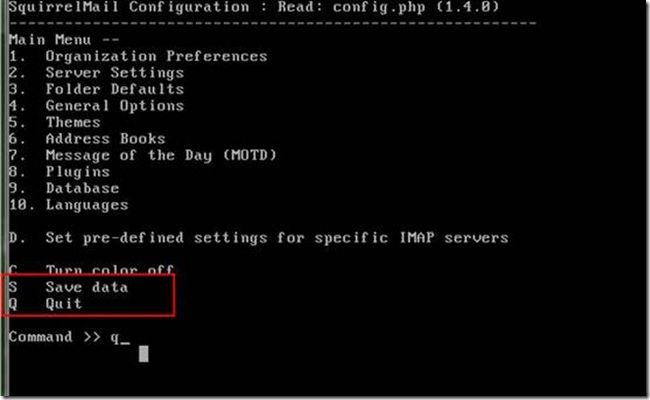
保存退出
21.启动httpd服务,并创建物理目录mail
[root@mail html]# ln -s /usr/share/squirrelmail mail
[root@mail html]# ll
lrwxrwxrwx 1 root root 23 09-12 11:32 mail -> /usr/share/squirrelmail
22.修改httpdl的字符集
vim /etc/httpd/conf/httpd.conf
重启httpd 服务
[root@mail html]# service httpd restart
23.安装并启动dovecot 软件
[root@mail html]# yum install dovecot -y
[root@mail html]# service dovecot start
启动 Dovecot Imap: [确定]
24. user1 向user2 发送邮件
user1 向user2 发送邮件
25.user2 通过squirrelmail登录服务器,接收邮件


