特效!特效!特效!重要的事情说三遍
1.tabbar 点击按钮 特效
在
@interface TabBar : UITabBar
方法中 添加上这个方法 就可以做出 点击 tabbar 图标弹起来收回去再弹起来的效果 至于效果图 不好意思 gif不会做。。。。。
- (void)layoutSubviews
{
    [super layoutSubviews];

    for (UIControl *tabBarButton in self.subviews) {
        if ([tabBarButton isKindOfClass:NSClassFromString(@"UITabBarButton")]) {

            [tabBarButton addTarget:self action:@selector(tabBarButtonClick:) forControlEvents:UIControlEventTouchUpInside];
        }
    }
}


- (void)tabBarButtonClick:(UIControl *)tabBarButton
{
    for (UIView *imageView in tabBarButton.subviews) {
        if ([imageView isKindOfClass:NSClassFromString(@"UITabBarSwappableImageView")]) {
            //需要实现的帧动画
            CAKeyframeAnimation *animation = [CAKeyframeAnimation animation];
            animation.keyPath = @"transform.scale";
            animation.values = @[@1.0,@1.3,@0.9,@1.15,@0.95,@1.02,@1.0];
            animation.duration = 1;
            animation.calculationMode = kCAAnimationCubic;
            //把动画添加上去
            [imageView.layer addAnimation:animation forKey:nil];
        }
    }
}
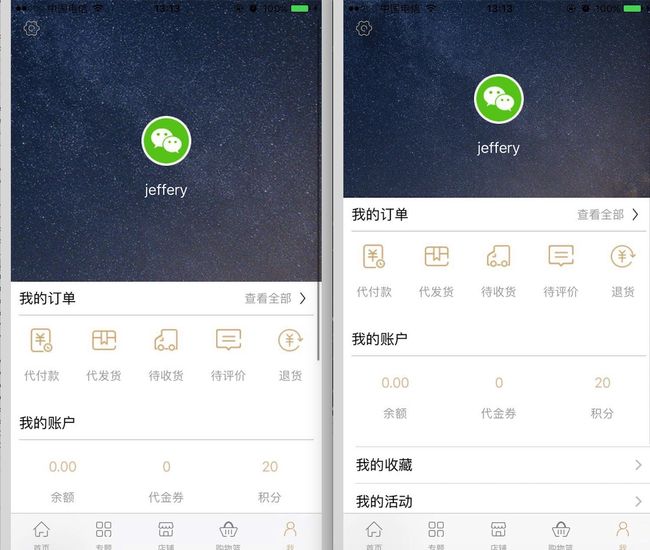
2 tableview 下拉背景图拉伸不现实空白
截图
好 下面来说一下思路
首先 这是一个可以滑动的tableview
那么 其实这是一个视觉欺骗
星空背景 跟 头像名字 其实不是一个东西~
头像跟名字是tableview的第0个cell
而星空背景 是贴在tableview上面的一张图片
下面我们就需要 让tableview 继承代理
//HeadViewH 这是图片的高度
//Gato_Width 屏幕宽
//underImage 背景图片(星空)

- (void)scrollViewDidScroll:(UIScrollView *)scrollView
{
    CGFloat offsety = scrollView.contentOffset.y+scrollView.contentInset.top;
    if (offsety <= 0)
    {

        //放大
        CGRect frame= underImage.frame;
        frame.size.height = HeadViewH - offsety;
        frame.origin.x = offsety / 2;
        frame.size.width = Gato_Width - offsety;

        underImage.frame = frame;

    }
    else
    {
    }

}
然后你就可以随意拉了。。。当然 你需要一张高清的图片当作背景 然后被拉伸以后 他会变得很丑!
当然 你可能会想要另一种效果 就是 起初UINavigationBar 看不到 上滑页面以后 UINavigationBar慢慢显示出来
网上也有很多demo 其实很简单
只需要在 scrollviewdidscroll方法中 根据高度进行隐藏就好
贴上代码
#pragma mark - UIScrollViewDelegate
- (void)scrollViewDidScroll:(UIScrollView *)scrollView
{
    //1。拿到y值
    CGFloat contentOffY = scrollView.contentOffset.y;

    if (contentOffY > - 20) {
        self.navigationController.navigationBar.alpha = 20 / contentOffY;
        if (20 / contentOffY < 0.1) {
            self.navigationController.navigationBar.alpha = 0;
        }
    }else{
        self.navigationController.navigationBar.alpha = 1;
    }
}
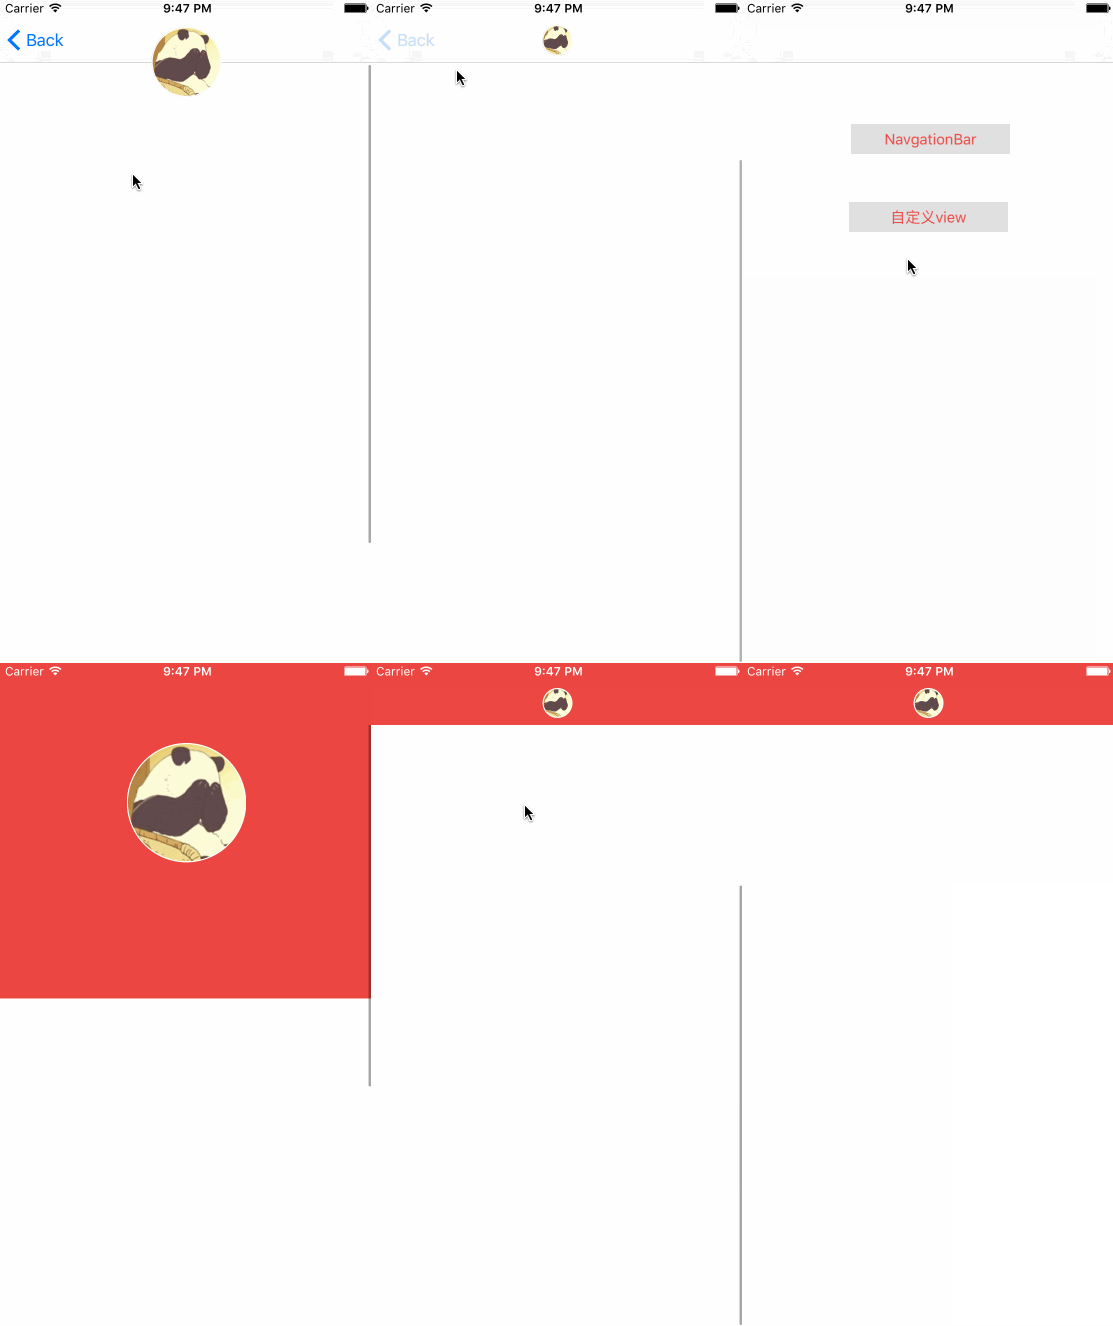
3 关于下拉 头像跟背景改变,这是两种状态
效果图⬇️⬇️
思路
利用了 scrollView 的滑动监听 动态改变 image view 属性
P1.NavgationBar 代码
#import "NavgationBarViewController.h"
#define MaxIconWH  70.0  //用户头像最大的尺寸
#define MinIconWH  30.0  // 用户头像最小的头像
#define MaxIconCenterY  44 // 头像最大的centerY
#define MinIconCenterY 22
#define maxScrollOff 180
#define SCREEN_WIDTH ([UIScreen mainScreen].bounds.size.width)
#define SCREEN_HEIGHT ([UIScreen mainScreen].bounds.size.height)

@interface NavgationBarViewController ()

/**
 *  用户头像
 */
@property (strong, nonatomic) UIImageView * titleIMg;

/**
 *  tableview
 */
@property (weak, nonatomic) IBOutlet UIScrollView * tableVIew;

@end

@implementation NavgationBarViewController

- (void)viewDidLoad {
    [super viewDidLoad];
    self.automaticallyAdjustsScrollViewInsets = NO;
   // self.tableVIew.bounces = NO;
    self.tableVIew.contentSize = CGSizeMake(SCREEN_WIDTH, SCREEN_HEIGHT+ 50);


}


-(void)viewWillAppear:(BOOL)animated{
    [super viewWillAppear:animated];
    [self.navigationController.navigationBar addSubview:self.titleIMg];

}

- (void)viewWillDisappear:(BOOL)animated{
    [super viewWillDisappear:animated];
    [self.titleIMg removeFromSuperview];
}


- (UIImageView *)titleIMg{
    if(_titleIMg == nil){
        UIImageView * img = [[UIImageView alloc] init];
        img.image = [UIImage imageNamed:@"1.jpg"];
        img.bounds = CGRectMake(0, 0, MaxIconWH, MaxIconWH);
        img.center = CGPointMake(SCREEN_WIDTH*0.5, MaxIconCenterY);
        img.contentMode = UIViewContentModeScaleAspectFill;
        img.layer.borderColor = [UIColor whiteColor].CGColor;
        img.layer.borderWidth = 1.2;
        img.layer.cornerRadius = MaxIconWH/2.0;
        img.layer.masksToBounds = YES;
        _titleIMg = img;
    }
    return _titleIMg;
}


- (void)scrollViewDidScroll:(UIScrollView *)scrollView{


    // 是scrollview的偏移量
    CGFloat updateY = scrollView.contentOffset.y ;
    NSLog(@"%f",scrollView.contentOffset.y);


    //  随着scrollview 的滚动, 改变bounds
    CGRect bound = _titleIMg.bounds;
    // 随着滚动缩减的头像的尺寸
    CGFloat reduceW =  updateY  *(MaxIconWH - MinIconWH)/(maxScrollOff - 64);
    reduceW = reduceW < 0 ? 0 : reduceW;
    // 宽度缩小的幅度要和headview偏移的幅度成比例,但是最小的宽度不能小于MinIconWH
    CGFloat yuanw =  MAX(MinIconWH, MaxIconWH - reduceW);
    _titleIMg.layer.cornerRadius = yuanw/2.0;
    bound.size.height = yuanw;
    bound.size.width  = yuanw;
    _titleIMg.bounds = bound;


    // 改变center  max - min 是滚动 center y值 最大的偏差
    CGPoint center = _titleIMg.center;
    CGFloat yuany =  MAX(MinIconCenterY, MaxIconCenterY - updateY * (MaxIconCenterY - MinIconCenterY)/(maxScrollOff - 64) ) ;
    yuany = yuany > MaxIconCenterY ? MaxIconCenterY : yuany;

    center.y = yuany;
    _titleIMg.center = center;


}

@end
P2.自定义View
#define HeadHeight 278 // headView的高度
#define MaxIconWH  100.0  //用户头像最大的尺寸
#define MinIconWH  30.0  // 用户头像最小的头像
#define MaxIconCenterY 120 // 头像最大的centerY
#define MinIconCenterY 42
#define HeadContentOffset @"contentOffset"
#define SCREEN_WIDTH ([UIScreen mainScreen].bounds.size.width)
#define SCREEN_HEIGHT ([UIScreen mainScreen].bounds.size.height)
#define DRHColor(r, g, b) [UIColor colorWithRed:(r)/255.0 green:(g)/255.0 blue:(b)/255.0 alpha:1.0]

#import "ViewController.h"

@interface ViewController ()
@property (weak, nonatomic) IBOutlet UIScrollView *backScroll;
/**
 *  表头的view
 */
@property (strong, nonatomic) UIView * headView;
/**
 *  代替navigationbar 的自定义view
 */
@property (weak, nonatomic) IBOutlet UIView *navbarView;

/**
 *  用户头像
 */
@property (strong, nonatomic) UIImageView * titleIMg;


@end

@implementation ViewController

- (void)viewDidLoad {
    [super viewDidLoad];
    [self setUpScrollViewHeadView];
    [self.backScroll addSubview:self.headView];
    [self.navbarView addSubview:self.titleIMg];

}

-(void)viewWillAppear:(BOOL)animated{
    [super viewWillAppear:animated];
    self.navigationController.navigationBarHidden = YES;
}

- (void)viewWillDisappear:(BOOL)animated{
    [super viewWillDisappear:animated];
    self.navigationController.navigationBarHidden = NO;
}


/**
 *  初始化headview
 */
- (void)setUpScrollViewHeadView{

    self.backScroll.contentSize = CGSizeMake(SCREEN_WIDTH, SCREEN_HEIGHT + 2);
    self.backScroll.contentInset = UIEdgeInsetsMake(HeadHeight, 0, 0, 0);
    // KVO
    [self.backScroll addObserver:self forKeyPath:HeadContentOffset  options:NSKeyValueObservingOptionNew context:nil];
    [self.backScroll setContentOffset: CGPointMake(0, -HeadHeight) animated:YES];
}


- (UIStatusBarStyle)preferredStatusBarStyle{
    return UIStatusBarStyleLightContent;
}

- (void)observeValueForKeyPath:(NSString *)keyPath ofObject:(id)object change:(NSDictionary *)change context:(void *)context{
    if(![keyPath isEqualToString:HeadContentOffset])
        return;
    [self scrollViewDidScroll:self.backScroll];
}


- (UIView *)headView{
    if(_headView == nil){
        _headView = [[UIView alloc] initWithFrame:CGRectMake(0, -HeadHeight, SCREEN_WIDTH, HeadHeight)];
        _headView.backgroundColor = DRHColor(233, 73, 71);
    }
    return _headView;
}


- (UIImageView *)titleIMg{
    if(_titleIMg == nil){
        UIImageView * img = [[UIImageView alloc] init];
        img.center = CGPointMake(SCREEN_WIDTH/2.0, MaxIconCenterY);
        img.bounds = CGRectMake(0, 0, MaxIconWH ,MaxIconWH );
         img.image = [UIImage imageNamed:@"1.jpg"];
        img.contentMode = UIViewContentModeScaleAspectFill;
        img.layer.borderColor = [UIColor whiteColor].CGColor;
        img.layer.borderWidth = 1.2;
        img.layer.cornerRadius = MaxIconWH/2.0;
        img.layer.masksToBounds = YES;
        _titleIMg = img;
    }
    return _titleIMg;
}

- (void)scrollViewDidScroll:(UIScrollView *)scrollView{
    CGFloat offsetY = scrollView.contentOffset.y;
    if(offsetY < -HeadHeight) {
        CGRect currentFrame = self.headView.frame;
        currentFrame.origin.y = offsetY;
        currentFrame.size.height = -1*offsetY;
        self.headView.frame = currentFrame;
    }

    // 是scrollview的偏移量
    CGFloat updateY = scrollView.contentOffset.y + HeadHeight;
    //NSLog(@"%f_____________%f",scrollView.contentOffset.y, updateY);


    //  随着scrollview 的滚动, 改变bounds
      CGRect bound = _titleIMg.bounds;
    // 随着滚动缩减的头像的尺寸
     CGFloat reduceW = updateY  *(MaxIconWH - MinIconWH)/(HeadHeight - 64);
    // 宽度缩小的幅度要和headview偏移的幅度成比例,但是最小的宽度不能小于MinIconWH
     CGFloat yuanw =  MAX(MinIconWH, MaxIconWH - reduceW);

    NSLog(@"-----%f+++++++%f",reduceW,yuanw);


    _titleIMg.layer.cornerRadius = yuanw/2.0;
    bound.size.height = yuanw;
    bound.size.width  = yuanw;
    _titleIMg.bounds = bound;


    // 改变center  max - min 是滚动 center y值 最大的偏差
    CGPoint center = _titleIMg.center;
    CGFloat yuany =  MAX(MinIconCenterY, MaxIconCenterY - updateY * (MaxIconCenterY - MinIconCenterY)/(HeadHeight - 64) ) ;

    center.y = yuany;
    _titleIMg.center = center;

}
@end
注意:本段代码 来自于CocoaChina 作者 [风飘飘的油菜花] 如果作者感觉侵权请联系我,我会及时删除侵权信息
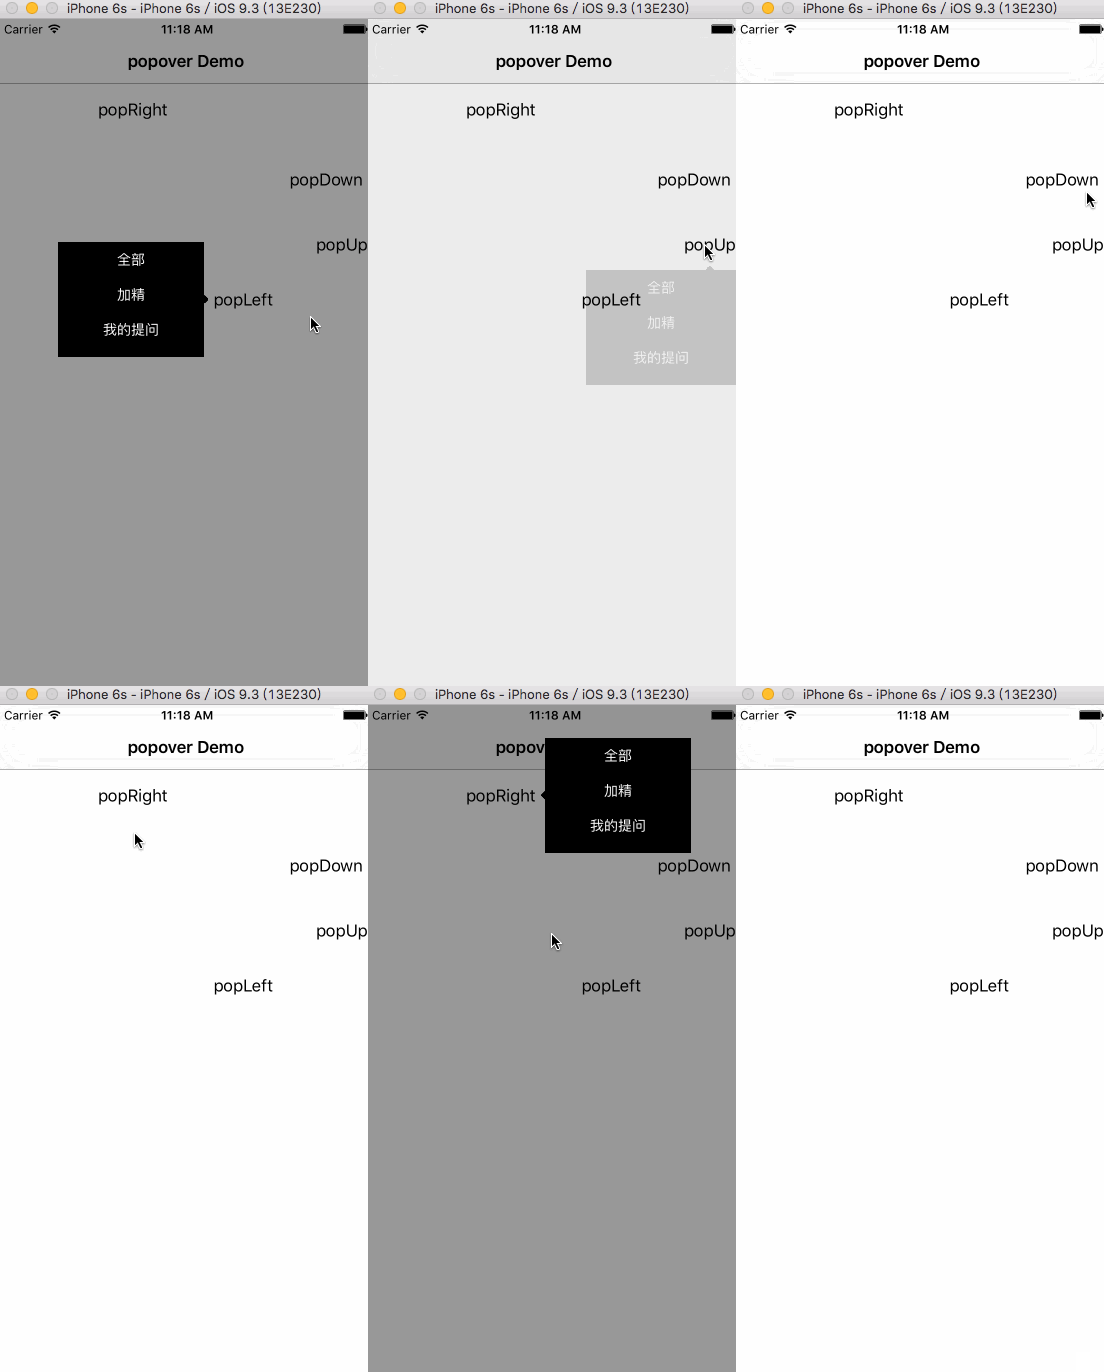
4.点击按钮 弹出阴影选择框
效果图:
demo :传送门--点击我跳转下载链接
关键代码:
- (IBAction)btnTitleTapAction:(UIButton *)btn
{
    YJPopoverContentController *contentController = [[YJPopoverContentController alloc] init];

    YJPopoverController *popController = [[YJPopoverController alloc] initWithContentViewController:contentController popoverContentSize:CGSizeMake(150, 35 * 3 + 10)];
    [popController presentPopoverFromRect:btn.frame inView:btn.superview permitterArrowDirections:YJPopoverArrowDirection_up animated:YES];
}

- (IBAction)btnPopDownTapAction:(UIButton *)btn
{
    YJPopoverContentController *contentController= [[YJPopoverContentController alloc] init];

    YJPopoverController *popController = [[YJPopoverController alloc] initWithContentViewController:contentController popoverContentSize:CGSizeMake(150, 35 * 3 + 10)];
    [popController presentPopoverFromRect:btn.frame inView:btn.superview permitterArrowDirections:YJPopoverArrowDirection_down animated:YES];
}

- (IBAction)btnPopLeftTapAction:(UIButton *)btn
{
    YJPopoverContentController *contentController = [[YJPopoverContentController alloc] init];

    YJPopoverController *popController = [[YJPopoverController alloc] initWithContentViewController:contentController popoverContentSize:CGSizeMake(150, 35 * 3 + 10)];
    [popController presentPopoverFromRect:btn.frame inView:btn.superview permitterArrowDirections:YJPopoverArrowDirection_left animated:YES];
}

- (IBAction)btnPopRightTapAction:(UIButton *)btn
{
    YJPopoverContentController *contentController = [[YJPopoverContentController alloc] init];

    YJPopoverController *popController = [[YJPopoverController alloc] initWithContentViewController:contentController popoverContentSize:CGSizeMake(150, 35 * 3 + 10)];
    [popController presentPopoverFromRect:btn.frame inView:btn.superview permitterArrowDirections:YJPopoverArrowDirection_right animated:YES];
}
简单说一下这个demo跟三方的思路
点开的阴影部分 是一个新的controller 里面有一个tableview「这样就方便更改点开阴影部分样式了」
当然 大小也都是可以控制的
然后就是利用
YJPopoverController *popController = [[YJPopoverController alloc] initWithContentViewController:contentController popoverContentSize:CGSizeMake(150, 35 * 3 + 10)];

[popController presentPopoverFromRect:btn.frame inView:btn.superview permitterArrowDirections:YJPopoverArrowDirection_up animated:YES];
这行代码搞定
其中呢
YJPopoverController  == 三方Controller
contentController == 弹出样式controller 【可以是任何东西 只要你想得到】
CGSizeMake = 弹出controller的坐标
typedef NS_ENUM(NSUInteger, YJPopoverArrowDirection) {
    YJPopoverArrowDirection_up,         //箭头向上
    YJPopoverArrowDirection_left,       //箭头向左
    YJPopoverArrowDirection_down,       //箭头向下
    YJPopoverArrowDirection_right       //箭头向右
};
好 这个特效结束。
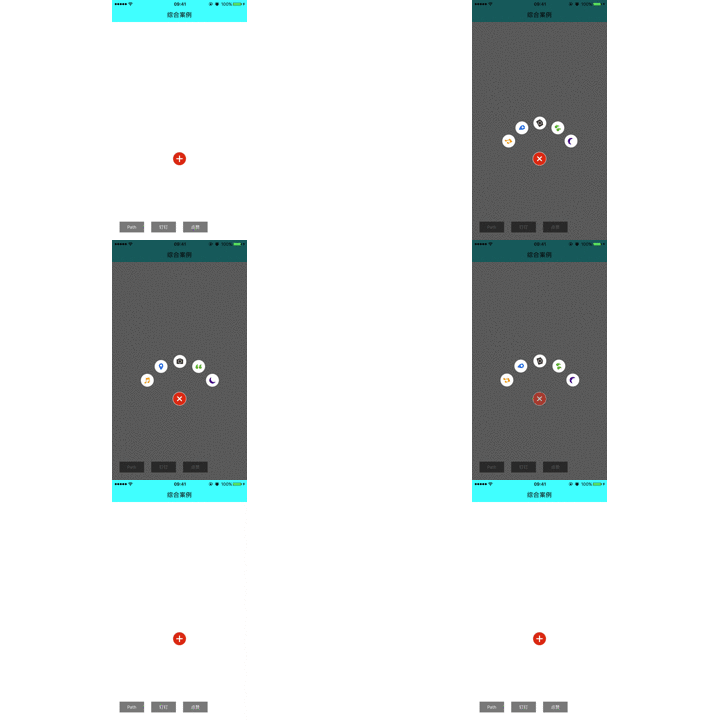
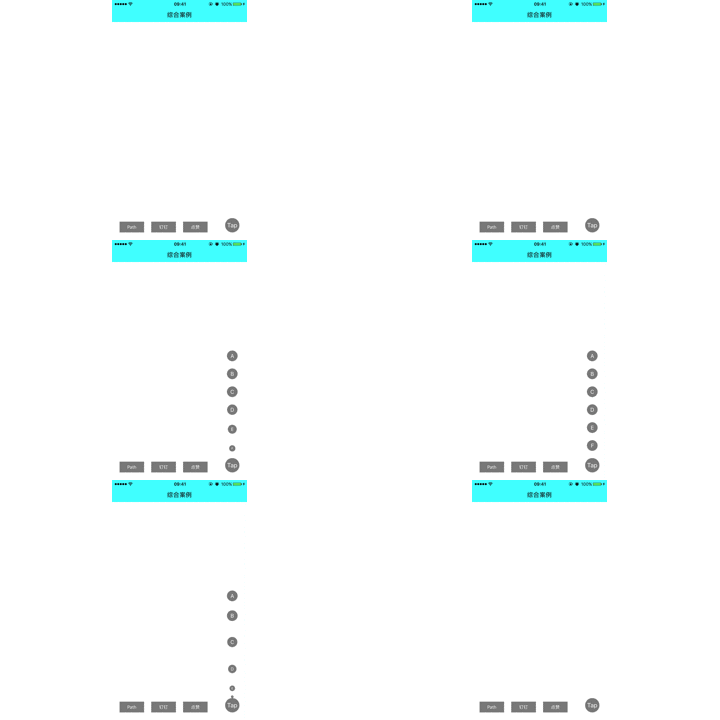
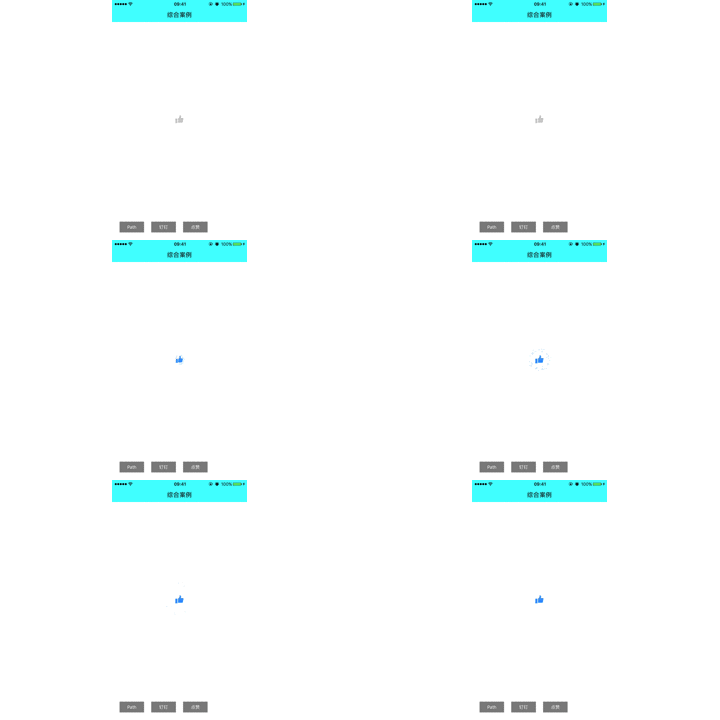
5 综合案例动画
4.综合案例
综合案例-path
综合案例-钉钉按钮
综合案例-点赞
