前天,组里老大让我在公司的内网服务器中搭建一个LAMP环境,并安装配置一个discuz论坛系统,供组里以后发布项目相关 的资料文档用。对于LAMP这个词,其实我并不是第一次接触,因为之前曾经学习过一段时间的php,但已经很久没有接触了,一些细节已不太记得了,只是有个大概的印象。于是,我在网上开始搜索资料。由于我使用的是yum安装,所以整个安装过程很快,现在整理一下,记下来。
根据资料介绍,由于采用的是yum方式安装,前提是必须配置好yum源。为了加快下载速度,建议使用网易的yum源。
1、CentOS配置网易163 yum源
我们安装完成的CentOS系统,默认都是系统自带的yum源,国内用户用yum安装软件的时候,是比较慢的,为了提高效率,我们一般会配置国内的yum源。
国内比较好的yum源有网易yum源、搜狐yum源等。现在介绍下怎么配置网易163yum源:
官方链接【CentOS镜像使用帮助】:http://mirrors.163.com/.help/centos.html
1、首先备份 /etc/yum.repos.d/CentOS-Base.repo
   [root@localhost ~]# mv /etc/yum.repos.d/CentOS-Base.repo /etc/yum.repos.d/CentOS.repo.$(date+%F)_back
2、根据CentOS不同版本选择下载对应的repo文件,放到/etc/yum.repos.d/目录
   [root@localhost ~]# cd /etc/yum.repos.d/

#CentOS 5.x
   [root@localhost ~]# wget http://mirrors.163.com/.help/CentOS5-Base-163.repo
#CentOS 5.x
   [root@localhost ~]# wget http://mirrors.163.com/.help/CentOS6-Base-163.repo
3、最后,执行yum makecache生成缓存
   [root@localhost ~]# yum makecache
ok,简单3步操作即可配置完成。
2、搭建LAMP环境
这里采用的yum方式安装,非常方便,但是可定制性不强,而且软件版本较低,一般用于实验和学习环境。
1、安装Apache
[root@localhost ~]# yum -y install httpd

#开机自启动
[root@localhost ~]# chkconfig httpd on

#启动httpd服务
[root@localhost ~]# service httpd start

#安装apache的一些扩展
[root@localhost ~]# yum -y install httpd-manual mod_ssl mod_perl mod_auth_mysql
现在直接在浏览器输入http://localhost 或 http://本机IP,应该会看到Apache的测试页面。这里需要注意iptables的设置。
2、安装配置Mysql
mysql 客户端程序
mysql-server 服务端程序
mysql-devel 开发设计的库
[root@localhost ~]# yum -y install mysql mysql-server mysql-devel

#开机启动
[root@localhost ~]# chkconfig mysqld on

#启动mysqld服务
[root@localhost ~]# service mysqld start

#进行一些安全性配置
[root@localhost ~]# /usr/bin/mysql_secure_installation
安装截图如下:


ok,mysqld已经启动,监听在3306端口上。
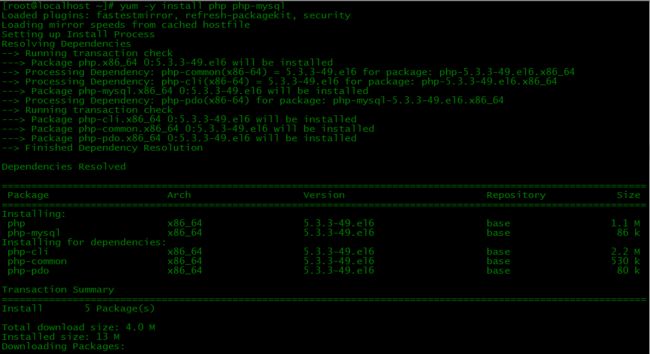
3、安装PHP
安装相关模块:为了让PHP支持Mysql,可以安装php-mysql软件包;也可以使用以下命令搜索可用的php模块
[root@localhost ~]# yum -y install php php-mysql
#安装php常用扩展
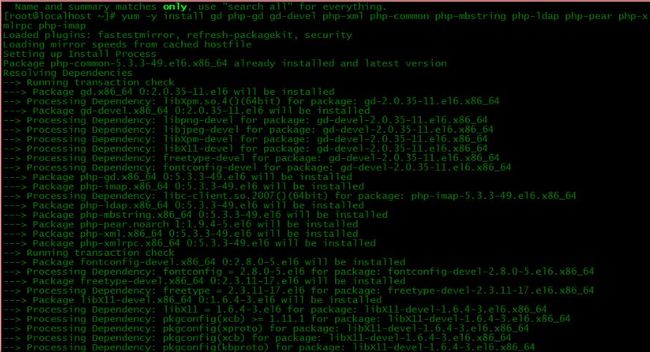
[root@localhost ~]# yum search php
[root@localhost ~]# yum -y install gd php-gd gd-devel php-xml php-common php-mbstring php-ldap php-pear php-xmlrpc php-imap
#注意:重启httpd服务,这一步很重要!
[root@localhost ~]# service httpd restart
安装截图如下:
然后,编写一个php页面,测试:
[root@localhost ~]# cd /var/www/html
[root@localhost ~]# vi index.php
index.php:
然后,再次在浏览器中输入http://localhost 或 http://本机IP,应该会看到如下页面:
4、安装配置phpMyAdmin
安装好Mysql,Apache及PHP后,为了可视化的管理Mysql数据库,可以安装phpMyAdmin。在CentOS上安装phpMyAdmin,第一步需要架设一台web服务器(如Apache或nginx),安装好Mysql/MariaDB数据库和PHP。根据偏好和需求,可以从LAMP和LNMP中选择一种安装。另一个要求是允许在CentOS上安装EPEL库。
4.1、在CentOS上安装EPEL
要想安装EPEL,需要先下载EPEL的rpm安装包。
CentOS/RHEL下的6.x和5.x版本下载页面如下
http://download.fedoraproject.org/pub/epel/6/i386/repoview/epel-release.htmlhttp://download.fedoraproject.org/pub/epel/5/i386/repoview/epel-release.html
以上网址可能会被重定向到特定的镜像站而加快下载速度。这个页面包含可以直接获取到rpm包的下载链接。直接的下载链接如下:
http://download.fedoraproject.org/pub/epel/6/i386/epel-release-6-8.noarch.rpmhttp://download.fedoraproject.org/pub/epel/5/i386/epel-release-5-4.noarch.rpm
步骤:
 1、确认CentOS的版本
[root@localhost ~]# cat /etc/redhat-release
CentOS release 6.5(Final)

2、下载EPEL的rpm安装包
[root@localhost ~]# wget https://mirrors.tuna.tsinghua.edu.cn/epel/6/x86_64/epel-release-6-8.noarch.rpm --no-check-certificate

3、安装EPEL
[root@localhost ~]# rpm -ivh epel-release-6-8.noarch.rpm

4、检查EPEL源
安装好EPEL源后,用yum命令来检查是否添加到源列表
[root@localhost ~]# yum repolist
安装截图如下:

EPEL已经在repo后列出,并且显示提供了上万个软件包,说明EPEL已经安装到CentOS中了。
4.2、安装phpMyAdmin
一旦设置了EPEL库,就能轻松地用以下命令安装phpMyAdmin了。
#在CentOS 6上
[root@localhost ~]# yum -y install phpmyadmin

#在CentOS 7上
[root@localhost ~]# yum -y install phpmyadmin php-mcrypt
默认情况下,CentOS 6上的phpMyAdmin是禁止从每个ip地址访问的。为了能远程连接,需要修改它的配置。
用文本编辑器打开phpMyAdmin的配置文件(路劲:/etc/httpd/conf.d/phpMyAdmin.conf),找出并注释掉“Deny from all”字样的代码,然后把"Allow from 127.0.0.1"字样的代码行改成"Allow from 0.0.0.0"。
[root@localhost ~]# vi /etc/httpd/conf.d/phpmyadmin.conf

修改后如下:

  Order Deny,Allow
#  Deny from all
  Allow from 0.0.0.0
最后,重启httpd使修改生效。
[root@localhost ~]# service httpd restart
测试phpMyAdmin是否设置成功,访问这个页面:http://
关于phpMyAdmin配置方面的修改,可以参考该博文:
https://linux.cn/article-4526-1.html
至此,LAMP环境基本搭建好了。