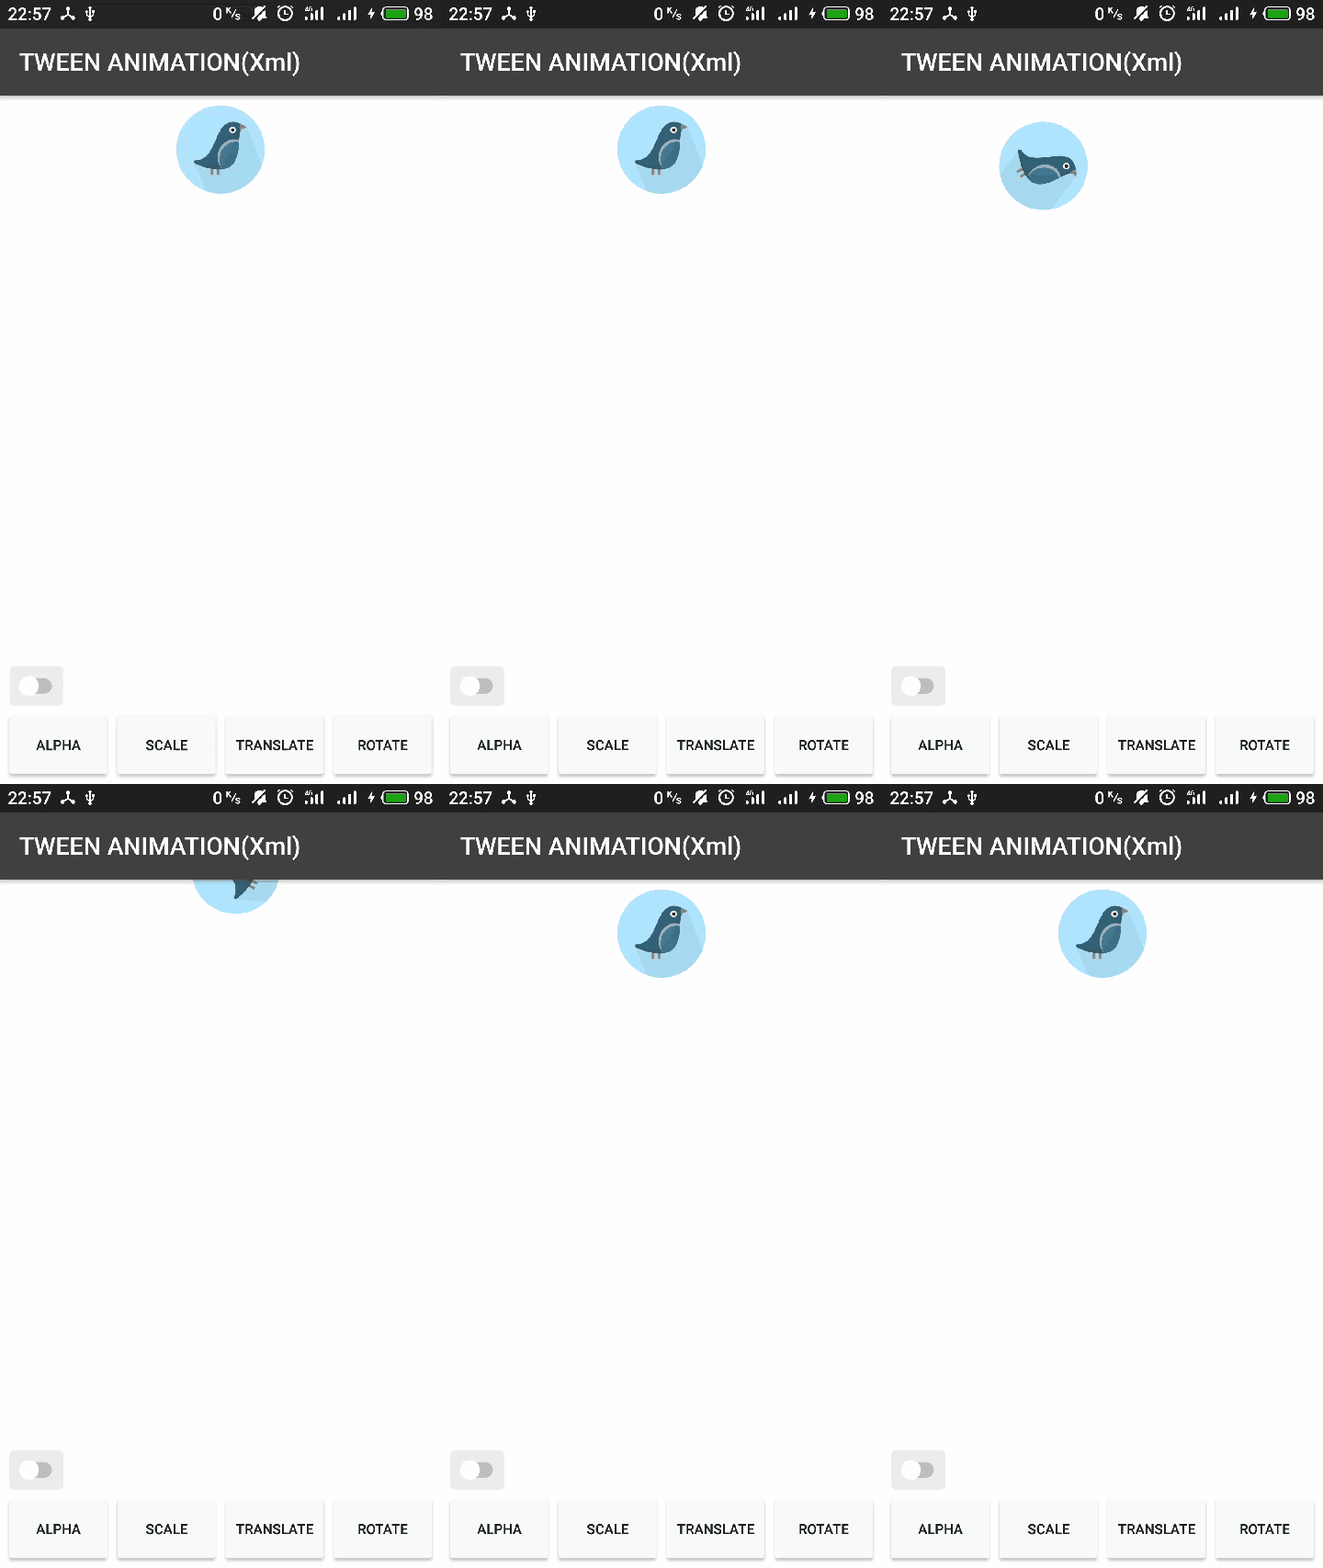
1. 什么是 Tween Animation?
通过 Animation 对象在图像上执行一系列的变换而形成的动画。
Creates an animation by performing a series of transformations on a single image with an Animation
2. Tween Animation 的作用是什么?
通过上面的定义可知:
Tween Animation 的主要作用是在可视对象上执行一系列的变化操作。
举例来说,就是 Tween Animation 可以改变界面上显示控件的状态,如 Button 的显示、隐藏,ImageView 的尺寸缩放等等。
3. Tween Animation 都包括哪几类动画,各类动画的主要作用是什么?
3.1 Tween Animation 分类
Tween Animation 包括五类动画,分别是:
- AlphaAnimation
- ScaleAnimation
- TranslateAnimation
- RotateAnimation
- AnimationSet
3.2 各类动画主要作用
- AlphaAnimation
主要用于控制 View 的可见性(显示|隐藏)。
- ScaleAnimation
主要用于缩放 View 大小。
- TranslateAnimation
主要用于移动 View 的位置。
- RotateAnimation
主要用于旋转 View。
- AnimationSet
某些场景仅靠上面单一类型的动画是无法实现的,需要多个类型的动画组合才能达到最终的效果,此时 AnimationSet 就派上用场了,AnimationSet 的主要作用就是组合各类 Tween Animation。
4. 如何使用 Tween Animation?
创建 Tween Animation 的方式共两种:
- XML
- CODE
4.1 通过 XML 创建 Tween Animation
4.1.1 通过 XML 创建 AlphaAnimation
4.1.1.1. 语法
4.1.1.2. 属性详解
| 属性 | 含义 | 取值范围 |
|---|---|---|
| xmlns:android | 声明 XML 布局文件属性命名空间 | http://schemas.android.com/apk/res/android |
| android:duration | 动画的执行时间 | 必须大于等于 0,否则程序将报错 |
| android:fillAfter | 动画执行完之后是否保留动画结束时的状态 | true 保存,false 不保存(默认 false) |
| android:fillBefore | 动画开始执行之前,是否应用动画的起始状态 | true 应用,false 不应用(默认 true) |
| android:fillEnabled | 该属性决定了 fillBefore 属性能否生效 | true fillBefore 生效,false fillBefore 不生效(默认) |
| android:interpolator | 插值器,决定了动画的变化率 | Android,Custom |
| android:repeatCount | 动画重复的次数 | 整型数字,默认为 0。当为负数时,表示无限循环 |
| android:repeatMode | 当动画的执行次数大于 1 时,下一次动画执行的方式 | 重新开始(默认),反着执行 |
| android:fromAlpha | 动画开始时的透明度 | 0 透明,1 不透明 |
| android:toAlpha | 动画结束时的透明度 | 0 透明,1 不透明 |
4.1.1.3. 示例
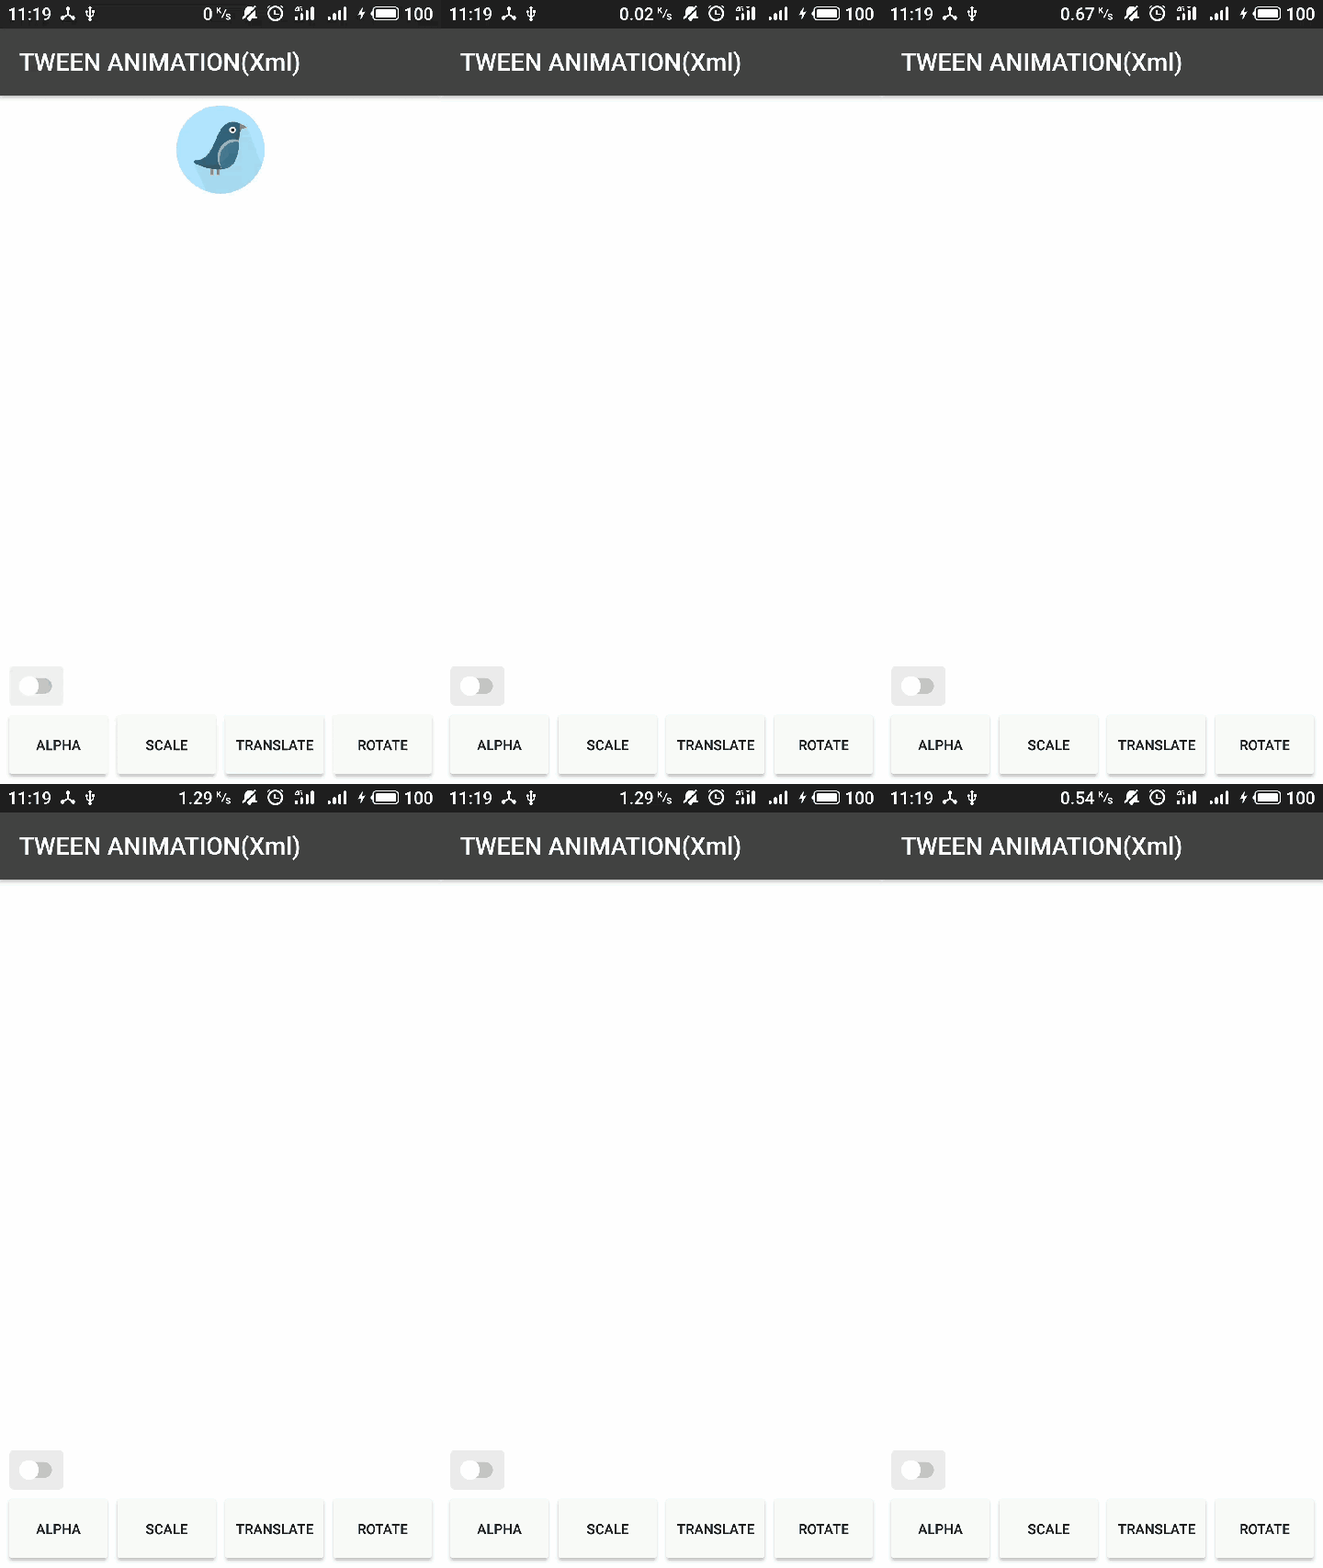
最终效果如下:
4.1.1.4. 部分属性解释
4.1.1.4.1. android:fillAfter
动画执行完之后,是否保留最终的状态,true 保留,false,不保留。
1.android:fillAfter="false"
android:fillAfter="true"
4.1.1.4.2. android:fillBefore
第二次动画开始执行时,是否从动画开始的状态(fromAlpha)开始执行,true 是,false 不是。
本来想解释下这个属性和 android:fillEnabled 的,但由于 AlphaAnimation 应用此属性时,效果不明显,所以作罢。
4.1.2 通过 XML 创建 ScaleAnimation
4.1.2.1. 语法
4.1.2.2. 属性详解
| 属性 | 含义 | 取值范围 |
|---|---|---|
| xmlns:android | 声明 XML 布局文件属性命名空间 | http://schemas.android.com/apk/res/android |
| android:duration | 动画的执行时间 | 必须大于等于 0,否则程序将报错 |
| android:fillAfter | 动画执行完之后是否保留动画结束时的状态 | true 保存,false 不保存(默认 false) |
| android:fillBefore | 动画开始执行之前,是否应用动画的起始状态 | true 应用,false 不应用(默认 true) |
| android:fillEnabled | 该属性决定了 fillBefore 属性能否生效 | true fillBefore 生效,false fillBefore 不生效(默认) |
| android:interpolator | 插值器,决定了动画的变化率 | Android,Custom |
| android:repeatCount | 动画重复的次数 | 整型数字,默认为 0。当为负数时,表示无限循环 |
| android:repeatMode | 当动画的执行次数大于 1 时,下一次动画执行的方式 | 重新开始(默认),反着执行 |
| android:fromXScale | 动画开始时的 X 轴方向上的缩放比例 | 浮点数,默认值为 1(大小保持不变) |
| android:fromYScale | 动画开始时的 Y 轴方向上的缩放比例 | 浮点数,默认值为 1(大小保持不变) |
| android:toXScale | 动画结束时的 X 轴方向上的缩放比例 | 浮点数,默认值为 1(大小保持不变) |
| android:toYScale | 动画结束时的 Y 轴方向上的缩放比例 | 浮点数,默认值为 1(大小保持不变) |
| android:pivotX | 动画执行时 X 轴方向上不变的坐标点(轴心) | 浮点数,默认值为缩放对象的左边 |
| android:pivotY | 动画执行时 Y 轴方向上不变的坐标点(轴心) | 浮点数,默认值为缩放对象的上边 |
4.1.2.3. 示例
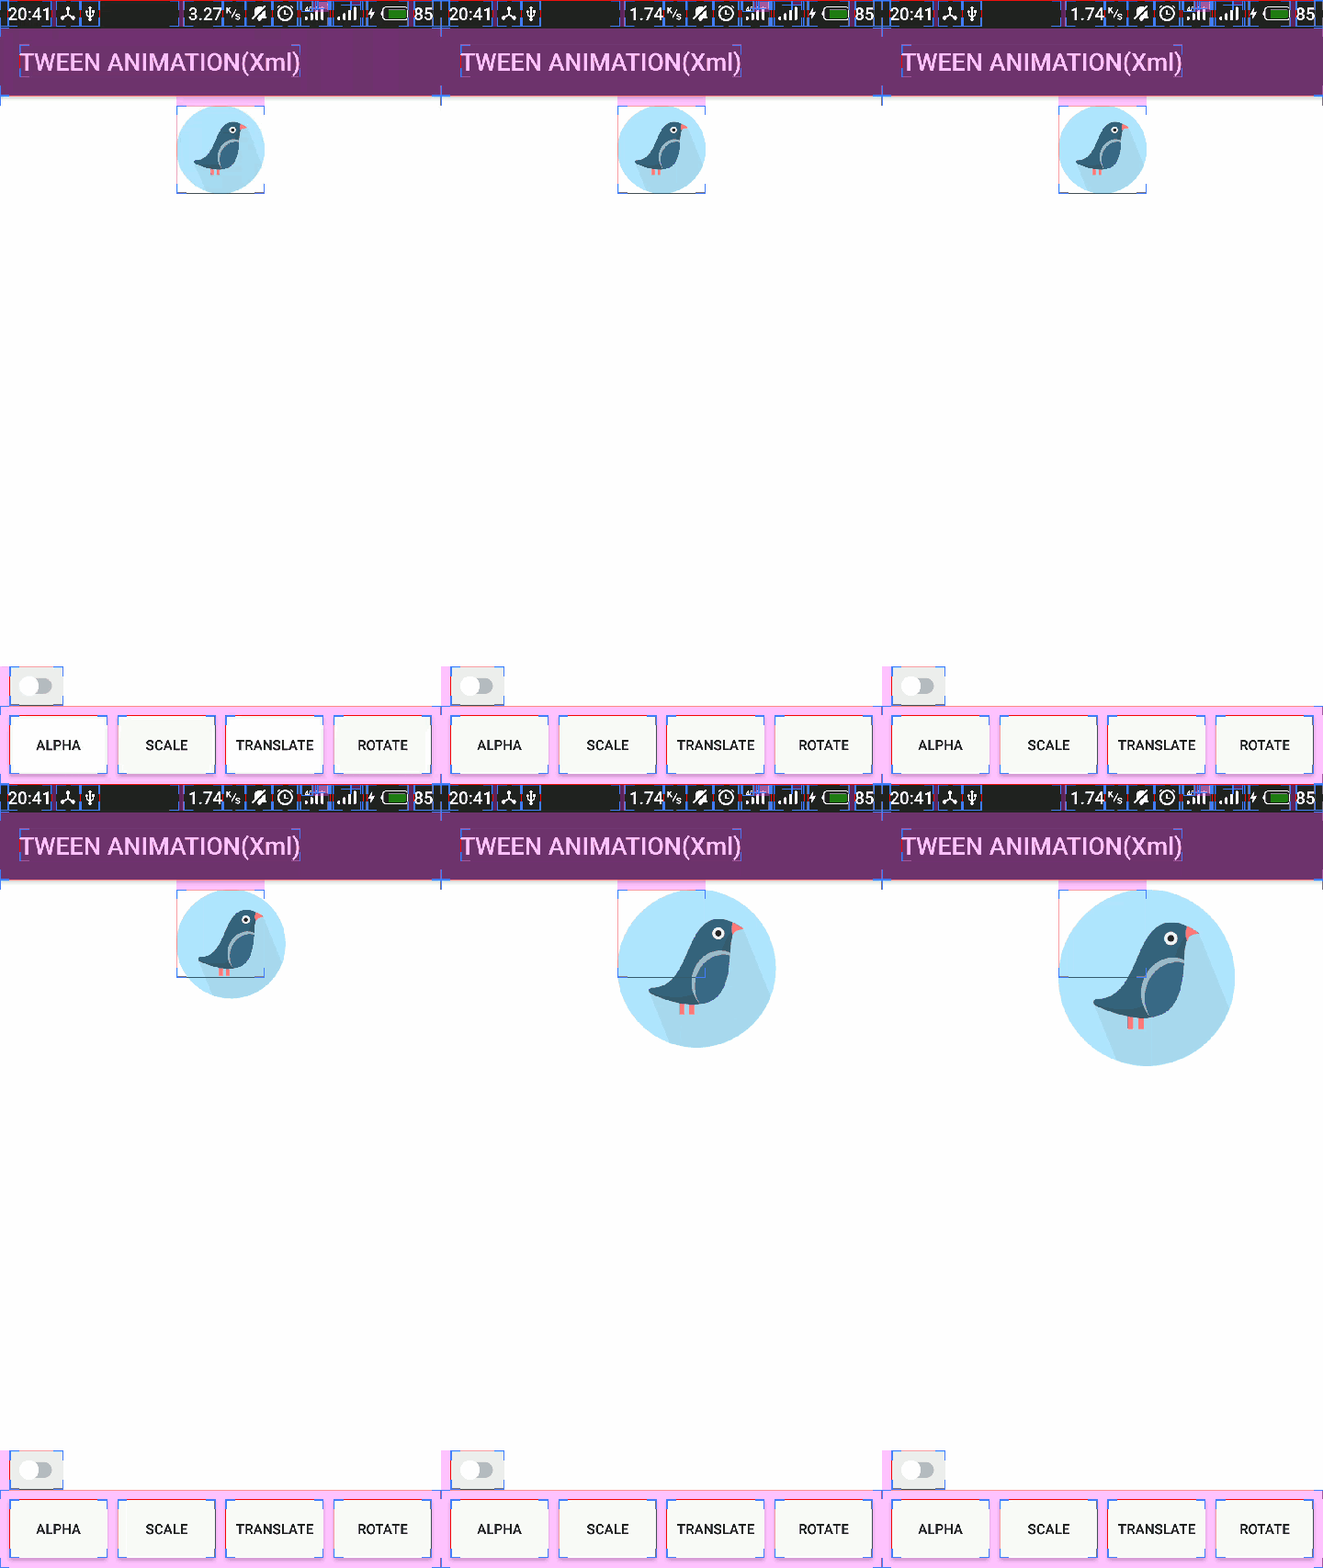
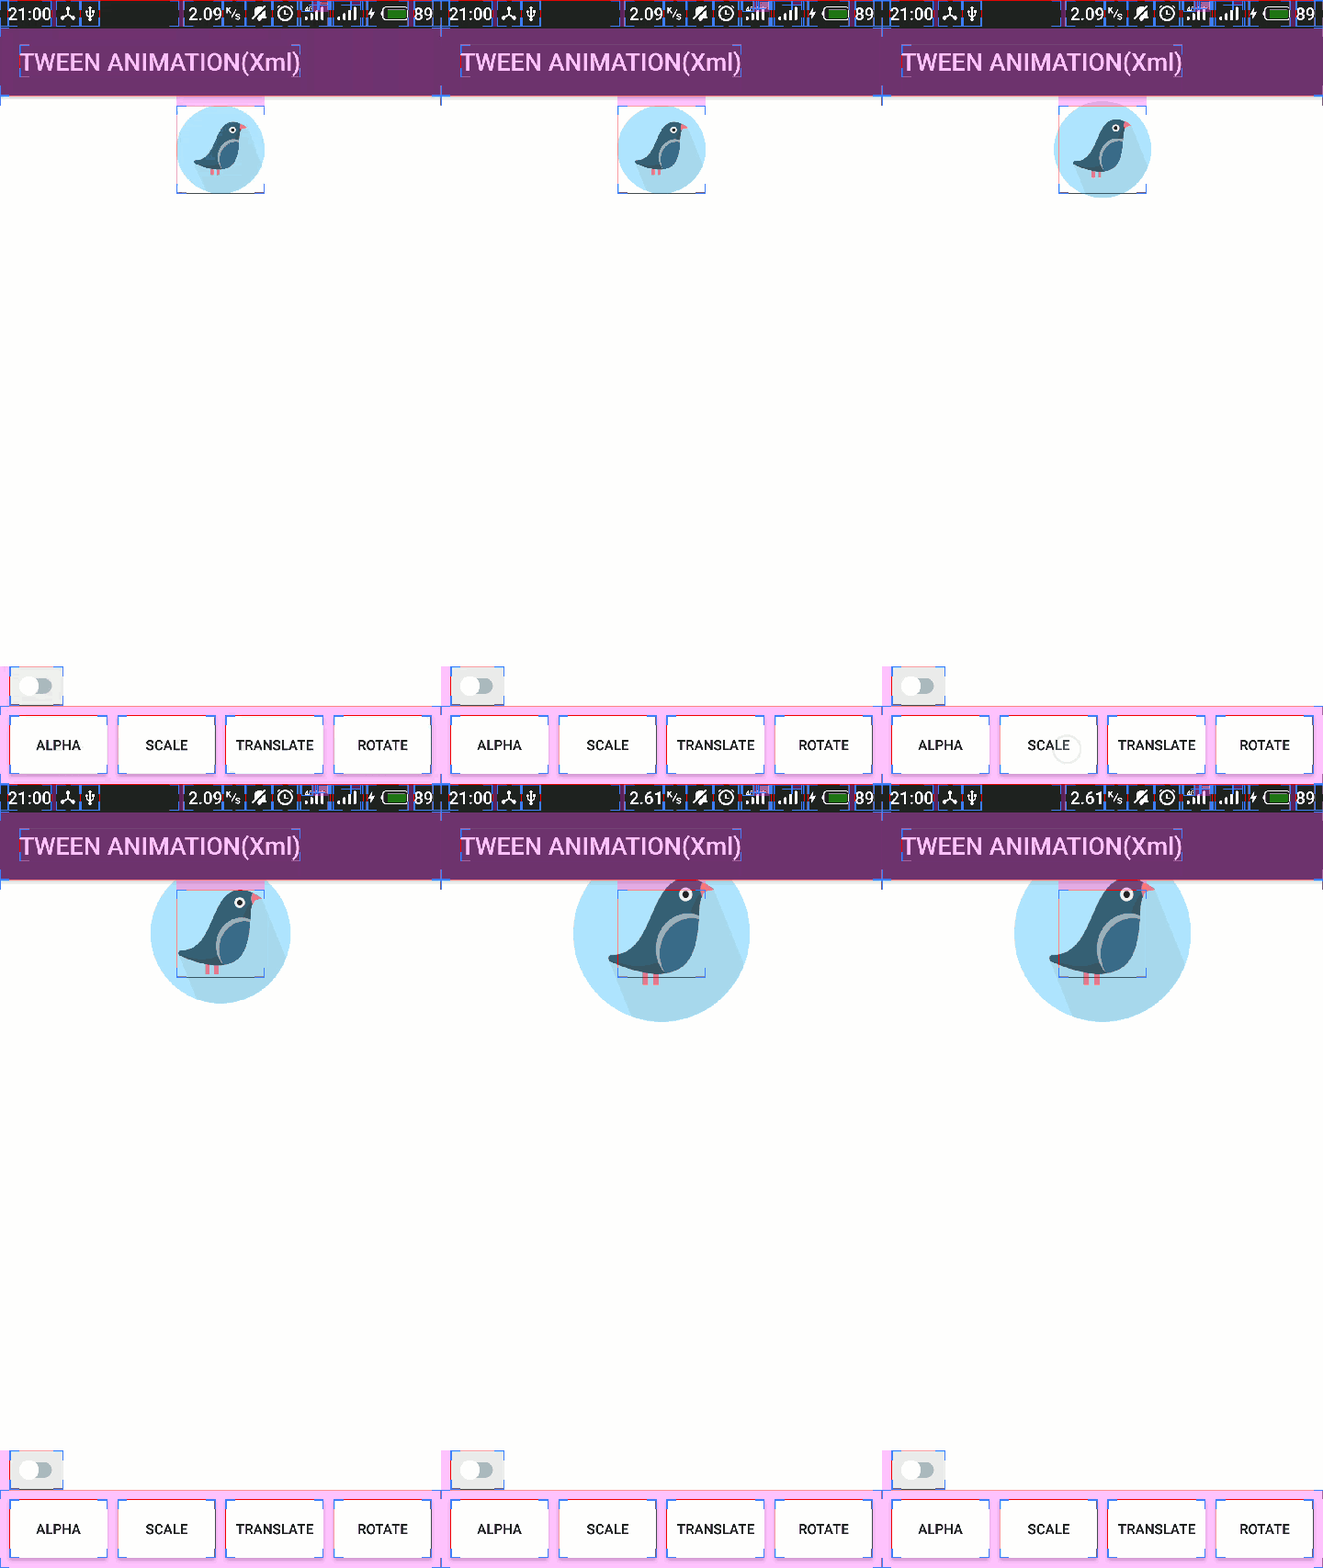
最终效果如下:
4.1.2.4. 部分属性解释
4.1.2.4.1. android:fillAfter
动画执行完之后,是否保留最后的状态,true 保留,false,不保留。
1.android:fillAfter="false"
2.android:fillAfter="true"
4.1.2.4.2. android:fillBefore
第二次动画开始执行时,是否从动画开始的状态(fromXScale,fromYScale)开始执行,true 是,false 不是。
按照开发文档的说法,fillEnabled 属性将对 fillBefore 属性有一定的影响,但我在运行的时候,发现实际上并没有什么影响,即 fillBefore 属性最终有没有起作用,跟 fillEnabled 是不是 true 没有关系(即使当 fillEnabled = false 时,fillBefore = true 还是起作用)。
android:fillAfter="false"
当第一次动画执行完毕之后,再此执行动画的时候,动画执行的目标对象会从原始状态(闪一下)跳转至 from*Scale,然后从 from*Scale 到 to*Scale。
奈何录制的 GIF 中刚好丢了这一帧,小老弟,你就用心去体会吧。
android:fillAfter="true"
当第一次动画执行完毕之后,再此执行动画的时候,动画执行的目标对象会直接从 from*Scale 到 to*Scale。
4.1.2.4.3. android:pivotX,android:pivotY
动画执行目标对象执行缩放动画时,保持不变的坐标点,默认为目标对象的左上角(动画执行目标对象左边与上边的焦点)。
当 pivotX,pivotY 不为 0 时,最终的 pivotX 和 pivotY 为:
pivotX = left(动画执行目标对象左边绝对坐标) + pivotX
pivotY = top(动画执行目标对象上边绝对坐标) + pivotY
即最终的轴心点的坐标都是相对动画执行目标对象左边和上边而言的。
- 默认值
android:pivotX="0",android:pivotY="0"
由于 android:pivotX="0" 和 android:pivotY="0" 均为 0,所以放大动画的轴心点还在动画执行目标对象的左上角。
android:pivotX="50%",android:pivotY="50%"
pivotX、pivotY 分别为动画执行目标对象宽、高的一半,所以,放大动画的轴心点是动画执行目标对象的中心。
android:pivotX="50%p",android:pivotY="50%p"
pivotX、pivotY 分别为动画执行目标对象父容器宽、高的一半,所以,放大动画的轴心点是:
pivotX = left + parent width/2
pivotY = top + parent height/2
4.1.3 通过 XML 创建 TranslateAnimation
4.1.3.1. 语法
4.1.3.2. 属性详解
| 属性 | 含义 | 取值范围 |
|---|---|---|
| xmlns:android | 声明 XML 布局文件属性命名空间 | http://schemas.android.com/apk/res/android |
| android:duration | 动画的执行时间 | 必须大于等于 0,否则程序将报错 |
| android:fillAfter | 动画执行完之后是否保留动画结束时的状态 | true 保存,false 不保存(默认 false) |
| android:fillBefore | 动画开始执行之前,是否应用动画的起始状态 | true 应用,false 不应用(默认 true) |
| android:fillEnabled | 该属性决定了 fillBefore 属性能否生效 | true fillBefore 生效,false fillBefore 不生效(默认) |
| android:interpolator | 插值器,决定了动画的变化率 | Android,Custom |
| android:repeatCount | 动画重复的次数 | 整型数字,默认为 0。当为负数时,表示无限循环 |
| android:repeatMode | 当动画的执行次数大于 1 时,下一次动画执行的方式 | 重新开始(默认),反着执行 |
| android:fromXDelta | 动画开始时的 X 轴方向上的起始坐标 | 浮点数或者百分数。 当为浮点数时,表示相对于左边的距离; 当为百分数时(百分数后不带 p,如 5%),表示相对于动画执行目标对象宽度的百分之多少; 当为百分数时(百分数后带 p,如 5%p),表示相对于动画执行目标对象所在父容器宽度的百分之多少; 默认值为 0。 |
| android:fromYDelta | 动画开始时的 Y 轴方向上的起始坐标 | 浮点数或者百分数。 当为浮点数时,表示相对于上边的距离; 当为百分数时(百分数后不带 p,如 5%),表示相对于动画执行目标对象高度的百分之多少; 当为百分数时(百分数后带 p,如 5%p),表示相对于动画执行目标对象所在父容器高度的百分之多少; 默认值为 0。 |
| android:toXDelta | 动画结束时的 X 轴方向上的结束坐标 | 浮点数或者百分数。 当为浮点数时,表示相对于左边的距离; 当为百分数时(百分数后不带 p,如 5%),表示相对于动画执行目标对象宽度的百分之多少; 当为百分数时(百分数后带 p,如 5%p),表示相对于动画执行目标对象所在父容器宽度的百分之多少; 默认值为 0。 |
| android:toYDelta | 动画结束时的 Y 轴方向上的结束坐标 | 浮点数或者百分数。 当为浮点数时,表示相对于上边的距离; 当为百分数时(百分数后不带 p,如 5%),表示相对于动画执行目标对象高度的百分之多少; 当为百分数时(百分数后带 p,如 5%p),表示相对于动画执行目标对象所在父容器高度的百分之多少; 默认值为 0。 |
4.1.3.3. 示例
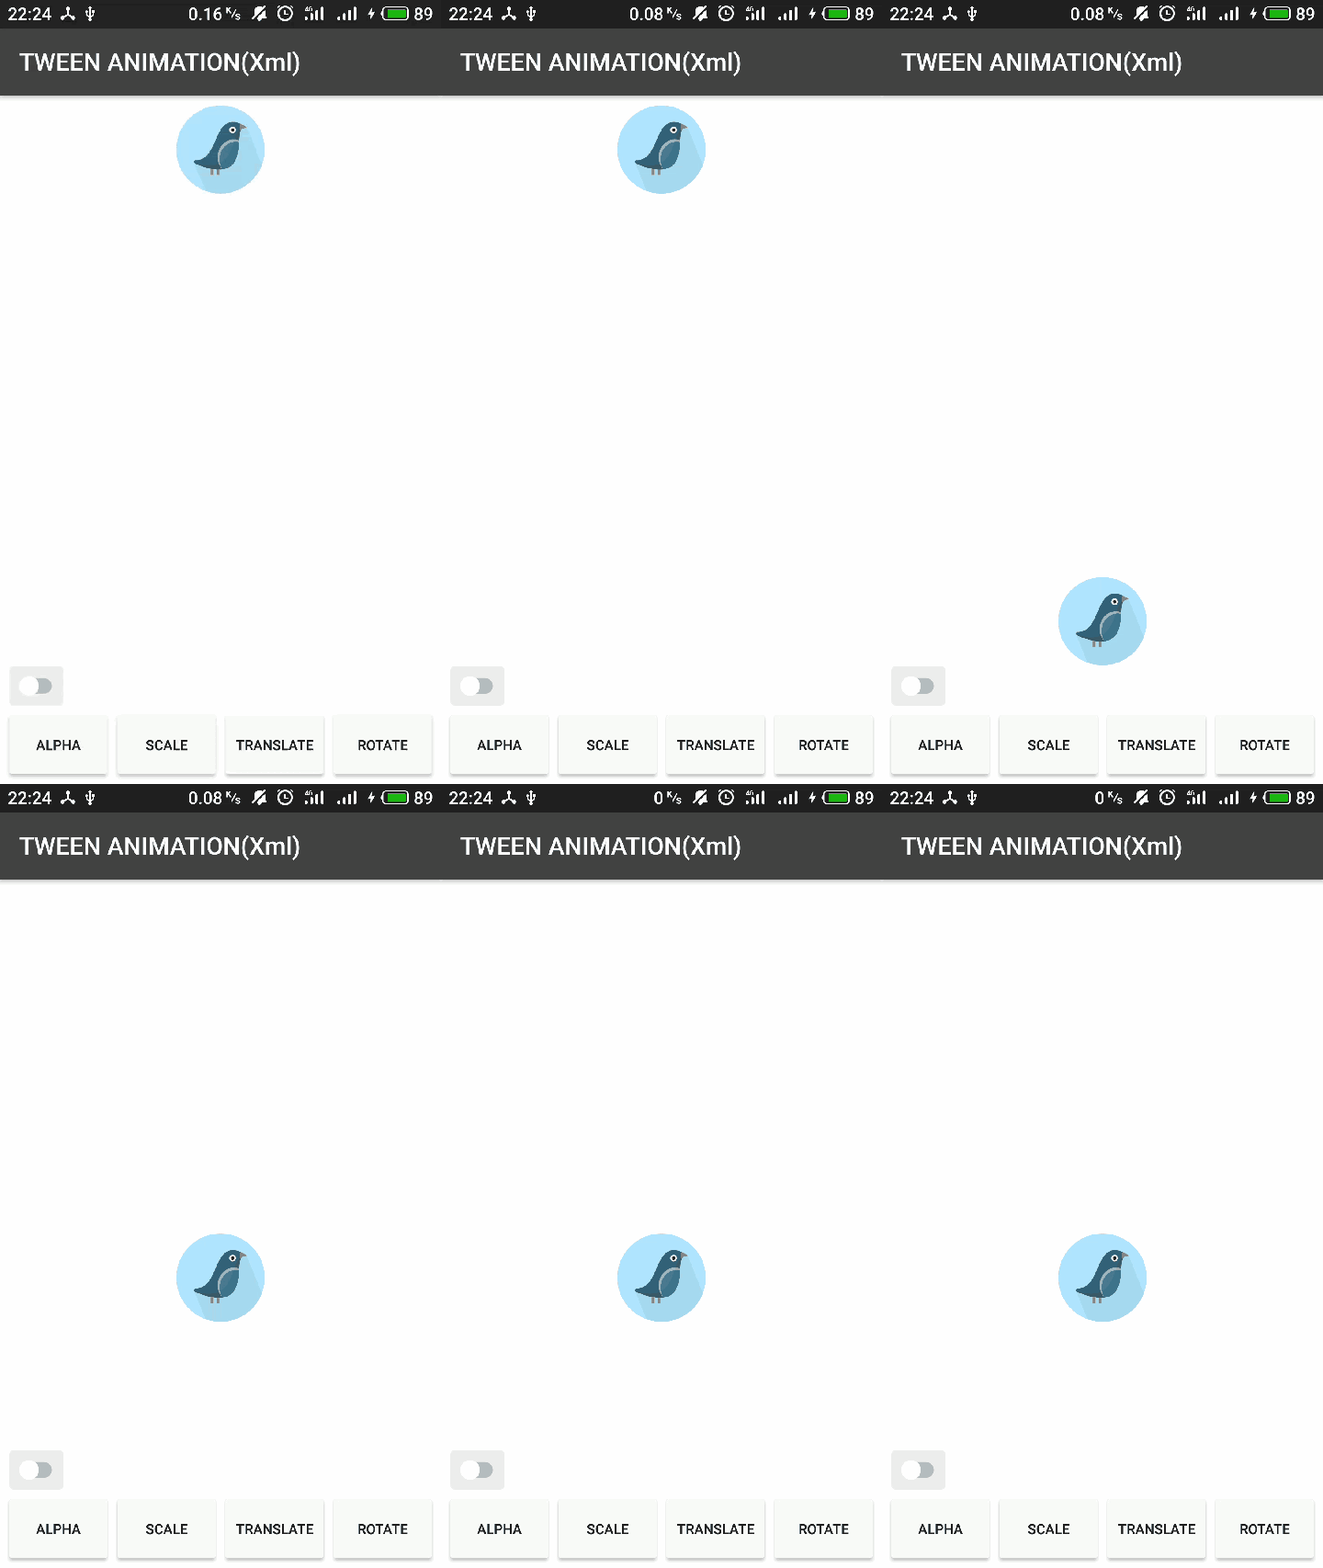
最终效果如下:
4.1.4 通过 XML 创建 RotateAnimation
4.1.4.1. 语法
4.1.4.2. 属性详解
| 属性 | 含义 | 取值范围 |
|---|---|---|
| xmlns:android | 声明 XML 布局文件属性命名空间 | http://schemas.android.com/apk/res/android |
| android:duration | 动画的执行时间 | 必须大于等于 0,否则程序将报错 |
| android:fillAfter | 动画执行完之后是否保留动画结束时的状态 | true 保存,false 不保存(默认 false) |
| android:fillBefore | 动画开始执行之前,是否应用动画的起始状态 | true 应用,false 不应用(默认 true) |
| android:fillEnabled | 该属性决定了 fillBefore 属性能否生效 | true fillBefore 生效,false fillBefore 不生效(默认) |
| android:interpolator | 插值器,决定了动画的变化率 | Android,Custom |
| android:repeatCount | 动画重复的次数 | 整型数字,默认为 0。当为负数时,表示无限循环 |
| android:repeatMode | 当动画的执行次数大于 1 时,下一次动画执行的方式 | 重新开始(默认),反着执行 |
| android:fromDegrees | 动画开始时的角度 | 浮点数,默认值为 0 |
| android:toDegrees | 动画结束时的角度 | 浮点数,默认值为 0 |
| android:pivotX | 动画执行时 X 轴方向上旋转中心(轴心) | 浮点数,默认值为旋转对象的左边 |
| android:pivotY | 动画执行时 Y 轴方向上旋转中心(轴心) | 浮点数,默认值为旋转对象的上边 |
4.1.4.2. 示例
最终效果如下:
最终效果如下:
最终效果如下:
最终效果如下:
由上面几个示例不难看出,此处的 pivot* 和 ScaleAnimation 动画中概念完全一样,所以,只要之前理解了这个概念,在这里也没有什么困难,直接用就好了。
4.1.5 通过 XML 创建 AnimationSet
4.1.5.1. 语法
...
4.1.5.2. 属性详解
| 属性 | 含义 | 取值范围 |
|---|---|---|
| xmlns:android | 声明 XML 布局文件属性命名空间 | http://schemas.android.com/apk/res/android |
| android:interpolator | 插值器,决定了动画的变化率 | Android,Custom |
| android:shareInterpolator | 多个子动画是否共用插值器 | true 共用,false 不共用(默认) |
4.1.5.3. 示例
最终效果如下:
4.2 通过 CODE 创建 Tween Animation
在 Android 中,大多数情况下,能通过 XML 实现的功能几乎也能通过代码实现,接下来,让我们看下如何通过代码实现上面的动画。
4.2.1 通过 CODE 创建 AlphaAnimation
4.2.1.1. 语法
AlphaAnimation alphaAnimation = new AlphaAnimation(float fromAlpha, float toAlpha);
alphaAnimation.setInterpolator(Interpolator i);
alphaAnimation.setDuration(long durationMillis);
AnimationTarget.startAnimation(alphaAnimation);
4.2.1.2. 示例
AlphaAnimation alphaAnimation = new AlphaAnimation(1.0f, 0.1f);
alphaAnimation.setInterpolator(new AccelerateInterpolator());
alphaAnimation.setFillAfter(mIsSaveAnimationState);
alphaAnimation.setDuration(800);
mTarget.startAnimation(alphaAnimation);
最终效果如下:
4.2.2 通过 CODE 创建 ScaleAnimation
4.2.2.1. 语法
ScaleAnimation scaleAnimation = new ScaleAnimation(float fromX, float toX, float fromY, float toY, int pivotXType, float pivotXValue, int pivotYType, float pivotYValue);
scaleAnimation.setInterpolator(Interpolator i);
scaleAnimation.setDuration(long durationMillis);
AnimationTarget.startAnimation(scaleAnimation);
4.2.2.2. 示例
ScaleAnimation scaleAnimation = new ScaleAnimation(1f, 2f, 1f, 2f, Animation.RELATIVE_TO_SELF, 0.5f, Animation.RELATIVE_TO_SELF, 0.5f);
scaleAnimation.setInterpolator(new AccelerateInterpolator());
scaleAnimation.setFillAfter(mIsSaveAnimationState);
scaleAnimation.setDuration(800);
mTarget.startAnimation(scaleAnimation);
最终效果如下:
4.2.3 通过 CODE 创建 TranslateAnimation
4.2.3.1. 语法
TranslateAnimation translateAnimation = new TranslateAnimation(float fromXDelta, float toXDelta, float fromYDelta, float toYDelta);
translateAnimation.setInterpolator(Interpolator i);
translateAnimation.setDuration(long durationMillis);
AnimationTarget.startAnimation(translateAnimation);
4.2.3.2. 示例
TranslateAnimation translateAnimation = new TranslateAnimation(0f, 200f, 0f, 200f);
translateAnimation.setInterpolator(new AccelerateInterpolator());
translateAnimation.setFillAfter(mIsSaveAnimationState);
translateAnimation.setDuration(800);
mTarget.startAnimation(translateAnimation);
最终效果如下:
4.2.4 通过 CODE 创建 RotateAnimation
4.2.4.1. 语法
RotateAnimation rotateAnimation = new RotateAnimation(float fromDegrees, float toDegrees, int pivotXType, float pivotXValue, int pivotYType, float pivotYValue);
rotateAnimation.setInterpolator(Interpolator i);
rotateAnimation.setDuration(long durationMillis);
AnimationTarget.startAnimation(rotateAnimation);
4.2.4.2. 示例
RotateAnimation rotateAnimation = new RotateAnimation(0f, 360f, Animation.RELATIVE_TO_SELF, 0.5f, Animation.RELATIVE_TO_SELF, 0.5f);
rotateAnimation.setInterpolator(new AccelerateInterpolator());
rotateAnimation.setFillAfter(mIsSaveAnimationState);
rotateAnimation.setDuration(800);
mTarget.startAnimation(rotateAnimation);
最终效果如下:
4.2.5 通过 CODE 创建 AnimationSet
4.2.5.1. 语法
AnimationSet animationSet = new AnimationSet(boolean shareInterpolator);
animationSet.addAnimation(Animation a)
...
AnimationTarget.startAnimation(animationSet);
4.2.5.2. 示例
AlphaAnimation alphaAnimation = new AlphaAnimation(1.0f, 0.5f);
alphaAnimation.setInterpolator(new AccelerateInterpolator());
alphaAnimation.setFillAfter(mIsSaveAnimationState);
alphaAnimation.setDuration(800);

ScaleAnimation scaleAnimation = new ScaleAnimation(1f, 2f, 1f, 2f, Animation.RELATIVE_TO_SELF, 0.5f, Animation.RELATIVE_TO_SELF, 0.5f);
scaleAnimation.setInterpolator(new AccelerateInterpolator());
scaleAnimation.setFillAfter(mIsSaveAnimationState);
scaleAnimation.setDuration(800);

RotateAnimation rotateAnimation = new RotateAnimation(0f, 360f, Animation.RELATIVE_TO_SELF, 0.5f, Animation.RELATIVE_TO_SELF, 0.5f);
rotateAnimation.setInterpolator(new AccelerateInterpolator());
rotateAnimation.setFillAfter(mIsSaveAnimationState);
rotateAnimation.setDuration(800);

AnimationSet animationSet = new AnimationSet(false);
animationSet.setFillAfter(true);
animationSet.addAnimation(alphaAnimation);
animationSet.addAnimation(scaleAnimation);
animationSet.addAnimation(rotateAnimation);
mTarget.startAnimation(animationSet);
最终效果如下:
5. 自定义插值器
5.1 什么是插值器,插值器的作用是什么?
插值器是动画执行速率调节器,主要用来控制动画的变化率。
5.2 常用的插值器有哪些?
5.2.1 常用插值器汇总
| 类名 | ID | 作用 |
|---|---|---|
| AccelerateDecelerateInterpolator | @android:anim/accelerate_decelerate_interpolator | 加速,减速 |
| AccelerateInterpolator | @android:anim/accelerate_interpolator | 加速 |
| AnticipateInterpolator | @android:anim/anticipate_interpolator | 迂回,加速 |
| AnticipateOvershootInterpolator | @android:anim/anticipate_overshoot_interpolator | 迂回,加速超出,返回终点 |
| BounceInterpolator | @android:anim/bounce_interpolator | 弹性 |
| CycleInterpolator | @android:anim/cycle_interpolator | 变化一圈(正弦曲线) |
| DecelerateInterpolator | @android:anim/decelerate_interpolator | 减速 |
| LinearInterpolator | @android:anim/linear_interpolator | 线性 |
| OvershootInterpolator | @android:anim/overshoot_interpolator | 加速 超出,返回终点 |
5.2.2 插值器示例
5.2.2.1 AccelerateDecelerateInterpolator
最终效果如下:
5.2.2.2 AccelerateInterpolator
最终效果如下:
5.2.2.3 AnticipateInterpolator
最终效果如下:
5.2.2.4 AnticipateOvershootInterpolator
最终效果如下:
5.2.2.5 BounceInterpolator
最终效果如下:
5.2.2.6 CycleInterpolator
最终效果如下:
5.2.2.7 DecelerateInterpolator
最终效果如下:
5.2.2.8 LinearInterpolator
最终效果如下:
5.2.2.9 OvershootInterpolator
最终效果如下:
5.3 自定义插值器的方式有哪些?
自定义插值器的方式有两种:
- XML
- CODE
5.4 如何自定义插值器
5.4.1. 通过 XML 自定义插值器
通过 XML 自定义插值器的时候,限制性比较大,因为系统只提供了部分插值器的自定义,如 AccelerateInterpolator,有些插值器是不支持自定义的,如 AccelerateDecelerateInterpolator。
接下来,我们就学习下如何自定义 AccelerateInterpolator。
AccelerateInterpolator 中可以自定义的属性只有:android:factor
android:factor 加速的比率(The acceleration rate),默认值为 1。
- 默认值
最终效果如下:
- 自定义
最终效果如下:
可以通过 XML 自定义插值器,除了 AccelerateInterpolator,还有很多,以下是具体列表:
| 序号 | 类名 |
|---|---|
| 1 | AccelerateInterpolator |
| 2 | AnticipateInterpolator |
| 3 | AnticipateOvershootInterpolator |
| 4 | CycleInterpolator |
| 5 | DecelerateInterpolator |
| 6 | OvershootInterpolator |
5.4.2. 通过 CODE 自定义插值器
相对于通过 XML 自定义插值器而言,通过 CODE 自定义插值器就没有那么多限制,可以说唯一能限制你的是你的想象力。
通过代码自定义插值器其实也很简单,只要实现 Interpolator 接口,并实现其中的方法(getInterpolation)就好了。接下来,我们先看下 Google 官方是如何实现插值器的。
//AccelerateDecelerateInterpolator

package android.view.animation;

import android.content.Context;
import android.util.AttributeSet;

import com.android.internal.view.animation.HasNativeInterpolator;
import com.android.internal.view.animation.NativeInterpolatorFactory;
import com.android.internal.view.animation.NativeInterpolatorFactoryHelper;

/**
 * An interpolator where the rate of change starts and ends slowly but
 * accelerates through the middle.
 */
@HasNativeInterpolator
public class AccelerateDecelerateInterpolator extends BaseInterpolator
        implements NativeInterpolatorFactory {
    public AccelerateDecelerateInterpolator() {
    }

    @SuppressWarnings({"UnusedDeclaration"})
    public AccelerateDecelerateInterpolator(Context context, AttributeSet attrs) {
    }

    public float getInterpolation(float input) {
        return (float)(Math.cos((input + 1) * Math.PI) / 2.0f) + 0.5f;
    }

    /** @hide */
    @Override
    public long createNativeInterpolator() {
        return NativeInterpolatorFactoryHelper.createAccelerateDecelerateInterpolator();
    }
}
上面是 AccelerateDecelerateInterpolator 的具体实现,通过代码可知,AccelerateDecelerateInterpolator 是通过余弦函数实现的:
上图中用蓝色框圈出的部分即为 AccelerateDecelerateInterpolator 具体算法实现。
明白了上面的道理之后,我们就可以自定义插值器。既然 Google 提供了 AccelerateDecelerateInterpolator,那我们就来实现一个 DecelerateAccelerateInterpolator。
由 AccelerateDecelerateInterpolator 应用的函数曲线图可以发现,在 AccelerateDecelerateInterpolator 中,加速的过程是函数曲线斜率逐渐增大的过程,减速的过程是函数曲线斜率逐渐减小的过程。明白这个之后,如何自定义 DecelerateAccelerateInterpolator 就更明确了:
找一个开始时斜率逐渐减小,当过了某个临界点之后,斜率又逐渐增加的曲线。
大概就是下面这个样子:
赶紧回忆下,在我们初、高中学习的过程中有没有哪个函数的曲线跟上面的这个相似的?当然有,三次函数和正切函数。接下来,我们用正切函数实现。
上图中用蓝色框圈出的部分即是 DecelerateAccelerateInterpolator 实现的理论基础,接下来,只需要在对这个函数稍作修改即可:
- Interpolator 接口中 getInterpolation 方法中 input 的取值范围为 [0,1],而蓝色框圈出的 X 的取值范围为 [-π/4,π/4],所以,需要将 [0,1] 转换为 [-π/4,π/4]:
π/2 * input - π/4
- 正切函数在 [-π/4,π/4] 取值范围内,相应的函数值的取值范围为[-1,1],而 getInterpolation 最终返回值的取值范围为 [0,1],所以,需要将 [-1,1] 转换为 [0,1]:
(tan(π/2 * input - π/4) + 1)/2
因此最终的实现为:
public class DecelerateAccelerateInterpolator implements Interpolator {

    @Override
    public float getInterpolation(float input) {
        return (float) ((Math.tan(Math.PI/2 * input - Math.PI/4) + 1)/2);
    }

}
TranslateAnimation translateAnimation = new TranslateAnimation(0f, 0f, 0f, 800f);
translateAnimation.setInterpolator(new DecelerateAccelerateInterpolator());
translateAnimation.setFillAfter(mIsSaveAnimationState);
translateAnimation.setDuration(1800);
mTarget.startAnimation(translateAnimation);
最终效果如下:
6. 应用实例
Tween Animation 应用场景还是很多的,如控制界面中元素的显示、隐藏:
我在这里只是抛砖引玉而已,具体如何使用,还要靠大家发挥自己的想象力。
7. 参考文献
- Animation resources
- Interpolator
- 强大绘图工具

