版本记录
| 版本号 | 时间 |
|---|---|
| V1.0 | 2018.01.17 |
前言
CAShapeLayer类是我们经常用到的类,平时也就用一下其基本用法,但是很少详细的翻出来它的开发文档仔细研究下,下面,我就带领大家详细的研究下这个类,详细的看一下它的用法。感兴趣的可以看上面写的几篇。
1. CAShapeLayer类解析(一) —— 基本概览
CAShapeLayer使用
其实关于CAShapeLayer的使用,如果认真看其API文档的话,无非就是一些属性的基本使用,因为该类是没有方法暴露出来的,都是属性,下面我们讲述其基本用法也是基本围绕其属性和相关效果的演示为主。
1. @property(nullable) CGPathRef path;
定义要渲染的形状的路径。 如果路径延伸到图层边界之外,不会自动被图层剪切,则只有在正常的图层遮罩规则才会实现自动剪切。 分配后,路径被复制。 缺省为nil,可动画。 (请注意,虽然path属性是可动画的,但是当属性改变时,不会创建隐式动画。)
下面我们看一个简单示例。
#import "ViewController.h"

@interface ViewController ()

@property (nonatomic, strong) CAShapeLayer *newlayer;

@end

@implementation ViewController

#pragma mark -  Override Base Function

- (void)viewDidLoad
{
    [super viewDidLoad];

    [self initUI];
}

#pragma mark -  Object Private Function

- (void)initUI
{
    [self drawRoundView:CGPointMake(200.0, 300.0) withStartAngle:0 withEndAngle:M_PI * 2 withRadius:100.0];
}

- (void)drawRoundView:(CGPoint)centerPoint withStartAngle:(CGFloat)startAngle withEndAngle:(CGFloat)endAngle withRadius:(CGFloat)radius
{
    UIBezierPath *path = [UIBezierPath bezierPath];
    [path addArcWithCenter:centerPoint radius:radius startAngle:startAngle endAngle:endAngle clockwise:YES];
    self.newlayer = [CAShapeLayer layer];
    self.newlayer.path = path.CGPath;
    self.newlayer.strokeColor = [UIColor blueColor].CGColor;
    self.newlayer.fillColor = [UIColor clearColor].CGColor;
    self.newlayer.lineWidth = 2;
    self.newlayer.frame = self.view.bounds;
    [self.view.layer addSublayer:self.newlayer];

    //动画显示圆则调用
    [self drawLineAnimation:self.newlayer];
}

- (void)drawLineAnimation:(CALayer*)layer
{
    CABasicAnimation *bas = [CABasicAnimation animationWithKeyPath:@"strokeEnd"];
    bas.duration = 3;
    bas.fromValue = [NSNumber numberWithInteger:0];
    bas.toValue = [NSNumber numberWithInteger:1];
    [layer addAnimation:bas forKey:@"key"];
}

@end
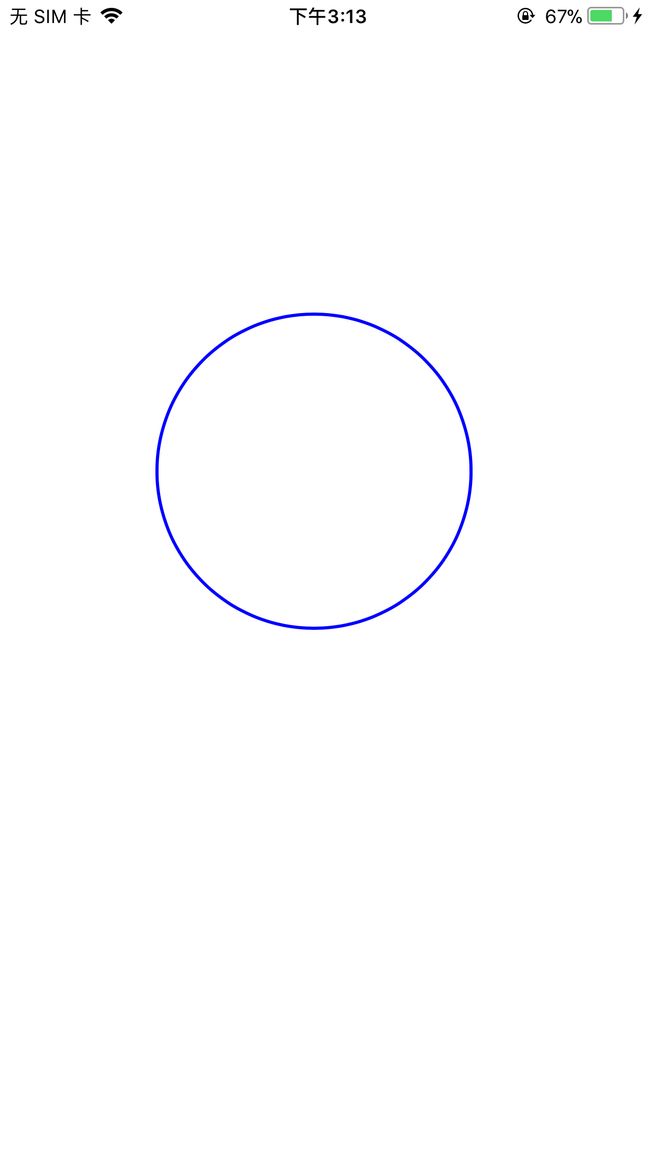
下面看一下效果图
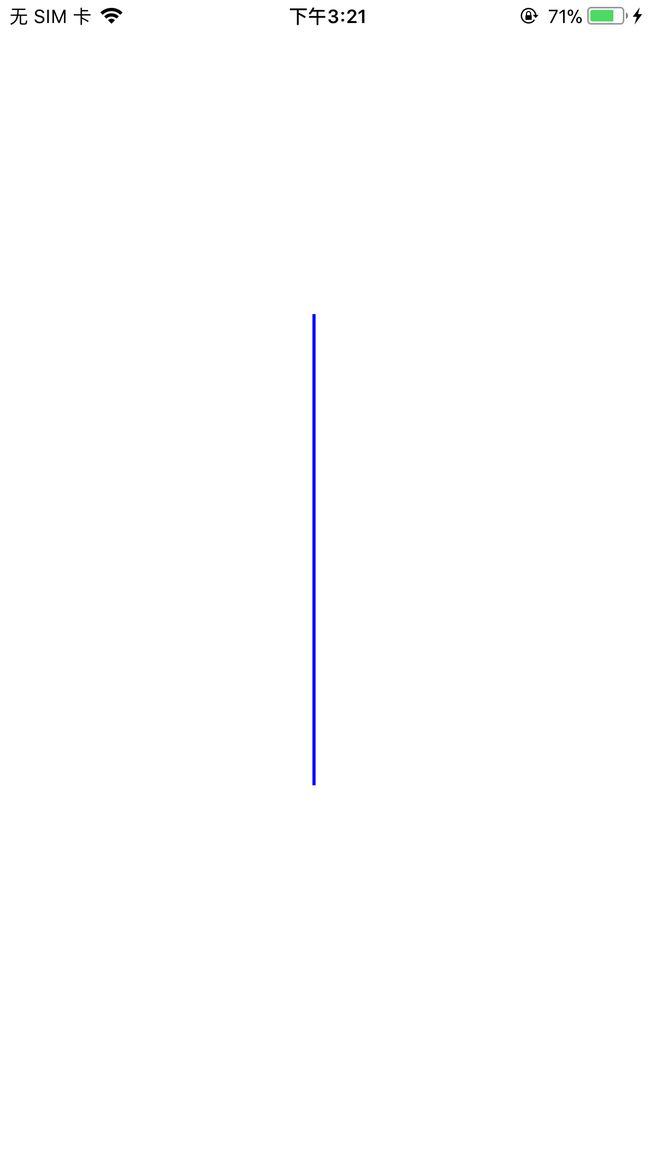
这里路径是可以随意更换的,比如我们换成一个直线
    UIBezierPath *path = [UIBezierPath bezierPath];
//    [path addArcWithCenter:centerPoint radius:radius startAngle:startAngle endAngle:endAngle clockwise:YES];
    [path moveToPoint:CGPointMake(200.0, 200.0)];
    [path addLineToPoint:CGPointMake(200.0, 500.0)];
然后看一下效果图
你可以切换成你任何感兴趣的路径,具体可以参考类UIBezierPath,后面我也会详细的讲述这个类的使用。
2. @property(nullable) CGColorRef fillColor;
填充路径的颜色,或无填充时为nil。 默认为不透明的黑色,可动画。
其实对于上面的例子,如果我不添加这句代码
self.newlayer.fillColor = [UIColor clearColor].CGColor;
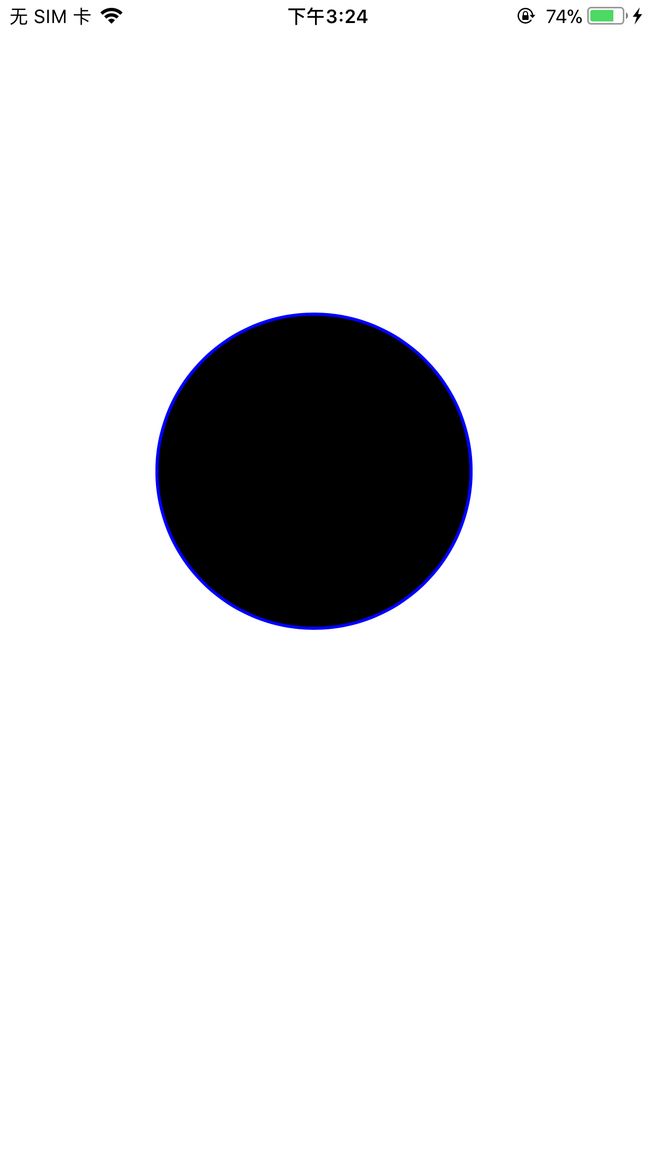
那么效果就是这样的
这也证实了填充颜色是有默认值的,那就是黑色的,只有给clearColor才没有填充的效果。
下面我们就动画一个这个fillColor属性,下面看一下代码
#import "ViewController.h"

@interface ViewController ()

@property (nonatomic, strong) CAShapeLayer *newlayer;

@end

@implementation ViewController

#pragma mark -  Override Base Function

- (void)viewDidLoad
{
    [super viewDidLoad];

    [self initUI];
}

#pragma mark -  Object Private Function

- (void)initUI
{
    [self drawRoundView:CGPointMake(200.0, 300.0) withStartAngle:0 withEndAngle:M_PI * 2 withRadius:100.0];
}

- (void)drawRoundView:(CGPoint)centerPoint withStartAngle:(CGFloat)startAngle withEndAngle:(CGFloat)endAngle withRadius:(CGFloat)radius
{
    UIBezierPath *path = [UIBezierPath bezierPath];
    [path addArcWithCenter:centerPoint radius:radius startAngle:startAngle endAngle:endAngle clockwise:YES];
    self.newlayer = [CAShapeLayer layer];
    self.newlayer.path = path.CGPath;
    self.newlayer.strokeColor = [UIColor blueColor].CGColor;
    self.newlayer.lineWidth = 2;
    self.newlayer.frame = self.view.bounds;
    [self.view.layer addSublayer:self.newlayer];

    //动画显示圆则调用
    [self drawLineAnimation:self.newlayer];
}

- (void)drawLineAnimation:(CALayer*)layer
{
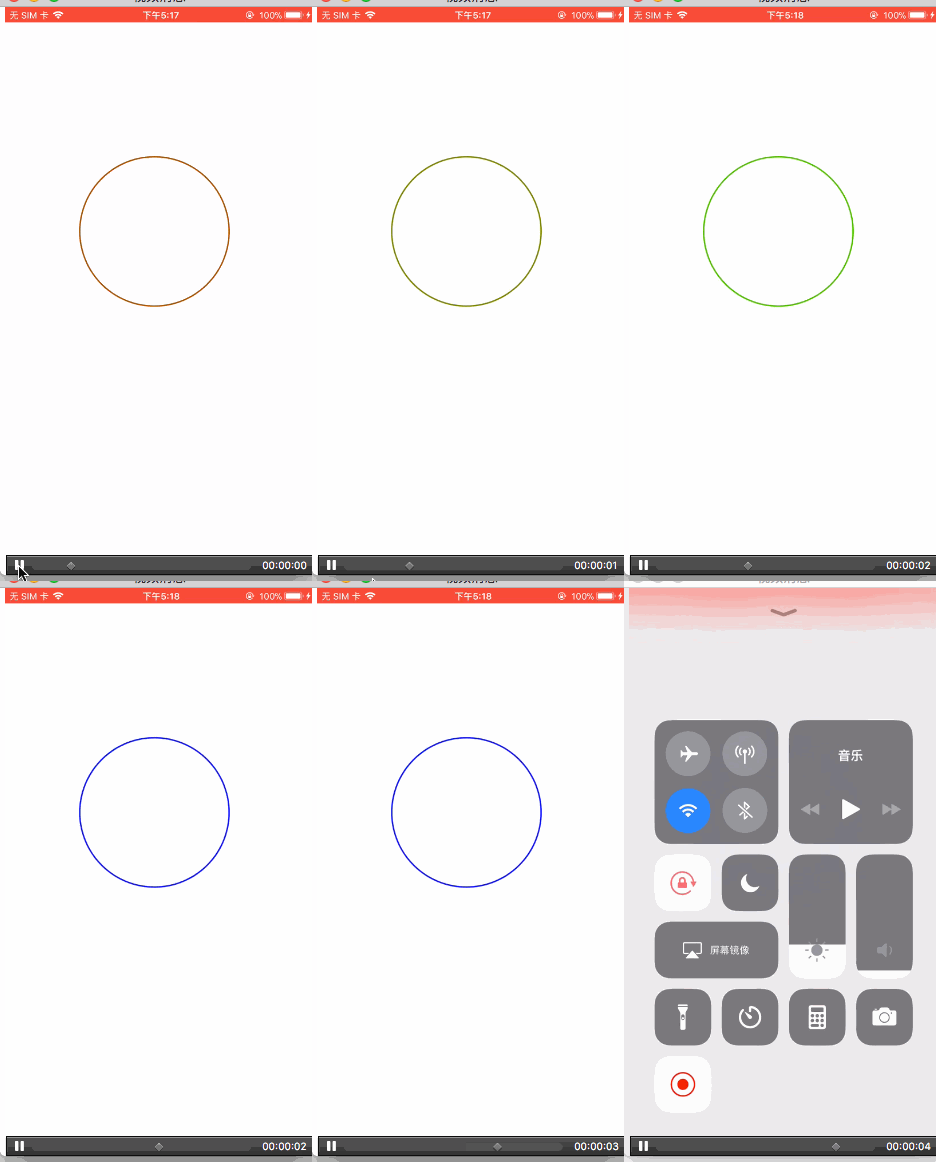
    CABasicAnimation *bas = [CABasicAnimation animationWithKeyPath:@"fillColor"];
    bas.duration = 3;
    bas.fromValue = (__bridge id)[UIColor redColor].CGColor;
    bas.toValue = (__bridge id)[UIColor greenColor].CGColor;
    [layer addAnimation:bas forKey:@"key"];
}

@end
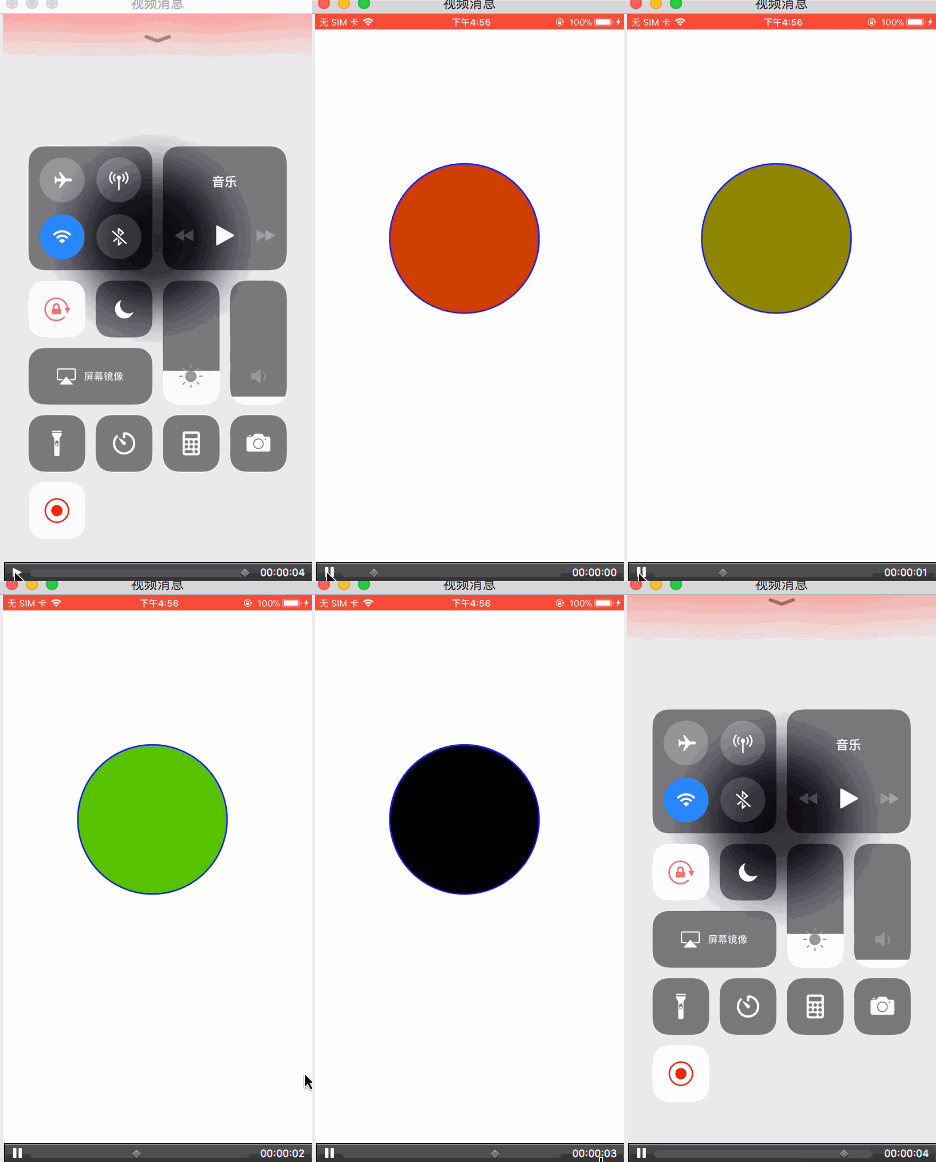
下面我们就看一下动画效果
大家可以发现,是可以实现由红色到绿色填充的动画,但是动画结束后,又回到了默认填充颜色 - 黑色。
3. @property(nullable) CGColorRef strokeColor;
这个属性用于设置描边的颜色,如果不需要描边就传nil,默认就是nil,该属性还是可动画的。
下面我们看一下,描边的效果。
#import "ViewController.h"

@interface ViewController ()

@property (nonatomic, strong) CAShapeLayer *newlayer;

@end

@implementation ViewController

#pragma mark -  Override Base Function

- (void)viewDidLoad
{
    [super viewDidLoad];

    [self initUI];
}

#pragma mark -  Object Private Function

- (void)initUI
{
    [self drawRoundView:CGPointMake(200.0, 300.0) withStartAngle:0 withEndAngle:M_PI * 2 withRadius:100.0];
}

- (void)drawRoundView:(CGPoint)centerPoint withStartAngle:(CGFloat)startAngle withEndAngle:(CGFloat)endAngle withRadius:(CGFloat)radius
{
    UIBezierPath *path = [UIBezierPath bezierPath];
    [path addArcWithCenter:centerPoint radius:radius startAngle:startAngle endAngle:endAngle clockwise:YES];
    self.newlayer = [CAShapeLayer layer];
    self.newlayer.path = path.CGPath;
    self.newlayer.strokeColor = [UIColor blueColor].CGColor;
    self.newlayer.fillColor = [UIColor clearColor].CGColor;
    self.newlayer.lineWidth = 2;
    self.newlayer.frame = self.view.bounds;
    [self.view.layer addSublayer:self.newlayer];
}

@end
下面看一下效果
下面我们在动画一个这个属性,还是先看代码。
#import "ViewController.h"

@interface ViewController ()

@property (nonatomic, strong) CAShapeLayer *newlayer;

@end

@implementation ViewController

#pragma mark -  Override Base Function

- (void)viewDidLoad
{
    [super viewDidLoad];

    [self initUI];
}

#pragma mark -  Object Private Function

- (void)initUI
{
    [self drawRoundView:CGPointMake(200.0, 300.0) withStartAngle:0 withEndAngle:M_PI * 2 withRadius:100.0];
}

- (void)drawRoundView:(CGPoint)centerPoint withStartAngle:(CGFloat)startAngle withEndAngle:(CGFloat)endAngle withRadius:(CGFloat)radius
{
    UIBezierPath *path = [UIBezierPath bezierPath];
    [path addArcWithCenter:centerPoint radius:radius startAngle:startAngle endAngle:endAngle clockwise:YES];
    self.newlayer = [CAShapeLayer layer];
    self.newlayer.path = path.CGPath;
    self.newlayer.strokeColor = [UIColor blueColor].CGColor;
    self.newlayer.fillColor = [UIColor clearColor].CGColor;
    self.newlayer.lineWidth = 2;
    self.newlayer.frame = self.view.bounds;
    [self.view.layer addSublayer:self.newlayer];

    //动画显示圆则调用
    [self drawLineAnimation:self.newlayer];
}

- (void)drawLineAnimation:(CALayer*)layer
{
    CABasicAnimation *bas = [CABasicAnimation animationWithKeyPath:@"strokeColor"];
    bas.duration = 3;
    bas.fromValue = (__bridge id)[UIColor redColor].CGColor;
    bas.toValue = (__bridge id)[UIColor greenColor].CGColor;
    [layer addAnimation:bas forKey:@"key"];
}

@end
下面看一下实现效果。
还是从红色变成绿色,再到蓝色这样的动画效果。
4. @property CGFloat strokeStart;和@property CGFloat strokeEnd;
这些值定义了用于绘制描边轮廓的路径的子区域。 值必须在[0,1]的范围内,其中0表示路径的开始,1表示结束。 介于0和1之间的值沿路径长度线性插值。strokeStart默认为零,strokeEnd默认为1。 两者都是可以动画的。
下面我们就动画下strokeEnd这个属性,还是先看代码。
#import "ViewController.h"

@interface ViewController ()

@property (nonatomic, strong) CAShapeLayer *newlayer;

@end

@implementation ViewController

#pragma mark -  Override Base Function

- (void)viewDidLoad
{
    [super viewDidLoad];

    [self initUI];
}

#pragma mark -  Object Private Function

- (void)initUI
{
    [self drawRoundView:CGPointMake(200.0, 300.0) withStartAngle:0 withEndAngle:M_PI * 2 withRadius:100.0];
}

- (void)drawRoundView:(CGPoint)centerPoint withStartAngle:(CGFloat)startAngle withEndAngle:(CGFloat)endAngle withRadius:(CGFloat)radius
{
    UIBezierPath *path = [UIBezierPath bezierPath];
    [path addArcWithCenter:centerPoint radius:radius startAngle:startAngle endAngle:endAngle clockwise:YES];
    self.newlayer = [CAShapeLayer layer];
    self.newlayer.path = path.CGPath;
    self.newlayer.strokeColor = [UIColor blueColor].CGColor;
    self.newlayer.fillColor = [UIColor clearColor].CGColor;
    self.newlayer.lineWidth = 2;
    self.newlayer.strokeStart = 0.1;
    self.newlayer.frame = self.view.bounds;
    [self.view.layer addSublayer:self.newlayer];

    //动画显示圆则调用
    [self drawLineAnimation:self.newlayer];
}

- (void)drawLineAnimation:(CALayer*)layer
{
    CABasicAnimation *bas = [CABasicAnimation animationWithKeyPath:@"strokeEnd"];
    bas.duration = 3;
    bas.fromValue = @0.1;
    bas.toValue = @0.9;
    [layer addAnimation:bas forKey:@"key"];
}

@end
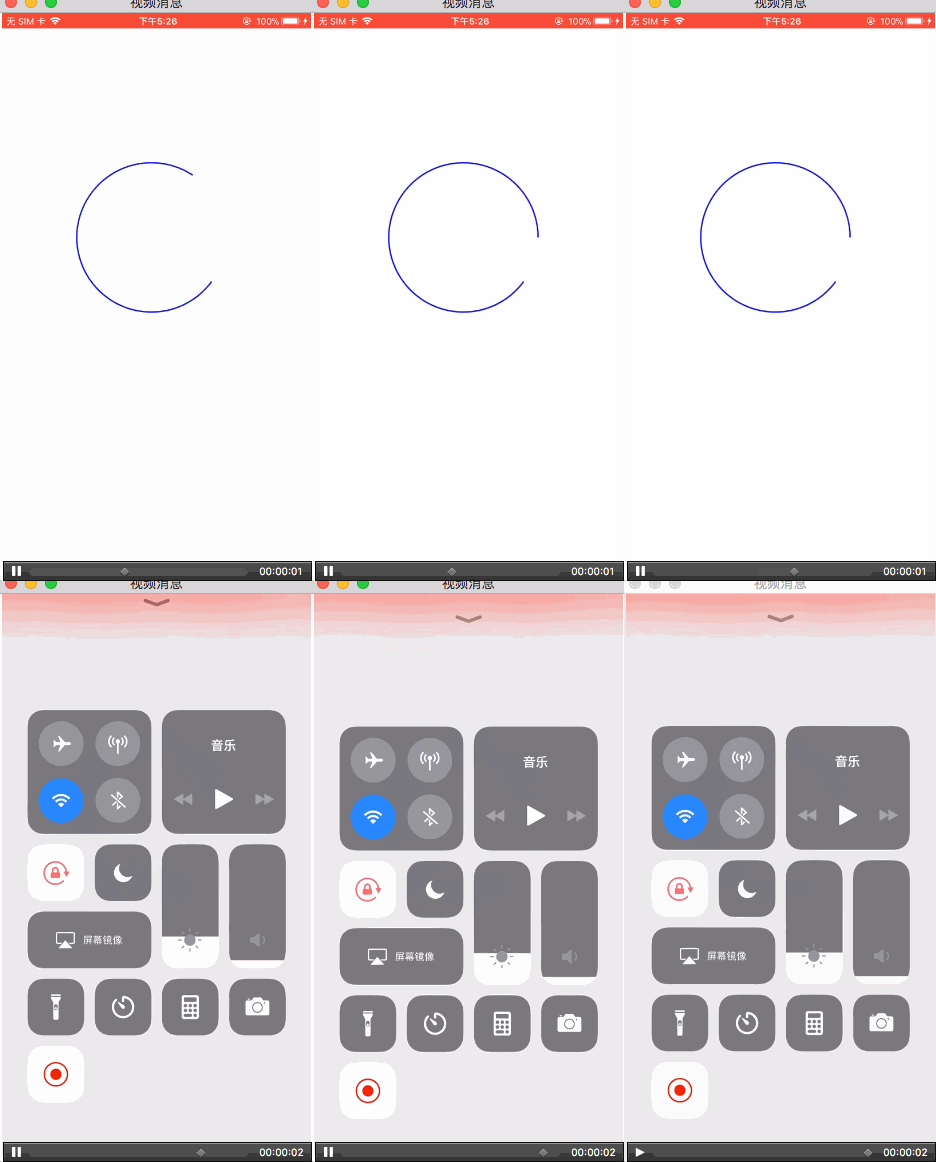
下面我们就看一下效果
这个strokeEnd就自动从0.1变化到0.9。
5. @property CGFloat lineWidth;
描边操作的线宽,默认为1,可动画,下面我们就看一下动画效果,先看代码。
#import "ViewController.h"

@interface ViewController ()

@property (nonatomic, strong) CAShapeLayer *newlayer;

@end

@implementation ViewController

#pragma mark -  Override Base Function

- (void)viewDidLoad
{
    [super viewDidLoad];

    [self initUI];
}

#pragma mark -  Object Private Function

- (void)initUI
{
    [self drawRoundView:CGPointMake(200.0, 300.0) withStartAngle:0 withEndAngle:M_PI * 2 withRadius:100.0];
}

- (void)drawRoundView:(CGPoint)centerPoint withStartAngle:(CGFloat)startAngle withEndAngle:(CGFloat)endAngle withRadius:(CGFloat)radius
{
    UIBezierPath *path = [UIBezierPath bezierPath];
    [path addArcWithCenter:centerPoint radius:radius startAngle:startAngle endAngle:endAngle clockwise:YES];
    self.newlayer = [CAShapeLayer layer];
    self.newlayer.path = path.CGPath;
    self.newlayer.strokeColor = [UIColor blueColor].CGColor;
    self.newlayer.fillColor = [UIColor clearColor].CGColor;
    self.newlayer.lineWidth = 2;
    self.newlayer.strokeStart = 0.1;
    self.newlayer.frame = self.view.bounds;
    [self.view.layer addSublayer:self.newlayer];

    //动画显示圆则调用
    [self drawLineAnimation:self.newlayer];
}

- (void)drawLineAnimation:(CALayer*)layer
{
    CABasicAnimation *bas = [CABasicAnimation animationWithKeyPath:@"lineWidth"];
    bas.duration = 3;
    bas.fromValue = @3;
    bas.toValue = @10;
    [layer addAnimation:bas forKey:@"key"];
}

@end
下面看一下实现效果
这就实现了宽度的动画效果。
6. @property CGFloat miterLimit;
绘制路径时使用的斜接限制, 默认为10,可动画。
斜接长度指的是在两条线交汇处内角和外角之间的距离。如下图所示。
只有lineJoin属性为kCALineJoinMiter时miterLimit才有效,边角的角度越小,斜接长度就会越大。
为了避免斜接长度过长,我们可以使用 miterLimit 属性。如果斜接长度超过 miterLimit 的值,边角会以 lineJoin的 "bevel"即kCALineJoinBevel类型来显示。
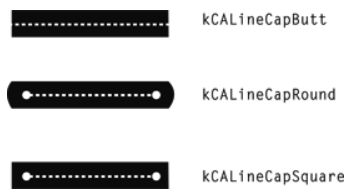
7. @property(copy) NSString *lineCap;
绘制路径时使用的帽样式。 选项是miter, round和bevel。 默认为butt。
下面看一下这三个值。
/* `lineCap' values. */

CA_EXTERN NSString *const kCALineCapButt
    CA_AVAILABLE_STARTING (10.6, 3.0, 9.0, 2.0);
CA_EXTERN NSString *const kCALineCapRound
    CA_AVAILABLE_STARTING (10.6, 3.0, 9.0, 2.0);
CA_EXTERN NSString *const kCALineCapSquare
    CA_AVAILABLE_STARTING (10.6, 3.0, 9.0, 2.0);
那这个属性表示什么呢?下面我们就看一下。
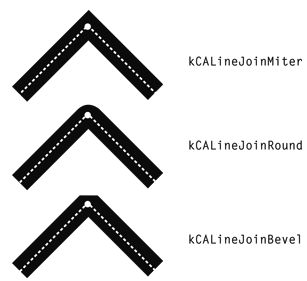
8. @property(copy) NSString *lineJoin;
绘制路径时使用的连接样式,选项有miter, round和 bevel,默认是miter。下面看一下这几个值。
/* `lineJoin' values. */

CA_EXTERN NSString *const kCALineJoinMiter
    CA_AVAILABLE_STARTING (10.6, 3.0, 9.0, 2.0);
CA_EXTERN NSString *const kCALineJoinRound
    CA_AVAILABLE_STARTING (10.6, 3.0, 9.0, 2.0);
CA_EXTERN NSString *const kCALineJoinBevel
    CA_AVAILABLE_STARTING (10.6, 3.0, 9.0, 2.0);
9. @property(nullable, copy) NSArray *lineDashPattern;
设置边线的样式,默认为实线,该数组为一个NSNumber数组,数组中的数值依次表示虚线中单个线的长度,和空白的长度,如:数组@[2,2,3,4] 表示 有长度为2的线,长度为2的空白,长度为3的线,长度为4的空白,不断循环后组成的虚线。如图:
默认为nil。
10. @property CGFloat lineDashPhase;
边线样式的起始位置,即,如果lineDashPattern设置为@[@2, @2, @3, @4],lineDashPhase即为第一个长度为2的线的起始位置,默认值为0,可动画。
下面我们看一下代码。
#import "ViewController.h"

@interface ViewController ()

@property (nonatomic, strong) CAShapeLayer *newlayer;

@end

@implementation ViewController

#pragma mark -  Override Base Function

- (void)viewDidLoad
{
    [super viewDidLoad];

    [self initUI];
}

#pragma mark -  Object Private Function

- (void)initUI
{
    [self drawRoundView:CGPointMake(200.0, 300.0) withStartAngle:0 withEndAngle:M_PI * 2 withRadius:100.0];
}

- (void)drawRoundView:(CGPoint)centerPoint withStartAngle:(CGFloat)startAngle withEndAngle:(CGFloat)endAngle withRadius:(CGFloat)radius
{
    UIBezierPath *path = [UIBezierPath bezierPath];
    [path addArcWithCenter:centerPoint radius:radius startAngle:startAngle endAngle:endAngle clockwise:YES];
    self.newlayer = [CAShapeLayer layer];
    self.newlayer.path = path.CGPath;
    self.newlayer.strokeColor = [UIColor blueColor].CGColor;
    self.newlayer.fillColor = [UIColor clearColor].CGColor;
    self.newlayer.lineWidth = 2;
    self.newlayer.frame = self.view.bounds;
    self.newlayer.lineDashPattern = @[@2, @3, @4, @5];
    self.newlayer.lineDashPhase = 1;
    [self.view.layer addSublayer:self.newlayer];
}

@end
下面看一下实现效果。
可以看见实现的线长和间隔。
后记
这一篇结束了,相关的还会继续更新~~~
