本教程总共5篇,每日更新一篇,请关注我们!你可以进入历史消息查看以往文章,也敬请期待我们的新文章!
1、React第三方组件4(状态管理之Reflux的使用①简单使用)---2018.03.13
2、React第三方组件4(状态管理之Reflux的使用②TodoList上)---2018.03.14
3、React第三方组件4(状态管理之Reflux的使用③TodoList中)---2018.03.15
4、React第三方组件4(状态管理之Reflux的使用④TodoList下)---2018.03.16
5、React第三方组件4(状态管理之Reflux的使用⑤异步操作)---2018.03.19
开发环境:Windows 8,node v8.9.1,npm 5.5.1,WebStorm 2017.2.2
先说下ReFlux
引用:https://segmentfault.com/a/1190000004843954
一个简单的单向数据流应用库,灵感来自于ReactJS Flux.
╔═════════╗ ╔════════╗ ╔═════════════════╗
║ Actions ║──>║ Stores ║──>║ View Components ║
╚═════════╝ ╚════════╝ ╚═════════════════╝
^ │
└──────────────────────────────────────┘
同React Flux比较
refluxjs的目标是为了让我们更容易的搭建Web应用程序。
相同点
1、有actions
2、有stores
3、单向数据流
不同点
1、通过内部拓展actions的行为,移除了单例的dispatcher
2、stores可以监听actions的行为,无需进行冗杂的switch判断
3、stores可以相互监听,可以进行进一步的数据聚合操作,类似于,map/reduce
4、waitFor被连续和平行的数据流所替代
我们直接撸码!
先安装reflux
npmi -S reflux
1、我们建立下reflux目录,及reflux1目录,和Index.jsx
2、reflux下的Index.jsx代码
import Reactfrom 'react';
import {HashRouter, Route, NavLink, Redirect}from 'react-router-dom';
import ReFlux1from './reFlux1/Index'
const Index = ({match}) =>
ReFlux1
render={() => ()}/>
;
export default Index;
3、reflux1下建立Index.jsx
import Reactfrom 'react'
import Refluxfrom 'reflux'
import Actionfrom './Action'
import Storefrom './Store'
class Indexextends Reflux.Component {
constructor(props) {
super(props);
this.store = Store;
}
render() {
return (
{this.state.num}
Action.add()}>+
);
}
}
export default Index;
注意这几个框起来的!
4、建立Store.js
import Refluxfrom 'reflux'
import Actionfrom './Action'
class Storeextends Reflux.Store {
constructor() {
super();
this.listenables = Action;
this.state = {
num:0
}
}
onAdd() {
this.setState({num:this.state.num +1});
}
}
export default Store;
5、建立Action.js
import Refluxfrom 'reflux'
let Action = Reflux.createActions([
'add'
]);
export default Action;
到这里就结束了,相对比较简单!
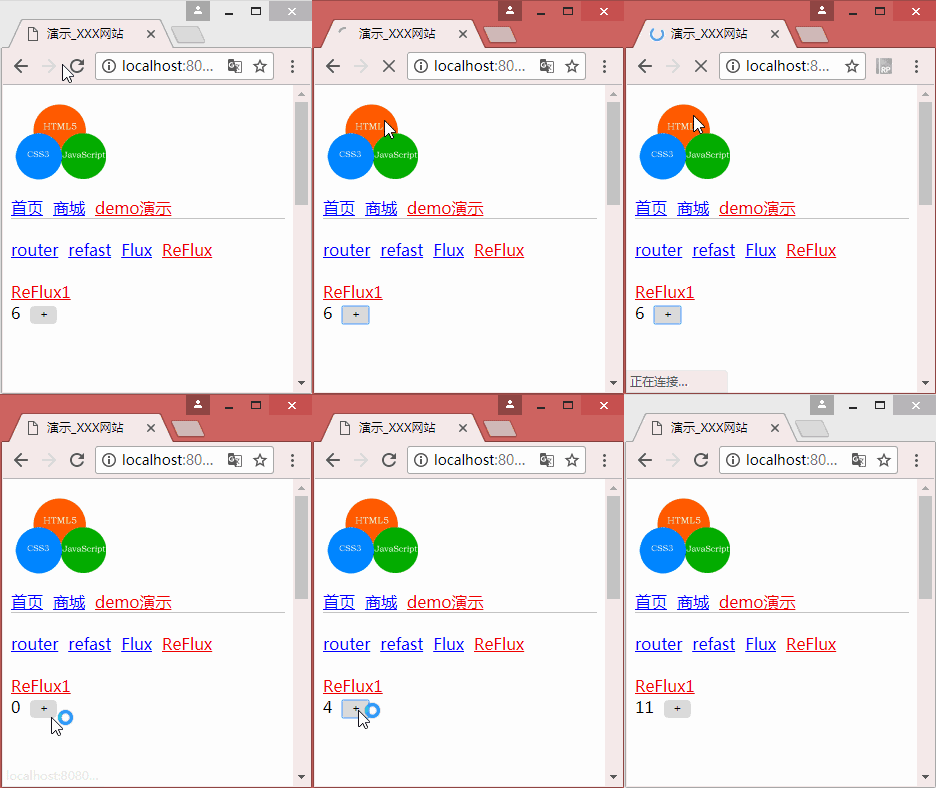
6、查看浏览器
本文完
禁止擅自转载,如需转载请在公众号中留言联系我们!
感谢童鞋们支持!
如果你有什么问题,可以在下方留言给我们!


