首先简单介绍一下fontspider的原理
- 爬行本地 html 文档,分析所有 css 语句
- 记录@font-face
语句声明的字体,并且记录使用该字体的 css 选择器 - 通过 css 选择器的规则查找当前 html 文档的节点,记录节点上的文本
- 找到字体文件并删除没被使用的字符
- 编码成跨平台使用的字体格式
下面进去实际操作
1. 全局安装 gulp:
$ npm install --global gulp
2. 进入项目根目录,作为项目的开发依赖(devDependencies)安装:
$ npm install --save-dev gulp
3. 新建package.json
npm init
然后开始填写信息
如果不知道怎么填写可以
npm help package.json
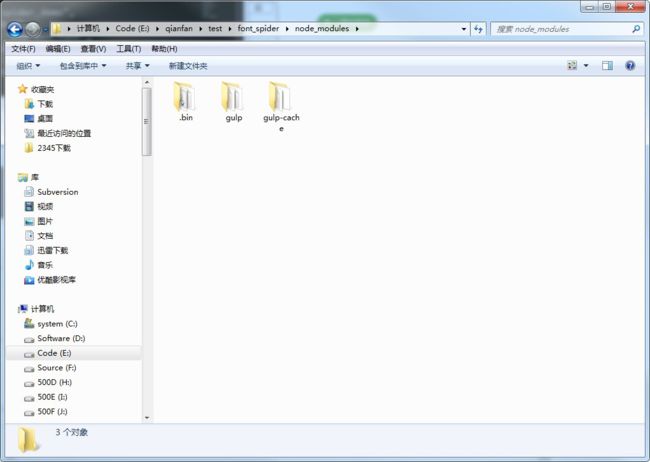
4、开始安装所要使用的依赖的插件
例如 安装gulp-cache
npm install gulp-cache --save-dev
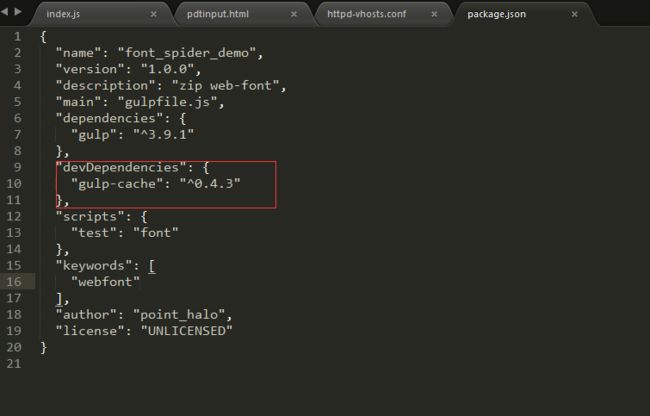
会看到package.json里面也自动新增了依赖项
继续安装其他需要用到的插件……此处省略
依赖插件都安装好之后,我的package.json变成了这样:
{
      "name": "font_spider_demo",
      "version": "1.0.0",
      "description": "zip web-font",
      "main": "gulpfile.js",
      "dependencies": {
      "gulp": "^3.9.1"
    },
  "devDependencies": {
    "del": "^2.2.0",
    "gulp-cache": "^0.4.3",
    "gulp-font-spider": "^0.2.0",
    "gulp-minify-css": "^1.2.4",
    "gulp-notify": "^2.2.0",
    "gulp-rename": "^1.2.2",
    "gulp-tinypng": "^1.0.2"
  },
  "scripts": {
    "test": "font"
  },
  "keywords": [
    "webfont"
  ],
  "author": "point_halo",
  "license": "UNLICENSED"
}
5、在项目根目录下创建一个名为 gulpfile.js 的文件:
开始写任务,新建gulpfile.js(说明:gulpfile.js是gulp项目的配置文件)
//导入工具包 require('node_modules里对应模块')
var gulp = require('gulp'), //本地安装gulp所用到的地方
    less = require('gulp-less');

//定义一个testLess任务(自定义任务名称)
gulp.task('testLess', function () {
    gulp.src('src/less/index.less') //该任务针对的文件
        .pipe(less()) //该任务调用的模块
        .pipe(gulp.dest('src/css')); //将会在src/css下生成index.css
});

gulp.task('default',['testLess', 'elseTask']); //定义默认任务

//gulp.task(name[, deps], fn) 定义任务  name:任务名称 deps:依赖任务名称 fn:回调函数
//gulp.src(globs[, options]) 执行任务处理的文件  globs:处理的文件路径(字符串或者字符串数组)
//gulp.dest(path[, options]) 处理完后文件生成路径
附上我最终的gulpfile.js
//引入组件
var gulp = require('gulp');
  minifycss = require('gulp-minify-css'),
  rename = require('gulp-rename'),
  tinypng = require('gulp-tinypng'),
  notify = require('gulp-notify'),
  cache = require('gulp-cache'),
  fontSpider=require('gulp-font-spider'),
  del = require('del');
gulp.task('clean', function(cb) {
  del(['dist/css', 'dist/assets/js', 'dist/assets/img'], cb);
});
gulp.task('cssmin', function() { //执行完clean之后再执行cssmin
  gulp.src('*.css')
    .pipe(rename({
      suffix: '.min'
    })) //suffix后缀名 prefix前缀名 extname文件格式
    .pipe(minifycss())
    .pipe(gulp.dest('dist'))
    .pipe(notify({
      message: 'css compress done'
    }));
});
gulp.task('tinypng', function() {
  gulp.src('*.jpg')
    .pipe(cache(tinypng('HYalYWQL5nNm985-wSaZYAX-3lMZVCRO')))//调用tinypng的api-key
    .pipe(gulp.dest('dist/img'))
    .pipe(notify({
      message: 'image compress done'
    }));
});
gulp.task('testfont',function () {
  gulp.src('*.html')
  .pipe(fontSpider())
  .pipe(notify({
    message: 'font compress done'
  }));
});
//默认的任务数组,运行gulp的时候 与运行 gulp default是同样效果
gulp.task('default', ['clean', 'cssmin', 'tinypng','testfont'], function() {});
gulp.task('watch', function() {
  //Watch css files
  gulp.watch('*.css', ['cssmin']);
});
我们现在添加一个html文件引用font的来测试一下
  Fonttest


          我是一号字体
          新添加的
          随便添加一点文字测试用的
          看看就好而还好有你吗
          贵夫人身体依然过以后突然一天突然有人同意
          的撒发生发的萨芬
          发热贴同仁堂
          多项目的时候怎么办
css文件
@charset "UTF-8";
html{font-size: 20px;}
@font-face {
      font-family:'test1';
      src:url('./test2.TTF') format('truetype');
      font-weight: normal;
      font-style: normal;
}
@font-face {
      font-family:'test2';
      src:url('./test1.TTF') format('truetype');
      font-weight: normal;
      font-style: normal;
}
@font-face {
      font-family:'test3';
      src:url('./test3.ttf') format('truetype');
      font-weight: normal;
      font-style: normal;
}
.main{
  font-size:1rem;
  color: #61B3E6;
}
.font_1{
  font-size:1rem;
  font-family: test1;
  color: #61B3E6;
}
.font_2{
  font-size:1rem;
  font-family: test2;
  color:#61B3E6;
}
注意html页面引用的css必须是相对路径 不能使用绝对路径 否则fontspider不能识别
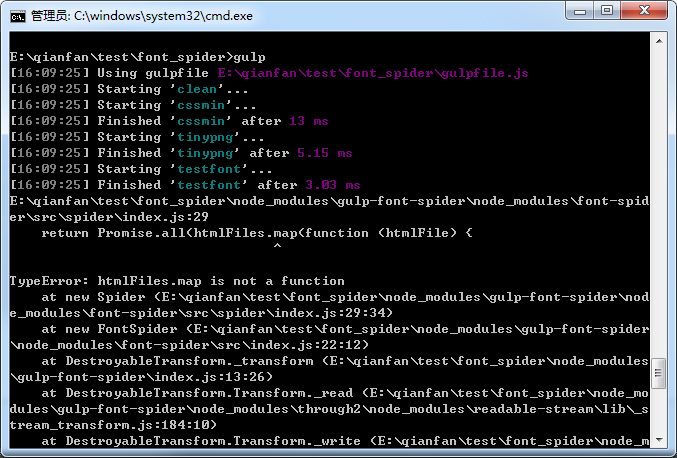
开始运行gulp任务
出错了
htmlFiles.map is not a funtion
这个是gulp-font-spider插件本身的一点小错误
github上有相对应的issue,但作者好像一直没有进行修正
https://github.com/unliu/gulp-font-spider/commit/61f78eead0092d2e6f499e3bccf335f383d90aa2
要想正常使用 我们需要修改一下它的源码,\node_modules\gulp-font-spider\index.js
把file改为file.path
我们再次运行Gulp命令
没有报错了,css已成功压缩,字体压缩也已成功
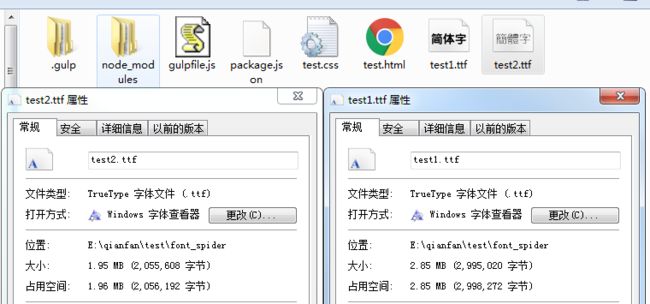
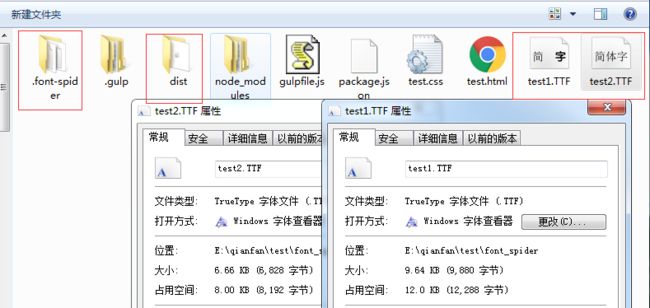
再来看一下项目根目录
字体已经压缩成功了,而原来的字体源文件,则是已到了.font-spider文件夹里面保存
可以看到字体资源大小明显在可接受范围内了
压缩后的min-css也在dist文件夹内安安静静躺着
好了 这样我们就再也不怕在移动端引入中文字体了
参考文章:
http://font-spider.org/
http://www.gulpjs.com.cn/docs/api/
http://www.ydcss.com/archives/18
https://segmentfault.com/a/1190000000372547

