本文首发于洪流学堂微信公众号。
洪流学堂,学Unity快人几步
洪流学堂公众号回复节点,获取ShaderGraph节点详解PDF文件(带目录)。
注意
节点中很多输入为In(1)的其实是动态长度的Vector,可以接收Vector1~Vector4的值哦
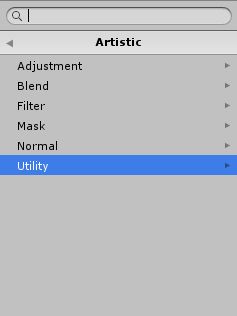
Artistic Nodes
Adjustment 调整
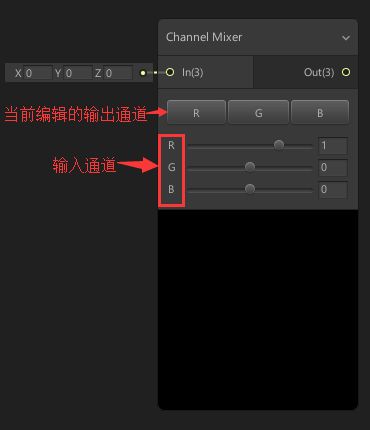
Channel Mixer
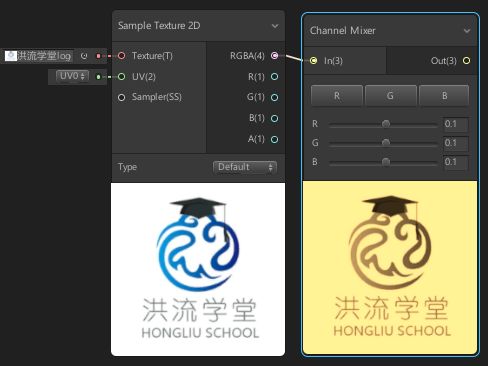
根据输入的RGB值及各个通道的权重,输出权重加成后的RGB值。
举例:输入RGB为(0.8,0.6,0.4),假设输出R通道的比重设置为(0.1, 0.2, 0.3),则输出R的值为0.8x0.1+0.6x0.2+0.4x0.3 = 0.32
_Node_OutRed = float3 (OutRedInRed, OutRedInGreen, OutRedInBlue);
_Node_OutGreen = float3 (OutGreenInRed, OutGreenInGreen, OutGreenInBlue);
_Node_OutBlue = float3 (OutBlueInRed, OutBlueInGreen, OutBlueInBlue);
Out = float3(dot(In, _Node_OutRed), dot(In, _Node_OutGreen), dot(In, _Node_OutBlue));
Contrast
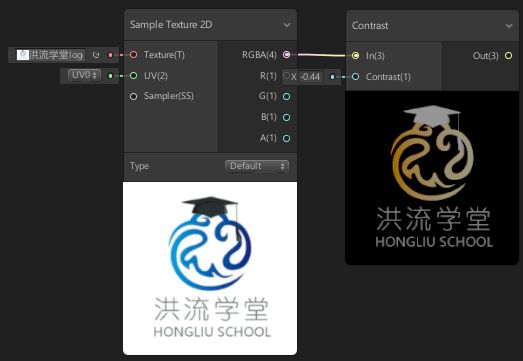
根据输入In及Contrast调节对比度。Contrast为1时输出In,Contrast为0时输出In的中值。
float midpoint = pow(0.5, 2.2);
Out =  (In - midpoint) * Contrast + midpoint;
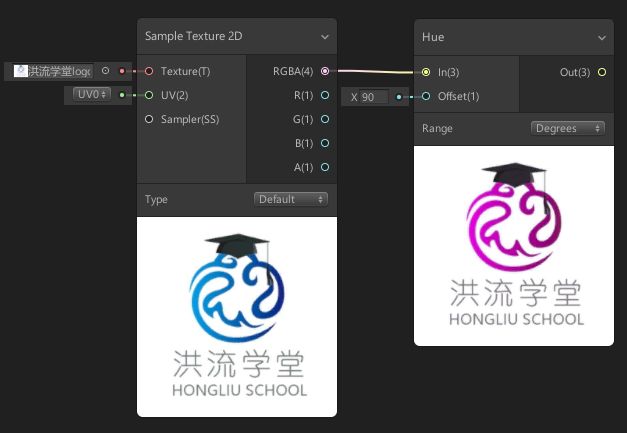
Hue
根据Offset调节色相。
可以根据Degrees调节即(-180,180)
或者根据Normalized调节即(-1,1)
Degree代码(Normalized类似):
float4 K = float4(0.0, -1.0 / 3.0, 2.0 / 3.0, -1.0);
float4 P = lerp(float4(In.bg, K.wz), float4(In.gb, K.xy), step(In.b, In.g));
float4 Q = lerp(float4(P.xyw, In.r), float4(In.r, P.yzx), step(P.x, In.r));
float D = Q.x - min(Q.w, Q.y);
float E = 1e-10;
float3 hsv = float3(abs(Q.z + (Q.w - Q.y)/(6.0 * D + E)), D / (Q.x + E), Q.x);

float hue = hsv.x + Offset / 360;
hsv.x = (hue < 0)
        ? hue + 1
        : (hue > 1)
            ? hue - 1
            : hue;

float4 K2 = float4(1.0, 2.0 / 3.0, 1.0 / 3.0, 3.0);
float3 P2 = abs(frac(hsv.xxx + K2.xyz) * 6.0 - K2.www);
Out = hsv.z * lerp(K2.xxx, saturate(P2 - K2.xxx), hsv.y);
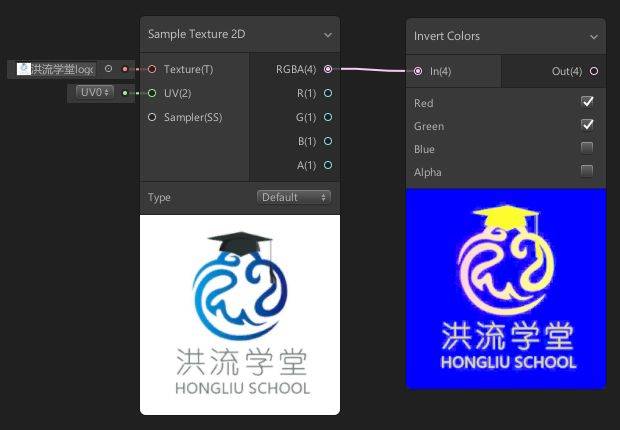
Invert Colors
反转颜色,可以选择单个或多个反转的通道
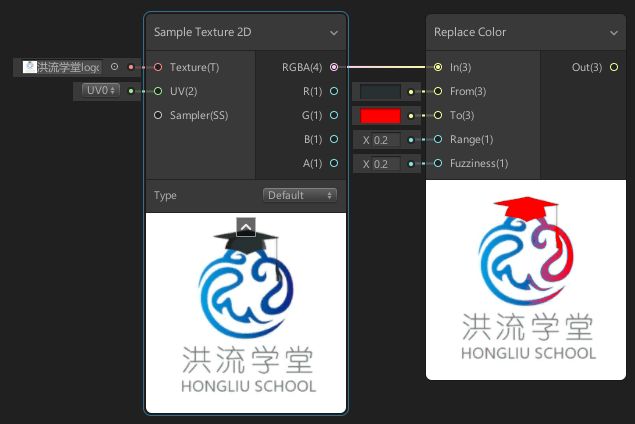
Replace Color
替换颜色
In:输入的颜色
From:要替换的颜色
To:替换成的颜色
Range:类似PS里的容差值
Fuzziness:软化选区的边缘
float Distance = distance(From, In);
Out = lerp(To, In, saturate((Distance - Range) / max(Fuzziness, 1e-5f)));
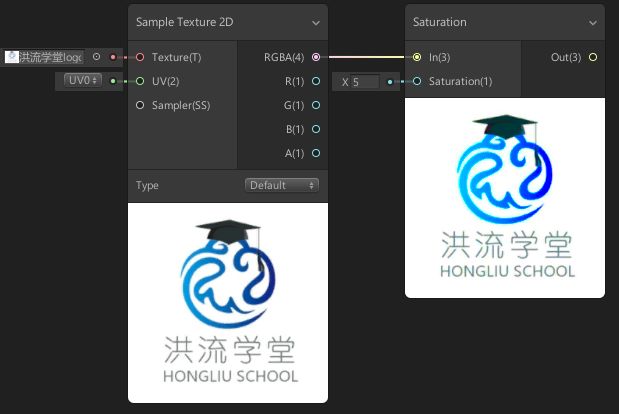
Saturation
饱和度。Saturation为1时输出原颜色,Saturation为0时为完全不饱和色。
float luma = dot(In, float3(0.2126729, 0.7151522, 0.0721750));
Out =  luma.xxx + Saturation.xxx * (In - luma.xxx);
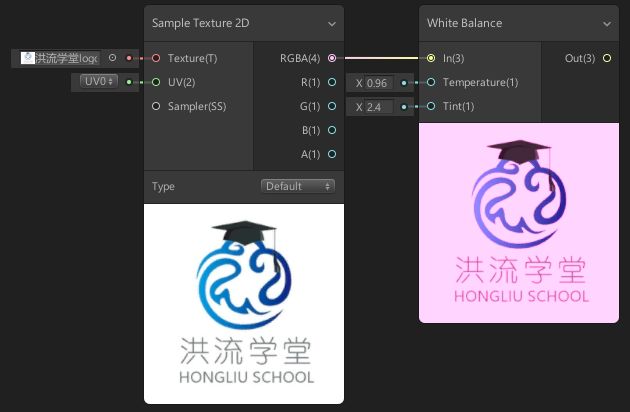
White Balance
白平衡
Temperature 让颜色变黄或者变蓝
Tint 让颜色变粉或者变绿
// Range ~[-1.67;1.67] works best
float t1 = Temperature * 10 / 6;
float t2 = Tint * 10 / 6;

// Get the CIE xy chromaticity of the reference white point.
// Note: 0.31271 = x value on the D65 white point
float x = 0.31271 - t1 * (t1 < 0 ? 0.1 : 0.05);
float standardIlluminantY = 2.87 * x - 3 * x * x - 0.27509507;
float y = standardIlluminantY + t2 * 0.05;

// Calculate the coefficients in the LMS space.
float3 w1 = float3(0.949237, 1.03542, 1.08728); // D65 white point

// CIExyToLMS
float Y = 1;
float X = Y * x / y;
float Z = Y * (1 - x - y) / y;
float L = 0.7328 * X + 0.4296 * Y - 0.1624 * Z;
float M = -0.7036 * X + 1.6975 * Y + 0.0061 * Z;
float S = 0.0030 * X + 0.0136 * Y + 0.9834 * Z;
float3 w2 = float3(L, M, S);

float3 balance = float3(w1.x / w2.x, w1.y / w2.y, w1.z / w2.z);

float3x3 LIN_2_LMS_MAT = {
    3.90405e-1, 5.49941e-1, 8.92632e-3,
    7.08416e-2, 9.63172e-1, 1.35775e-3,
    2.31082e-2, 1.28021e-1, 9.36245e-1
};

float3x3 LMS_2_LIN_MAT = {
    2.85847e+0, -1.62879e+0, -2.48910e-2,
    -2.10182e-1,  1.15820e+0,  3.24281e-4,
    -4.18120e-2, -1.18169e-1,  1.06867e+0
};

float3 lms = mul(LIN_2_LMS_MAT, In);
lms *= balance;
Out = mul(LMS_2_LIN_MAT, lms);
Blend 混合
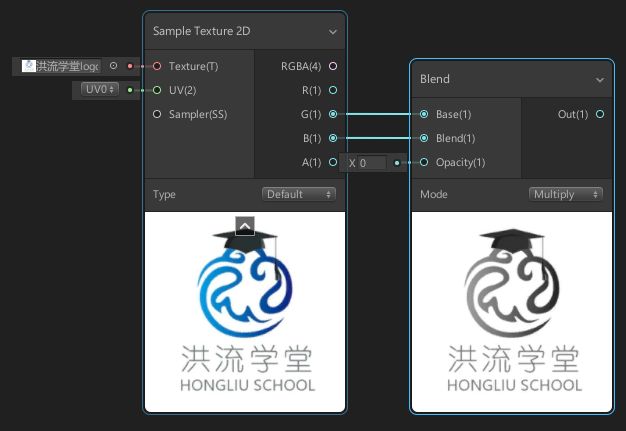
Blend节点
根据输入的Base、Blend两个值进行混合
Opacity可以设置混合的强度,0=不增强
Mode可以设置混合的模式
不同Mode的Shader代码
Burn
Out =  1.0 - (1.0 - Blend)/Base;
Out = lerp(Base, Out, Opacity);
Darken
Out = min(Blend, Base);
Out = lerp(Base, Out, Opacity);
Difference
Out = abs(Blend - Base);
Out = lerp(Base, Out, Opacity);
Dodge
Out = Base / (1.0 - Blend);
Out = lerp(Base, Out, Opacity);
Divide
Out = Base / (Blend + 0.000000000001);
Out = lerp(Base, Out, Opacity);
Exclusion
Out = Blend + Base - (2.0 * Blend * Base);
Out = lerp(Base, Out, Opacity);
HardLight
float# result1 = 1.0 - 2.0 * (1.0 - Base) * (1.0 - Blend);
float# result2 = 2.0 * Base * Blend;
float# zeroOrOne = step(Blend, 0.5);
Out = result2 * zeroOrOne + (1 - zeroOrOne) * result1;
Out = lerp(Base, Out, Opacity);
HardMix
Out = step(1 - Base, Blend);
Out = lerp(Base, Out, Opacity);
Lighten
Out = max(Blend, Base);
Out = lerp(Base, Out, Opacity);
LinearBurn
Out = Base + Blend - 1.0;
Out = lerp(Base, Out, Opacity);
LinearDodge
Out = Base + Blend;
Out = lerp(Base, Out, Opacity);
LinearLight
Out = Blend < 0.5 ? max(Base + (2 * Blend) - 1, 0) : min(Base + 2 * (Blend - 0.5), 1);
Out = lerp(Base, Out, Opacity);
LinearLightAddSub
Out = Blend + 2.0 * Base - 1.0;
Out = lerp(Base, Out, Opacity);
Multiply
Out = Base * Blend;
Out = lerp(Base, Out, Opacity);
Negation
Out = 1.0 - abs(1.0 - Blend - Base);
Out = lerp(Base, Out, Opacity);
Screen
Out = 1.0 - (1.0 - Blend) * (1.0 - Base);
Out = lerp(Base, Out, Opacity);
Overlay
float# result1 = 1.0 - 2.0 * (1.0 - Base) * (1.0 - Blend);
float# result2 = 2.0 * Base * Blend;
float# zeroOrOne = step(Base, 0.5);
Out = result2 * zeroOrOne + (1 - zeroOrOne) * result1;
Out = lerp(Base, Out, Opacity);
PinLight
float# check = step (0.5, Blend);
float# result1 = check * max(2.0 * (Base - 0.5), Blend);
Out = result1 + (1.0 - check) * min(2.0 * Base, Blend);
Out = lerp(Base, Out, Opacity);
SoftLight
float# result1 = 2.0 * Base * Blend + Base * Base * (1.0 - 2.0 * Blend);
float# result2 = sqrt(Base) * (2.0 * Blend - 1.0) + 2.0 * Base * (1.0 - Blend);
float# zeroOrOne = step(0.5, Blend);
Out = result2 * zeroOrOne + (1 - zeroOrOne) * result1;
Out = lerp(Base, Out, Opacity);
VividLight
float# result1 = 1.0 - (1.0 - Blend) / (2.0 * Base);
float# result2 = Blend / (2.0 * (1.0 - Base));
float# zeroOrOne = step(0.5, Base);
Out = result2 * zeroOrOne + (1 - zeroOrOne) * result1;
Out = lerp(Base, Out, Opacity);
Subtract
Out = Base - Blend;
Out = lerp(Base, Out, Opacity);
Filter 滤镜
Dither
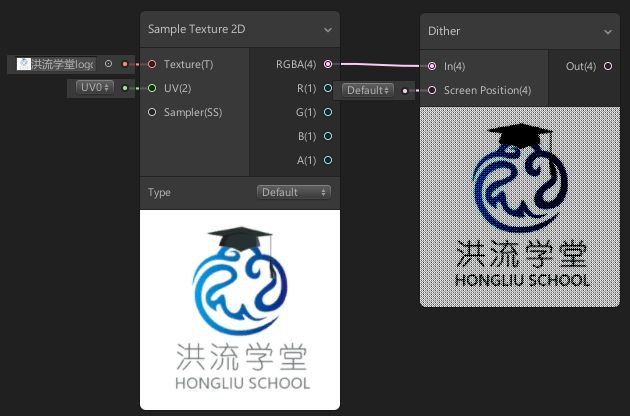
Dither是一种特定格式的噪波,用于随机量化误差。它用于防止大幅拉伸图片时出现的异常情况,如图像中的色带。Dither节点在屏幕空间抖动来确保图案的均匀分布。可以通过连接另一个节点来输入屏幕位置。此节点通常作为主节点上Alpha Clip Threshold的输入,为不透明对象提供透明的外观。这对于创建透明的对象很有用,而且仍然可以写入深度缓冲区。
float2 uv = ScreenPosition.xy * _ScreenParams.xy;
float DITHER_THRESHOLDS[16] =
{
    1.0 / 17.0,  9.0 / 17.0,  3.0 / 17.0, 11.0 / 17.0,
    13.0 / 17.0,  5.0 / 17.0, 15.0 / 17.0,  7.0 / 17.0,
    4.0 / 17.0, 12.0 / 17.0,  2.0 / 17.0, 10.0 / 17.0,
    16.0 / 17.0,  8.0 / 17.0, 14.0 / 17.0,  6.0 / 17.0
};
uint index = (uint(uv.x) % 4) * 4 + uint(uv.y) % 4;
Out = In - DITHER_THRESHOLDS[index];
Mask 遮罩
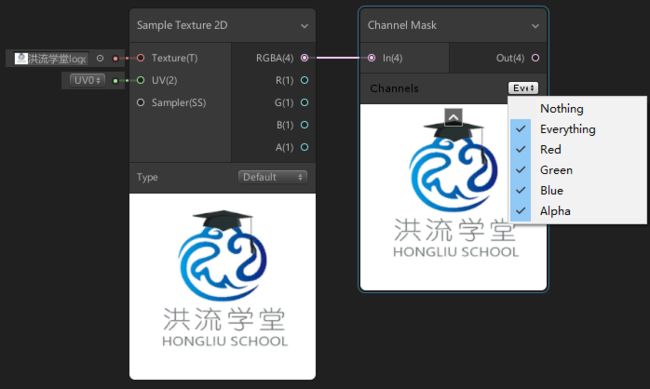
Channel Mask
可以从下拉框中选择输出的通道。可以用来过滤或使用某个或某几个通道。
Color Mask
从输入颜色与Mask Color相等的颜色的位置创建一个遮罩。
Range:类似PS里的容差值
Fuzziness:软化选区的边缘
float Distance = distance(MaskColor, In);
Out = saturate(1 - (Distance - Range) / max(Fuzziness, 1e-5));
Normal 法线
Normal Blend 法线混合
混合两个法线
Out = normalize(float3(A.rg + B.rg, A.b * B.b));
Normal Create 创建法线
从一张高度图Texture创建法线贴图。UV和Sampler可以从对应的UV和Sampler State节点连接,如果没有设置将使用默认值。
创建的法线贴图的强度可以用Offset和Strength属性修改。Offset定义了法线细节的最大距离,Strength是结果的系数。
Offset = pow(Offset, 3) * 0.1;
float2 offsetU = float2(UV.x + Offset, UV.y);
float2 offsetV = float2(UV.x, UV.y + Offset);
float normalSample = Texture.Sample(Sampler, UV);
float uSample = Texture.Sample(Sampler, offsetU);
float vSample = Texture.Sample(Sampler, offsetV);
float3 va = float3(1, 0, (uSample - normalSample) * Strength);
float3 vb = float3(0, 1, (vSample - normalSample) * Strength);
Out = normalize(cross(va, vb));
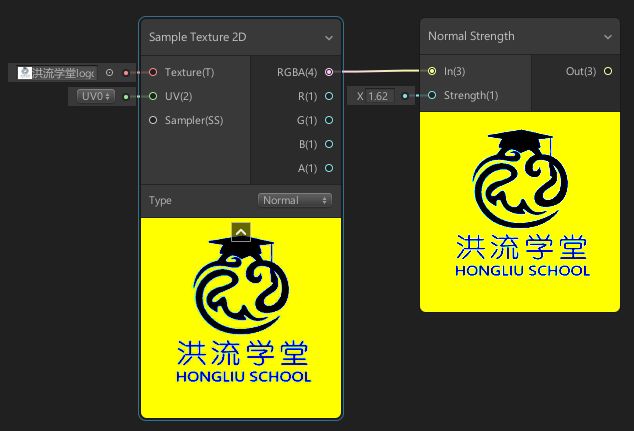
Normal Strength
修改法线贴图的Strength。Strength为1时返回原图,为0时返回纯黑的法线贴图。
Out = {precision}3(In.rg * Strength, In.b);
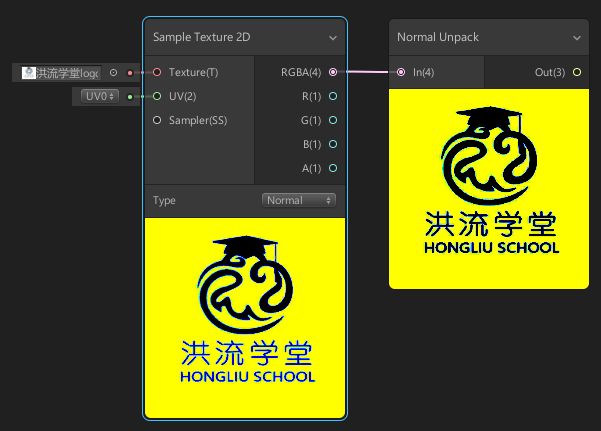
Normal Unpack
解包一个法线贴图。
注意
通常这是多余的,因为在Sample的时候法线贴图的Type一般会设置为Normal,如下图所示,已经自动解包成法线贴图。可以看下面Normal Unpack节点是多余的,下面预览是相同的。
Out = UnpackNormalmapRGorAG(In);
Utility 工具
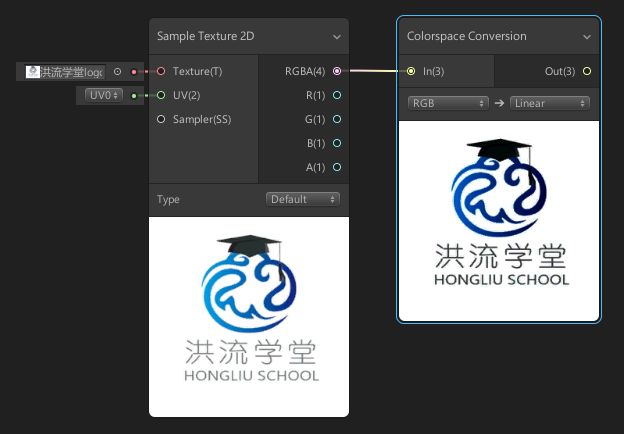
Colorspace Conversion
颜色空间转换。从一种颜色空间转换到另一种颜色空间。
小结
本文讲解了ShaderGraph众多Node中的Artistic Nodes。你可以收藏本文作为一个工具库。
其他Node的详解,关注洪流学堂公众号第一时间获取。
洪流学堂公众号回复节点,获取ShaderGraph节点详解PDF文件(带目录)。
你有没有饱受shader折磨的同学?你可以把今天的内容分享给他,或许你能帮到他。
《郑洪智的Unity2018课》,倾尽我8年的开发经验,结合最新的Unity2018,带你从入门到精通。
