最近公司项目要自己独立开发一个手机图片选择器和视频选择器,在开发完毕后我来整理一下写这个东西的一些技术难点和坑点
基本的关于框架的介绍里有很多了
还有两篇kayosite的文章 是我入门的时候看的
iOS 开发之照片框架详解之二
iOS 开发之照片框架详解之二 —— PhotoKit 详解(上)
iOS 开发之照片框架详解之二 —— PhotoKit 详解(下)
其实用这个框架获取本地的图片基本上都没有什么难度,主要有一种资源平时很少遇到: 存放在iCloud上的 这个涉及到两个问题:
Cloud 整理的照片集
存放在iCloud上我们需要下载使用的
Cloud 整理的照片集
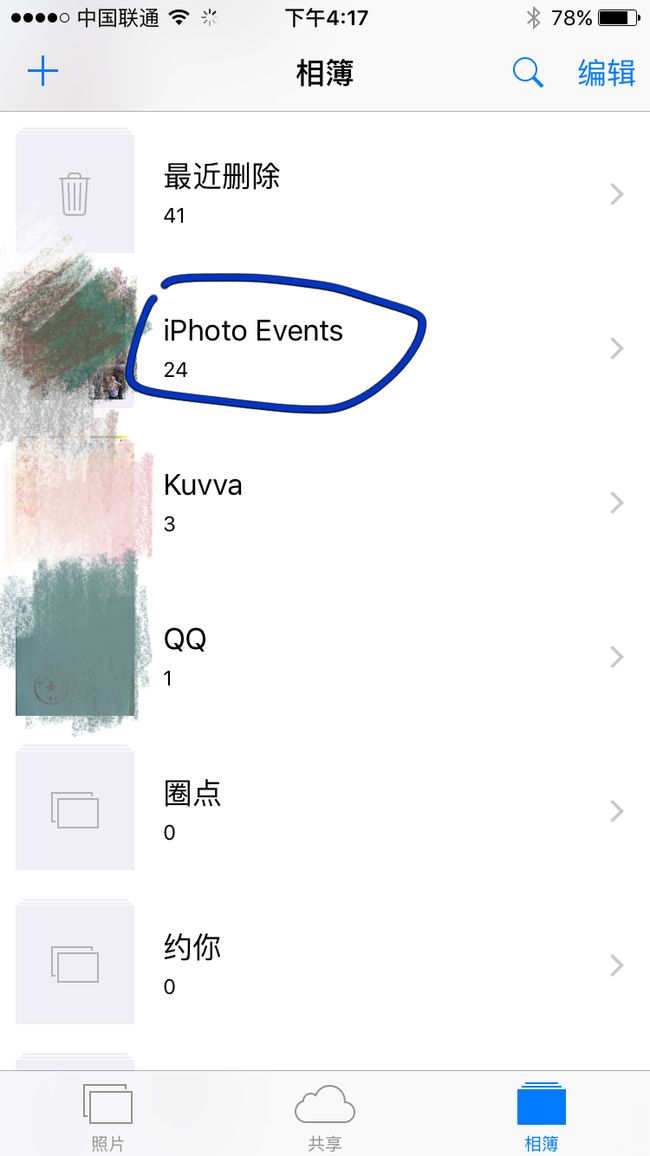
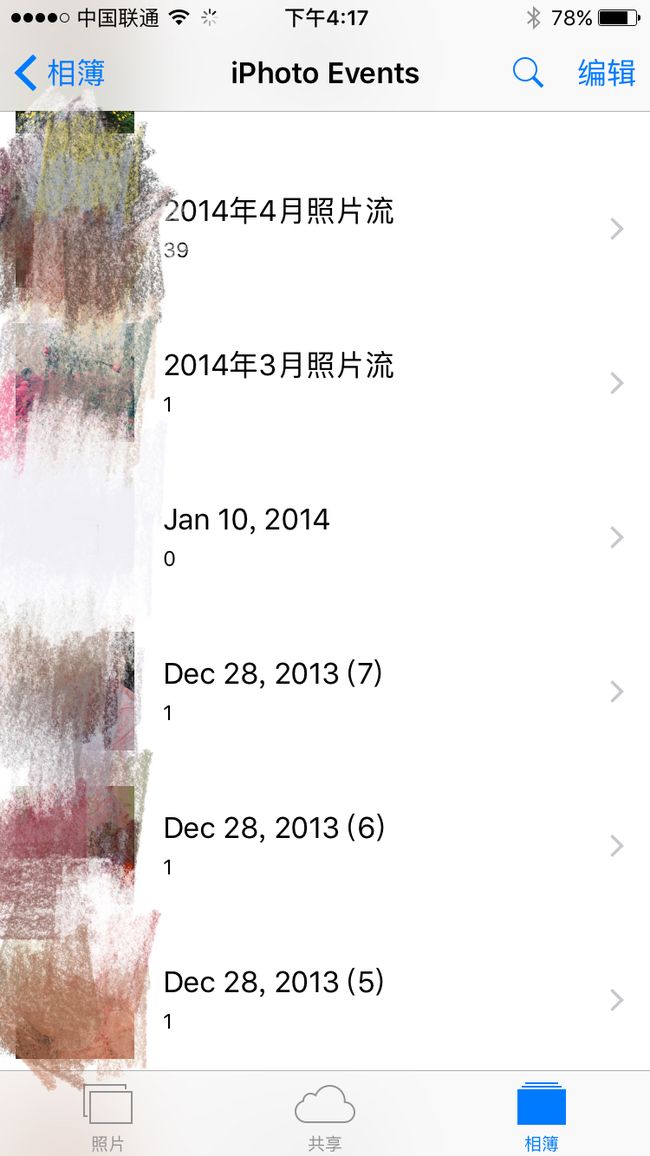
当我们开启了iCloud照片后把本地资源删除后 我们手机 照片 -> 相簿里会有一个 相册叫 iPhoto Events 这个相册中呢 则是 类似于 2016年6月照片流 这样的照片合集
TIP:不同的手机 不同的时间上传的 可能不一样
我们会知道
通过这个方法可以获得 所有的 PHAsset 的集合 PHFetchResult
  //获取所有的资源信息
  let AllAlbums = PHCollectionList.fetchTopLevelUserCollectionsWithOptions(nil)

  let albums : [PHAssetCollection] = self.getAllAlbum(AllAlbums)
通过这个方法可以获得 PHAssetCollection 中的所有PHAsset
  // 用于排序用
  let options = PHFetchOptions()

  // 根据修改时间排序 排序规律 可以参照 PHAsset 的 成员变量
  options.sortDescriptors = [NSSortDescriptor(key: "modificationDate", ascending: false)]

  // 获取制定类型的相册 这儿是只获取视频 用 cc[0] 就可以获取视频相册了
  let cc = PHAssetCollection.fetchAssetCollectionsWithType(.SmartAlbum, subtype: .SmartAlbumVideos , options: nil)

  // 获取手机所有照片
  AllPic = PHAsset.fetchAssetsWithOptions(options)

  // 获取相册所有照片
  AllPic = PHAsset.fetchAssetsInAssetCollection(collec, options: options)
但是上面的 iPhoto Events 是个相册集, 我们在 遍历上面的 AllAlbums 获取 PHAssetCollection的集合后 能拿到 iPhoto Events 这个相册 但是用 fetchAssetsInAssetCollection 这个方法解析这个相册是会报错的,因为里面还有相册 所以 我写了下面这个方法 来获取所有的相册 包括 iPhoto Events 里的相册
  func getAllAlbum(Result: PHFetchResult) -> [PHAssetCollection]{

        var AlbumArr = [PHAssetCollection]() // 用来存放所有的相册

        var ResultArr = [PHFetchResult]()  // 用来存放 iPhoto Events 里的所有相册

        for i in 0..
存放在iCloud上我们需要下载使用的
如果我们把本地资源备份到 iCloud上后 如果资源在 手机上被手动删除 或者 在我们设置iCloud的时候 选择了 优化 iPhone 存储空间 本地资源也可能会被手动删除 只留下一个缩略图
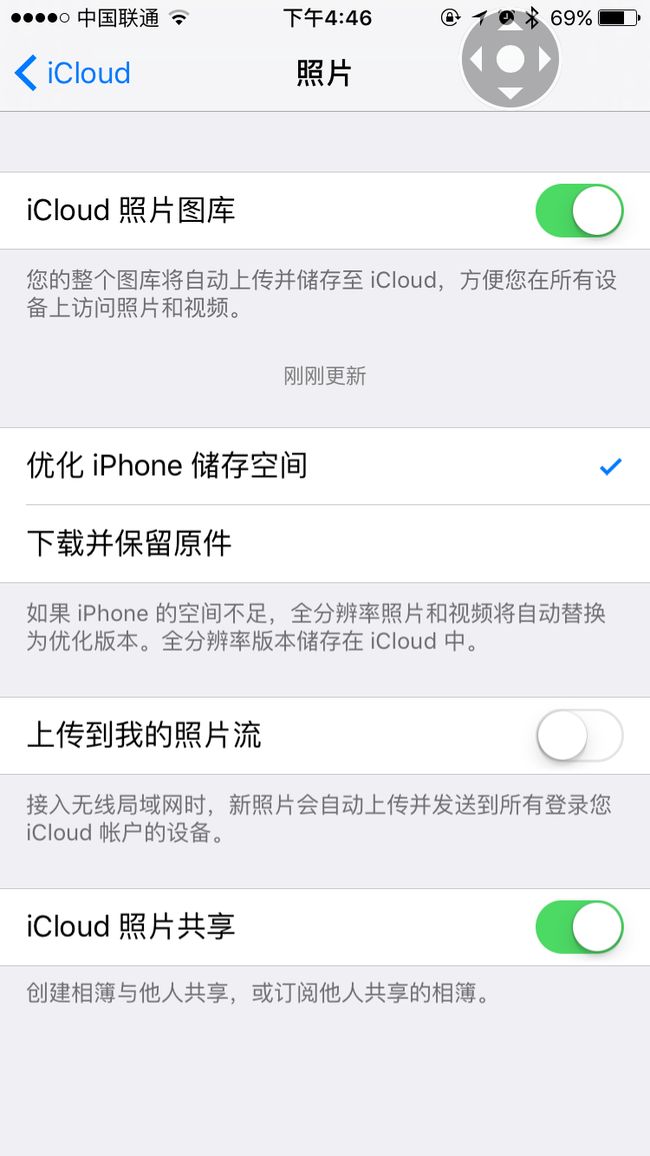
如果我们用的是 原生的 UIImagePickerController 在我们选择 iCloud资源的时候 苹果会自己去下载资源
但是如果用photos 框架的时候 则需要我们在解析资源的时候做一下处理
- 解析图片
  let options = PHImageRequestOptions()

  options.networkAccessAllowed = true // 允许联网

  options.deliveryMode = .HighQualityFormat // 获取高清图片

  options.progressHandler = {(progress, error, stop, result) in // 下载的回调

    dispatch_async(dispatch_get_main_queue(), { () -> Void in

      // 如果要在这里更新UI 就要放在主线程里 progress 是下载进度 Double 类型
      print("从iCloud下载图片中...\(Int(progress * 100))%")

    })

  }

  let imageManager = PHImageManager()

  autoreleasepool({  //解析图片有时候会导致内存无法释放 看网上建议加这个自动释放

    // 这儿的 targetSize 可以根据需要去设置 如果只是需要缩略图 可以设置成缩略图所需的大小
    // 网上有一种获取原图的设置是 PHImageManagerMaximumSize 打印出来为 CGSize(-1.0, -1.0)
    imageManager.requestImageForAsset(asset, targetSize:CGSize(width: asset.pixelWidth, height: asset.pixelHeight)  , contentMode: .AspectFill, options: optio, resultHandler: { (image, result) -> Void in
      // 有时候这个回调会 执行很多次
      let downloadFinined = (result![PHImageCancelledKey] == nil) && (result![PHImageErrorKey] == nil) && !((result![PHImageResultIsDegradedKey]?.boolValue)!) // 是否下载成功和是否有错误

      if image != nil && downloadFinined == true {
        // 处理图片
      }
    })
  })
- 解析视频
  let options = PHVideoRequestOptions()

  options.deliveryMode = .HighQualityFormat

  options.networkAccessAllowed = true

  options.progressHandler = {(progress, error, stop, result) in

    dispatch_async(dispatch_get_main_queue(), { () -> Void in

      print("从iCloud下载图片中...\(Int(progress * 100))%")


    })

  }

  let imageManager = PHImageManager()
  imageManager.requestAVAssetForVideo(single, options: options) { (avset, audiomix, result) in

    if avset != nil{

      dispatch_async(dispatch_get_main_queue(), { () -> Void in
          // 处理视频
      })
    }
  }
如果我们自己写这个图片/视频获取器 一般都会用 UICollectionView 在处理下载的时候 如果 是用一个 HUD 来显示下载进度 则直接在 options.progressHandler 里将 progress 处理后显示在界面上 但如果我们要分别处理 每个资源的下载进度 则需要在 每个 UICollectionCell 上去显示下载进度 但一般我们会用 缓存池去 管理 所有的 Cell 如果我们在 didSelectItemAtIndexPath 这个代理方法中 使用collectionView.cellForItemAtIndexPath(indexPath) 去更新界面 在我们滑动的时候 则可能其他的 Cell 也会有进度条 为了解决这个问题 我们可以把进度 写进数组 然后将数组赋值 然后更新单个Cell 即可
  // 初始化一个数组
  Collect.indexPathArr = [Double](count: AllPic.count, repeatedValue: -1.0)

  // 在 cellForItemAtIndexPath 里 赋值数据
  Cell.setWidth(indexPathArr[indexPath.row])

  // 在 options.progressHandler 的回调里更新数据 并 刷新界面
  self.indexPathArr[indexPath.row] = progress
  collectionView.reloadItemsAtIndexPaths([indexPath])
附上我写在 Cell 里的 进度条事件
  func setWidth(wid: Double){

    if wid >= 0{
      // 第一次进来  以及防止 下载完成后回调多次 1
      if backV == nil && progress == nil && progressb == nil && wid != 1{

        backV = UIView(frame: CGRect(origin: CGPointZero, size: bounds.size))

        backV!.backgroundColor = UIColor.blackColor()

        backV!.alpha = 0.8

        progress = UIView()

        progress!.frame.size = CGSize(width: bounds.size.width * 0.9 , height: 2)

        progress!.center = CGPoint(x: bounds.width / 2 , y: bounds.height / 2)

        progress!.backgroundColor = UIColor.grayColor()

        progress?.layer.cornerRadius = 1

        progressb = UIView(frame: CGRect(x: 0, y: 0, width: (progress?.frame.size.width)! * CGFloat(wid), height: 2 ))

        progressb?.backgroundColor = UIColor.whiteColor()

        addSubview(backV!)

        backV?.addSubview(progress!)

        progress?.addSubview(progressb!)

      }else{

        // 更新界面
        progressb?.frame.size.width = (progress?.frame.size.width)! * CGFloat(wid)

        // 下载完成
        if wid >= 1{

          progressb?.removeFromSuperview()

          progress?.removeFromSuperview()

          backV?.removeFromSuperview()

          progressb = nil

          progress = nil

          backV = nil

          isDown = false

        }
      }
    }else{  //  如果这个没有下载 默认 赋值为 -1 防止缓存池 显示错误

      progressb?.removeFromSuperview()

      progress?.removeFromSuperview()

      backV?.removeFromSuperview()

      progressb = nil

      progress = nil

      backV = nil

      isDown = false
    }
  }
这样可以保证在下载的同时还可以拖动界面 但是现在还没有解决的问题是 如果下载中 退出界面 下载行为还会继续 这儿应该需要杀掉进程 但是我没有 为什么我没有
因为宝宝 不会 ƪ(˘⌣˘)┐ ƪ(˘⌣˘)ʃ ┌(˘⌣˘)ʃ
因为今天是周五 周一整理好代码后 会在 GitHub 上上传一个Demo
周末愉快 下班咯 (‾⌣‾)