1、ReactNative中能使用的css样式
"alignItems",
"alignSelf",
"backfaceVisibility",
"backgroundColor",
"borderBottomColor",
"borderBottomLeftRadius",
"borderBottomRightRadius",
"borderBottomWidth",
"borderColor",
"borderLeftColor",
"borderLeftWidth",
"borderRadius",
"borderRightColor",
"borderRightWidth",
"borderStyle",
"borderTopColor",
"borderTopLeftRadius",
"borderTopRightRadius",
"borderTopWidth",
"borderWidth",
"bottom",
"color",
"elevation",
"flex",
"flexDirection",
"flexWrap",
"fontFamily",
"fontSize",
"fontStyle",
"fontWeight",
"height",
"justifyContent",
"left",
"letterSpacing",
"lineHeight",
"margin",
"marginBottom",
"marginHorizontal",
"marginLeft",
"marginRight",
"marginTop",
"marginVertical",
"opacity",
"overflow",
"overlayColor",
"padding",
"paddingBottom",
"paddingHorizontal",
"paddingLeft",
"paddingRight",
"paddingTop",
"paddingVertical",
"position",
"resizeMode",
"right",
"rotation",
"scaleX",
"scaleY",
"shadowColor",
"shadowOffset",
"shadowOpacity",
"shadowRadius",
"textAlign",
"textAlignVertical",
"textDecorationColor",
"textDecorationLine",
"textDecorationStyle",
"textShadowColor",
"textShadowOffset",
"textShadowRadius",
"tintColor",
"top",
"transform",
"transformMatrix",
"translateX",
"translateY",
"width",
"writingDirection"
2、使用方式有
- 内连方式
style={{flex:1,borderColor:'red'}} - 包裹使用
style={[styles.style1,styles.style2]} - 同时包裹样式和内连
style={[styles.style1,{flex:1,borderWidth:1}]} - 通过StyleSheet创建一个样式表
var styles = StyleSheet.create({
style1: {
borderRadius: 5,
borderWidth: 1
, borderColor: 'grat'
},
style2: {
fontSize: 19,
fontWeight: 'bold'
}
});
3、ReactNative中主要的布局样式
注:为了方便展示将结合backgroundColor(背景颜色)样式进行演示
ReactNative中的组件是需要声明大小的,如果未声明则默认为包含子组件的大小
render() {
return (
);}
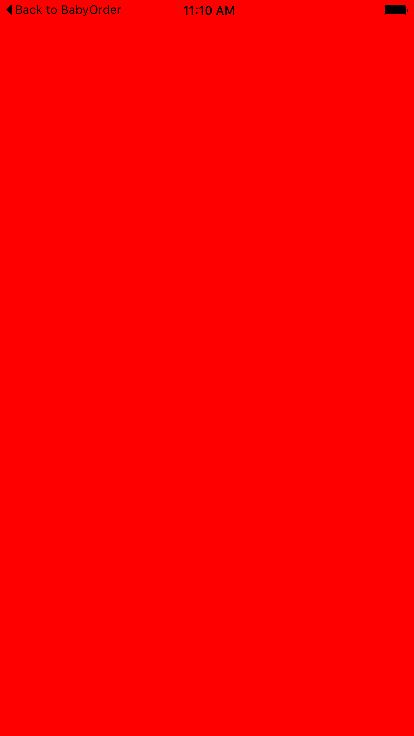
如上图,当我们没有声明组件的大小且没有子组件时,该组件是不会被展示的
- weight、height
width为宽度,height为高度
render() {
return (
);}
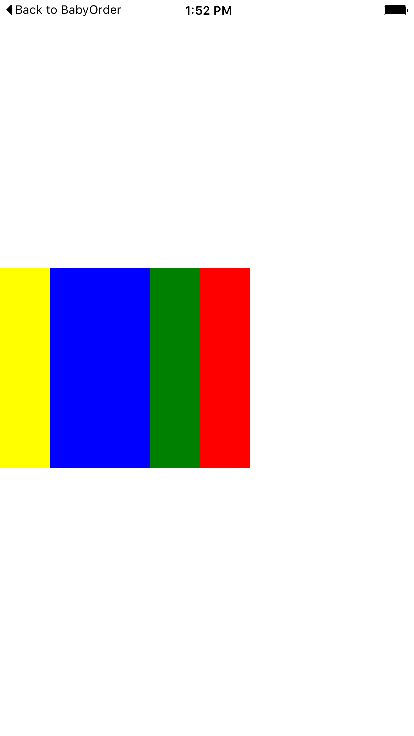
如图,当我们声明了组件的大小,就能够按指定大小进行展示了
- flex
flex属性能够快速的填充父组件
render()
{
return (
);}
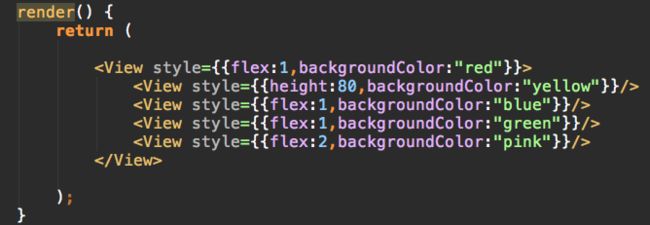
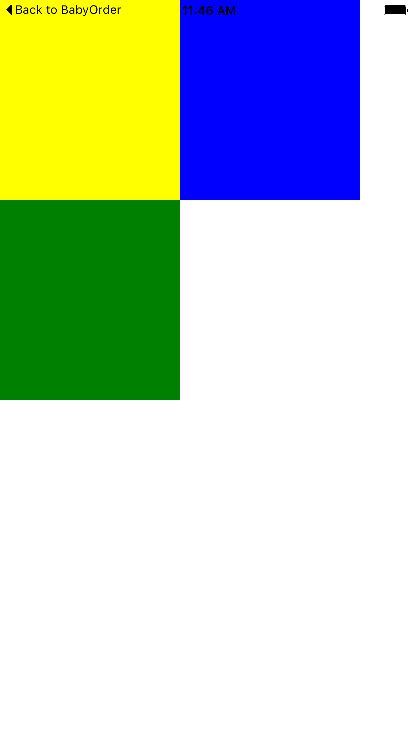
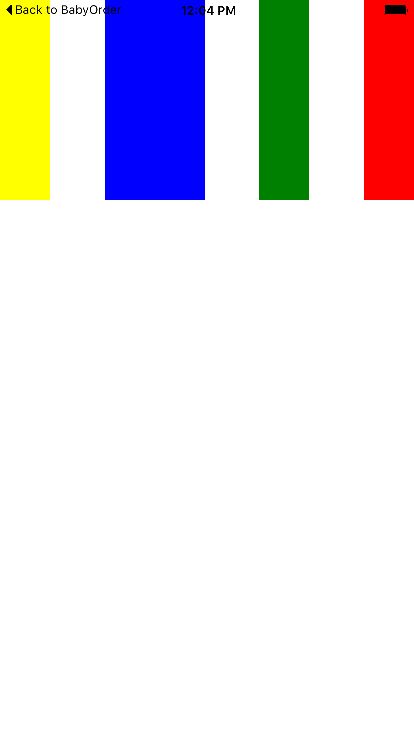
如图,当使用flex属性时,该组件就能够快速的填充整个屏幕,但是,当有多个一级子组件同时使用flex属性时,几个子组件就会按权重分摊父组件的剩余大小,如下所示,黄色组件占80的高度,其余组件按1:1:2的比例分配剩余的高度
- flexDirection
通过上诉演示应该会有个疑惑,为什么刚才的子组件是向下填充的?
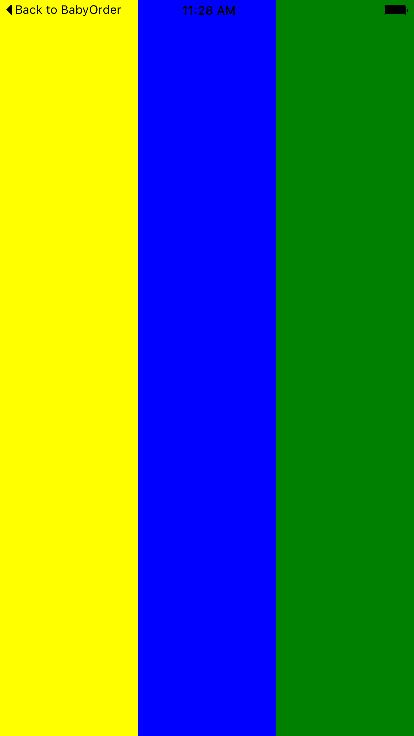
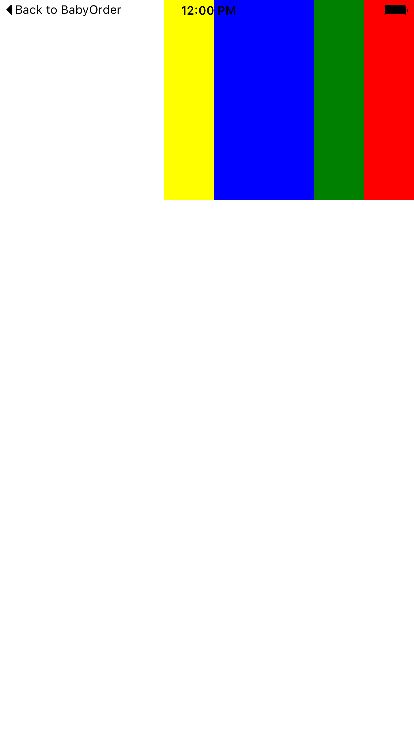
flex盒子中有个主轴的概念,主轴的方向则为子组织填充的方向,在ReactNative中,主轴默认为竖直方向,我们可以通过flexDirection样式来改变主轴方向,如下所示
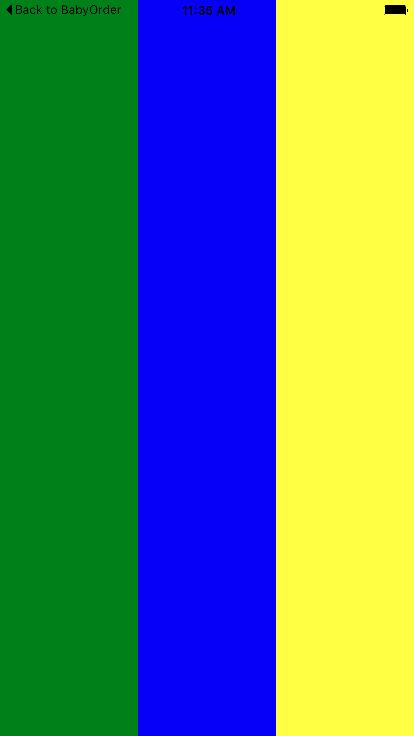
当然flexDirection还有row-reverse、colum-reverse即提供反转显示效果
如下为row-reverse效果
- flexWrap
flexWrap属性值有:wrap,nowrap
render() {
return (
);}
当使用“wrap”时,会将子组件内容都展现出来,当位置不足时会自动跳转到下一行展示
render() {
return (
);}
当使用“nowrap”时所有子组件将在一行展示,超出则不展示
- justifyContent
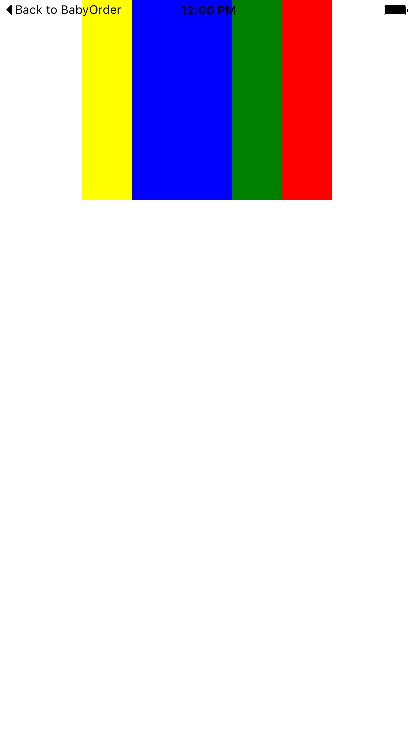
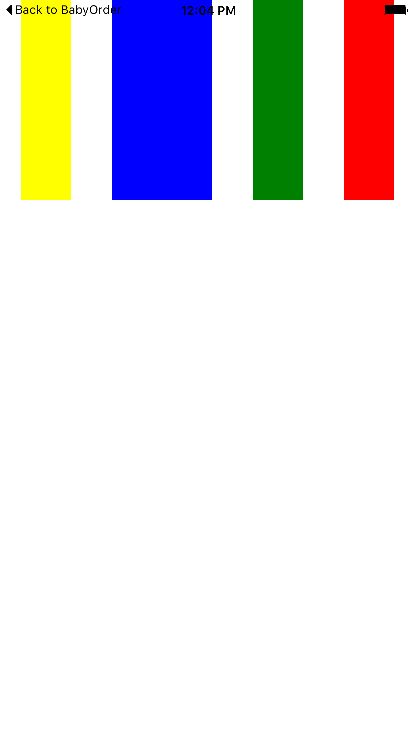
justifyContent属性值有flex-start,flex-end,center,space-around,space-between,其效果分别如下图所示;
space-around是在子组件的两边和中间均匀插入间隔,而space-between则是两边组件顶边,中间均匀插入间隔
render() {
return (
);}
- alignItems
前文提到主轴的概念是指子组件布局的方向,辅轴即为主轴垂直90度的方向
justifyContent是用来控制子布局在主轴位置展示的,而alignItems是用来控制辅轴位置展示的,其值有auto,center,flex-end,flex-start,stretch
render() {
return (
);}
_本站文章为 宝宝巴士 SD.Team 原创,转载务必在明显处注明:(作者官方网站: 宝宝巴士 ) _转载自【宝宝巴士SuperDo团队】原文链接: http://www.jianshu.com/p/06eaace83962


