【三石jQuery视频教程】03.创建垂直时间表(Timeline)
视频地址:http://v.qq.com/page/g/i/o/g0150rvi6io.html
大家好,欢迎来到【三石jQuery视频教程】,我是您的老朋友 - 三生石上。
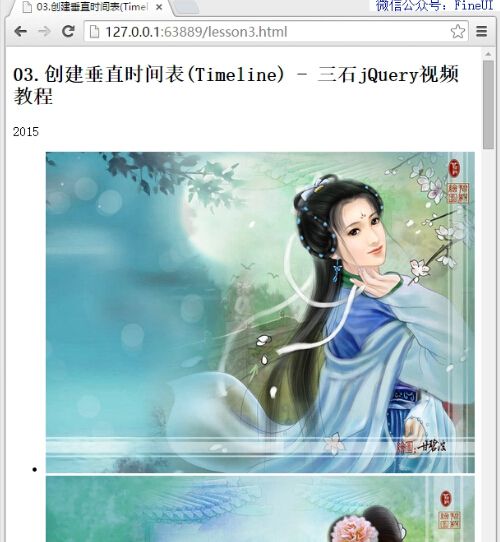
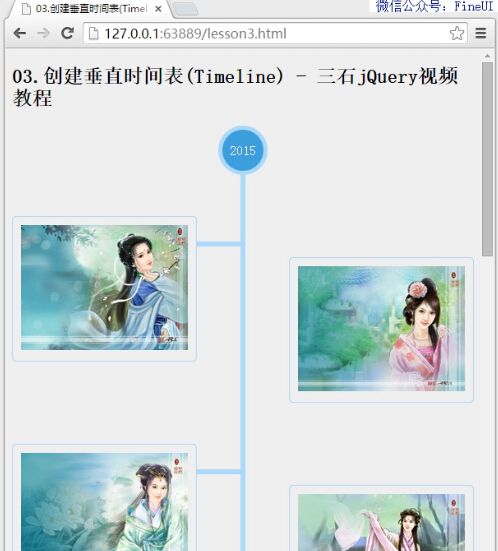
今天,我们要通过基本的HTML、CSS、jQuery来实现垂直时间表,先来看下最终的产品:

简单起见,时间表中的每个节点用一张图片代替,实际应用中可能是标题-图片-正文的样子。
Step1:网站目录
网站目录非常简单,包含三部分:lesson3.html 文件、lib 目录和 images 目录。
其中 lesson3.html 包含了一个页面最基本的组成部分,正确的设置 DOCTYPE 有助于页面在现代浏览器中正确渲染。
<!DOCTYPE html>

<html>

<head>

    <title>03.创建垂直时间表(Timeline) - 三石jQuery视频教程</title>


</head>

<body>


</body>

</html>
lib 目录仅包含了最新的 jQuery 库;images 目录包含使用到的 9 张图片。
Step2:页面结构
为页面添加基本的 html 标签。
- 为了实现时间标签的双色背景,嵌套了两层 div,分别用 CSS 样式类 year 和 year-inner 来标示
- 时间表中的事件列表用 ul.events li 进行组织
- 最后给最外层的时间表节点定义样式类 timeline
<!DOCTYPE html>

<html>

<head>

    <title>03.创建垂直时间表(Timeline) - 三石jQuery视频教程</title>

</head>

<body>

    <div id="main">

        <h2>

            03.创建垂直时间表(Timeline) - 三石jQuery视频教程

        </h2>

        <div class="timeline">

            <div class="year">

                <div class="year-inner">

                    2015

                </div>

            </div>

            <ul class="events">

                <li>

                    <img src="images/1.jpg">

                </li>

                <li>

                    <img src="images/2.jpg">

                </li>

                <li>

                    <img src="images/3.jpg">

                </li>

                <li>

                    <img src="images/4.jpg">

                </li>

            </ul>

            <div class="year">

                <div class="year-inner">

                    2014

                </div>

            </div>

            <ul class="events">

                <li>

                    <img src="images/5.jpg">

                </li>

                <li>

                    <img src="images/6.jpg">

                </li>

                <li>

                    <img src="images/7.jpg">

                </li>

                <li>

                    <img src="images/8.jpg">

                </li>

                <li>

                    <img src="images/9.jpg">

                </li>

            </ul>

        </div>

    </div>

</body>

</html>
此时的页面显示效果:
Step3:时间标签的样式
下面我们来创建时间标签的样式,为了实现双色圆形背景,我们做了如下努力:
- 固定宽度和高度,并让 border-radius 等于宽度和高度的 1/2 来实现圆形背景
- 两个背景的颜色直接取自 FineUI(专业版)的版本更新页面
- 为了让时间标签(2015)在 year-inner 中居中显示,分别定义 line-height 和 text-align 属性
- 为了让 year-inner 在 year 中居中,我们使用了绝对定位(top:50%; margin-top:-25px;)的 CSS 小技巧
 <style>

	body {

		background-color: #efefef;

	}


	#main {

		margin: 20px auto;

	}


	.timeline .year {

		background-color: #AFDCF8;

		width: 60px;

		height: 60px;

		border-radius: 30px;

		position: relative;

		margin: 0 auto 50px;

	}


	.timeline .year-inner {

		background-color: #46A4DA;

		width: 50px;

		height: 50px;

		text-align: center;

		line-height: 50px;

		color: #fff;

		border-radius: 25px;

		position: absolute;

		top: 50%;

		margin-top: -25px;

		left: 50%;

		margin-left: -25px;

	}


	.events img {

		width: 100%;

	}

</style>
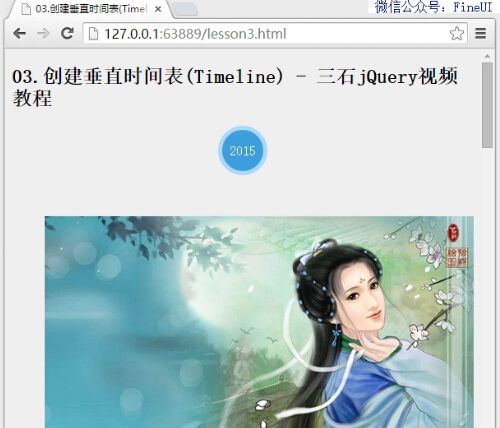
此时的页面显示效果:
Step4:让图片左右显示
为了让图片均匀的左右显示,也就是一个左,一个右,然后再一个左,一个右,所以需要明确区分奇数和偶数的 li 标签,我们使用 jQuery 来完成这一任务:
<script src="lib/jquery.js"></script>

<script>

	$(function() {

		$('.timeline .events li:nth-child(2n)').addClass('alt');

	});

</script>
jQuery 的子选择器 :nth-child(2n) 用来选择列表中的偶数项,并添加样式类 alt。
下面,我们通过 CSS 定义,左右两侧的图片分别占据 40% 的宽度,也就是说中间预留了 20% 的宽度,用一个图示来简单说明:

使用 float 样式来使图片左右显示,具体的 CSS 定义:
.timeline .events li {

	width: 40%;

	margin-bottom: 100px;

	border: solid 1px #AFDCF8;

	padding: 10px;

	border-radius: 5px;

	float: left;

	clear: left;

}


.timeline .events li.alt {

	float: right;

	clear: right;

	margin-top: 50px;

	margin-bottom: 50px;

}
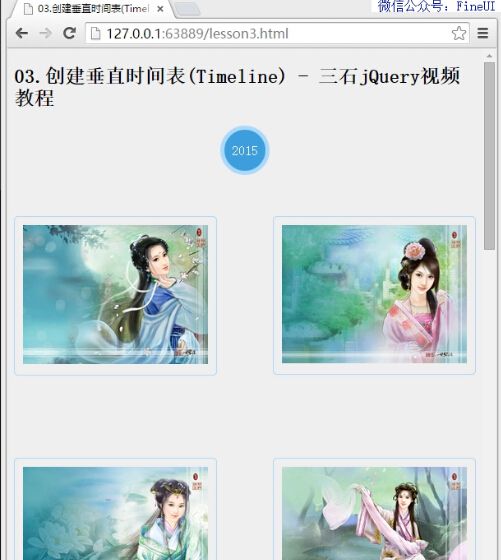
此时的页面效果:
Step5:时间标签后面的垂直背景线
本来我们可以使用一个绝对定位的 div 节点来实现这个效果,不过更简便的办法是 :after 伪选择器,先来看 CSS 定义:
.timeline {

	overflow: hidden;

	position: relative;

}


.timeline:after {

	content: "";

	position: absolute;

	width: 6px;

	height: 100%;

	background-color: #AFDCF8;

	top: 0;

	left: 50%;

	margin-left: -3px;

}
:after 伪选择器用来在某个元素的内容后面插入新的内容:
- content 定义要插入的新内容,这里我们不需要插入任何文本内容,所以留空
- 将新内容绝对定位,就和使用正常 div 节点一样
- 为了让垂直背景线水平居中显示,我们同样使用了前面提到的 top:50% + margin-top 的小技巧
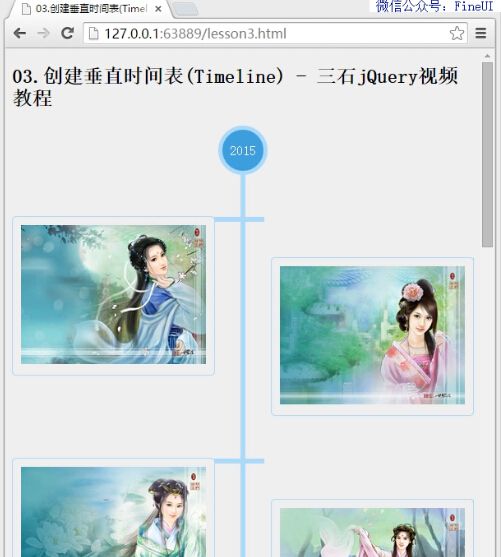
此时的页面效果:

Step6:垂直背景线到图片的连接线
使用类似的伪选择器,我们很容易相对于每个 li 节点,定义连接线:
.timeline .events li {

	width: 40%;

	margin-bottom: 100px;

	border: solid 1px #AFDCF8;

	padding: 10px;

	border-radius: 5px;

	float: left;

	clear: left;

	position: relative;

}


.timeline .events li:after {

	content: "";

	position: absolute;

	top: 30px;

	left: 100%;

	width: 25%;

	height: 6px;

	background-color: #AFDCF8;

}
特别注意的几点:
- left: 100% 用来表示连接线紧靠图标的右侧显示
- width: 25% 用来定义连接线的宽度,恰好占据图片右侧到垂直背景线的距离
一个巨大的疑问号?为什么是 25%,而不是其他的数值?
其实这是精心安排的:
再来回忆下,图片占据了 40% 的宽度,那么连接线应该占据整个宽度的 10% = (100% - 40% * 2) / 2,这是显而易见的!
但是 li:after 的绝对定位(position:absolute)是相对于第一个非静态定位的父节点而言的,而这儿父节点就是 .timeline .events li 本身,所以连接线相对于 li 的宽度:
40% * x = 10% = (100% - 40% * 2) / 2,可以计算出 x = 25%
====
假设,图片的 CSS 中将宽度设为 45%,那么这里的 li:after 的 width 就应该是 ((100% - 45% * 2) / 2) / 45% = 11.1%
此时的页面效果:
Step7:自定义尺寸盒模型(box-sizing)
虽然我们信誓旦旦的说,那个 25% 是精心安排的,但是实际的效果的却相差甚远,连接线的宽度明显宽了很多。
如果这是我们算一下图片的实际宽度,就会发现图片的实际宽度是 40%,这不包含内边距(padding) 和 边框(border)!
这时我们就需要重置页面上所有元素的 box-sizing,从默认值 content-box 改为 border-box,而这个做法也是推荐的做法。
很多注明的 CSS 框架(包括现在比较流行的 BootStrap)都将这一规则作为默认的样式:
* {

    box-sizing: border-box;

}
下面来简单比较下这两则的区别:
- content-box:为元素设定的宽度和高度不包含内边距和边框
- border-box:为元素设定的宽度和高度包含内边距和边框
此时的页面效果:
Step8:完整的 CSS 代码
为右侧图片添加连接线也很简单,下面看看完整的 CSS 代码:
* {

	box-sizing: border-box;

}


body {

	background-color: #efefef;

}


#main {

	margin: 20px auto;

}


.timeline {

	overflow: hidden;

	position: relative;

}


.timeline:after {

	content: "";

	position: absolute;

	width: 6px;

	height: 100%;

	background-color: #AFDCF8;

	top: 0;

	left: 50%;

	margin-left: -3px;

	z-index: 0;

}


.timeline .year {

	background-color: #AFDCF8;

	width: 60px;

	height: 60px;

	border-radius: 30px;

	position: relative;

	margin: 0 auto 50px;

	clear: both;

	z-index: 1;

}


.timeline .year-inner {

	background-color: #46A4DA;

	width: 50px;

	height: 50px;

	text-align: center;

	line-height: 50px;

	color: #fff;

	border-radius: 25px;

	position: absolute;

	top: 50%;

	margin-top: -25px;

	left: 50%;

	margin-left: -25px;

}


.timeline .events {

	list-style-type: none;

	padding: 0;

	margin: 0;

	clear: both;

}


.timeline .events li {

	width: 40%;

	margin-bottom: 100px;

	border: solid 1px #AFDCF8;

	padding: 10px;

	border-radius: 5px;

	float: left;

	clear: left;

	position: relative;

}


.timeline .events li:after {

	content: "";

	position: absolute;

	top: 30px;

	left: 100%;

	width: 25%;  /* 10% = 1 * 40% * 25% */

	height: 6px;

	background-color: #AFDCF8;


}


.timeline .events li.alt {

	float: right;

	clear: right;

	margin-top: 50px;

	margin-bottom: 50px;

}


.timeline .events li.alt:before {

	content: "";

	position: absolute;

	top: 30px;

	left: -25%;

	width: 25%;

	height: 6px;

	background-color: #AFDCF8;

}


.events img {

	width: 100%;

}
最终的页面效果:

源码和视频下载
源码和视频下载地址请自行到视频中查找! 三石出品,必属精品!
如果本文对你有所帮助,请点击 [推荐] 按钮来鼓励作者,你的支持是我们前进的动力!