ELK——UI界面监测数据,日志采集
| server1 | jdk,elasticsearch |
| server2 | jdk,elasticsearch |
| server3 | jdk,elasticsearch |
UI界面监测数据
1. 开启服务,关闭swap分区
[root@server1 ~]# systemctl start elasticsearch.service
[root@server1 ~]# swapoff -a
检测端口:
[root@server1 ~]# netstat -natlp | grep :9200![]()
2.添加节点(需要解析名,时间同步)
[root@server1 ~]# vim /etc/elasticsearch/elasticsearch.yml
68 discovery.zen.ping.unicast.hosts: ["server1", "server2", "server3"]![]()
server2/3:
[root@server2 ~]# vim /etc/elasticsearch/elasticsearch.yml
 68 discovery.zen.ping.unicast.hosts: ["server1", "server2", "server3"]
[root@server3 ~]# vim /etc/elasticsearch/elasticsearch.yml
 68 discovery.zen.ping.unicast.hosts: ["server1", "server2", "server3"]
[root@server1 ~]# rpm -ivh nodejs-9.11.2-1nodesource.x86_64.rpm 
3.虚拟机上网
[root@foundation36 ~]# iptables -t nat -I POSTROUTING -s 172.25.60.0/24 -j MASQUERADE 
查看版本,配置列表
[root@server1 ~]# node -v  #版本
[root@server1 ~]# npm config list![]()
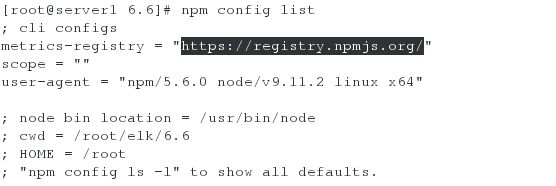
4.更改npm域(更改为taobao的,这样安装会快)
[root@server1 6.6]# npm set registry https://registry.npm.taobao.org/
[root@server1 6.6]# npm config list

metrics-registry = "https://registry.npm.taobao.org/"

5.解压控制主节点的安装包
[root@server1 ~]# yum install -y unzip
[root@server1 ~]# unzip elasticsearch-head-master.zip
#安装过程需要phantomjs,解压后放在/uar/local/bin(可在线下载但是会很慢)
[root@server1 6.6]# ls
phantomjs-2.1.1-linux-x86_64.tar.bz2
[root@server1 6.6]# yum install -y bzip2
[root@server1 6.6]# tar jxf phantomjs-2.1.1-linux-x86_64.tar.bz2
[root@server1 6.6]# cd phantomjs-2.1.1-linux-x86_64/
[root@server1 phantomjs-2.1.1-linux-x86_64]# ls
bin  ChangeLog  examples  LICENSE.BSD  README.md  third-party.txt
[root@server1 phantomjs-2.1.1-linux-x86_64]# cd bin/
[root@server1 bin]# ls
phantomjs
[root@server1 bin]# cp phantomjs /usr/local/bin/
查看是否有执行权限:
[root@server1 bin]# ll /usr/local/bin/phantomjs

6.安装UI界面
[root@server1 bin]# cd
[root@server1 ~]# cd elasticsearch-head-master/
[root@server1 elasticsearch-head-master]# npm install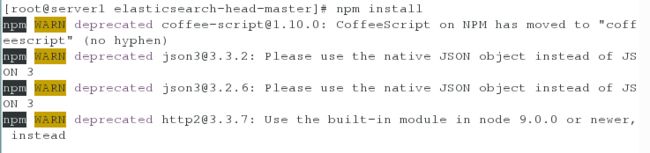
7.更改监听的主机号
[root@server1 elasticsearch-head-master]# cd _site/
[root@server1 _site]# vim app.js
![]()
8.UI界面后台运行
[root@server1 elasticsearch-head-master]# npm run start &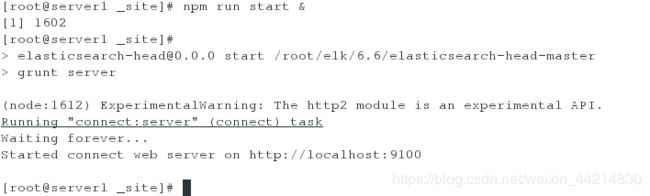
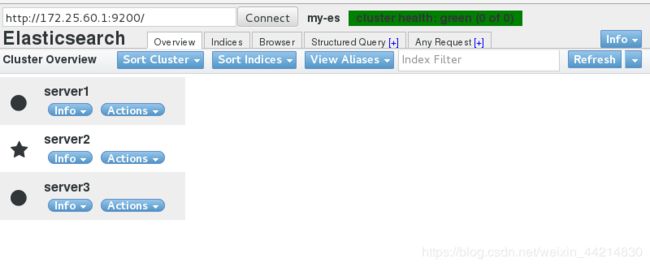
9.浏览器访问http://172.25.60.1:9100/
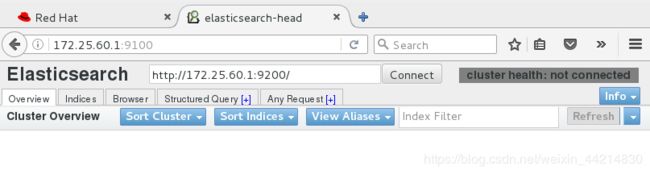
跨域访问的配置:
[root@server1 ~]# vim /etc/elasticsearch/elasticsearch.yml
http.cors.enabled: true
http.cors.allow-origin: "*"
[root@server1 ~]# systemctl restart elasticsearch.service
刷新浏览器点击连接(connect):

点击Any Request(复合查询)
 点击Request(提交请求
刷新浏览器:
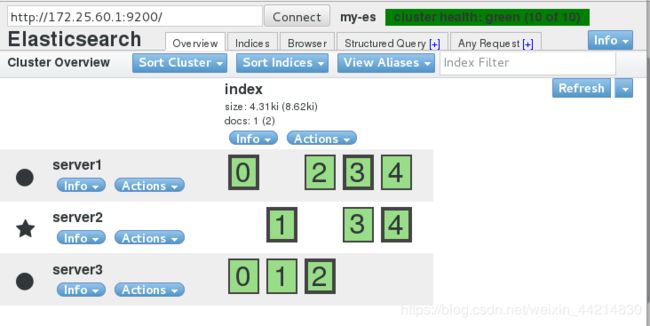
设置master主节点
master:选举模式
master data存数据 client响应查询 (当前server1/2/3都具备)
1.设定master
server1:
[root@server1 ~]# vim /etc/elasticsearch/elasticsearch.yml
 24 node.master: true
 25 node.data: false
![]()
server2/server3:
[root@server2 ~]# vim /etc/elasticsearch/elasticsearch.yml
node.master: false
node.data: true
[root@server3 ~]# vim /etc/elasticsearch/elasticsearch.yml
node.master: false
node.data: true
刷新浏览器http://172.25.60.1:9100/
