MAC本地安装EOS及问题
本地安装EOS
EOS是bm(比特股创始人)最新研发的第三代区块链技术,每秒交易可达到百万级,以太坊每秒也只能达到几十笔。更适合高并发场景。
EOS的代码在github上开源,本文主要内容是如何在本地部署EOS。
-
系统:Mac最新版
-
依赖:Boost
-
OpenSSL
-
secp256k1-zkp
依赖环境安装
因为eos是由c++编写,所以我们需要安装cmake等编译工具。如果是linux无需安装,mac需要安装xcode后才可
brew install automake autoconf libtool cmake
这里我们用homebrew包管理工具,更加简单方便些。
/usr/bin/ruby -e "$(curl -fsSL https://raw.githubusercontent.com/Homebrew/install/master/install)"
Boost
brew install Boost
OpenSSL
brew install OpenSSL
注意⚠️:因为新版mac已经移除openssl,这里我们安装完需要配置下环境变量
export OPENSSL_ROOT_DIR=/usr/local/Cellar/openssl/1.0.2k
export OPENSSL_INCLUDE_DIR=/usr/local/Cellar/openssl/1.0.2k/includes
secp256k1-zkp
git clone https://github.com/cryptonomex/secp256k1-zkp.git
Cd secp256k1-zkp
./autogen.sh
./configure
make
sudo make install
获取eos代码
git clone https://github.com/eosio/eos --recursive
cd eos
cmake .
make
我们跑一下测试代码
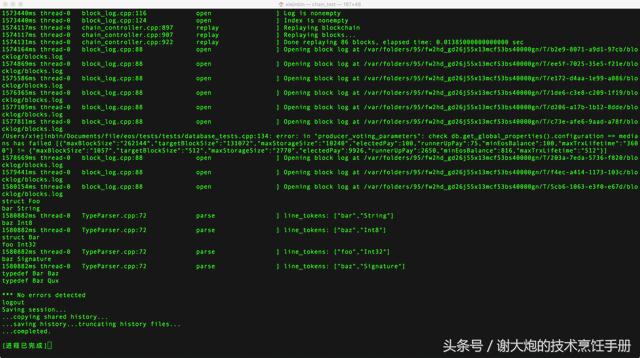
在tests/目录下,双击chain_test即可运行
运行eos
找到programs目录下eosd中,双击执行eosd
这时候会报错,需要我们修改下config.ini文件,全局搜索下此文件
加入
# Load the testnet genesis state, which creates some initial block producers with the default key
genesis-json = /path/to/eos/source/genesis.json
# Enable production on a stale chain, since a single-node test chain is pretty much always stale
enable-stale-production = true
# Enable block production with the testnet producers
producer-id = {"_id":0}
producer-id = {"_id":1}
producer-id = {"_id":2}
producer-id = {"_id":3}
producer-id = {"_id":4}
producer-id = {"_id":5}
producer-id = {"_id":6}
producer-id = {"_id":7}
producer-id = {"_id":8}
producer-id = {"_id":9}
producer-id = {"_id":10}
# Load the block producer plugin, so we can produce blocks
plugin = eos::producer_plugin
当然可以以Docker方式安装
https://github.com/EOSIO/eos/里有
问题集
1 cmake .时,EOSIO/chainbase 下,没有发现CMakeLists.txt文件
=》
git未完成递归下载,手动下载https://github.com/EOSIO/chainbase 分支的,覆盖chainbase文件夹内容
同样情况的还有appbase binaryen
##############
2 cmake .时,发现找不到 OPENSSL_ROOT_DIR OPENSSL_INCLUDE_DIR
=》
《1 进入当前用户的home目录
输入cd ~
《2 编辑.bash_profile
输入 vim .bash_profile
《3在末尾插入
export OPENSSL_ROOT_DIR=/usr/local/Cellar/openssl/1.0.2k
export OPENSSL_INCLUDE_DIR=/usr/local/Cellar/openssl/1.0.2k/includes
《4 重新开一个命令行执行命令即可
####################
3 cmake . 时,发现
Could not find a package configuration file provided by "LLVM" (requested
version 4.0) with any of the following names:
LLVMConfig.cmake
llvm-config.cmake
Add the installation prefix of "LLVM" to CMAKE_PREFIX_PATH or set
"LLVM_DIR" to a directory containing one of the above files. If "LLVM"
provides a separate development package or SDK, be sure it has been
installed.
=》
《1 下载llvm.....xz
http://releases.llvm.org/download.html#4.0.0 =》Pre-Built Binaries:
mac下的链接为 http://releases.llvm.org/4.0.0/clang+llvm-4.0.0-x86_64-apple-darwin.tar.xz
《2 解压
xz -d clang+llvm-4.0.0-x86_64-apple-darwin.tar.xz 生成tar文件
tar xvf xxx.tar 来解包到目标目录
《3 修改 .bash_profile,在后面追加
export LLVM_DIR = /Users/liyihang/Downloads/clang+llvm-4.0.0-x86_64-apple-darwin/lib/cmake/llvm/LLVMConfig.cmake

