在阿里云搭建redis高可用集群加SpringBoot 小demo
如何在阿里云搭建redis高可用集群
目标计划
Redis Cluster(Redis集群)
搭建Redis-Cluster
1. 需知:
需要搭建 6 台 redis 服务器。搭建伪集群。
需要 搭建6 个 redis 实例。
需要运行在不同的端口 7001-7006
2.准备工作
2.1:
CentOS 7.0
6台redis,端口号分别分配为7001、7002、7003、7004、7005、7006
设置7001、7002、7003为主机,7004、7005、7006分别依次为从机。
2.2
在阿里云中创建redis-cluster目录(名字自己指定), 复制redis的bin目录,配置其中的redis.conf(要是没有就从redis解压目录中复制一份),并命名目录为7001、7002…7006;即,每个目录下有一个bin目录,还有一个redis.conf配置文件。
    配置集群
                注释bind、
                修改protected-mode配置、
                修改运行端口为7001 (7002 7003 .....)
                将cluster-enabled yes 前的注释去掉
                注意:不注释的顶头,注释的后面加空格
注意:
建立小Demo,连接测试Redis-Cluster
2.3 搭建好处
Redis是在内存中保存数据的,而我们的电脑一般内存都不大,这也就意味着Redis不适合存储大数据,适合存储大数据的是Hadoop生态系统的Hbase或者是MogoDB。Redis更适合处理高并发,一台设备的存储能力是很有限的,但是多台设备协同合作,就可以让内存增大很多倍,这就需要用到集群。
2.4 简介
简介
1.Redis是一个开源的key value存储系统,注意:Redis3.0版本之前是只支持单例模式的,在Redis3.0+版本以后的才支持集群。
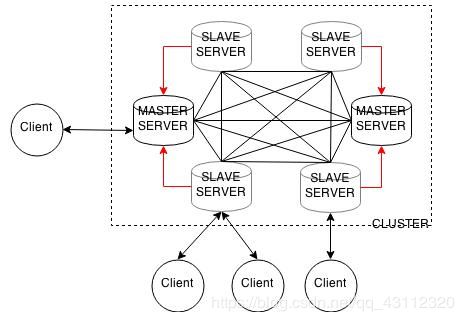
2. Redis集群采用P2P模式,即采用无中心结构,不存在中心节点或者代理节点,每个节点保存数据和整个集群状态,每个节点都和其他所有节点连接。Redis-Duster架构图如下:
一、开始搭建Redis-Cluster
1.安装gcc,Redis 是 c 语言开发的。安装 redis 需要 c 语言的编译环境。如果安装 了gcc,那么此步就省略。
yum install gcc-c++
注:如果出现Nothing to do,说明您已经安装过了,就不需在安装了,如下图:
2.使用yum命令安装 ruby1 (我们需要使用ruby脚本来实现集群搭建)
yum install ruby
yum install rubygems
3.下载redis源码包,并解压
// 下载redis
wget http://download.redis.io/releases/redis-5.0.6.tar.gz
//解压redis
tar -zxvf redis-5.0.6.tar.g
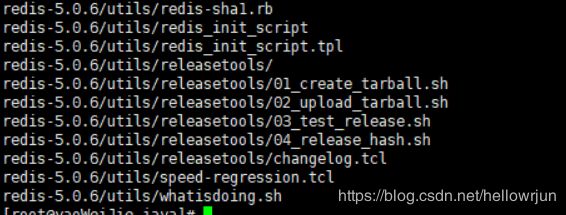
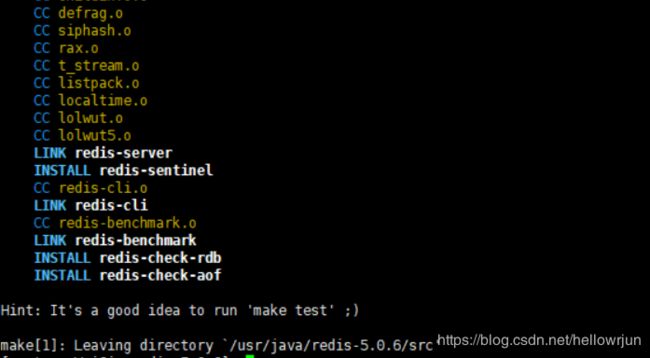
4.进入redis源码文件夹进行编译
make
5.创建目录/usr/local/redis-cluster目录, 安装6个redis实例,分别安装在以下目
/usr/local/redis-cluster/redis1
/usr/local/redis-cluster/redis2
/usr/local/redis-cluster/redis3
/usr/local/redis-cluster/redis4
/usr/local/redis-cluster/redis5
/usr/local/redis-cluster/redis6

例:
make install PREFIX=/usr/local/redis-cluster/redis1
6.复制配置文件 将 /redis-5.0.6/redis.conf 复制到redis下的bin目录下// 复制配置文件
cp redis.conf /usr/local/redis-cluster/redis1/bin
开始配置集群
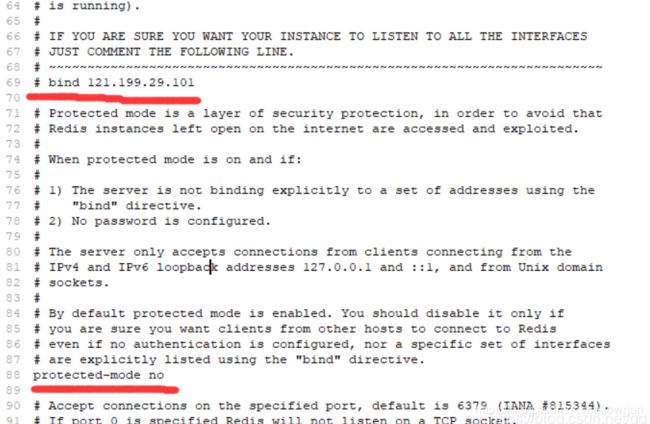
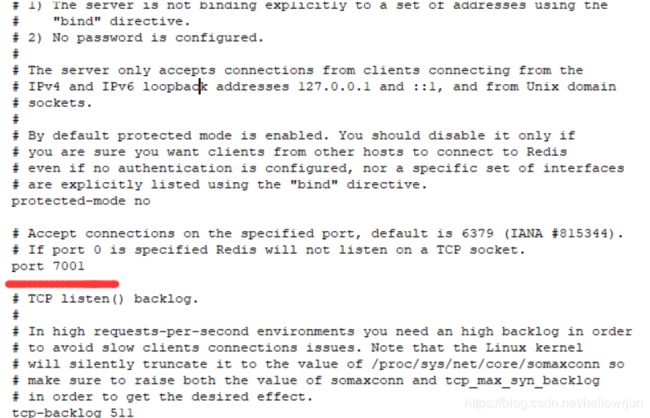
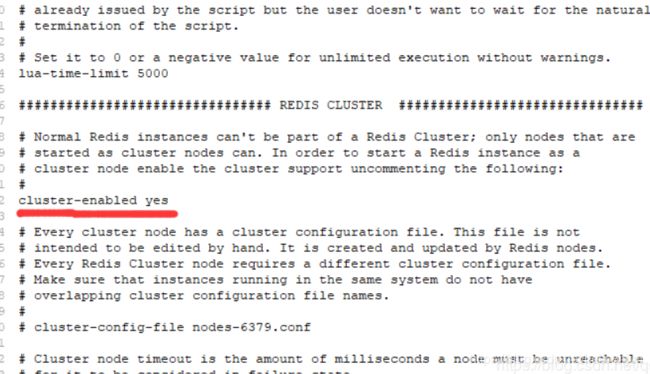
1.用EditPlus3编辑器编辑修改每个redis节点的配置文件redis.conf,
注释bind、
修改protected-mode配置、
修改运行端口为7001 (7002 7003 …)
将cluster-enabled yes 前的注释去掉
注意:不注释的顶头,注释的后面加空格
如图:
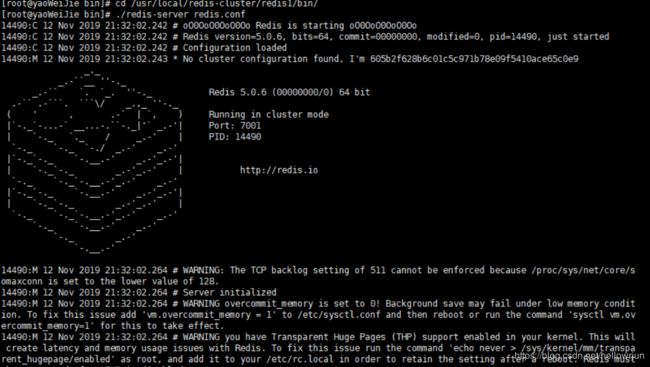
1.启动每个redis实例,以第一个实例为例,命令如下
1.    cd /usr/local/redis-cluster/redis1/bin/
2.   ./redis-server redis.conf
2.上传redis-3.0.0.gem ,安装 ruby用于搭建redis集群的脚本,然后执行下面代码
gem install redis-3.0.0.gem
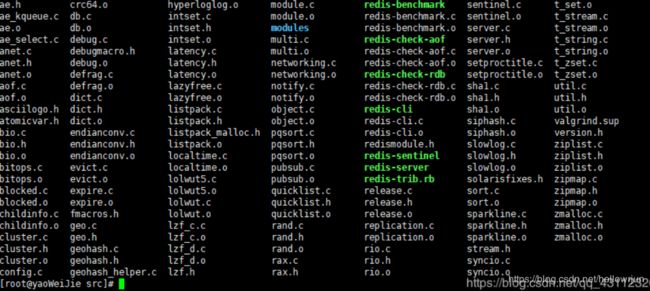
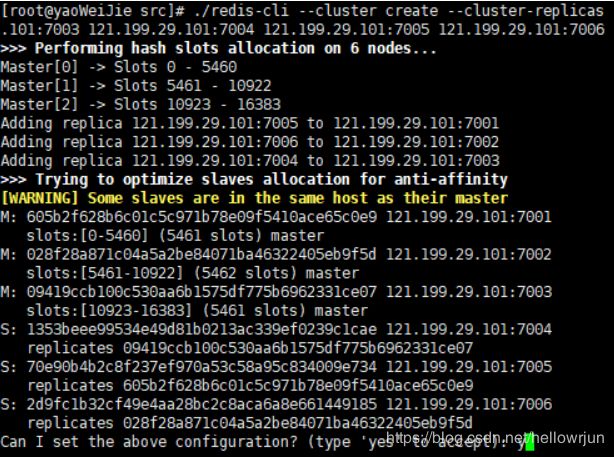
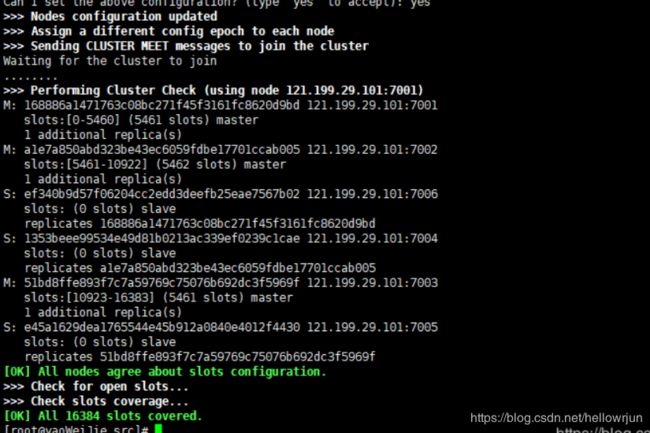
3.使用 ruby 脚本搭建集群,进入redis源码目录中的src目录 执行下面的命令,然后打yes命令完成:
 1. // 进入redis源码目录中的src目录
 2.cd /usr/java/redis-5.0.6/src
5.0.0以下的版本使用一下命令(Ruby)
./redis-trib.rb create --replicas 1 服务器IP(公):7001 服务器IP(公):7002 服务器
IP(公):7003 服务器IP(公):7004 服务器IP(公):7005 服务器IP(公):7006
5.0.0以上的版本使用一下命令(C语言)
./redis-cli --cluster create --cluster-replicas 1 服务器IP(公):7001 服务器IP(公):7002 服务器 IP(公):7003 服务器IP(公):7004 服务器IP(公):7005 服务器IP(公):7006
测试是否搭建好
Redis-cli 连接集群:
redis-cli -h 主机ip -p 端口(集群中任意端口) -c
-c:代表连接的是 redis 集群
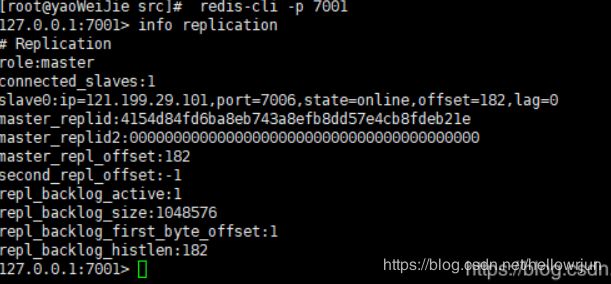
例:进入 端口为7001的redis : redis-cli -p 7001
查看redis 信息 : info replication
建立小Demo,连接测试
1.建立springboot项目
2.配置pom
Redis-Cluster
4.0.0

    org.springframework.boot
    spring-boot-starter-parent
    2.2.1.RELEASE


com.example.rediscluster
redemo
0.0.1-SNAPSHOT
redemo
Demo project for Spring Boot


    1.8


        org.springframework.boot
        spring-boot-starter-data-redis


        redis.clients
        jedis
        2.9.0


        org.springframework.boot
        spring-boot-starter-web


        org.springframework.boot
        spring-boot-starter-test
        test


                org.junit.vintage
                junit-vintage-engine


            org.springframework.boot
            spring-boot-maven-plugin
2.application.yml中配置
spring:
redis:
cluster:
  nodes:
     服务器IP(公):7001,服务器IP(公):7002,1服务器IP(公):7003,服务器IP(公):7004,服务器IP(公) :7005,服务器IP(公):7006
  max-redirects: 6
3.新建测试类,代码如下
package com.example.rediscluster.redemo;

import org.junit.jupiter.api.Test;
import org.springframework.beans.factory.annotation.Autowired;
import org.springframework.boot.test.context.SpringBootTest;
import org.springframework.data.redis.core.HashOperations;
import org.springframework.data.redis.core.RedisTemplate;

import static org.junit.jupiter.api.Assertions.*;
@SpringBootTest
public class RedisTest {
    @Autowired
    private RedisTemplate redisTemplate;
    @Test
    public void text1(){
        System.out.println(redisTemplate.hasKey("name"));
        redisTemplate.opsForValue().set("name", "123214");
        String name = (String) redisTemplate.opsForValue().get("name");
        System.out.println(name);
        redisTemplate.opsForValue().set("name2", "123214");
        String name2 = (String) redisTemplate.opsForValue().get("name");
        System.out.println(name2);
        redisTemplate.opsForValue().set("name3", "123214");
        String name3 = (String) redisTemplate.opsForValue().get("name");
        System.out.println(name3);
        redisTemplate.opsForValue().set("name4", "123214");
        String name4 = (String) redisTemplate.opsForValue().get("name");
        System.out.println(name4);
        HashOperations hashOperations = redisTemplate.opsForHash();
        hashOperations.put("user", "test", "测试");
        System.out.println(hashOperations.get("user", "test"));
    }
}
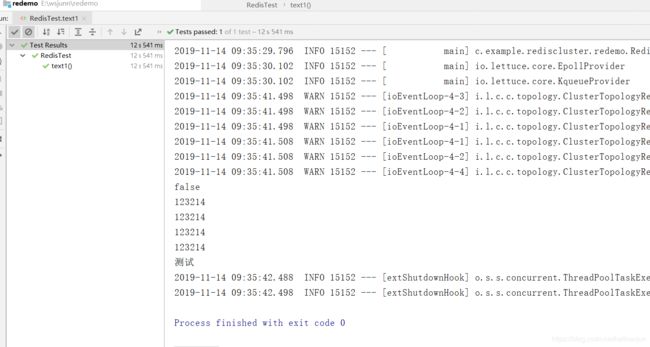
启动项目
Redis-Cluster成功搭建
注意!!!如果Redis-Cluster部署成功,结果如下图所示,有的反馈说是连接超时,重新启动即可!
原创:产品研发部 Mr.jun


