简单生成随机验证码(使用session实现用户登录)
前言:由于这篇文章是在用户登录的基础上生成随机验证码,并使用session实现用户登录,所以在看这篇文章之前,如何实现用户登录的步骤请参考我的上一篇博客:通过重写HttpServlet的doGet、doPost方法实现验证用户登录
1.在实现用户登录的步骤4中,在comtroller包下新建了一个验证用户登录的LoginController类,现在在该类中的doGet方法中加入图片验证码的标签代码:
stringBuilder.append("验 证 码:
");
如图所示:

< img src=’./captche’ width=120 height=80>中,
width(宽度)和height(高度)不写的话就默认是CaptcheController类中的高度(CaptcheController类请看步骤2)
src=’./captche’ :这里的路径一般使用相对路径(这里的相对路径请看步骤5)
2.在该类中再次修改doPost方法,代码如下:
 protected void doPost(HttpServletRequest req, HttpServletResponse resp) throws ServletException, IOException {
 	//(获取用户输入的用户名)从request对象中获取名称为loginName所对应的值,并赋值给loginName
        String loginName = req.getParameter("loginName");
   //(获取用户输入的密码)从request对象中获取名称为loginPwd所对应的值,并赋值给loginPwd
        String loginPwd = req.getParameter("loginPwd");
  //(获取用户输入的验证码)从request对象中获取名称为validCode所对应的值,并赋值给validCode
        String validCode = req.getParameter("validCode");
  //获取session内的code值强制转换成String类型,注意:getAttribute的返回值类型是Object,需要向下转型为String类型
  //req.getSession().getAttribute()获取session对象的值
        String saveCode = (String)req.getSession().getAttribute("code");
        String str = null;

        //如果验证码不为空
        if (saveCode != null){
         //判断session内的code值与用户输入的验证码是否相同
            if (saveCode.equals(validCode)){
                if ("04".equals(loginName) && "123456".equals(loginPwd)){
					str = "你好," + loginName;
                }else{
                    str = "账户或密码错误";
                }

            }else{
                str = "验证码错误";
            }

        }else {
            str = "请输入验证码";
        }

        showMsg(resp,str);
    }
3.在comtroller包下新建一个随机生成验证码的CaptcheController类
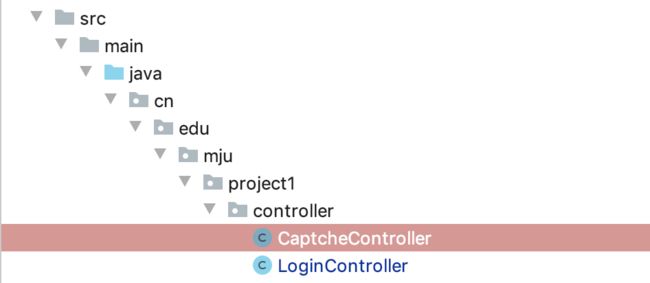
并用代码表示该类继承于HttpServlet:
public class CaptcheController extends HttpServlet {
4.右键点击Generate,选择Override Methods后,选择service(req:HttpServletRequest,resp:HttpServletResponse)
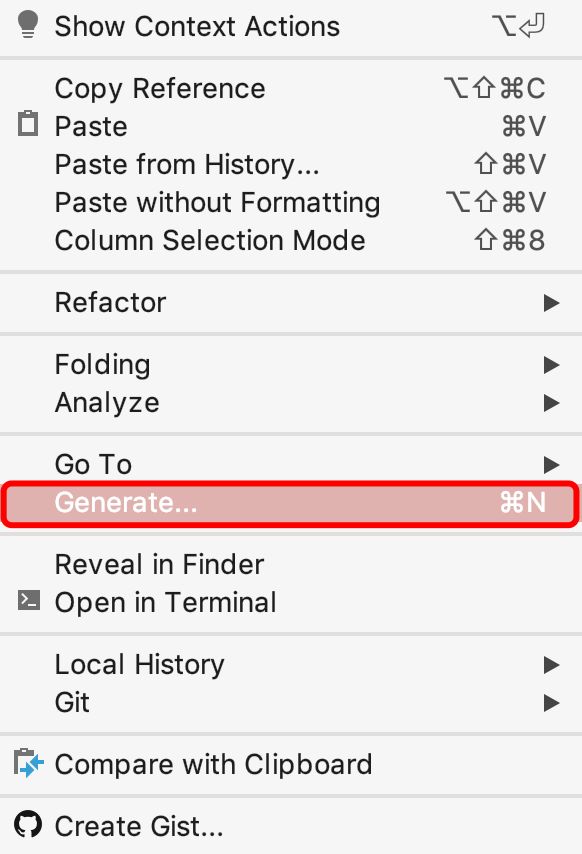
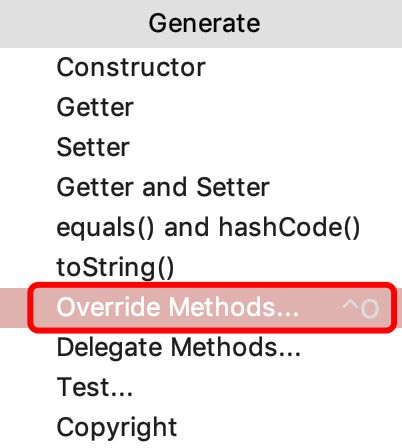
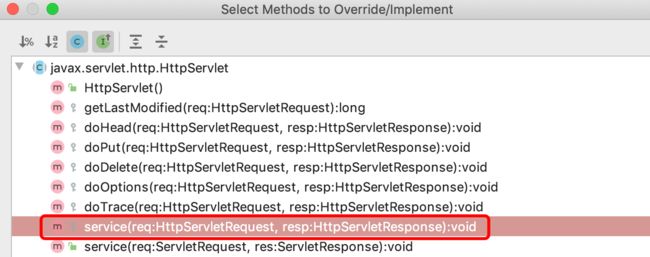
5.重写HttpServlet的service方法,重写service方法后将不会再调用doXXX方法,如果重写了service方法,那么servlet容器就会把请求交给这个方法来处理(在下面的代码中需要调用StrUtil类的方法,StrUtil类请看步骤6)
import cn.edu.mju.project1.util.StrUtil;
import javax.imageio.ImageIO;
import javax.servlet.ServletException;
import javax.servlet.ServletOutputStream;
import javax.servlet.annotation.WebServlet;
import javax.servlet.http.HttpServlet;
import javax.servlet.http.HttpServletRequest;
import javax.servlet.http.HttpServletResponse;
import javax.servlet.http.HttpSession;
import java.awt.*;
import java.awt.image.BufferedImage;
import java.io.IOException;
import java.util.Random;

@WebServlet("/captche")  //让能运行
public class CaptcheController extends HttpServlet {

    private final int WIDTH = 100;
    private final int HEIGHT = 80;

    @Override
    //实现生成验证码,验证码特点:变化,图片
    protected void service(HttpServletRequest req, HttpServletResponse resp) throws ServletException, IOException {

//mage是一个抽象类,BufferedImage是其实现类,是一个带缓冲区图像类,主要作用是将一幅图片加载到内存中(BufferedImage生成的图片在内存里有一个图像缓冲区,利用这个缓冲区我们可以很方便地操作这个图片),提供获得绘图对象、图像缩放、选择图像平滑度等功能,通常用来做图片大小变换、图片变灰、设置透明不透明等。
BufferedImage img = new BufferedImage(WIDTH,HEIGHT,BufferedImage.TYPE_INT_RGB);//创建一个不带透明色的对象
        Graphics g = img.getGraphics();//画笔对象

        g.setColor(Color.white);//设置画笔颜色为白色(即填充的颜色为白色)
        g.fillRect(0,0,WIDTH,HEIGHT);//填充矩形背景,起始坐标为(0,0),width为宽,height为高

        g.setColor(StrUtil.getRandomColor());//调用StrUtil类的getRandomColor方法(即随机生成的验证码的颜色随机)
        g.setFont(new Font("Times New Roman",Font.BOLD,30));//设置字体
        String code = StrUtil.randString(4);//调用StrUtil类的randString方法生成4个随机数
        HttpSession session = req.getSession();//使用req获取session对象
        session.setAttribute("code",code);//将生成的验证码放入session

        g.drawString(code,25,45);//在背景的坐标绘制code字符串,即验证码

        Random random = new Random();//创建随机对象
        //生成100个随机噪点
        for(int i = 0;i < 100; i++){
            int x = random.nextInt(WIDTH);
            int y = random.nextInt(WIDTH);
            g.setColor(StrUtil.getRandomColor());//调用StrUtil类的getRandomColor方法即随机生成的噪点的颜色随机)
            //绘制一个能包含住一矩形的圆,drawOval( int x, int y, int width, int height)
            //前2个是坐标值,后2个是该图形的宽度和高度
            g.drawOval(x , y , 1, 1);//随机画噪点
        }

        //生成15条随机干扰线
        for(int i = 0; i <15; i++){
            int x1 = random.nextInt(WIDTH);
            int y1 = random.nextInt(HEIGHT);
            int x2 = random.nextInt(WIDTH);
            int y2 = random.nextInt(HEIGHT);
            g.setColor(StrUtil.getRandomColor());//调用StrUtil类的getRandomColor方法(即随机生成的干扰线的颜色随机)
            //drawLine(int x1, int y1, int x2, int y2)
            //在此图形上下文的坐标系中,使用当前颜色在点知 (x1, y1) 和 (x2, y2) 之间画一条线。
            g.drawLine(x1 , y1 , x2 , y2); //随机画线
        }

        g.dispose();//graphics用完后要马上dispose,用完就要释放掉,当然仅限于释放屏幕资源

        ServletOutputStream out = resp.getOutputStream(); //二进制输出流(即用记事本打开是乱码的都为二进制数据流)
        ImageIO.write(img,"jpg",out);//将图片以jpg格式输出到输出流(将图片在页面展示)
        try {
            out.flush();//刷新缓存,把缓冲区的东西全部刷出去到输出流
        }finally {
            out.close();//关闭传输
        }
    }
}
6.配置servlet:在@WebServlet中配置 添加@WebServlet("/captche"),这里的"/captche"为相对路径

7.在project1目录下新建util包,并在该包下新建一个随机生成多个字符的字符串和随机取色的StrUtil类
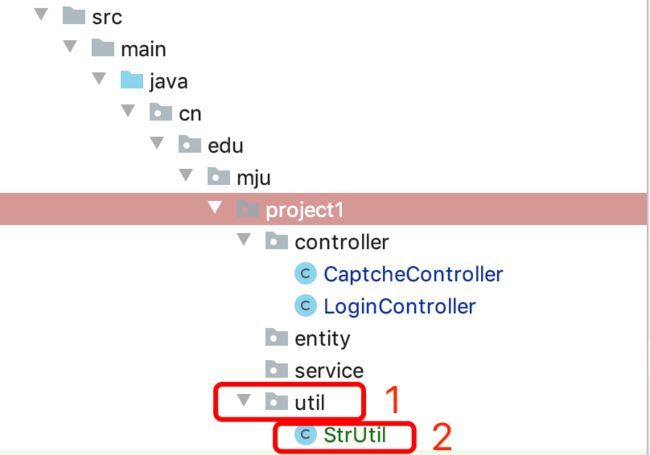
StrUtil类代码如下:
import java.awt.*;
import java.util.Random;

public class StrUtil {
    /**
     * @param count :字符串中字符的个数
     * @return :生成的字符串
     */

    //随机生成多个字符的字符串
    public static String randString(int count){
        StringBuilder builder = new StringBuilder();
        String str = "abcdefghijklmnpqrstuvwxy0123456789";
        Random rnd = new Random();
        for (int i=0; i<count; i++){
            int pos = rnd.nextInt(str.length());//最大数
            String s = str.substring(pos,pos+1);//包含头,不包含尾需加1
            builder.append(s);
        }
        return builder.toString();
    }
    //随机取色
    public static Color getRandomColor() {
        Random ran = new Random();
        Color color = new Color(ran.nextInt(256),
                ran.nextInt(256), ran.nextInt(256));
        return color;
    }
}
8.在src->main目录下新建test目录,在此目录下新建TestCaptche类作为测试类,并将此目录设置为测试根目录
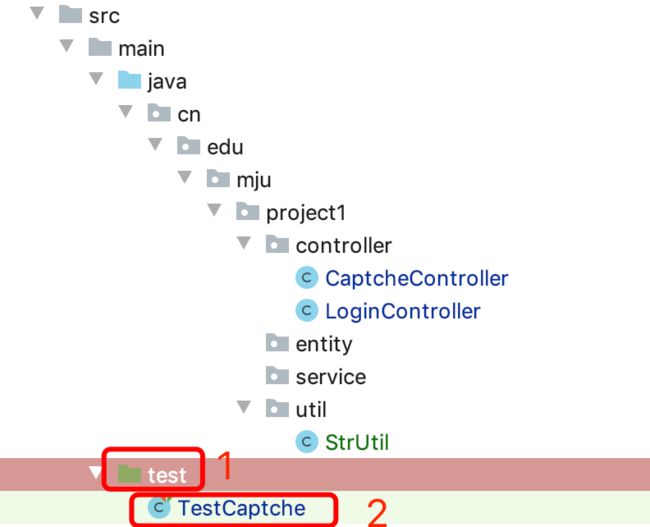
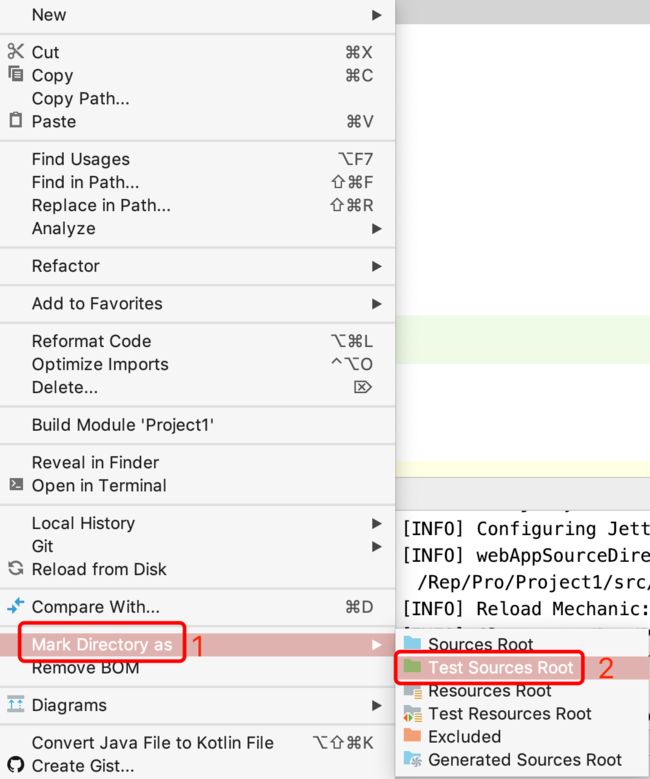
TestCaptche类代码如下:
import cn.edu.mju.project1.controller.CaptcheController;
import cn.edu.mju.project1.util.StrUtil;
import org.junit.Test;

public class TestCaptche {
    @Test   //该方法可以不用main方法调用就可以测试出运行结果,是一种测试方法
    public void testRandomString(){
        System.out.println(StrUtil.randString(4));
    }
}
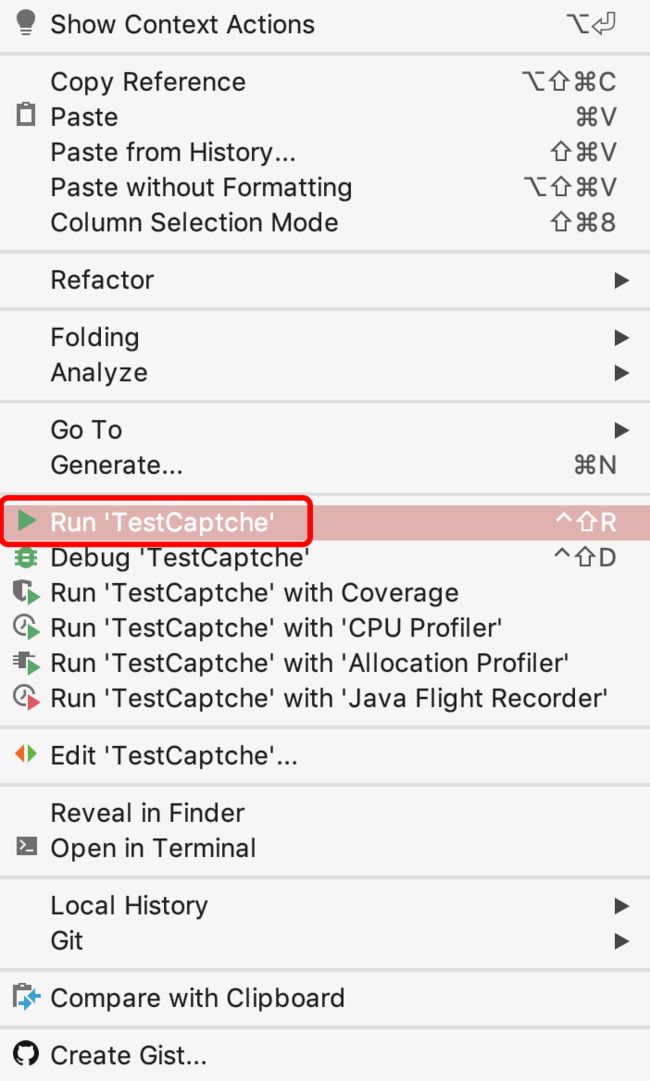
点击右键选择Run ‘TestCaptche’ 进行测试:
测试结果如下图,测试完成:

9.运行程序后,在浏览器中输入http://localhost:8081/login
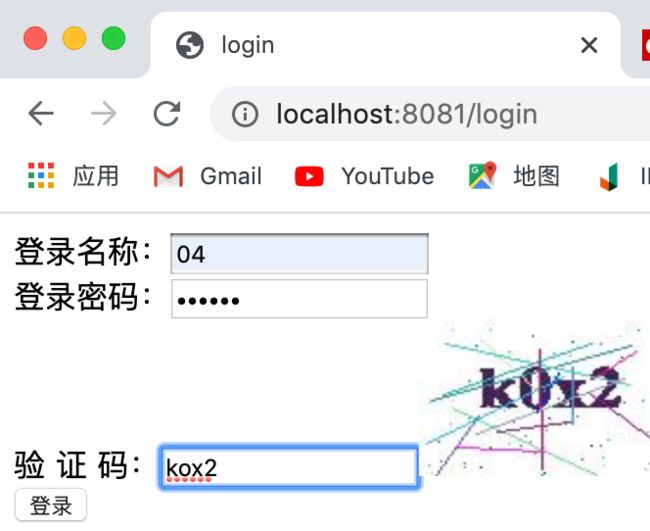
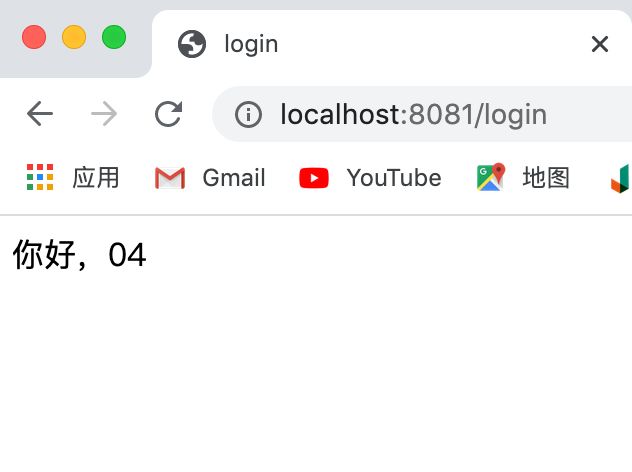
若登录成功,如下图:
