Zabbix4.0-yum二进制安装,添加监控主机web界面操作
一 、安装zabbix
二进制安装zabbix
官网安装手册路径:https://www.zabbix.com/cn/download?zabbix=4.0&osdistribution=centos&osversion=7&db=mysql&ws=apache
系统环境
[root@localhost ~]# uname -r
3.10.0-957.el7.x86_64
[root@localhost ~]# cat /etc/redhat-release
CentOS Linux release 7.6.1810 (Core)
本机IP:192.168.0.250
1:关闭selinux和防火墙
systemctl stop firewalld.service
systemctl disable firewalld.service
vim /etc/selinux/config
SELINUX=disabled
2:安装zabbix的repo源
rpm -Uvh https://repo.zabbix.com/zabbix/4.0/rhel/7/x86_64/zabbix-release-4.0-2.el7.noarch.rpm

yum clean all
zabbix.repo,替换成清华源(网络特别快,不修改可能安装会报错哦)
vim /etc/yum.repos.d/zabbix.repo
:%s#repo.zabbix.com#mirror.tuna.tsinghua.edu.cn/zabbix#g

yum clean all
3:安装Zabbix server,Web前端,agent
yum install zabbix-server-mysql zabbix-web-mysql zabbix-agent -y
4:安装mariadb-server
yum install mariadb-server -y  #安装数据库波
systemctl enable mariadb.service
systemctl start mariadb.service

mysql -uroot
MariaDB [(none)]>  create database zabbix character set utf8 collate utf8_bin;     #创建zabbix数据库,默认字符集utf8支持中文
MariaDB [(none)]> grant all privileges on zabbix.* to zabbix@localhost identified by 'password';
MariaDB [(none)]> quit
5:导入数据库表结构
[root@localhost yum.repos.d]# zcat /usr/share/doc/zabbix-server-mysql*/create.sql.gz | mysql -uzabbix -p zabbix
Enter password:   ##输入密码“password”

##############
验证数据库是否导入成功
mysql -u zabbix -p
	Enter password:123456
	MariaDB [(none)]> use zabbix
	MariaDB [zabbix]> show tables
    -> ;
	+----------------------------+
    | Tables_in_zabbix           |
    +----------------------------+
    | acknowledges               |
    | actions
	...省略部分...
6:修改zabbix-server配置文件
(1)配置zabbix_server
vim /etc/zabbix/zabbix_server.conf
DBHost=localhost #取消注释,本机地址
DBName=zabbix #刚刚咱们创建zabbix数据库,跟他一样;如不一样修改
DBUser=zabbix #数据库的用户名称
DBPassword=password #设置密码
# DBSocket= #本例不做配置,源码包安装需要配置,二进制安装则不需要配置
(2)过滤查看zabbix_server
grep -Ev '^$|#' /etc/zabbix/zabbix_server.conf  ##过滤
(3)启动zabbixserver和zabbix-agent加入开机自动启动
systemctl enable zabbix-server.service
systemctl enable zabbix-agent.service
systemctl start zabbix-server.service
systemctl start zabbix-agent.service

(4)查看端口 (有10050和10051正确	)
netstat -antplu #
Proto Recv-Q Send-Q Local Address           Foreign Address         State       PID/Program name

tcp        0      0 0.0.0.0:10050           0.0.0.0:*               LISTEN      6918/zabbix_agentd
tcp        0      0 0.0.0.0:10051           0.0.0.0:*               LISTEN      7421/zabbix_server

(5)查看日志
vim /var/log/zabbix/zabbix_server.log  #查看日志
7:设置PHP环境时区
vim /etc/httpd/conf.d/zabbix.conf
	Alias /zabbix /usr/share/zabbix  ##别名访问/zabbix  #不用修改
    php_value date.timezone Asia/Shanghai #环境时区
8:重启所有服务并加入开机自动启动
systemctl restart zabbix-server.service zabbix-agent.service httpd.service mariadb.service
systemctl enable zabbix-server.service zabbix-agent.service httpd.service mariadb.service
9:web前端配置zabbix服务
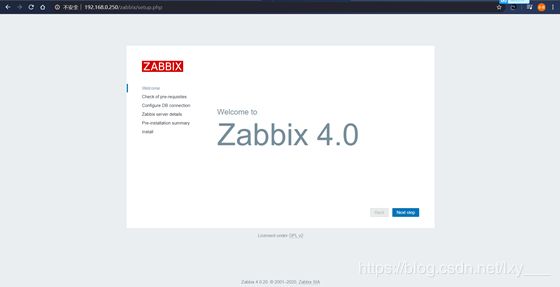
访问http://192.168.0.250/zabbix/
以真实ip地址为准
next step
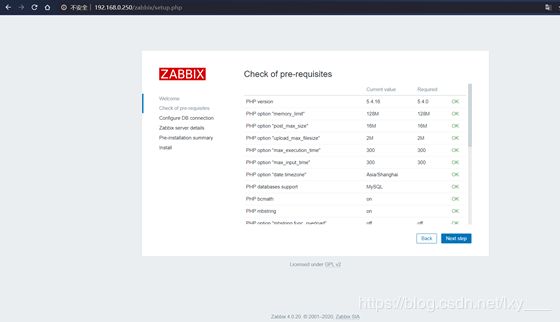
next step
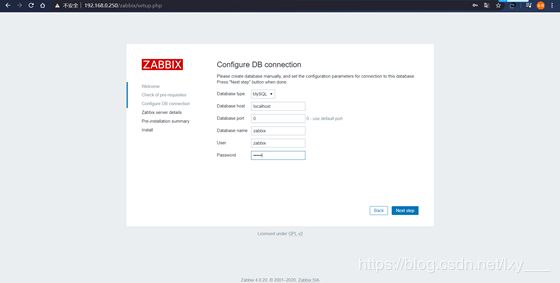
- Database type #现在只安装mysql插件,如果要连其他数据库,安装相应php包
- Database host localhost #“localhost“本地
- Database port  0#,“0”表示使用默认端口
- Database name  #数据库名称zabbix
- User  #用户名称zabbix
- Password #密码123456
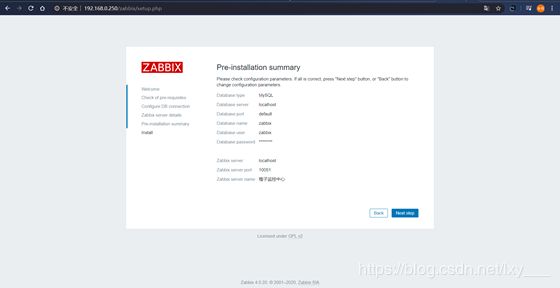
name 名称
next step
next step
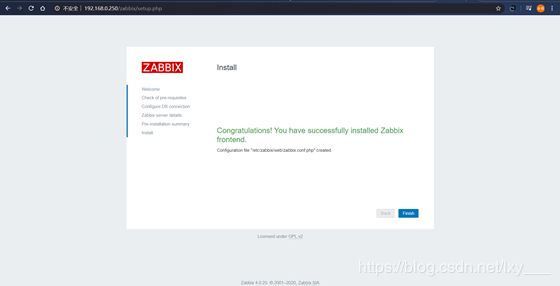
完成
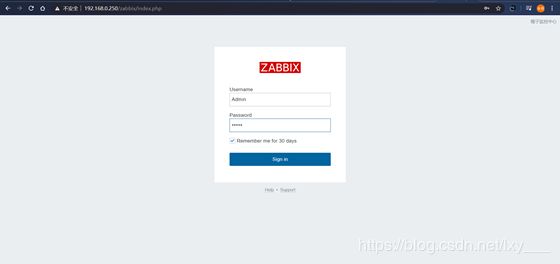
默认账号Admin 密码zabbix
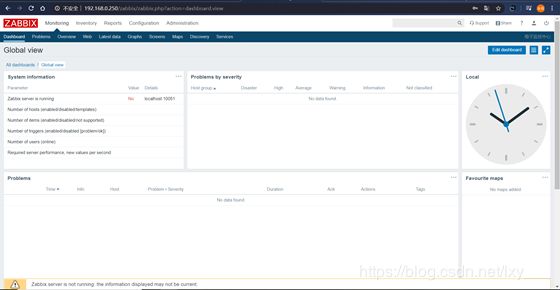
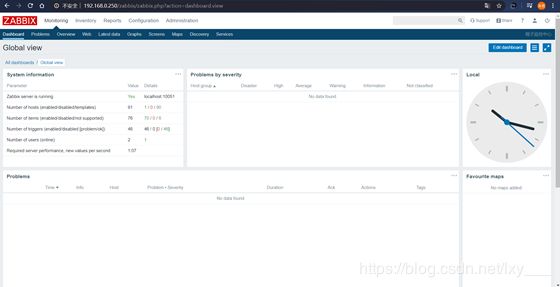
登录发现 NO 不正常,重启系统解决问题,reboot
二、添加监控主机
1:zabbix-server添加监控主机
yum install zabbix-agent -y  #在第一步我们已经安装过了,则不用安装了
systemctl enable zabbix-agent.service
systemctl start zabbix-agent.service
2:其他监控主机
系统环境
本机IP:192.168.0.105
wget https://mirror.tuna.tsinghua.edu.cn/zabbix/zabbix/4.0/rhel/7/x86_64/zabbix-agent-4.0.16-1.el7.x86_64.rpm
rpm -ivh zabbix-agent-4.0.16-1.el7.x86_64.rpm
systemctl enable zabbix-agent
systemctl start zabbix-agent
vim /etc/zabbix/zabbix_agentd.conf
	Server=192.168.0.250  #ip地址配置zabbix
2.1、web界面操作
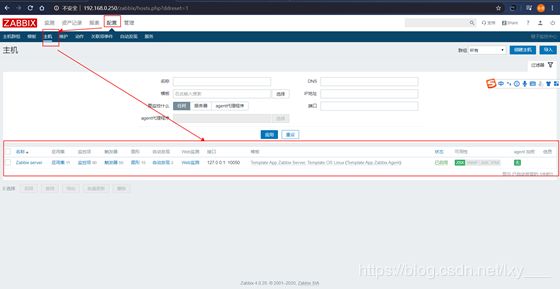
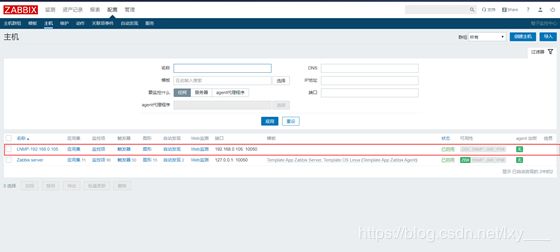
2.2.1 创建主机
2.2.2 主机配置
主机名称:(项目名称-ip地址)
群组 :stop
agent代理程序的接口 IP地址 :192.168.0.105
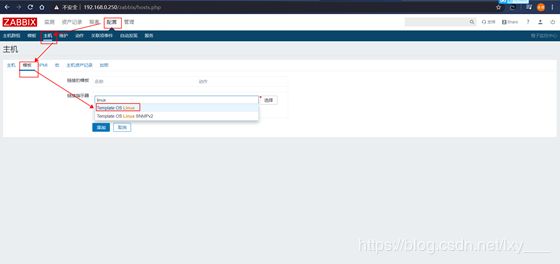
2.2.3添加模板
链接指示器:输入linux 添加默认模板
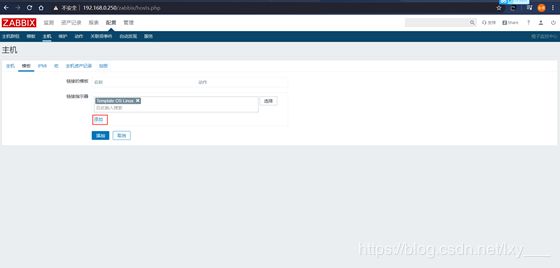
添加
2.2.4 验证监控是否成功
状态:已启用
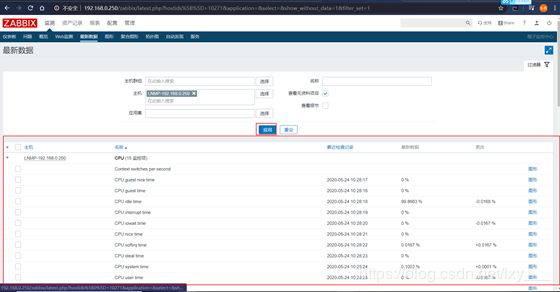
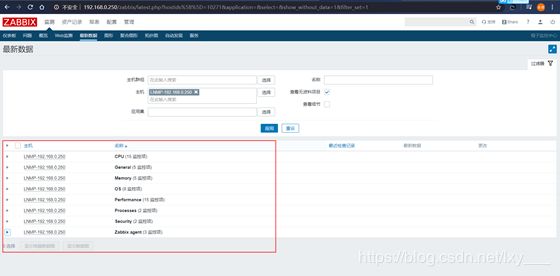
2.2.5 检测最新数据(这里添加主机名称错误了,250就是105,还请谅解)
三、添加触发器
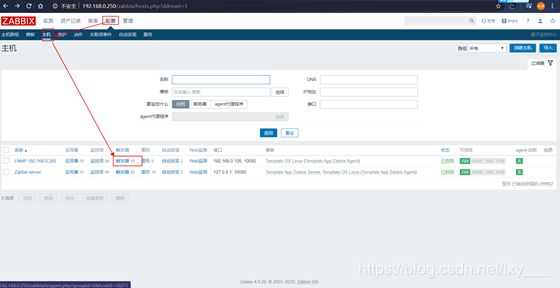
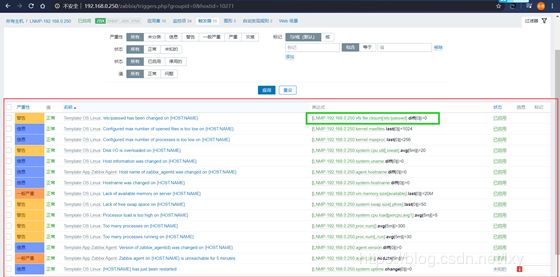
3.1 添加触发器
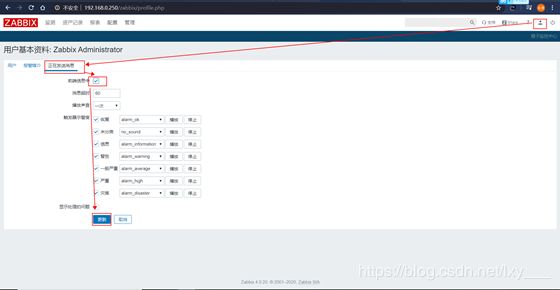
更新报警提示:有警告,会提示 嘀嘀嘀
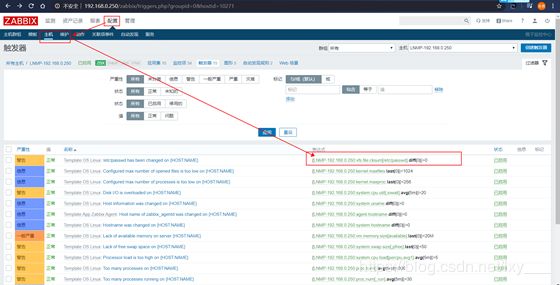
3.2查看触发器
3.2.1我们想要/etc/passwd 发生变化报警
3.2.2 检查通过cksum检查
[root@bogon ~]# cksum /etc/passwd ##检查通过cksum检查
1572063003 1035 /etc/passwd
[root@bogon ~]# useradd test #我们创建用户改变cksum值,模拟报警
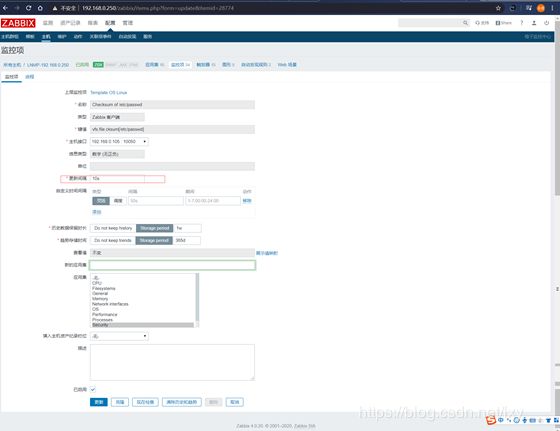
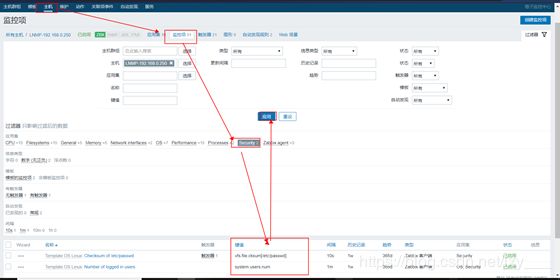
3.3修改默认监控间隔时间
默认监控时间1小时,我们改成10s 秒,–更新
3.3.1 更新完成不会及时生效
需要在zabbix监控服务,重新启动zabbix-server
[root@localhost ~]# systemctl restart zabbix-server
3.3.2 如果没有提示,再去添加一个用户test1
[root@bogon ~]# useradd test1
3.3.3报警了
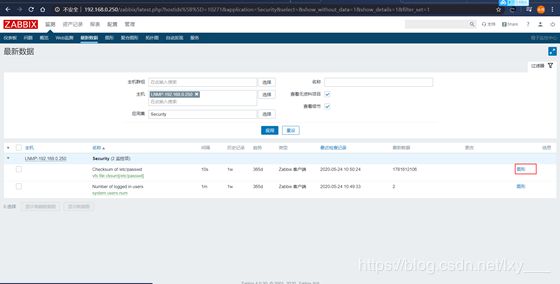
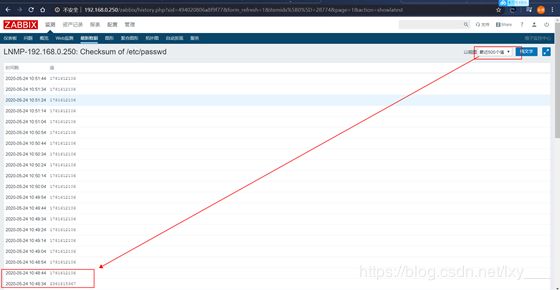
3.4查看图形
3.4.1 图形
3.4.2选择最近500个值
(可以看到两次值不一样)
