istio安装过程说明
一、下载安装包
1、去Istio release 下载:
curl -L https://git.io/getLatestIstio | ISTIO_VERSION=1.1.7 sh -
2、进入目录
cd istio-1.1.7
The installation directory contains:
Installation YAML files for Kubernetes in install/
Sample applications in samples/
The istioctl client binary in the bin/ directory. istioctl is used when manually injecting Envoy as a sidecar proxy.
The istio.VERSION configuration file
3、设置环境变量
export PATH=$PWD/bin:$PATH
4、若要使用helm进行安装,把helm chart库的地址添加到helm。
To use the Istio release Helm chart repository, add the Istio release repository as follows:
helm repo add istio.io https://storage.googleapis.com/istio-release/releases/1.1.7/charts/
二、采用Helm安装
1、有两种安装法可选,分别是Install with Helm via helm template
和Install with Helm and Tiller via helm install,这里选择后一种。
1)创建service account
kubectl apply -f install/kubernetes/helm/helm-service-account.yaml
2)Install Tiller on your cluster with the service account:
helm init --service-account tiller
如何tiller原先已经安装,则应该执行下面的命令
helm init --upgrade --service-account tiller --tiller-image registry.cn-hangzhou.aliyuncs.com/google_containers/tiller:v2.14.0
3)Install the istio-init chart to bootstrap all the Istio’s CRDs:
helm install install/kubernetes/helm/istio-init --name istio-init --namespace istio-system
4)Verify that all 53 Istio CRDs were committed to the Kubernetes api-server using the following command:
kubectl get crds | grep 'istio.io\|certmanager.k8s.io' | wc -l
显示结果应该是53
5)选择一个configuration profile安装,这里本人选择demo
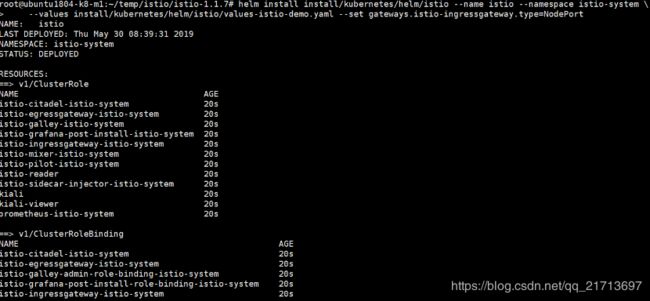
helm install install/kubernetes/helm/istio --name istio --namespace istio-system \
--values install/kubernetes/helm/istio/values-istio-demo.yaml --set gateways.istio-ingressgateway.type=NodePort
最后有如下提示:
NOTES:
Thank you for installing istio.
Your release is named istio.
To get started running application with Istio, execute the following steps:
1. Label namespace that application object will be deployed to by the following command (take default namespace as an example)
$ kubectl label namespace default istio-injection=enabled
$ kubectl get namespace -L istio-injection
2. Deploy your applications
$ kubectl apply -f
For more information on running Istio, visit:
https://istio.io/
三、验证安装
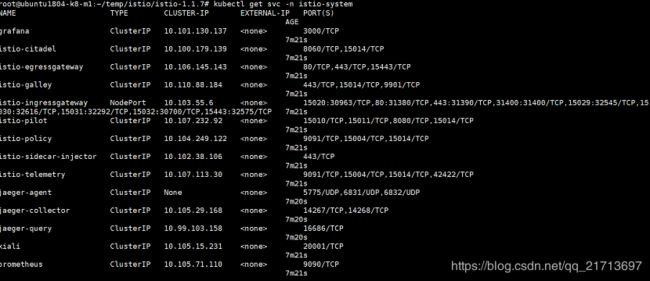
1)根据configuration profiles表格的说明检查相应用服务是否已经正确部署
kubectl get svc -n istio-system
2)确保相应的PODS状态是runing
kubectl get pods -n istio-system
- 卸载istio
若需要卸载istio,执行如下命令:
helm delete --purge istio
helm delete --purge istio-init
若要删除CRDs和istio configuration,可以用istio的安装包目录下执行如下命令:
kubectl delete -f install/kubernetes/helm/istio-init/files


