微信小程序登录之----后台获取openid + springboot-RestTemplate的使用
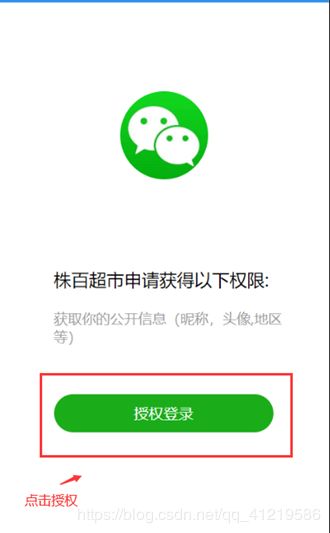
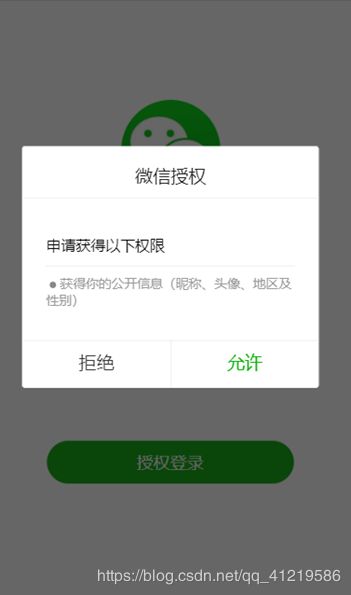
用户授权后获取code,j将code传给后台用来获取openid;
后台获取openid真的各种乱七八糟的报错,明明代码也不难,关键要细心。还是直接上代码吧。
1.前端获取code并传给后台;
      wx.login({
        success: res => {
          // 获取到用户的 code 之后:res.code
          console.log("用户的code:" + res.code);
            if(res.code){
                wx.request({
                  url: 'http://localhost:8080/getopenid',
                  data:{
                    code: res.code,//获取openid的话 需要向后台传递code,利用code请求api获取openid
                  }
                })
            }
        }
     )}
2.后台使用的springboot+mybatisplus框架
spring访问外部接口获取信息,这里访问外部接口我是采用RestTemplate方法,这个方法是最简单的,因为springboot自带RestTemplate,不需要额外导入依赖
(1)创建一个config包在包下创建一个config类
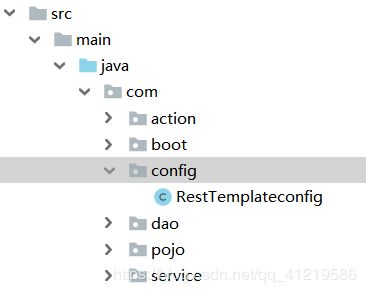
(2)RestTemplateconfig 类
顺便一提:Ail+回车 快捷键导包
package com.config;
import org.springframework.beans.factory.annotation.Autowired;
import org.springframework.context.annotation.Bean;
import org.springframework.context.annotation.Configuration;
import org.springframework.http.client.ClientHttpRequestFactory;
import org.springframework.http.client.SimpleClientHttpRequestFactory;
import org.springframework.web.client.RestTemplate;

    @Configuration
    public class RestTemplateconfig {
        @Autowired
        RestTemplateconfig restTemplate;

        @Bean
        public RestTemplate restTemplate(ClientHttpRequestFactory factory) {
            return new RestTemplate(factory);
        }
        @Bean
        public ClientHttpRequestFactory simpleClientHttpRequestFactory() {
            SimpleClientHttpRequestFactory factory = new SimpleClientHttpRequestFactory();
            factory.setReadTimeout(5000);//单位为ms
            factory.setConnectTimeout(5000);//单位为ms
            return factory;
        }
}
(3)写action层
    /*获取openid*/
    @RequestMapping("/getopenid")
    public  Object getopenid(String code){
        Object  object=  restTemplate.getForObject("https://api.weixin.qq.com/sns/jscode2session?appid=wxe81c709da39edd23&secret=9198d799524ecd032087a5313fc18251&js_code=" +code + "&grant_type=authorization_code",String.class);
       return  object;
    }
3. 后台获取了openid那具体如何进行登录呢??
先说一下我登录的流程:点击授权后将code传到后台获取openid,将openid存入redis中,需要使用的时候可在redis中获取(openid绝对不能传到前端,不安全)。然后判断数据库中是否有该用户,没有就需要新增,如果数据库有该用户还需要判断是否是新用户(因为我设计了新用户模块)。
获取openid后,前端在成功返回函数中进行页面跳转。
后台action层
  /*
    * 登录获取openid
    * */
    @RequestMapping("/getopenid")
    public  String getopenid(String code, String nickName,Integer user_gender) throws JSONException {
        /*获取openid*/
        Object  obj=  restTemplate.getForObject("https://api.weixin.qq.com/sns/jscode2session?appid=*****&secret=*****&js_code=" +code + "&grant_type=authorization_code",String.class);
        String object1 = obj.toString();
        JSONObject json=new JSONObject(object1);
               Map<String,Object> map=new HashMap<String, Object>();
               Iterator it = json.keys();
               while (it.hasNext()) {
                   String key = (String) it.next();
                       Object value = json.get(key);
                       map.put(key, value);
               }
               String openid = (String) map.get("openid");
               redisTemplate.boundValueOps("openid").set(openid);
              String isnew = '1';
        //查看数据库是否有该用户
        User user =userservice.selectuser(openid);
             if (user==null){
                 Map m = new HashMap();
                 m.put("openid",openid );
                 m.put("nickname",nickName );
                 m.put("user_gender",user_gender );
                 m.put("user_isnew",'1');
                 System.out.println(m);
                 //数据库没有用户
                 System.out.println("用户的openid=" + openid);
                 int n=   userservice.insertuser(m);
                 return  isnew;
             }else{
            isnew =userservice.selectisnew(openid);
            return  isnew;
}
             /*
             * 判断用户是否为新用户
             * */
        String isnew =userservice.selectisnew(openid);
            return  isnew;
    }
前端
login.wxml
<button type='primary' open-type="getUserInfo" lang="zh_CN" bindgetuserinfo="bindGetUserInfo">授权登录</button>
login.js
  bindGetUserInfo: function (e) {
    if (e.detail.userInfo) {
      //用户按了允许授权按钮
      var that = this;
      var nickName = e.detail.userInfo.nickName;
      var gender = e.detail.userInfo.gender;
      wx.login({
        success: res => {
          // 获取到用户的 code 之后:res.code
          console.log("用户的code:" + res.code);
            if(res.code){
                wx.request({
                  url: 'http://localhost:8080/getopenid',
                  data:{
                      code: res.code,//获取openid的话 需要向后台传递code,利用code请求api获取openid
                   //下面的函数根据自己的需要写,获取openid只要传code就可以了
                      nickName: nickName,
                      user_gender: gender,
                  },
                   success(res) {
                     //把数据存入本地缓存中,在进入index页面用来判断是否是新用户
                     wx.setStorageSync('isnew', res.data)
                     wx.reLaunch({
     				     url: '/pages/index/index',
        				})
                }
                })
            }
        }
      });
    } else {
      //用户按了拒绝按钮
      wx.showModal({
        title: '警告',
        content: '您点击了拒绝授权,将无法进入小程序,请授权之后再进入!!!',
        showCancel: false,
        confirmText: '返回授权',
        success: function (res) {
          // 用户没有授权成功
          if (res.confirm) {
            console.log('用户点击了“返回授权”');
          }
        }
      });
    }
  },
