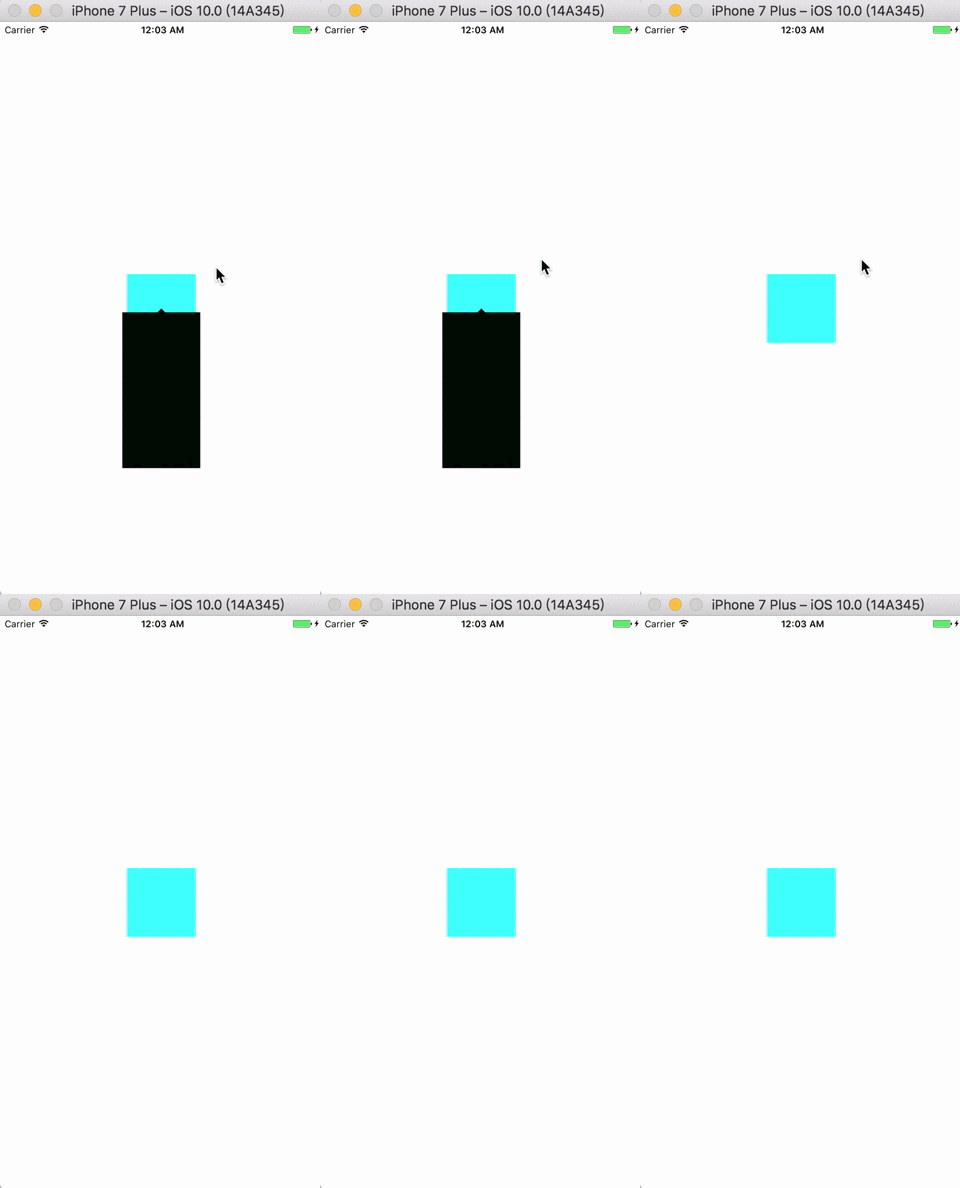
iOS Swift版本 在很多场景下可以使用的带箭头的View
前言: 学习Swift语法的同时, 加上一点点的小实践. 囧~
OC版本带箭头的View
OC&Swift版本的Demo如果你想看看
- 熟悉swift语法
- Swift中的drawRect
- 扩展阅读
- Swift源码推荐
- 一如既往的图文并茂
// 然而我还是定义了一个枚举, 然而并没有用 [大笑](就当做熟悉一下语法好啦)
enum ArrowOfDirection {
    case XTUpCenter
}
构造过程
var bgView = UIView()
    var origin = CGPoint()
    var height = 0.0
    var width = 0.0
    var arrow = ArrowOfDirection.XTUpCenter
    // 初始化方法
    required init(origin: CGPoint, width: Double, height: Double) {
        super.init(frame: CGRect.init(x: 0, y: 0, width: UIScreen.main.bounds.size.width, height: UIScreen.main.bounds.height))
        self.backgroundColor = UIColor.clear
        self.origin = origin
        self.width = Double(width)
        self.height = Double(height)
        let x = Double(origin.x)
        let y = Double(origin.y)
        bgView = UIView.init(frame: CGRect.init(x: x, y: y, width: width, height: height))
        self.addSubview(self.bgView)
    }
    required init?(coder aDecoder: NSCoder) {
        fatalError("init(coder:) has not been implemented")
    }
画出一个箭头
override func draw(_ rect: CGRect) {
        let context = UIGraphicsGetCurrentContext()

        let startX = self.origin.x
        let startY = self.origin.y

        context?.move(to: CGPoint.init(x: startX, y: startY))
        // 画出两条线
        context?.addLine(to: CGPoint.init(x: startX + 5.0, y: startY + 5.0))
        context?.addLine(to: CGPoint.init(x: startX - 5.0, y: startY + 5.0))

        context?.closePath()
        // 填充颜色
        self.bgView.backgroundColor?.setFill()
        self.backgroundColor?.setStroke()
        context?.drawPath(using: CGPathDrawingMode.fillStroke)
    }
func popView()->Void{
// 创建keyWindow
let window = UIApplication.shared.keyWindow
window?.addSubview(self)
self.bgView.frame = CGRect.init(x: self.origin.x, y: self.origin.y + 5.0, width: 0, height: 0)
// 类型CGFloat -> Double
let originX = Double(self.origin.x) - self.width / 2
let originY = Double(self.origin.y) + 5.0
let width = self.width
let height = self.height
// 这里为什么抽出一个方法呢, 如果有很多类型箭头就方便很多, 可以看看OC版本
self.updateFrame(x: originX, y: originY, width: width, height: height)
}调整Frame
touchesBegan这个方法完成点击除黑色View以外的部分, 移除View操作
func updateFrame(x: Double, y: Double, width: Double, height: Double){
        self.bgView.frame = CGRect.init(x: x, y: y, width: width, height: height)
    }

    override func touchesBegan(_ touches: Set, with event: UIEvent?) {
        // 这里遍历包含UITouch的集合, 从中找到黑色View
        for touch: AnyObject in touches {
            let t:UITouch = touch as! UITouch
            if(!(t.view?.isEqual(self.bgView))!){
                self.dismiss()
            }
        }
    }
移除方法 , 顺便感受一下Swift GCD 操作
func dismiss()->Void{
        let delay = DispatchTime.now() + DispatchTimeInterval.seconds(1)
        DispatchQueue.main.asyncAfter(deadline: delay) {
            // 延迟执行
            let res = self.subviews
            for view in res {
                view.removeFromSuperview()
            }
            self.removeFromSuperview()
        }
    }
推荐阅读 卓同学的文章
Swift 3必看:从使用场景了解GCD新API
源码推荐
https://github.com/tristanhimmelman/HidingNavigationBar
介绍
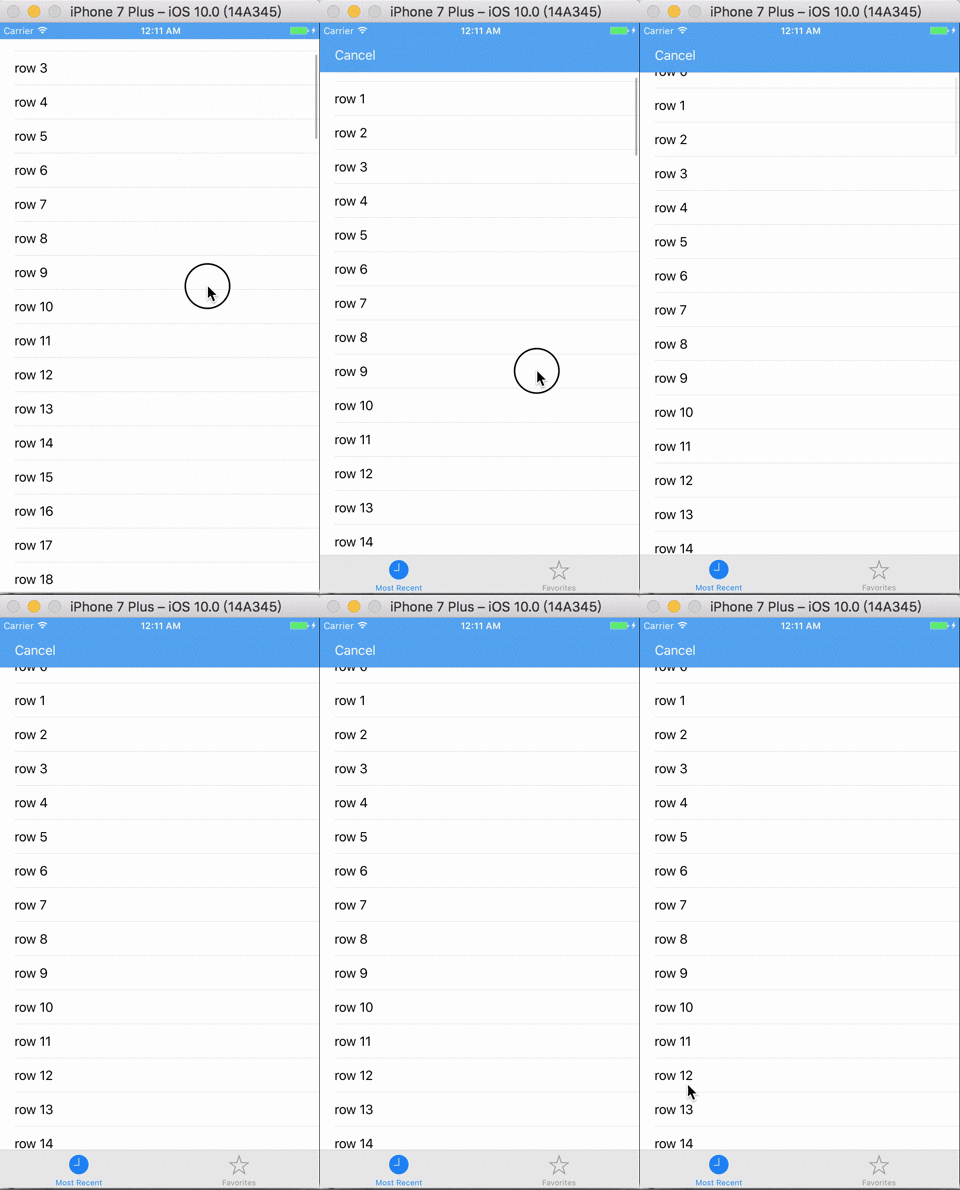
- 隐藏导航栏
- 隐藏导航栏+ Extension View
- 隐藏导航栏+ ToolBar
- 隐藏导航栏+ TabBar


