安装oracle 11gR2单实例+ASM
groupadd dba
groupadd oper
groupadd asmadmin
groupadd asmdba
groupadd asmoper
passwd oracle
new unix password: oracle
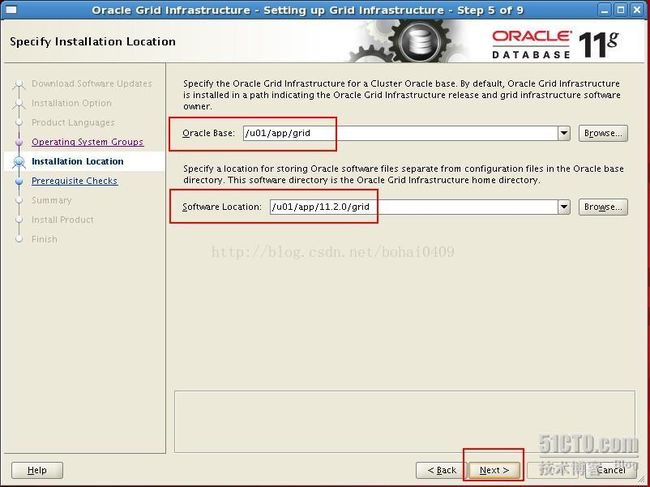
mkdir -p /u01/app/11.2.0/grid
mkdir -p /u01/app/grid
mkdir -p /u01/app/oracle/product/11.2.0/db_1
mkdir -p /u02/arch
chown -R grid:oinstall /u01
chown -R oracle:oinstall /u01/app/oracle
chown -R oracle:oinstall /u02
chmod -R 775 /u01
ORACLE_HOME=$ORACLE_BASE/product/11.2.0/db_1
ORACLE_SID=orcl
PATH=$PATH:$ORACLE_HOME/bin:$HOME/bin
LD_LIBRARY_PATH=$ORACLE_HOME/lib
export ORACLE_BASE ORACLE_HOME ORACLE_SID PATH LD_LIBRARY_PATH
export NLS_LANG=AMERICAN_AMERICA.UTF8
//增加以下几行
[grid@ctp-dbserver ~]$ vim .bash_profile
export ORACLE_BASE=/u01/app/grid
export ORACLE_HOME=/u01/app/11.2.0/grid
export LD_LIBRARY_PATH=$ORACLE_HOME/lib
export NLS_LANG=American_america.ZHS16GBK
export PATH=$PATH:$ORACLE_HOME/bin :$HOME/bin
export ORACLE_SID=+ASM
如:
//oracle用户 安装软件 ,存放/u02下
oracleasm-2.6.18-194.el5-2.0.5-1.el5.x86_64.rpm
oracleasmlib-2.0.4-1.el5.x86_64.rpm
binutils-2.17.50.0.6
compat-libstdc++-33-3.2.3
elfutils-libelf-0.125
elfutils-libelf-devel-0.125
elfutils-libelf-devel-static-0.125
gcc-4.1.2
gcc-c++-4.1.2
glibc-2.5-24
glibc-common-2.5
glibc-devel-2.5
ksh-20060214
libaio-0.3.106
libaio-devel-0.3.106
libgcc-4.1.2
libgomp-4.1.2
libstdc++-4.1.2
libstdc++-devel-4.1.2
make-3.81
sysstat-7.0.2
给磁盘创建分区
[root@rac1 ~]# cd /dev/
[root@rac1 dev]# ls -l sd*
brw-r----- 1 root disk 8, 0 Sep 12 17:27 sda
brw-r----- 1 root disk 8, 1 Sep 12 17:28 sda1
brw-r----- 1 root disk 8, 2 Sep 12 17:27 sda2
brw-r----- 1 root disk 8, 3 Sep 12 17:28 sda3
brw-r----- 1 root disk 8, 16 Sep 12 17:27 sdb
brw-r----- 1 root disk 8, 32 Sep 12 17:27 sdc
brw-r----- 1 root disk 8, 48 Sep 12 17:27 sdd
fdisk dev/sdb
N新建分区
P创建主分区
1 分区数1个
回车
回车
W保存
依次 fdisk dev/sdc
fdisk dev/sdd
[root@rac1 dev]# ll sd*
brw-r----- 1 root disk 8, 0 Sep 12 17:27 sda
brw-r----- 1 root disk 8, 1 Sep 12 17:28 sda1
brw-r----- 1 root disk 8, 2 Sep 12 17:27 sda2
brw-r----- 1 root disk 8, 3 Sep 12 17:28 sda3
brw-r----- 1 root disk 8, 16 Sep 12 17:51 sdb
brw-r----- 1 root disk 8, 17 Sep 12 17:51 sdb1
brw-r----- 1 root disk 8, 32 Sep 12 17:51 sdc
brw-r----- 1 root disk 8, 33 Sep 12 17:51 sdc1
brw-r----- 1 root disk 8, 48 Sep 12 17:51 sdd
brw-r----- 1 root disk 8, 49 Sep 12 17:52 sdd1
//说明:asm组件的 安装 需要3个asm--rpm包的支持,oracleasm rpm需要和linux 系统的内核对应
oracleasmlib-2.0.4-1.el5.i386.rpm //此包根据要官网说明
oracleasm-support-2.1.8-1.el5.i386.rpm //此包根据要官网说明
Preparing... ########################################### [100%]
1:oracleasm-support ########################################### [ 33%]
2:oracleasm-2.6.18-194.el########################################### [ 67%]
Oracle ASMLib 2.0
Intel IA32 (x86) Architecture
Library and Tools
- oracleasm-support-2.1.8-1.el5.i386.rpm
- oracleasmlib-2.0.4-1.el5.i386.rpm
Drivers for kernel 2.6.18-92.el5
- oracleasm-2.6.18-92.el5xen-2.0.5-1.el5.i686.rpm
- oracleasm-2.6.18-92.el5debug-2.0.5-1.el5.i686.rpm
- oracleasm-2.6.18-92.el5PAE-2.0.5-1.el5.i686.rpm
- oracleasm-2.6.18-92.el5-debuginfo-2.0.5-1.el5.i686.rpm
- oracleasm-2.6.18-92.el5-2.0.5-1.el5.i686.rpm
root用户登录,(本次 安装为单 实例),执行:
[root@ctp-dbserver ~]# /etc/init.d/oracleasm configure
Configuring the Oracle ASM library driver.
driver. The following questions will determine whether the driver is
loaded on boot and what permissions it will have. The current values
will be shown in brackets ('[]'). Hitting
answer will keep that current value. Ctrl-C will abort.
Start Oracle ASM library driver on boot (y/n) [n]: y
Scan for Oracle ASM disks on boot (y/n) [y]: y
Writing Oracle ASM library driver configuration: done
Initializing the Oracle ASMLib driver: [ OK ]
[root@薄刀刀 ~]# oracleasm createdisk DATA1 /dev/sdb1
Writing disk header: done
Instantiating disk: done
[root@ctp-dbserver ~]# oracleasm createdisk DATA2 /dev/sdc1
Writing disk header: done
Instantiating disk: done
[root@ctp-dbserver ~]#
[root@ctp-dbserver ~]# oracleasm createdisk DATA3 /dev/sdd1
Writing disk header: done
Instantiating disk: done
[root@ctp-dbserver ~]#
[root@ctp-dbserver ~]# oracleasm listdisks
DATA1
DATA2
DATA3
[grid@bj u02]$ ls
arch
linux_11gR2_database_1of2.zip
linux_11gR2_database_2of2.zip
linux_11gR2_grid.zip
oracleasm-2.6.18-92.el5-2.0.5-1.el5.i686.rpm
oracleasmlib-2.0.4-1.el5.i386.rpm
oracleasm-support-2.1.8-1.el5.i386.rpm
[grid@bj u02]$ unzip linux_11gR2_grid.zip
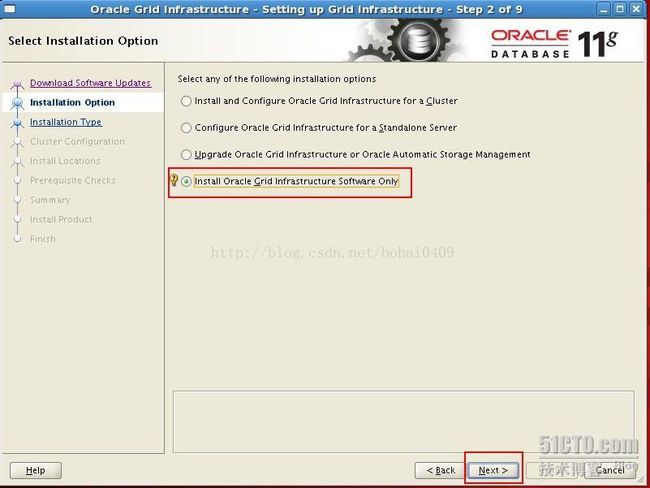
[grid@bj grid]$ ./runInstaller
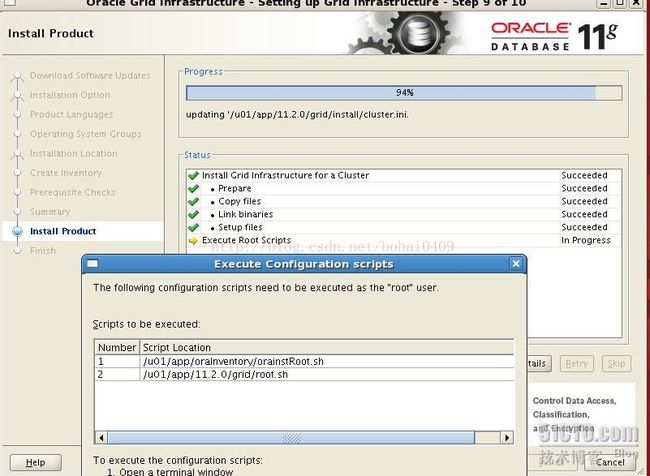
[root@bj oraInventory]# ./orainstRoot.sh
Changing permissions of /u01/app/oraInventory.
Adding read,write permissions for group.
Removing read,write,execute permissions for world.
Changing groupname of /u01/app/oraInventory to oinstall.
The execution of the script is complete.
[root@bj oraInventory]# cd /u01/app/11.2.0/grid/
[root@bj grid]# ./root.sh
Running Oracle 11g root.sh script...
The following environment variables are set as:
ORACLE_OWNER= grid
ORACLE_HOME= /u01/app/11.2.0/grid
Enter the full pathname of the local bin directory: [/usr/local/bin]: 回车
Copying dbhome to /usr/local/bin ...
Copying oraenv to /usr/local/bin ...
Copying coraenv to /usr/local/bin ...
Creating /etc/oratab file...
Entries will be added to the /etc/oratab file as needed by
Database Configuration Assistant when a database is created
Finished running generic part of root.sh script.
Now product-specific root actions will be performed.
To configure Grid Infrastructure for a Stand-Alone Server run the following command as the root user:
/u01/app/11.2.0/grid/perl/bin/perl -I/u01/app/11.2.0/grid/perl/lib -I/u01/app/11.2.0/grid/crs/install /u01/app/11.2.0/grid/crs/install/roothas.pl
To configure Grid Infrastructure for a Cluster perform the following steps:
1. Provide values for Grid Infrastructure configuration parameters in the file - /u01/app/11.2.0/grid/crs/install/crsconfig_params. For details on how to do this, see the installation guide.
2. Run the following command as the root user:
/u01/app/11.2.0/grid/perl/bin/perl -I/u01/app/11.2.0/grid/perl/lib -I/u01/app/11.2.0/grid/crs/install /u01/app/11.2.0/grid/crs/install/rootcrs.pl
To update inventory properties for Grid Infrastructure, perform the following
steps. If a pre-11.2 home is already configured, execute the following:
11.2_Home/oui/bin/runInstaller -updateNodeList -silent -local CRS=false ORACLE_HOME=pre-11.2_Home
Always execute the following to register the current home:
11.2_Home/oui/bin/runInstaller -updateNodeList -silent -local CRS=true ORACLE_HOME=11.2_Home.
If either home is shared, provide the additional argument -cfs.
2014-05-17 13:21:15: Checking for super user privileges
2014-05-17 13:21:15: User has super user privileges
2014-05-17 13:21:15: Parsing the host name
Using configuration parameter file: /u01/app/11.2.0/grid/crs/install/crsconfig_params
Creating trace directory
LOCAL ADD MODE
Creating OCR keys for user 'grid', privgrp 'oinstall'..
Operation successful.
CRS-4664: Node bj successfully pinned.
Adding daemon to inittab
CRS-4123: Oracle High Availability Services has been started.
ohasd is starting
bj 2014/05/17 13:22:36 /u01/app/11.2.0/grid/cdata/bj/backup_20140517_132236.olr
Successfully configured Oracle Grid Infrastructure for a Standalone Server
[root@bj grid]#
[grid@bj bin]$ ./asmca
DiskGroup DATA created successfully.
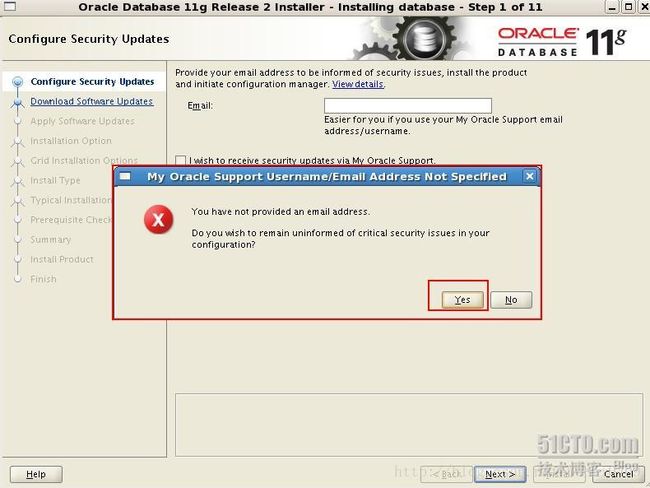
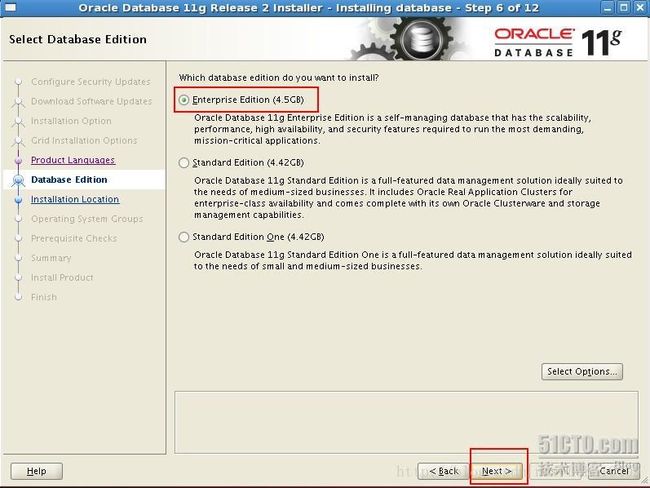
[oracle@bj database]$ ./runInstaller
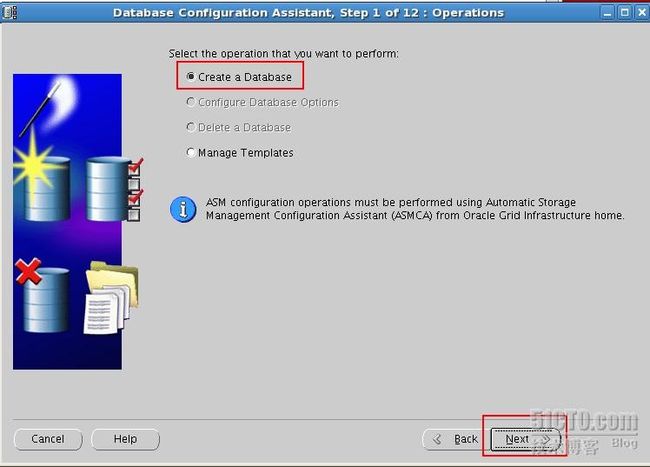
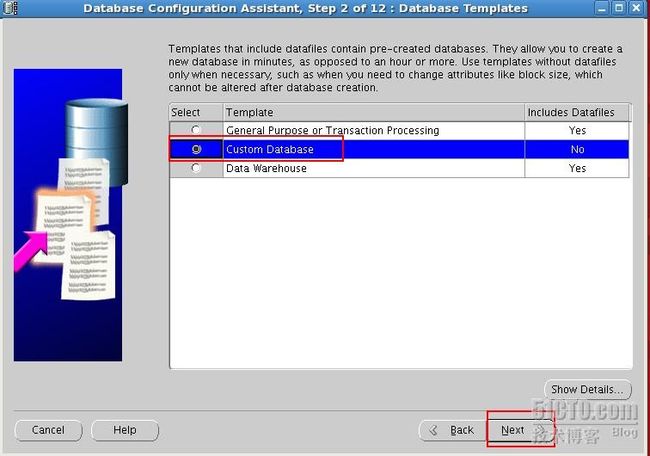
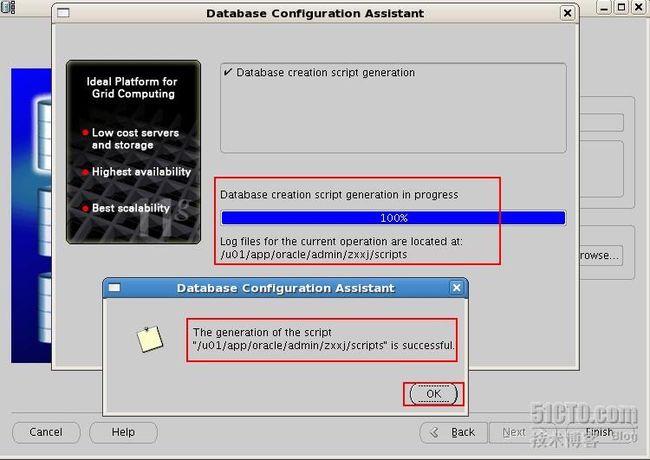
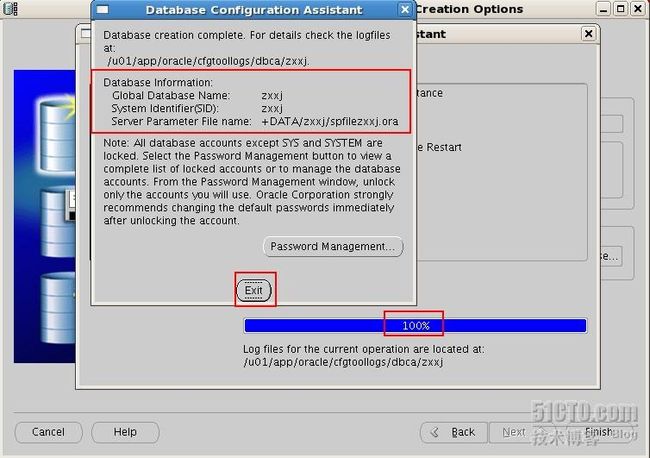
[oracle@bj bin]$ /u01/app/oracle/product/11.2.0/db_1/bin/dbca
SID前缀: orcl
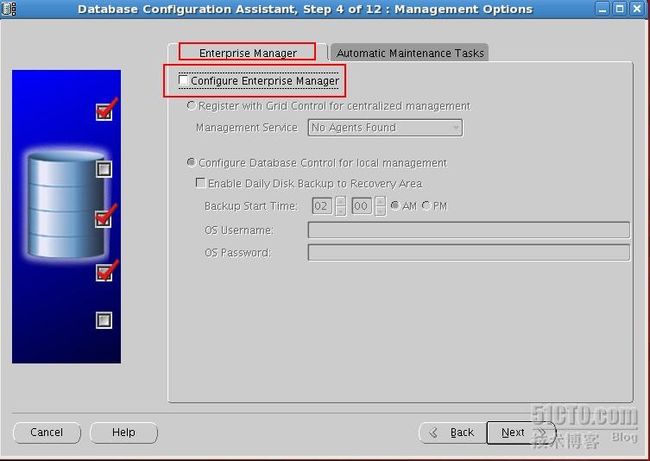
去除“自动维护任务”前面的勾
存储LOCATION 选择Use Common Location for All Database fILES
Database Files location +DATA
Recovery FLASHBACK 不选
ENABLEARCHIVING 不选
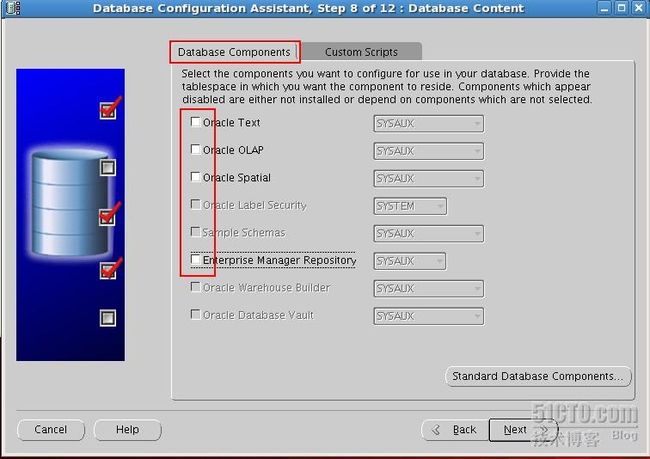
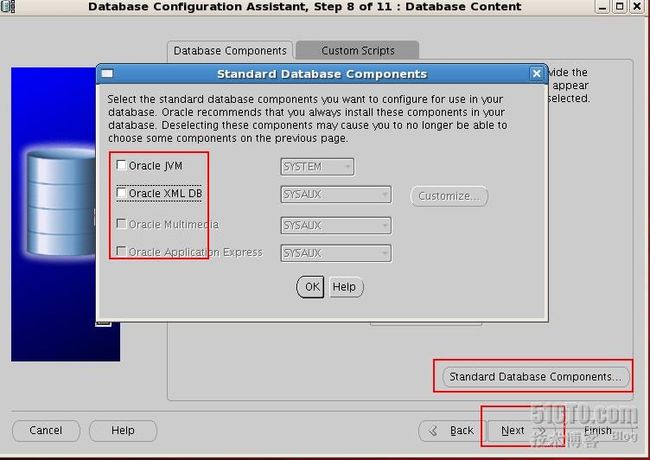
standard database compoents 全部选

