小探UIScrollView(一)基本属性
在写PDF应用时涉及到一个缩放PDF的问题,所以特地研究下UIScrollView的属性,并做个简短的笔记。
直接从SDK 7.0里面查了UIScrollView.h,测试了一下各个属性和方法,总结如下:
1.滚动条的样式:默认,黑色,白色,注意要配合不同的背景使用
typedef NS_ENUM(NSInteger, UIScrollViewIndicatorStyle) {
    UIScrollViewIndicatorStyleDefault,     // black with white border. good against any background
    UIScrollViewIndicatorStyleBlack,       // black only. smaller. good against a white background
    UIScrollViewIndicatorStyleWhite        // white only. smaller. good against a black background
};
@property(nonatomic) UIScrollViewIndicatorStyle indicatorStyle; // default is UIScrollViewIndicatorStyleDefault使用举例:
scrollView.indicatorStyle = UIScrollViewIndicatorStyleDefault;2.键盘消失的方式:none为不作用,drag为拖拽视图,interactive的方式为:我们从键盘上方视图往下拖拉键盘就消失了,当手势移动到键盘时好像键盘可以接受我们的触摸并随着我们的手指往下而往下滑动的样子,所以就是Interactive(交互式的)。
typedef NS_ENUM(NSInteger, UIScrollViewKeyboardDismissMode) {
    UIScrollViewKeyboardDismissModeNone,
    UIScrollViewKeyboardDismissModeOnDrag,      // dismisses the keyboard when a drag begins
    UIScrollViewKeyboardDismissModeInteractive, // the keyboard follows the dragging touch off screen, and may be pulled upward again to cancel the dismiss
} NS_ENUM_AVAILABLE_IOS(7_0);
@property(nonatomic) UIScrollViewKeyboardDismissMode keyboardDismissMode NS_AVAILABLE_IOS(7_0); // default is UIScrollViewKeyboardDismissModeNone使用举例:
scrollView.keyboardDismissMode = UIScrollViewKeyboardDismissModeInteractive;3.滚动条减速和消失的速率:
UIKIT_EXTERN const CGFloat UIScrollViewDecelerationRateNormal NS_AVAILABLE_IOS(3_0);
UIKIT_EXTERN const CGFloat UIScrollViewDecelerationRateFast NS_AVAILABLE_IOS(3_0);
@property(nonatomic) CGFloat decelerationRate NS_AVAILABLE_IOS(3_0);
scrollView.decelerationRate = UIScrollViewDecelerationRateNormal;4.可以滑动的范围:
@property(nonatomic) CGSize contentSize; // default CGSizeZero使用举例:
scrollView.contentSize = CGSizeMake(640.0, 1136.0);5.滚动视图中当前的位移点:
@property(nonatomic) CGPoint contentOffset; // default CGPointZero
scrollView.contentOffset = CGPointMake(320.0, 568.0);6.滚动条是否反弹:
@property(nonatomic) BOOL bounces; // default YES. if YES, bounces past edge of content and back again
@property(nonatomic) BOOL alwaysBounceVertical; // default NO. if YES and bounces is YES, even if content is smaller than bounds, allow drag vertically
@property(nonatomic) BOOL alwaysBounceHorizontal; // default NO. if YES and bounces is YES, even if content is smaller than bounds, allow drag horizontally
    scrollView.contentSize = CGSizeMake(160.0, 400.0);
    scrollView.bounces = YES;
    scrollView.alwaysBounceHorizontal = YES;
    scrollView.alwaysBounceVertical = YES;
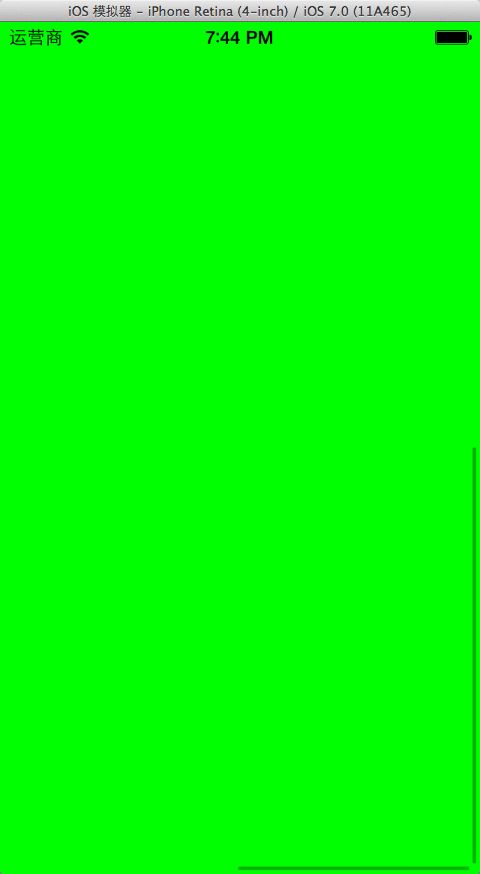
运行结果:

类似于Weico Pro从左边或右边拉出一个视图的样子(单纯水平拖动视图的话)。
8.滚动视图的方式为翻页:
@property(nonatomic,getter=isPagingEnabled) BOOL pagingEnabled; // default NO. if YES, stop on multiples of view bounds9.是否允许滚动视图:
@property(nonatomic,getter=isScrollEnabled) BOOL scrollEnabled; // default YES. turn off any dragging temporarily10.是否显示水平或竖直方向的滚动条:
@property(nonatomic) BOOL showsHorizontalScrollIndicator; // default YES. show indicator while we are tracking. fades out after tracking
@property(nonatomic) BOOL showsVerticalScrollIndicator;   // default YES. show indicator while we are tracking. fades out after tracking
11.设置scroll view中的位移点:
- (void)setContentOffset:(CGPoint)contentOffset animated:(BOOL)animated; // animate at constant velocity to new offset
    UIButton *setOffset_button = [UIButton buttonWithType:UIButtonTypeSystem];
    [setOffset_button addTarget:self action:@selector(setOffset:) forControlEvents:UIControlEventTouchUpInside];
    [setOffset_button setTitle:@"set Offset" forState:UIControlStateNormal];
    setOffset_button.frame = CGRectMake(100.0, 100.0, 100.0, 60.0);
    [self.view addSubview:setOffset_button];
- (void)setOffset:(id)sender {
[scrollView setContentOffset:CGPointMake(320.0, 568.0) animated:YES];
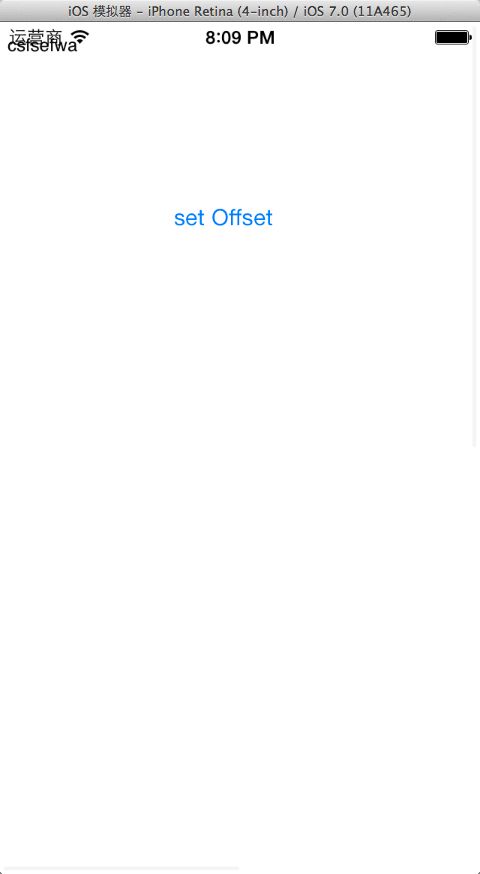
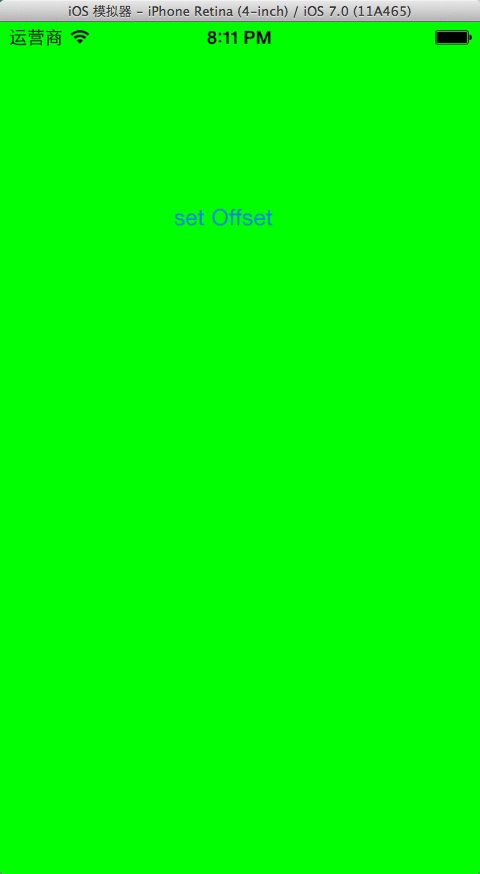
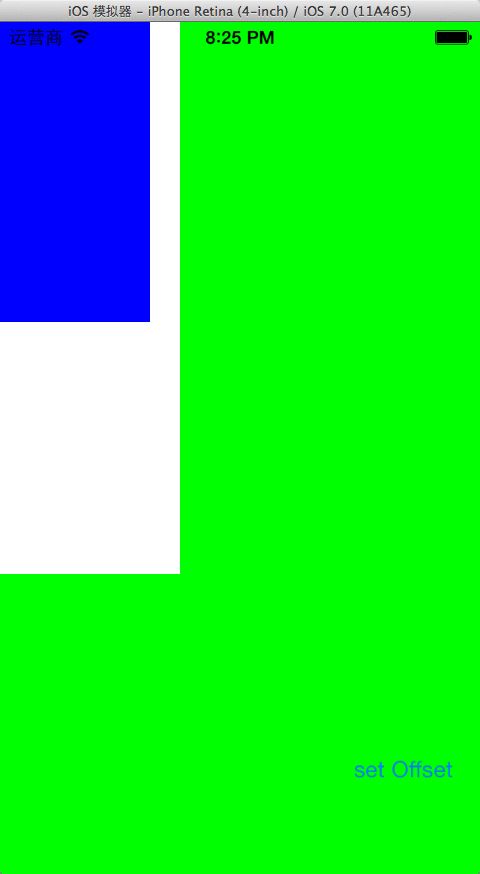
}点击按钮后:
可以看到scroll view跳转到了我们预期的点上,由于button一直在self.view的固定位置上,所以不随scroll view的位移而移动,如果把self.view改为scroll view,那么我们可以看到按钮消失,也就是按钮随着scroll view而发生位移。
这个功能挺强大的,可以让我们随意设置当前scroll view的位移,例如在浏览电子书时,输入一个页数,根据页数计算位移然后快速跳转到指定的位移点上(也就是指定的页数上)。
12.滑动指定至指定位置的矩形可见:
- (void)scrollRectToVisible:(CGRect)rect animated:(BOOL)animated; // scroll so rect is just visible (nearest edges). nothing if rect completely visible
    scrollView.contentOffset = CGPointMake(320.0, 568.0);
    UIButton *scrlRect_button = [UIButton buttonWithType:UIButtonTypeSystem];
    [scrlRect_button addTarget:self action:@selector(scrollRect:) forControlEvents:UIControlEventTouchUpInside];
    [scrlRect_button setTitle:@"set Offset" forState:UIControlStateNormal];
    scrlRect_button.frame = CGRectMake(420.0, 668.0, 100.0, 60.0);
    [scrollView addSubview:scrlRect_button];

    UIView *subView = [[UIView alloc] initWithFrame:CGRectMake(200.0, 200.0, 100.0, 200.0)];
    subView.backgroundColor = [UIColor blueColor];
    [scrollView addSubview:subView];
- (void)scrollRect:(id)sender {
[self.scrollView scrollRectToVisible:CGRectMake(200.0, 200.0, 100.0, 200.0) animated:YES];
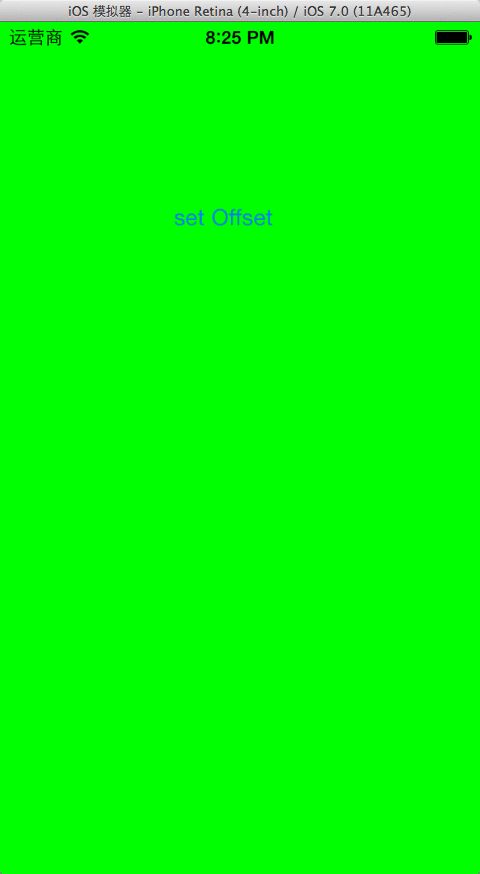
}可以看到蓝色区域的矩形刚好进入视图范围内。
个人非常喜欢这个功能,例如我们可以让指定的侧边菜单刚好滑动到视图面前。
当然还有很多属性是没有包括在内的,以后要用到的时候再写博客补充吧。
