新建Maven项目的步骤,省略。
浏览器访问https://mvnrepository.com/search?q=testng获取maven,选择相应版本,拿到依赖:


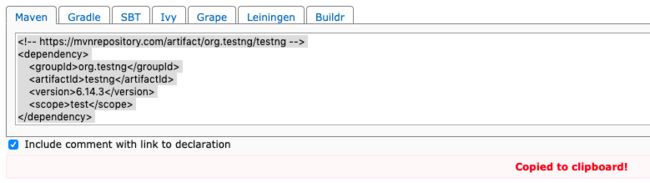
添加到pom.xml中:
pom.xml
            org.testng
            testng
            6.14.3
            test

新建class,写上代码:
src/main/java
/**
 * @author Dongfanger
 * @version 0.0.1 2020/3/17
 */

import org.testng.annotations.Test;

public class TestNGNotOk {
    public static void main(String[] args) {
    }

    @Test
    public void ohNo() {

    }
}
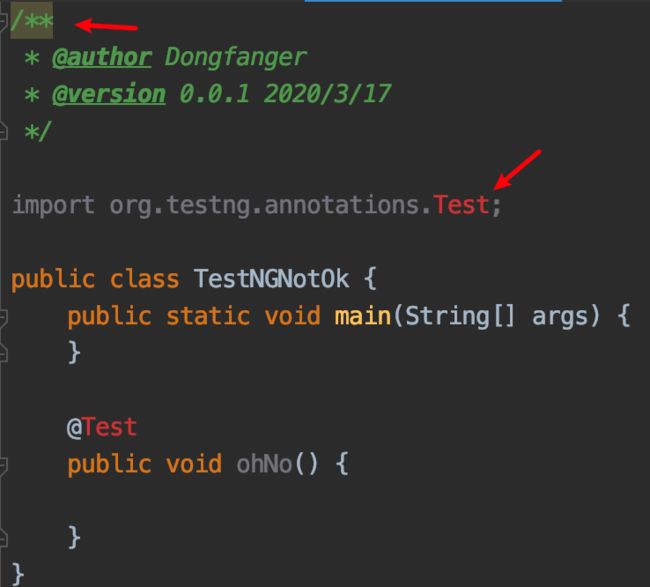
问题1:
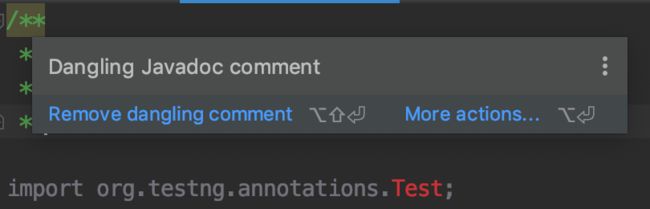
文档注释不能放行首,把import放到顶部,解决。
问题2:

pom.xml中,

把类建到src/test/java就可以了。当然也可以更改
src/test/java
import org.testng.annotations.Test;

/**
 * @author Dongfanger
 * @version 0.0.1 2020/3/17
 */

public class TestNGTest {
    @Test
    public void helloTest() {
        System.out.println("Hello");
    }
}
为了打Jar包,修改src/main/java/TestNGNotOk.java内容:
import org.testng.TestNG;
import org.testng.annotations.Test;

/**
 * @author Dongfanger
 * @version 0.0.1 2020/3/17
 */


public class TestNGNotOk {
    public static void main(String[] args) {
        TestNG testng = new TestNG();
        testng.setTestClasses(new Class[]{TestNGNotOk.class});
        testng.run();
    }

    @Test
    public void helloJar() {
        System.out.println("Jar");
    }
}
同时去掉pom.xml中的
            org.testng
            testng
            6.14.3
打开File>Project Structure>Artifacts>"+"
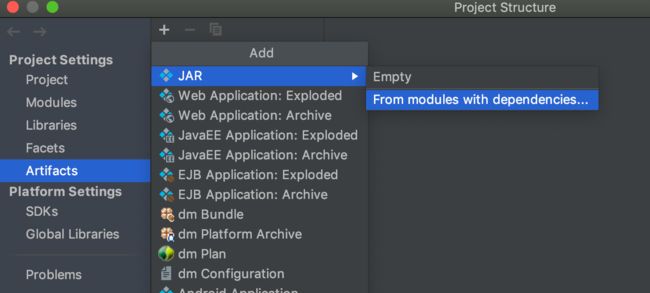
选择Main Class,一定要修改META-INF/MANIFEST.MF存放路径为resources,否则执行java -jar会报错jar中没有主清单属性。

一路点OK直到窗口关闭。
Build生成Jar包:


打开命令行,执行Jar包:
$ java -jar testng-dongfanger.jar
Jar

===============================================
Command line suite
Total tests run: 1, Failures: 0, Skips: 0
===============================================
以上介绍了跑Demo打Jar包。
TestNG使用比较多的还是testng.xml,在根目录下建个testng.xml:
右键就可以运行了:

版权申明:本文为博主原创文章,转载请保留原文链接及作者。