Linux下安装nginx详细教程
一、进入home目录创建目录 nginx
二、准备nginx安装相关的组件
1.下载nginx:wget http://nginx.org/download/nginx-1.10.2.tar.gz
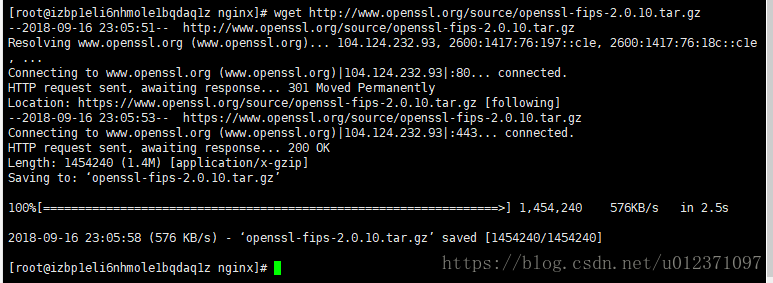
2.下载openssl:wget http://www.openssl.org/source/openssl-fips-2.0.10.tar.gz
3.下载zlib:wget http://zlib.net/zlib-1.2.11.tar.gz
4.下载pcre:
wget https://ftp.pcre.org/pub/pcre/pcre-8.13.tar.gz
5.如果安装了c++的环境就可跳过,如未安装:yum install gcc-c++ (点击y即可)
安装结尾显示complete,即代表安装完成
三、以上文件准备好开始安装:
1.安装openssl
tar -zxvf openssl-fips-2.0.10.tar.gz
cd openssl-fips-2.0.10
./config && make && make install 进入文件执行安装程序
2.安装pcre
tar -xzvf  pcre-8.13.tar.gz
cd pcre-8.13
./configure --enable-utf8
make && make intall
3.安装zlib
tar -zxvf zlib-1.2.11.tar.gz
cd zlib-1.2.11
./configure && make && make install
4.安装nginx:
tar zxvf nginx-1.10.2.tar.gz
cd nginx-1.10.2
./configure && make && make install
5.启动nginx
1.查看nginx安装的地址(whereis)
2. cd /usr/local/nginx/
/usr/local/nginx/sbin/nginx
启动成功后查看是否启动成功:ps -ef | grep nginx
如果启动失败:error while loading shared libraries:libpcre.so.1.......
[root@localhost nginx]# whereis libpcre.so.1
libpcre.so: /lib64/libpcre.so.0 /usr/local/lib/libpcre.so.1 /usr/local/lib/libpcre.so
[root@localhost nginx]# ln -s /usr/local/lib/libpcre.so.1 /lib64
[root@localhost nginx]# sbin/nginx
[root@localhost nginx]# ps -aux | grep nginx
Warning: bad syntax, perhaps a bogus '-'? See /usr/share/doc/procps-3.2.8/FAQ
root 12007 0.0 0.0 20296 628 ? Ss 13:28 0:00 nginx: master process sbin/nginx
nobody 12008 0.0 0.1 20716 1220 ? S 13:28 0:00 nginx: worker process
root 12010 0.0 0.0 103244 836 pts/0 S+ 13:29 0:00 grep nginx
3.安装是否成功:
添加80端口:
firewall-cmd --zone=public --add-port=80/tcp --permanent (--permanent永久生效,没有此参数重启后失效)
重启防火墙
firewall-cmd --reload
查看80端口是否添加成功:
firewall-cmd --list-ports
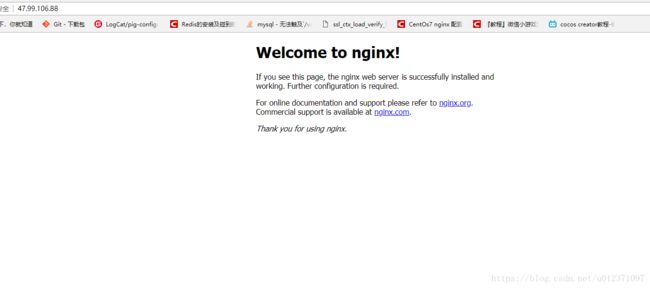
浏览器输入地址(服务器ip加端口号80即可):47.99.106.88:80
出现以下界面,表示安装成功nginx详细安装教程 centos完美安装nginx


