python 爬取 Cov-2019数据生成中国地图
爬取之前需要用到的库
import requests
from lxml import etree
import json
from pyecharts import Map
都可以通过pip install +你需要安装的库名来安装,如果发现了安装失败也可以尝试换源
只需要在后面加上
-i https://pypi.tuna.tsinghua.edu.cn/simple
下面试一下常用的源
阿里云 http://mirrors.aliyun.com/pypi/simple/
中国科技大学 https://pypi.mirrors.ustc.edu.cn/simple/
豆瓣(douban) http://pypi.douban.com/simple/
清华大学 https://pypi.tuna.tsinghua.edu.cn/simple/
中国科学技术大学 http://pypi.mirrors.ustc.edu.cn/simple/
1. 登陆到丁香医生疫情实时显示的网站
https://ncov.dxy.cn/ncovh5/view/pneumonia
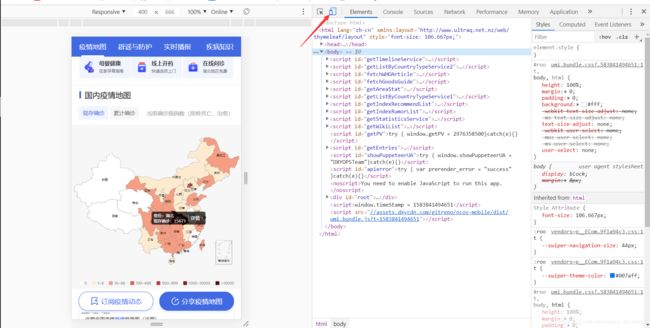
1.1 按下F12 ,点击成手机模式

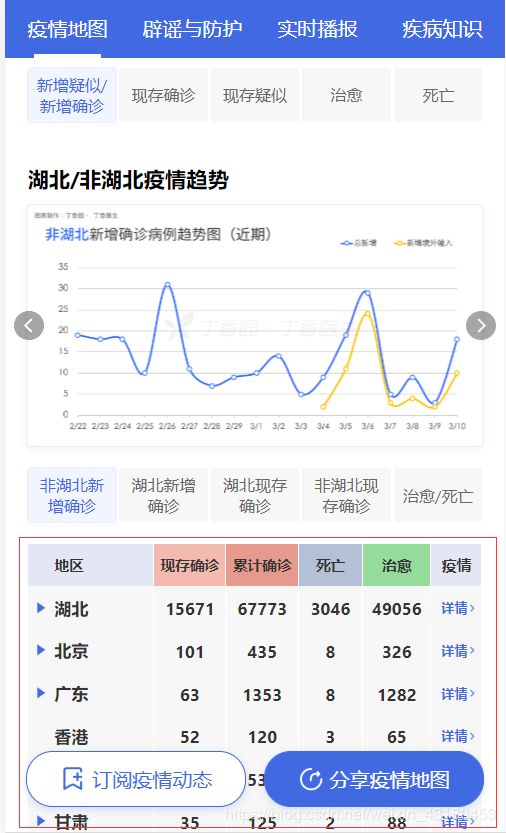
1.2 明确爬取内容
我们只需要把红色框中的数据爬取出来就好了

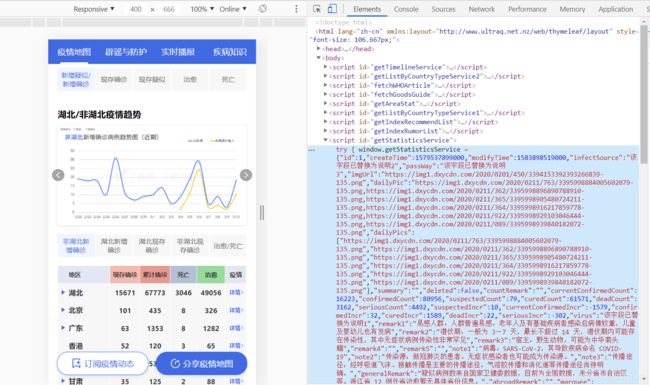
发现爬取的数据直接在主页面显示了出来 这样就很简单了

2开始写代码
这里选择用xpath语句获取 数据
import requests
from lxml import etree
import json
from pyecharts import Map

class nCov_2019:
    def __init__(self):
        self.headers={
            "User-Agent": "Mozilla/5.0 (Windows NT 10.0; WOW64) AppleWebKit/537.36 (KHTML, like Gecko) Chrome/73.0.3683.86 Safari/537.36"
        }
        self.url="https://ncov.dxy.cn/ncovh5/view/pneumonia"

    def parse_url(self):
        r=requests.get(url=self.url,headers=self.headers)
        assert r.status_code==200
        html=etree.HTML(r.content.decode())
        results=html.xpath('//*[@id="getListByCountryTypeService1"]//text()')[0].split('}')[:-3]
        return  results
然后我们开始获取数据
定义一个getDataList函数用爬取一些具体的数据
这样一些数据就已经被我们获取到了
下面就开始绘制疫情的中国地图
    def getDataList(self,results):
        data_list=[]
        for result in results:
            data_dict={}
            if results.index(result)==0:
                result=result.replace('try { window.getListByCountryTypeService1 = [', '')
            result=json.loads(result.lstrip(',')+'}')#这里要用json转成字典的形式
            #省份
            data_dict['provinceShortName']=result['provinceShortName']
            #确证人数
            data_dict['currentConfirmedCount']=result['currentConfirmedCount']
            #死亡人数
            data_dict['deadCount']=result['deadCount']
            #治愈人数
            data_dict['curedCount']=result['curedCount']
            data_list.append(data_dict)
        return data_list
3绘制中国疫情地图
绘制之前先建立几个空列表
用来存放数据
provinceShortName_list=[]
currentConfirmedCount_list=[]
deadCount_list=[]
curedCount_list=[]
遍历一遍把刚刚的爬取到的数据放入到空列表中
for i in data_list:
    provinceShortName_list.append(i['provinceShortName'])
    currentConfirmedCount_list.append(i['currentConfirmedCount'])
    deadCount_list.append(i['deadCount'])
    curedCount_list.append(i['curedCount'])
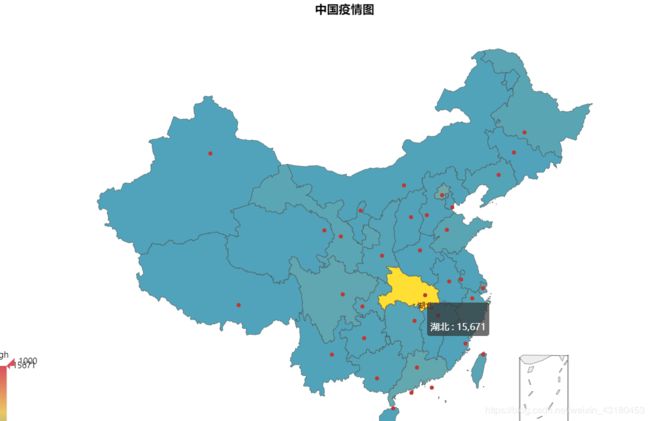
这里用到的中国地图是pyecharts库中的
我们可以直接拿来用只要修改一下就ok
map=Map("中国疫情图",'',width=1080,height=720,title_pos="center")
map.add("",provinceShortName_list,currentConfirmedCount_list,visual_range=[0,1000],maptype='china',is_visualmap=True,visual_text_color='#000',is_label_show=True)

map.show_config()
map.render(path='./中国疫情图.html')
