Arduino入门小程序大合集(跑马灯,控制温湿度,定时器,控制数码管等)
常用函数网址
https://arduino-wiki.clz.me
知识就像大山,我们翻过一座还会有下一座山。
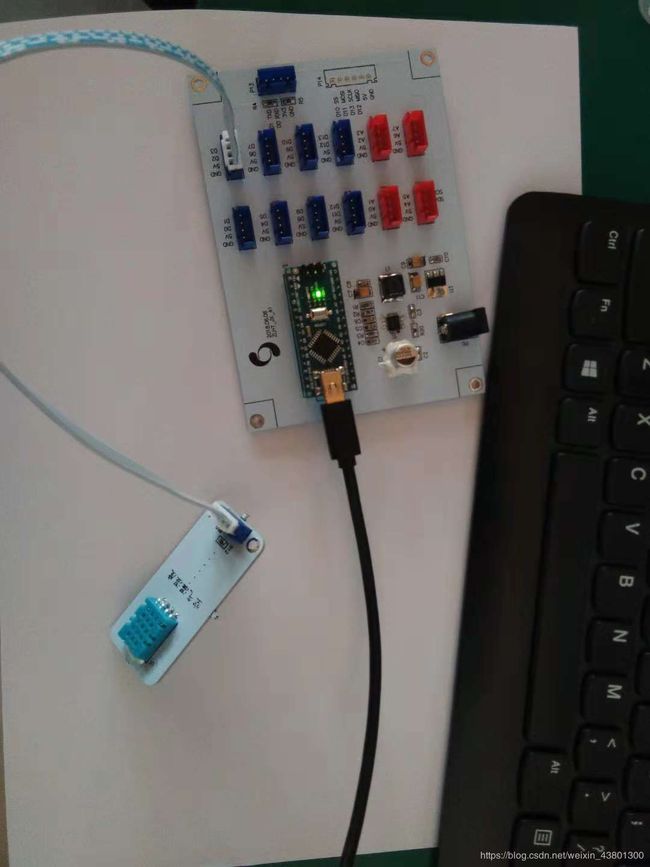
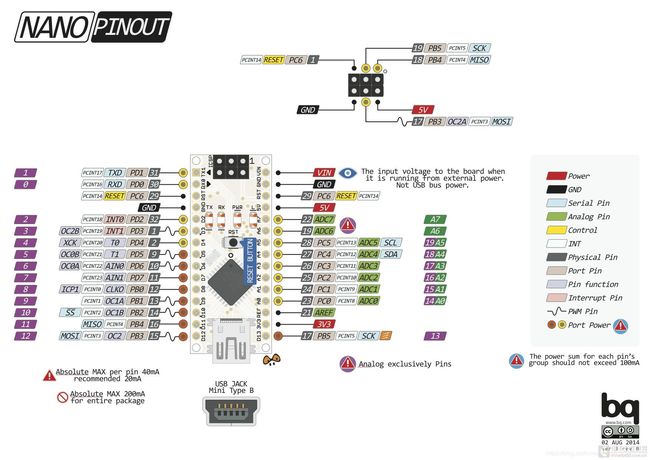
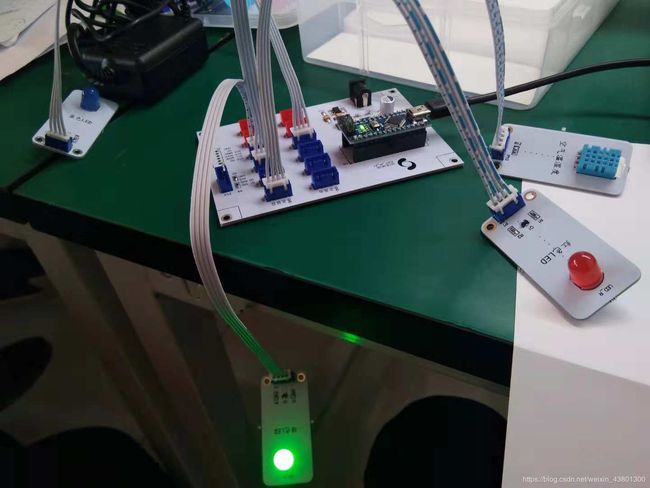
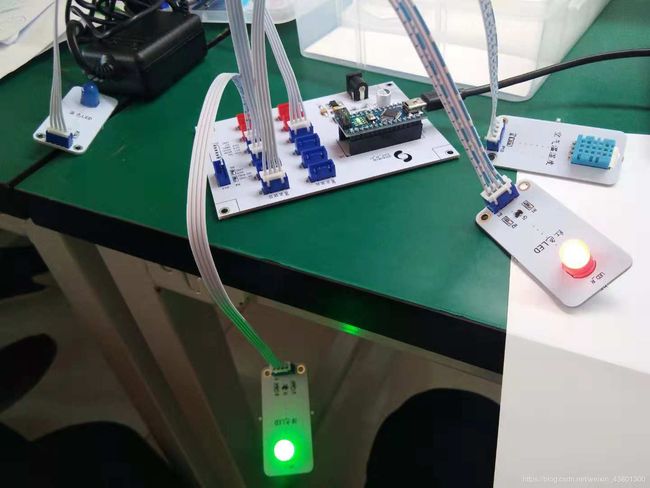
首先我们应该调试好你的串口以及插入开发板的位置这是引脚图
人生第一个实验亮小灯
// the setup function runs once when you press reset or power the board
void setup() {
// initialize digital pin D13 as an output.
pinMode(13, OUTPUT);
}
// the loop function runs over and over again forever
void loop() {
digitalWrite(13, HIGH); // turn the LED on (HIGH is the voltage level)
delay(1000); // wait for a second
digitalWrite(13, LOW); // turn the LED off by making the voltage LOW
delay(1000); // wait for a second
}
时间久了没图了,下面程序有图--------------
2.跑马灯程序,以及追逐跑马灯程序
#define pin1 2
#define pin2 4
#define pin3 6
// the setup function runs once when you press reset or power the board
void setup() {
// initialize digital pin as an output.
pinMode(pin1,OUTPUT);
pinMode(pin2, OUTPUT);
pinMode(pin3, OUTPUT);
digitalWrite(pin1, LOW);
digitalWrite(pin2, LOW);
digitalWrite(pin3, LOW);
}
// the loop function runs over and over again forever
void loop() {
digitalWrite(pin3, LOW);
digitalWrite(pin1, HIGH);
delay(1000);
digitalWrite(pin1, LOW);
digitalWrite(pin2, HIGH);
delay(1000);
digitalWrite(pin2, LOW);
digitalWrite(pin3, HIGH);
delay(1000);
}
// digital pin 2 has a pushbutton attached to it. Give it a name:
int ledred = 9;
int ledblue =11;
int ledgreen =12;
// the setup routine runs once when you press reset:
void setup() {
pinMode(9,OUTPUT);
pinMode(11,OUTPUT);
pinMode(12,OUTPUT);
}
// the loop routine runs over and over again forever:
void loop() {
for(int i=0;i<1000;i++){
digitalWrite(9,HIGH);
delay(300);
digitalWrite(12,LOW);
delay(1000);
digitalWrite(11,HIGH);
delay(300);
digitalWrite(9,LOW);
delay(1000);
digitalWrite(12,HIGH);
delay(300);
digitalWrite(11,LOW);
delay(1000);
}

}
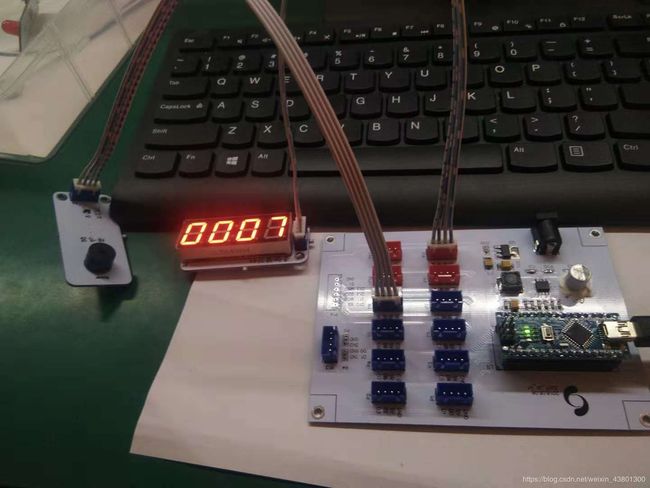
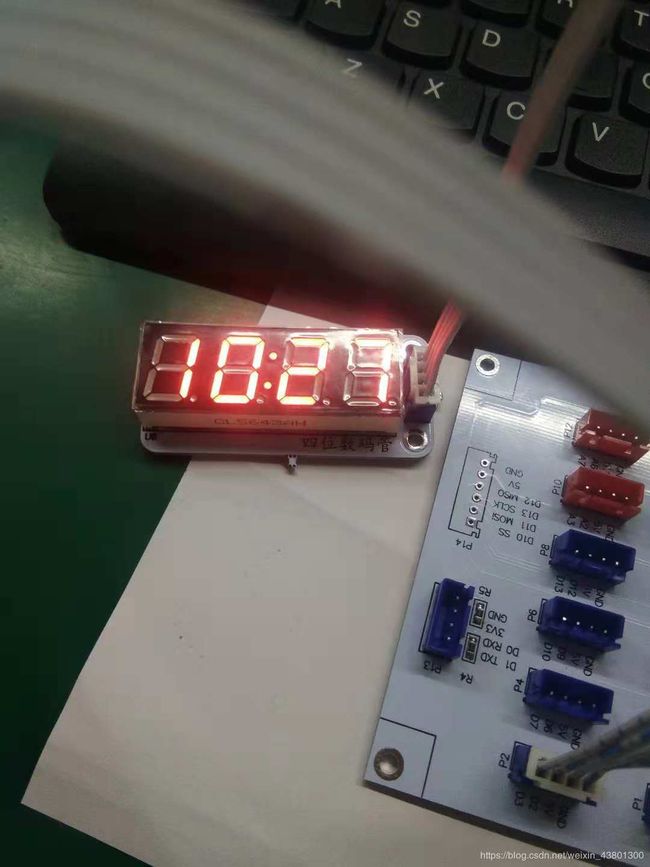
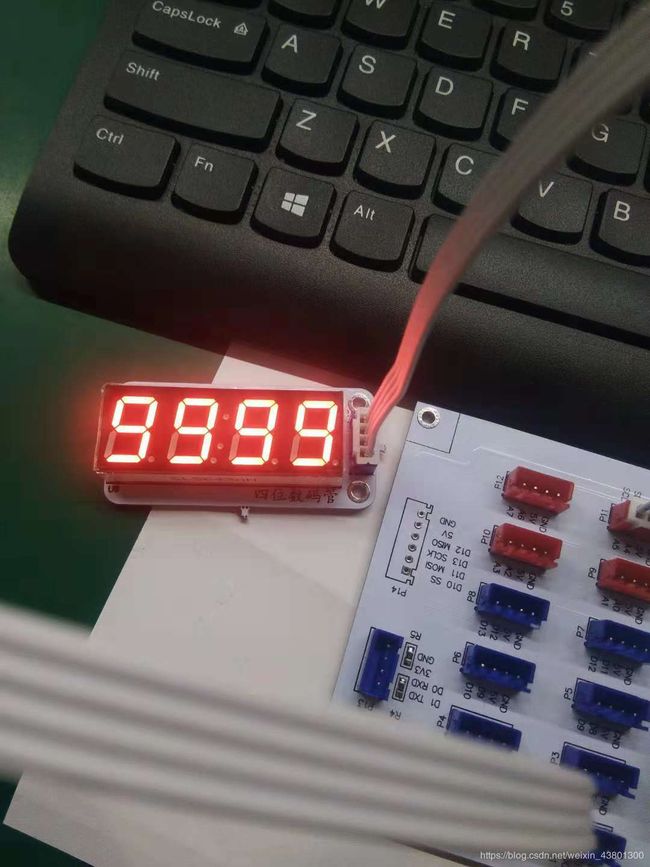
4.简单的定时器,定闹钟
#include
using namespace vitcon;
const int buzzer = 12;
HT16K33 fnd;
int m=0;
void setup() {
fnd.Init();
delay(1000);在这里插入图片描述
}
void loop(void){
int i=0;
for(int i=0;i<60;i++){
delay(1000);
fnd.ColonOn();
delay(1000);
// fnd.ColonOff();
// delay(1000);
if(i==59){
i=0;
m=m+100;
}
fnd.Number(m+i);
fnd.Send();
if(m>=100)
break;
}
while(1){
digitalWrite(12,HIGH);
delayMicroseconds(125);
digitalWrite(12,LOW);
delayMicroseconds(125);

  }
}
 5.简单的呼吸灯,从亮到暗从暗到亮
// digital pin 2 has a pushbutton attached to it. Give it a name:
int ledgreen=2;
int ledblue=6;
// the setup routine runs once when you press reset:
void setup() {
pinMode(3,OUTPUT);
pinMode(6,OUTPUT);
}
// the loop routine runs over and over again forever:
void loop() {
for(int a=0;a<=255;a++){
analogWrite(3,a);
analogWrite(6,a);
delay(10);
}
for(int a=255;a>=0;a–){
analogWrite(3,a);
analogWrite(6,a);
delay(10);
}
delay(1000);
}
6.模仿120急救车,红蓝灯以及蜂鸣器发声
/ constants won’t change. They’re used here to set pin numbers:
const int buttonPin = 2; // the number of the pushbutton pin
const int ledbluee = 9; // the number of the LED pin
const int ledred = 11;
const int buzzer = 12;
// variables will change:
int buttonState = 0; // variable for reading the pushbutton status
void setup() {
// initialize the LED pin as an output:
pinMode(2, OUTPUT);
pinMode(9, OUTPUT);
// initialize the pushbutton pin as an input:
pinMode(buttonPin, INPUT);
pinMode(12,OUTPUT);
}
void loop() {
// read the state of the pushbutton value:
buttonState = digitalRead(buttonPin);
// check if the pushbutton is pressed. If it is, the buttonState is HIGH:
if (buttonState == HIGH) {
// turn LED on:
while(1){
digitalWrite(ledred, HIGH);
for(int i=0;i<4000;i++){
digitalWrite(12,HIGH);
delayMicroseconds(125);
digitalWrite(12,LOW);
delayMicroseconds(125);
}
delay(10);
digitalWrite(ledred, LOW);
digitalWrite(ledbluee, HIGH);
    for(int i=0;i<2000;i++){
digitalWrite(12,HIGH);
delayMicroseconds(250);
digitalWrite(12,LOW);
delayMicroseconds(250);
  }
delay(10
);
digitalWrite(ledbluee, LOW);
}
} else {
// turn LED off:
digitalWrite(ledred, LOW);
digitalWrite(ledbluee, LOW);
digitalWrite(12,LOW);
}
}
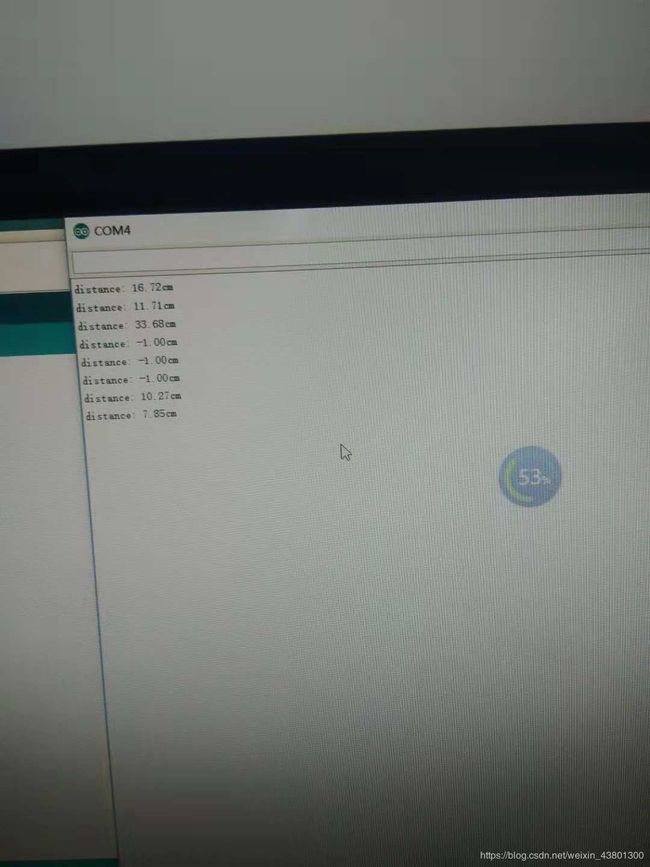
7.基础显示器,用超声波测距离,显示到显示器上
#include
#include
#include
#include
using namespace vitcon;
HT16K33 fnd;
#define Trig 2 //引脚Tring 连接 IO D2
#define Echo 3 //引脚Echo 连接 IO D3
UltraSonicDistanceSensor distanceSensor(Trig, Echo);
int m=0;
void setup() {
Serial.begin(9600);
pinMode(Trig, OUTPUT);
pinMode(Echo, INPUT);
fnd.Init();
delay(1000);
}
void loop() {
double cm = distanceSensor.measureDistanceCm();
Serial.print("distance: ");
Serial.print(cm);
Serial.print(“cm\n”);
delay(3000);
m=cm*100;
fnd.Number(m);
fnd.Send();
fnd.ColonOn();
delay(1000);
fnd.ColonOff();
delay(1000);
}
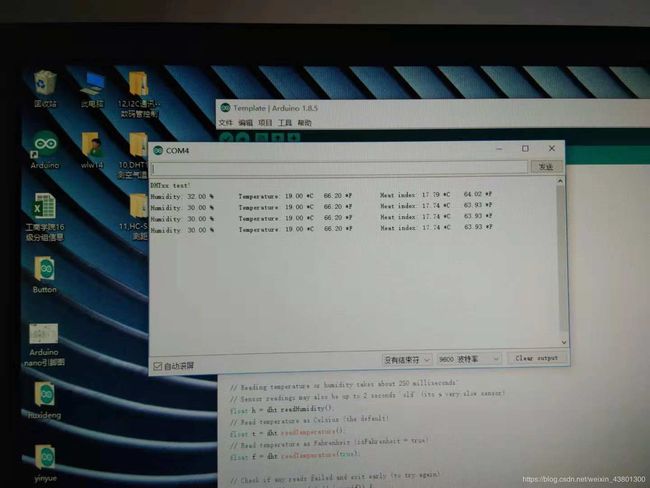
 9.测试温湿度
#include
#define DHTPIN 2 // what digital pin we’re connected to
#define DHTTYPE DHT11 // DHT 11
DHT dht(DHTPIN, DHTTYPE);
void setup() {
Serial.begin(9600);
Serial.println(“DHTxx test!”);
dht.begin();
}
void loop() {
// Wait a few seconds between measurements.
delay(2000);
// Reading temperature or humidity takes about 250 milliseconds!
// Sensor readings may also be up to 2 seconds ‘old’ (its a very slow sensor)
float h = dht.readHumidity();
// Read temperature as Celsius (the default)
float t = dht.readTemperature();
// Read temperature as Fahrenheit (isFahrenheit = true)
float f = dht.readTemperature(true);
// Check if any reads failed and exit early (to try again).
if (isnan(h) || isnan(t) || isnan(f)) {
Serial.println(“Failed to read from DHT sensor!”);
return;
}
// Compute heat index in Fahrenheit (the default)
float hif = dht.computeHeatIndex(f, h);
// Compute heat index in Celsius (isFahreheit = false)
float hic = dht.computeHeatIndex(t, h, false);
Serial.print(“Humidity: “);
Serial.print(h);
Serial.print(” %\t”);
Serial.print(“Temperature: “);
Serial.print(t);
Serial.print(” *C\t”);
Serial.print(f);
Serial.print(" *F\t");
Serial.print(“Heat index: “);
Serial.print(hic);
Serial.print(” *C\t”);
Serial.print(hif);
Serial.println(" *F\t");
}