Centos7安装zabbix4
一:安装zabbix
yum -y install httpd mariadb mariadb-server php php-mysql
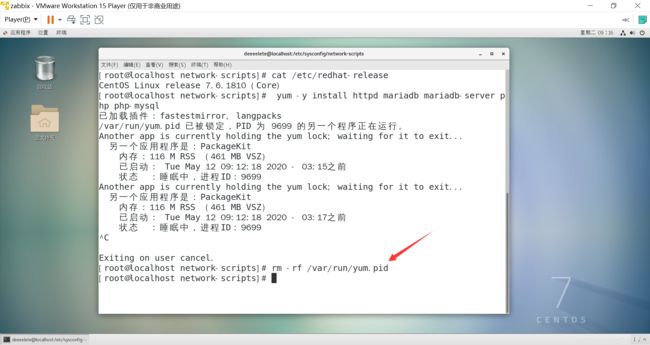
然后如果出现这种情况,直接删除/var/run/yum.pid
再次执行成功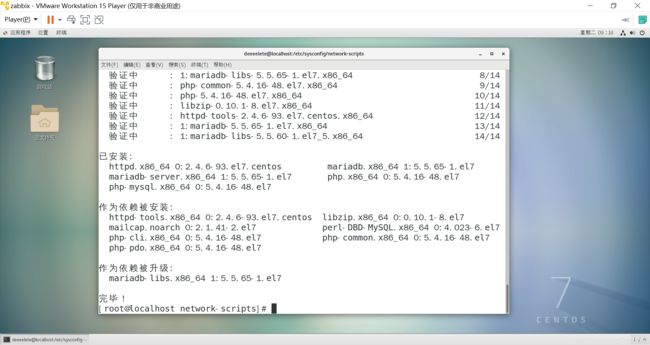
- 安装所需php库
yum install php-bcmath php-gd php-ldap php-mbstring php-xml -y
- 因为直接下载对应的软件包会出错,所以先配置一下本地yum(提取码2wnu)
Xshell上传

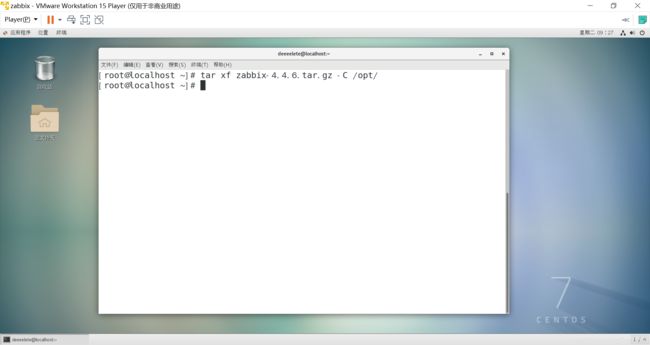
解压:tar xf zabbix-4.4.6.tar.gz -C /opt/
编辑:vim /etc/yum.repos.d/zabbix4-4-6.repo
[zabbix4-4-6]
name=Zabbix4-4-6
baseurl=file:///opt/zabbix4-4-6
enabled=1
gpgcheck=0
- 安装软件,首先安装依赖包
yum install OpenIPMI OpenIPMI-libs OpenIPMI-modalias unixODBC fping -y
yum install zabbix-server-mysql zabbix-web-mysql zabbix-agent zabbix-get -y
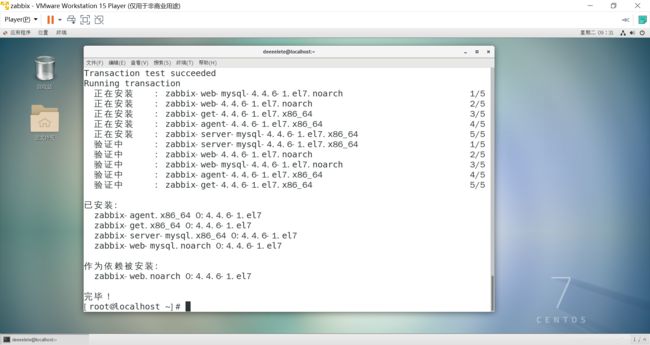 (补充:这里有可能会出现缺少php扩展的问题,可以参考其他大佬的博客:https://blog.csdn.net/weixin_42453837/article/details/89430078)
- 数据库相关
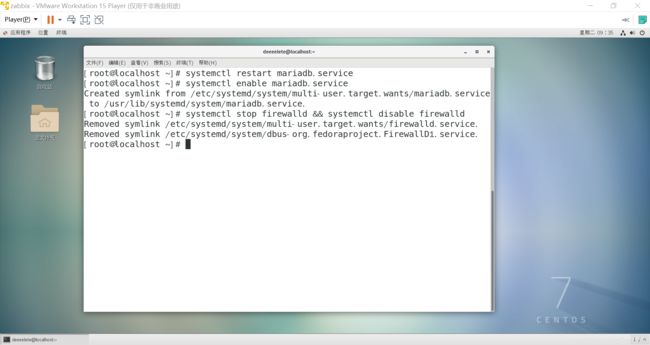
 systemctl restart mariadb.service
 systemctl enable mariadb.service
 systemctl stop firewalld && systemctl disable firewalld
接下来进入数据库: mysql -u root
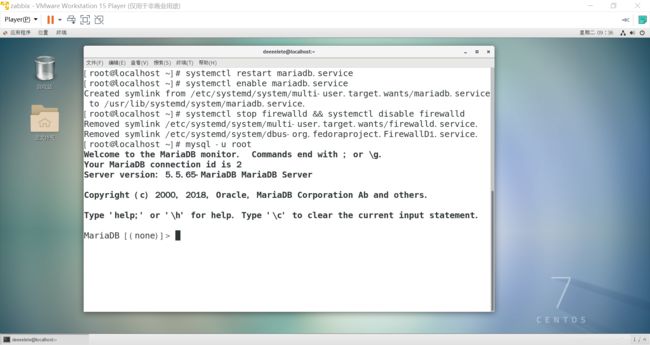 创建数据库:
 create database zabbix character set utf8 collate utf8_bin; 
创建zabbix用户,密码为password
grant all privileges on zabbix.* to zabbix@localhost identified by 'password';
zcat /usr/share/doc/zabbix-server-mysql-4.4.6/create.sql.gz | mysql -u zabbix -p zabbix
mysql -uroot
use zabbix
show tables;
- 然后修改一下zabbix的默认配置
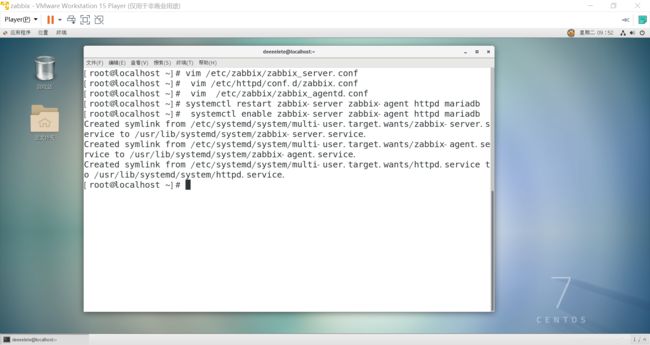
vim /etc/zabbix/zabbix_server.conf
只需要将124行的密码修改成之前设定的password即可,如果数据库名不一致则需要修改100行的数据库,显示行号的命令是set nu
 保存退出后顺便去配置一下时区:
vim /etc/httpd/conf.d/zabbix.conf
将第20行的# php_value date.timezone Europe/Riga
修改为:php_value date.timezone Asia/Shanghai
 然后让zabbix监控一下自身
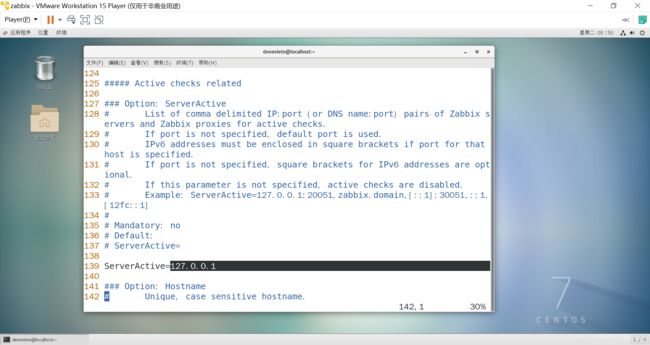
vim /etc/zabbix/zabbix_agentd.conf
确保98行(ip)和139行(主动模式)指向本地

 安装 Zabbix-Web前端页面 :
systemctl restart zabbix-server zabbix-agent httpd mariadb
systemctl enable zabbix-server zabbix-agent httpd mariadb
- 配置完成,去浏览器访问
http://自己的Ip/zabbix

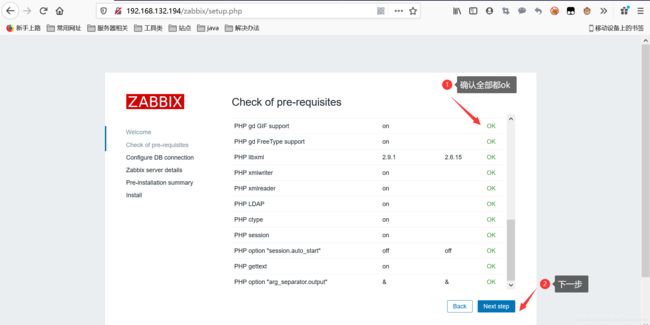

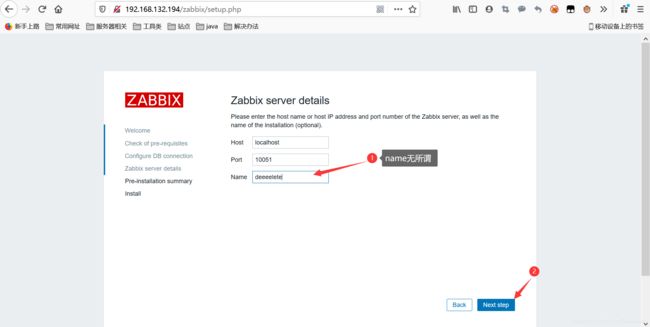

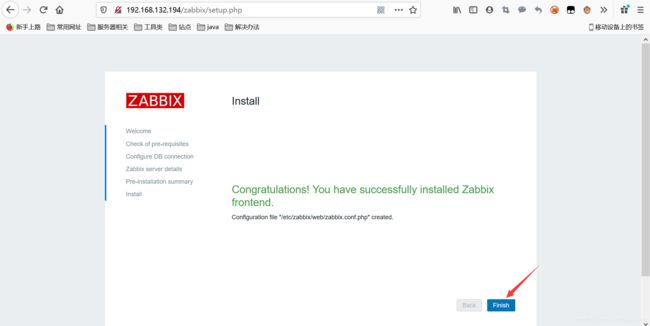


下方出现的警告不用管,只是告诉我们服务运行时间小于10分钟

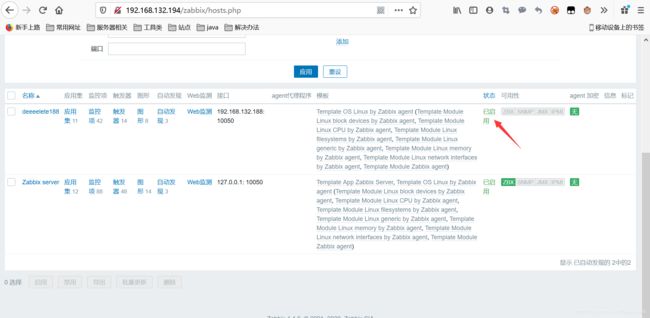
去启用一下监控本地主机
安装完成
二:测试监控
- 于是这里再开一台虚拟机,关闭其防火墙
systemctl stop firewalld && systemctl disable firewalld
将rpm文件(提取码d8a1)上传到虚拟机
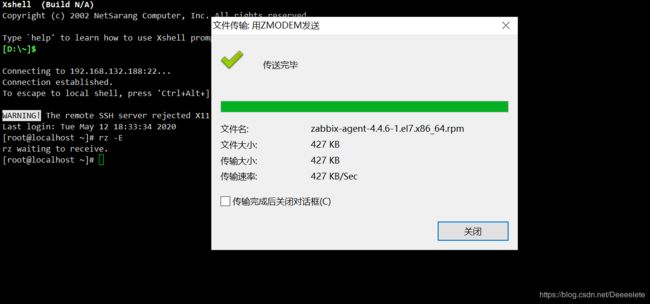
rpm -ivh zabbix-agent-4.4.6-1.el7.x86_64.rpm
 配置文件:
配置文件:
vim /etc/zabbix/zabbix_agentd.conf
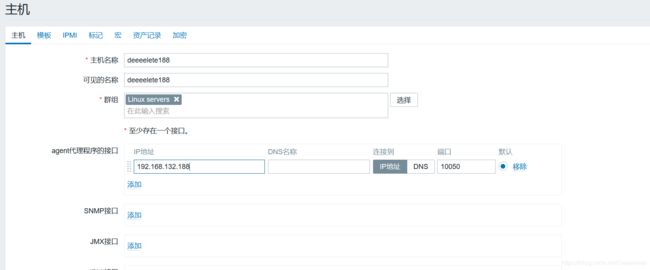
将第98行,139行修改为配置好zabbix虚拟机的地址,150行修改机名:
#98  Server=192.168.132.194
#139  ServerActive=192.168.132.194
#150  Hostname=deeeelete188
启动服务:
systemctl start zabbix-agent && systemctl enable zabbix-agent
netstat -antup | grep 10050
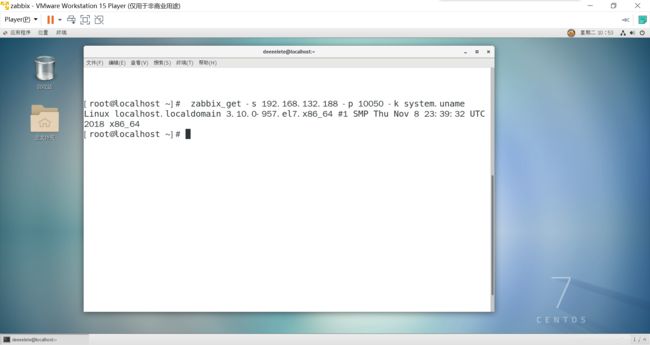
- 回到zabbix虚拟机,我们测试一下是否能获取到需要监控机器的信息
zabbix_get -s 192.168.132.188 -p 10050 -k system.uname


