引入Dagger2
首先,我们需要将Dagger2的依赖写入我们的gradle中,具体配置如下
android {
    ...
}

dependencies {
    ...
    compile "com.google.dagger:dagger:2.8"
    annotationProcessor "com.google.dagger:dagger-compiler:2.8"
    provided 'javax.annotation:jsr250-api:1.0'
    compile 'javax.inject:javax.inject:1'
    ...
}
配置好之后就可以使用dagger2了。
注解
这里先讲讲四种基础的注解,他们分别是:
- @Inject Inject主要有两个作用,一个是使用在构造函数上,通过标记构造函数让Dagger2来使用(Dagger2通过Inject标记可以在需要这个类实例的时候来找到这个构造函数并把相关实例new出来)从而提供依赖,另一个作用就是标记在需要依赖的变量让Dagger2为其提供依赖。
- @Provides 用Provides来标注一个方法,该方法可以在需要提供依赖时被调用,从而把预先提供好的对象当做依赖给标注了@Injection的变量赋值。Provides主要用于标注Module里的方法
- @Module 用Module标注的类是专门用来提供依赖的。有的人可能有些疑惑,看了上面的@Inject,需要在构造函数上标记才能提供依赖,那么如果我们需要提供的类构造函数无法修改怎么办,比如一些jar包里的类,我们无法修改源码。这时候就需要使用Module了。Module可以给不能修改源码的类提供依赖,当然,能用Inject标注的通过Module也可以提供依赖
- @Component Component一般用来标注接口,被标注了Component的接口在编译时会产生相应的类的实例来作为提供依赖方和需要依赖方之间的桥梁,把相关依赖注入到其中。
example
我们想在activity中调用Car。下面是car类
public class Car {

    @Inject
    public Car() {
    }

    public String run() {
        return "car run ";
    }
}
给car的构造方法添加Inject注解,Dagger2通过Inject注解可以在需要Car这个类实例的时候来找到这个构造函数并把相关实例new出来。
接下来需要一个Component,代码如下:
@Component
public interface CarComponent {
    void inject(CarActivity activity);
}
添加完CarComponent类后,先build一下,会生成一个DaggerCarComponent的类。DaggerCarComponent是CarComponent的一个实现类。DaggerCarComponent的作用是把需要注入的对象注入到CarActivity里面。
然后在Activity里注入这个Car,代码如下:
@Inject
Car mCar;
private CarComponent mCarComponent;
@Override
protected void onCreate(@Nullable Bundle savedInstanceState) {
super.onCreate(savedInstanceState);
setContentView(R.layout.activity_car);
mCarComponent = DaggerCarComponent.builder().build();
mCarComponent.inject(this);
TextView text = findViewById(R.id.text);
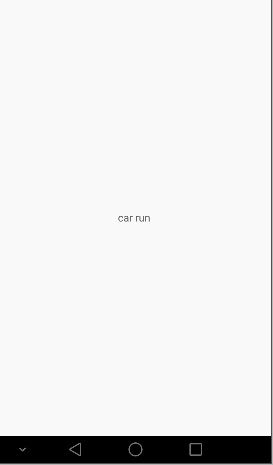
text.setText(mCar.run());
}
运行代码,效果如下:
上面的例子只是用到了Inject和Component,下面介绍一下另外两个注解的用法。
假设Car这个类事第三方的类,而且我们没有办法修改这个类(就是不能在这个类的构造函数上加上@Inject的注解),这个时候就需要用到Provides和Module。先把Car的构造函数上的@Inject给去掉,
public class Car {

    public Car() {
    }

    public String run() {
        return "car run ";
    }
}
然后创建一个Module类,来提供Car的实例,代码如下:
@Module
public class CarModule {

    @Provides
    public Car provide(){
        return new Car();
    }
}
@Provides表明这个是一个提供实例的方法,Dagger2在实例化被注入的对象的时候,会先去找有没有被@Provides标记的提供对象实例的方法,如果没有就会去找有没有背@Inject标记的构造方法。
接下来把Module与Component关联起来,修改CarComponent,添加modules = CarModule.class,代码如下:
@Component(modules = CarModule.class)
public interface CarComponent {
    void inject(CarActivity activity);
}
这里再说明一个问题,我们有两种方式可以提供依赖,一个是注解了@Inject的构造方法,一个是在Module里提供的依赖,那么Dagger2是怎么选择依赖提供的呢,规则是这样的:
- 步骤1:查找Module中是否存在创建该类的方法。
- 步骤2:若存在创建类方法,查看该方法是否存在参数
- 步骤2.1:若存在参数,则按从步骤1开始依次初始化每个参数
- 步骤2.2:若不存在参数,则直接初始化该类实例,一次依赖注入到此结束
- 步骤3:若不存在创建类方法,则查找Inject注解的构造函数,看构造函数是否存在参数
- 步骤3.1:若存在参数,则从步骤1开始依次初始化每个参数
- 步骤3.2:若不存在参数,则直接初始化该类实例,一次依赖注入到此结束
然后运行一下代码,效果和上一个一样。
下面介绍一个注入TextView的例子:
新建一个TextViewModule,代码如下:
@Module
public class TextViewModule {
    private Context mContext;

    public TextViewModule(Context context) {
        mContext = context;
    }

    @Provides
    public TextView provideTextView() {
        return new TextView(mContext);
    }
}
provideTextView用于提供TextView。然后把这个Module和Component关联起来。代码如下:
@Component(modules = {CarModule.class, TextViewModule.class})
public interface CarComponent {
    void inject(CarActivity activity);
}
在modules中再加一个TextViewModule.class就好。然后把TextView注入到CarActivity中,最后再把这个TextView添加到Activity的content view里面。代码如下:
public class CarActivity extends Activity {
@Inject
Car mCar;
@Inject
TextView mTextView;
private CarComponent mCarComponent;
@Override
protected void onCreate(@Nullable Bundle savedInstanceState) {
super.onCreate(savedInstanceState);
setContentView(R.layout.activity_car);
mCarComponent = DaggerCarComponent.builder().textViewModule(new TextViewModule(this)).build();
mCarComponent.inject(this);
ViewGroup root = findViewById(android.R.id.content);
root.addView(mTextView);
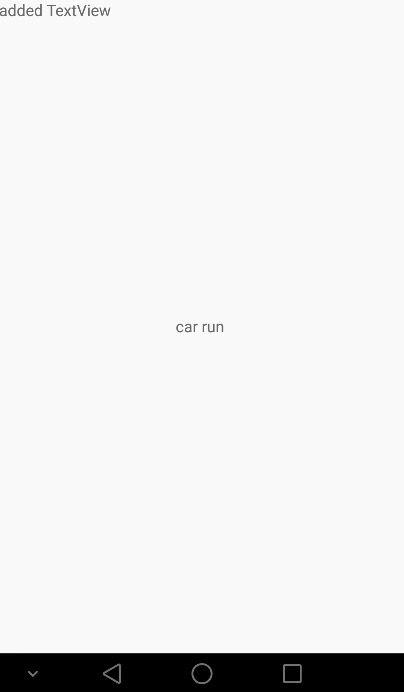
mTextView.setText("added TextView");
TextView text = findViewById(R.id.text);
text.setText(mCar.run());
}
}
这里要说一下textViewModule(new TextViewModule(this))这句代码,这里是给Component添加一个TextViewModule的实例,每当Component关联一个Module的时候,Component的实现类都会增加一个传入Module实例的方法,DaggerCarComponent中就会有如下两个方法。
public Builder carModule(CarModule carModule) {
  this.carModule = Preconditions.checkNotNull(carModule);
  return this;
}

public Builder textViewModule(TextViewModule textViewModule) {
  this.textViewModule = Preconditions.checkNotNull(textViewModule);
  return this;
}
那我们为啥不用掉carModule来传入一个CarModule对象呢?因为CarModule有一个无参数的构造方法,Dagger会默认去掉这个无参数的构造方法,而TextViewModule则没这种构造方法,这需要在用的时候调运textViewModule(new TextViewModule(this))。
下面来看一下运行效果:
代码地址