Android基础教程10 应用栏
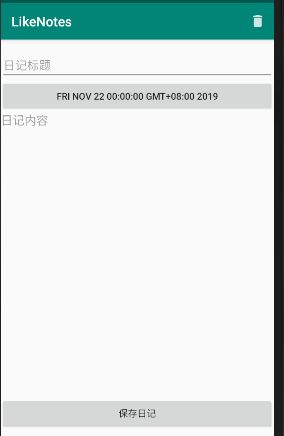
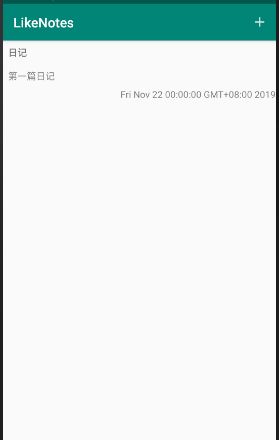
本篇我们利用Toolbar为我们的应用添加一个简单的应用栏。
我们的程序已经有默认的ActionBar,这个大家肯定都了解。那么这个ActionBar是在哪里指定的呢?
在AndroidManifest.xml中默认为项目指定了主题:
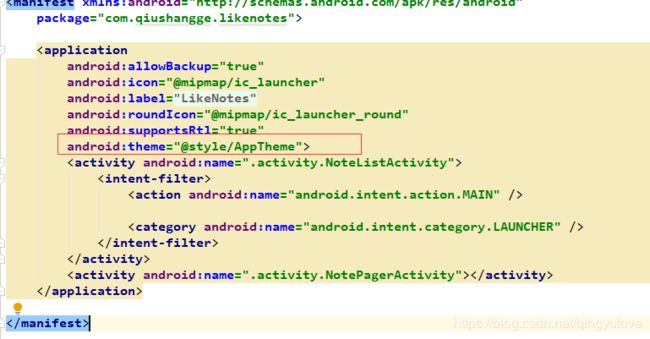
我们再来看看这个AppTheme又定义了写什么东西,我们可以在values/styles.xml下找到其定义:
确保Activity扩展AppCompatActivity
目前Android Studio为我们创建的Activity都是扩展AppCompatActivity,所以这一步我们可以省略。
将<application>元素设为使用appcompat的其中一个NoActionBar主题背景
在应用清单中,将 元素设为使用 appcompat 的其中一个 NoActionBar 主题背景。使用其中一个主题背景可以防止应用使用原生 ActionBar 类提供应用栏。
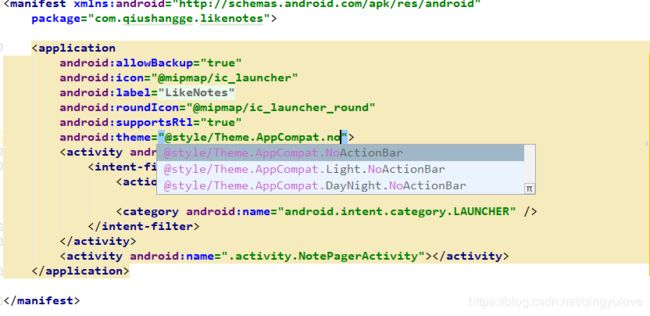
这里选择使用Theme.AppCompat.Light.NoActionBar。
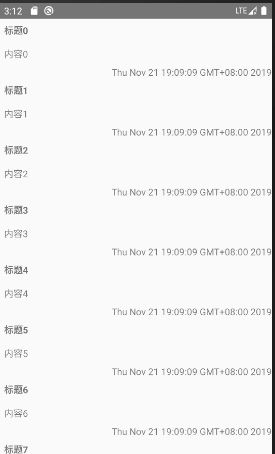
在布局中添加一个Toolbar
fragment_note_list.xml:
xmlns:android="http://schemas.android.com/apk/res/android"
    xmlns:app="http://schemas.android.com/apk/res-auto"
    xmlns:tools="http://schemas.android.com/tools"
    android:layout_width="match_parent"
    android:layout_height="match_parent"
    tools:context=".fragment.NoteListFragment">

    android:id="@+id/list_toolbar"
        android:layout_width="match_parent"
        android:layout_height="wrap_content"
        android:background="@color/colorPrimary"
        android:theme="@style/ThemeOverlay.AppCompat.Dark.ActionBar"
        app:popupTheme="@style/ThemeOverlay.AppCompat.Light"
        app:layout_constraintTop_toTopOf="parent"
        app:title="测试app toolbar" />


    android:id="@+id/note_recycle_view"
        android:layout_width="match_parent"
        android:layout_height="0dp"
        app:layout_constraintBottom_toBottomOf="parent"
        app:layout_constraintTop_toBottomOf="@id/list_toolbar" />
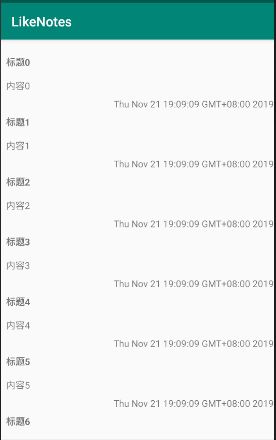
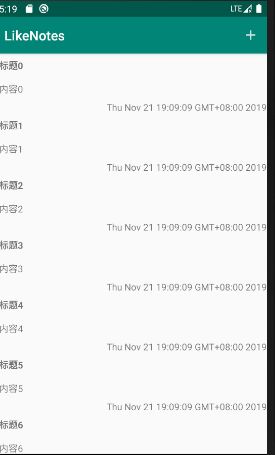
此时我们运行程序:
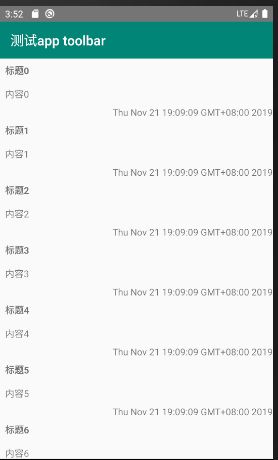
ok,显示正常,当然了,这不是我们想要的方式,直接写在布局文件中难免有些不够灵活。让我们看看通常是怎么加载应用栏的。
定义应用栏菜单

创建完成后会在res/menu目录下找到我们刚刚创建的xml文件:
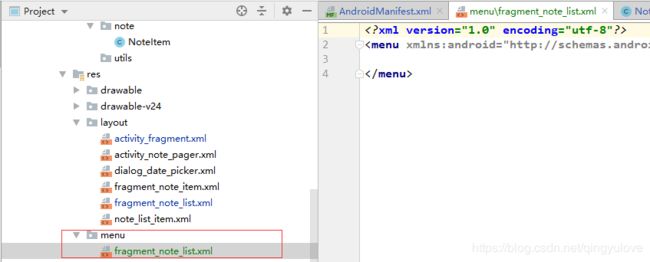
修改xml文件内容如下:
showAsAction属性用于指定菜单项是显示在工具栏上,还是隐藏于溢出菜单。
app:showAsAction 属性用于指定操作是否应在应用栏中显示为按钮。
如果设置了app:showAsAction="ifRoom"则只要应用栏中有足够的空间,此操作便会显示为按钮;如果空间不足,系统便会将无法容纳的操作发送到溢出菜单。如果设置了app:showAsAction="never"则此操作会始终列在溢出菜单中,而不会显示在应用栏中
使用Android Asset Studio定制menu图标
为了能统一应用的界面风格,我们可以自己准备适合应用的系统图标,将它们直接复制到项目的drawable资源目录中。
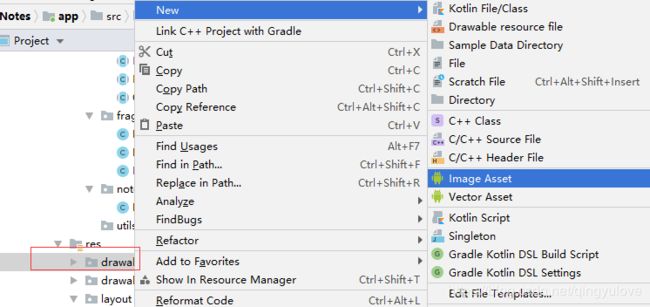
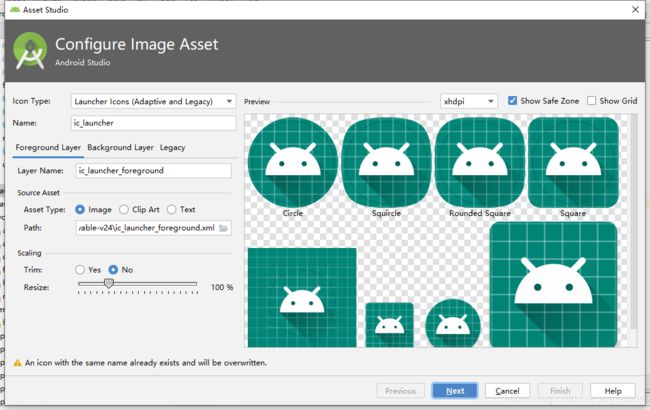
这里我们使用Android Asset Studio来为应用栏创建或定制图片。
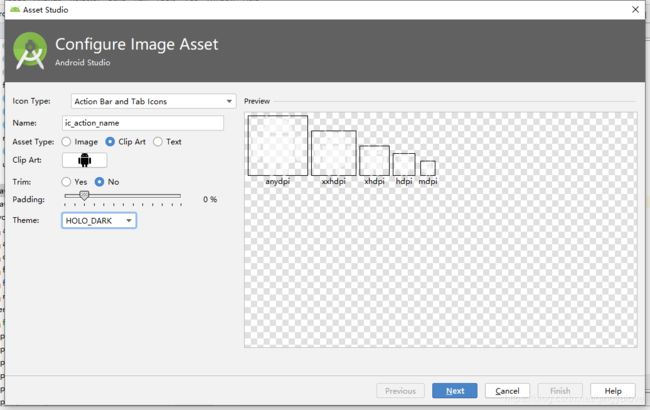
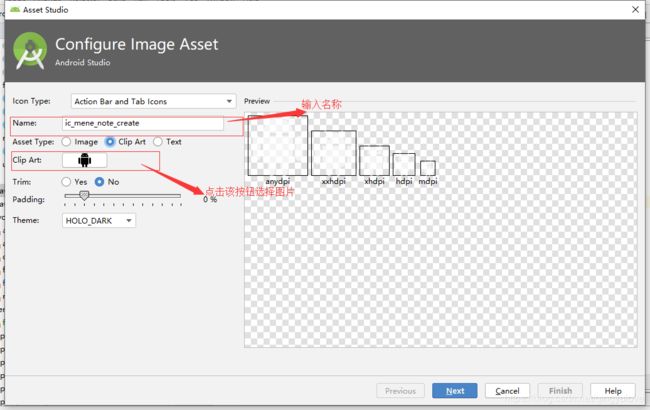
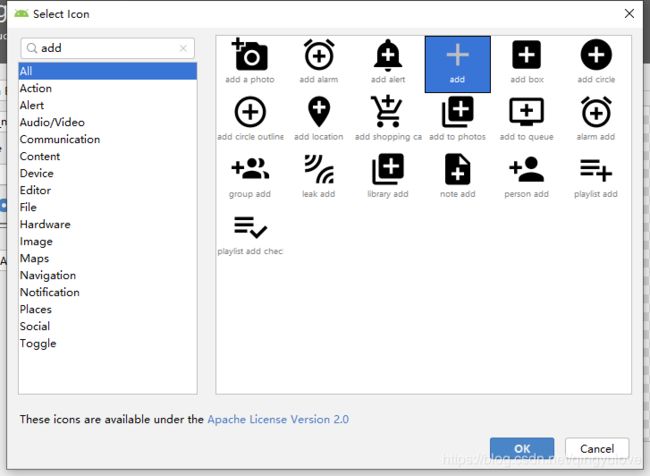
点击next进行预览,然后点击Finish:
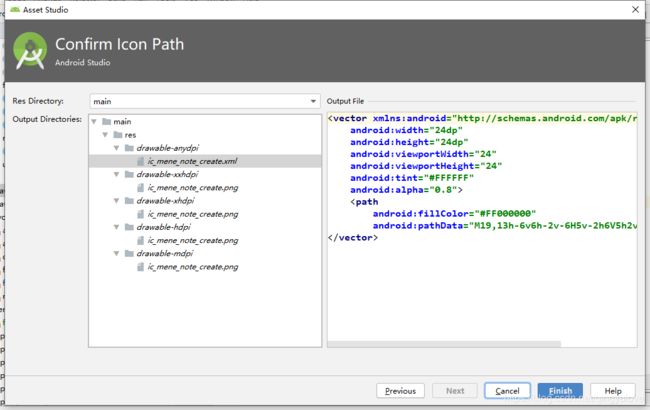
最后在res目录下会看到下面的图片:

同样的操作生成删除图标,接下来我们需要使用我们创建的图片来替换系统图标:
在代码中创建菜单
创建菜单我们需要重载NoteListFragment中的onCreateOptionsMenu方法,在其中我们调用MenuInflater.inflate(int, Menu)方法并传入菜单文件的资源ID,将布局文件中定义的菜单项目填充到Menu实例中。
 @Override
    public void onCreateOptionsMenu(@NonNull Menu menu, @NonNull MenuInflater inflater) {
        super.onCreateOptionsMenu(menu, inflater);
        inflater.inflate(R.menu.fragment_note_list,menu);
    }
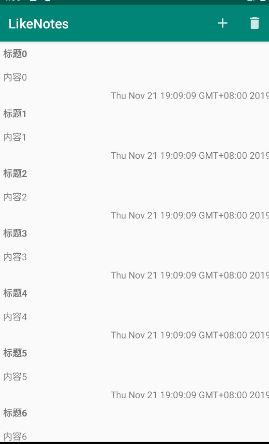
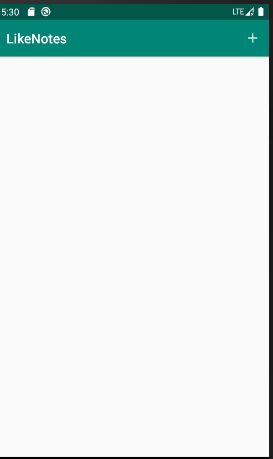
ok,现在我们来运行下程序
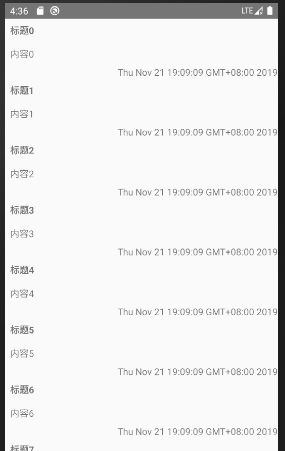
此时,菜单并没有能够正确的显示出来,原因是fragment的onCreateOptionsMenu方法是由FragmentManager负责调用的,当activity接收到操作系统的onCreateOptionsMenu(…)方法回调请求时,我们必须明确告诉FragmentManager,其管理的fragment应接收onCreateOptionsMenu(…)方法的调用指令。要通知FragmentManager,需调用以下方法:
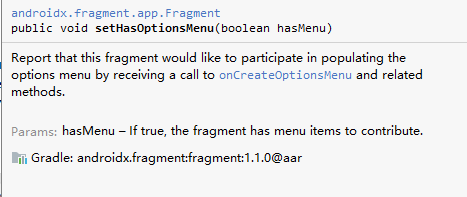
我们在NoteListFragment的initFragmentView方法中追加如下代码:
setHasOptionsMenu(true);
响应应用栏菜单选择
当用户选择应用栏中的某个项目时,系统会调用Activit 的onOptionsItemSelected() 回调方法,并传递 MenuItem 对象以指示用户点击的是哪个项目。在onOptionsItemSelected()实现中,调用 MenuItem.getItemId() 方法可确定按下的是哪个项目。返回的ID与在相应元素的android:id 属性中声明的值相匹配。
在NoteListFragment中重载onOptionsItemSelected方法:
    @Override
    public boolean onOptionsItemSelected(@NonNull MenuItem item) {
        switch (item.getItemId()) {
            case R.id.menu_note_create:
                Log.d(TAG, "onOptionsItemSelected: " + item.getTitle());
                return true;
            case R.id.menu_note_delete:
                Log.d(TAG, "onOptionsItemSelected: " + item.getTitle());
                return true;
            default:
                return super.onOptionsItemSelected(item);
        }
    }
打开创建日记页面:
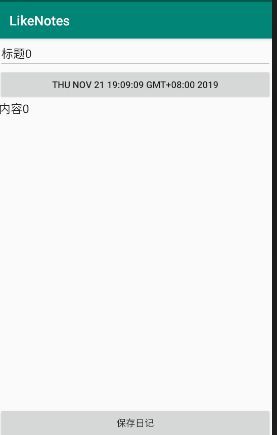
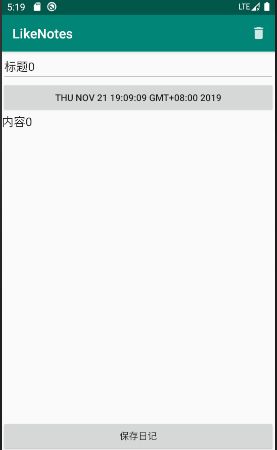
显然我们应该将删除菜单放在NoteItemFragment中,根据上面的流程为NoteItemFragment创建菜单,同时删除NoteListFragment中和删除菜单相关的代码。
 @Override
    protected void initFragmentView() {
       setHasOptionsMenu(true);
    }
    @Override
    public void onCreateOptionsMenu(@NonNull Menu menu, @NonNull MenuInflater inflater) {
        super.onCreateOptionsMenu(menu, inflater);
        inflater.inflate(R.menu.fragment_note_item, menu);
    }
既然我们已经有了新建和删除日记的菜单,那么我们就抛弃原来写死的日记数据。
删除NoteListFragment和NotePagerActivity中initFragmentData代码:
    @Override
    protected void initActivityData() {
        SharedPreferences preferences = getSharedPreferences("notelist", MODE_PRIVATE);
        String noteString = preferences.getString("notelist", "");
        if (!noteString.equals("")) {
            noteItemList = new Gson().fromJson(noteString, new TypeToken<List<NoteItem>>() {
            }.getType());
        }
    }
 android:id="@+id/iv_note_list_empty"
        android:layout_width="wrap_content"
        android:layout_height="wrap_content"
        android:text="@string/note_list_empty"
        android:visibility="gone"
        app:layout_constraintBottom_toBottomOf="parent"
        app:layout_constraintEnd_toEndOf="parent"
        app:layout_constraintStart_toStartOf="parent"
        app:layout_constraintTop_toTopOf="parent" />
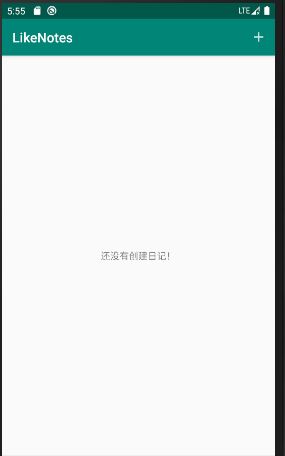
这里我们做个简单的示例,在NoteListFragment代码中通过setVisibility来显示和隐藏:
private TextView tvEmpty;
@Override
    protected void initFragmentView() {
      ...
        tvEmpty = fragmentRoot.findViewById(R.id.tv_note_list_empty);
		if (noteItemList.size() == 0) {
            tvEmpty.setVisibility(View.VISIBLE);
        }
    }
接下来我们完善点击新建日记菜单逻辑。
    @Override
    public boolean onOptionsItemSelected(@NonNull MenuItem item) {
        switch (item.getItemId()) {
            case R.id.menu_note_create:
               Intent intent = new Intent(getActivity(), NoteCreateActivity.class);
                startActivityForResult(intent, 2);
                return true;
            default:
                return super.onOptionsItemSelected(item);
        }
    }

    @Override
    public void onActivityResult(int requestCode, int resultCode, @Nullable Intent data) {
        if (resultCode == Activity.RESULT_OK) {
         // 不管是新建或者编辑返回结果,说明日记列表是有记录的,隐藏空列表提示
            if (tvEmpty.getVisibility() == View.VISIBLE) {
                tvEmpty.setVisibility(View.GONE);
            }
            NoteItem newNote = data.getParcelableExtra(NoteItemFragment.EXTRA_NOTE_RESULT);

            SharedPreferences sharedPreferences = getActivity().getSharedPreferences("notelist", Context.MODE_PRIVATE);
            SharedPreferences.Editor editor = sharedPreferences.edit();

            switch (requestCode) {
                case 1:
                    noteItemList.remove(currentNoteItem);
                    noteItemList.add(currentNoteItem, newNote);

                    editor.putString("notelist", new Gson().toJson(noteItemList));
                    editor.apply();
                    break;
                case 2:
                    noteItemList.add(currentNoteItem, newNote);
                    editor.putString("notelist", new Gson().toJson(noteItemList));
                    editor.apply();
                    break;
                default:
            }
        }
    }
点击新建日记菜单,我们就启动NoteCreateActivity页面。NoteCreateActivity是我们用来托管新建日记的Activity.
在onActivityResult中我们更新修改或者创建后的日记列表。
public class NoteCreateActivity extends CurrencyFragmentActivity {
    /**
     * 返回承载fragment的布局id
     *
     * @return
     */
    @Override
    protected int getFragmentContainer() {
        return R.id.fragment_container;
    }

    /**
     * 如果fragment布局没有挂载对应的fragment,那么创建对应的fragment
     *
     * @return
     */
    @Override
    protected Fragment createFragment() {
        return new NoteItemFragment();
    }

    /**
     * 初始化组件配置数据
     */
    @Override
    protected void initViewOptions() {

    }

    /**
     * 完成必要的数据初始化
     */
    @Override
    protected void initActivityData() {

    }

    /**
     * 实现事件监听
     */
    @Override
    protected void initActivityListener() {

    }

    /**
     * @return 返回布局文件资源id
     */
    @Override
    protected int getActivityLayout() {
        return R.layout.activity_fragment;
    }
}
同时我们还需要修改下NoteItemFragment中如下代码:
   @Override
    protected void initFragmentView() {
        setHasOptionsMenu(true);
        etNodeTitle = fragmentRoot.findViewById(R.id.et_note_title);
        etNodeContent = fragmentRoot.findViewById(R.id.et_note_content);
        btnNodeCreateDate = fragmentRoot.findViewById(R.id.btn_note_create_date);
        btnSave = fragmentRoot.findViewById(R.id.btn_save);

        if (getArguments() != null) {
            noteItem = (NoteItem) getArguments().getParcelable(EXTRA_NOTE);
            etNodeTitle.setText(noteItem.getNoteTitle());
            etNodeContent.setText(noteItem.getNoteContent());
            btnNodeCreateDate.setText(noteItem.getDateCreate().toString());

        } else {
            noteItem = new NoteItem();
        }
    }

	.......
	btnSave.setOnClickListener(new View.OnClickListener() {
            @Override
            public void onClick(View v) {
                Intent intent = new Intent();
                intent.putExtra(EXTRA_NOTE_RESULT, noteItem);
                getActivity().setResult(Activity.RESULT_OK, intent);
                if (getArguments() == null) {
                    getActivity().finish();
                }
            }
        });
        .......
然后点击列表项进入NotePagerActivity:
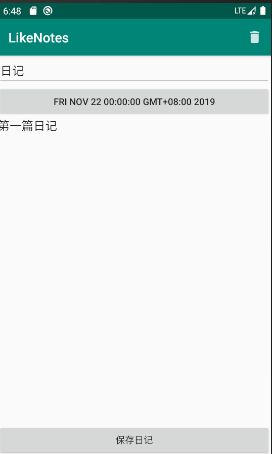
接下来我们实现删除日记功能。观察我们的页面,显然将删除日记的代码实现放在NotePagerActivity中处理更符合逻辑。
