【超详细】树莓派4B 英特尔神经棒2代 Openvino安装记录
主要参考了英特尔官方文档https://docs.openvinotoolkit.org/2019_R3.1/_docs_install_guides_installing_openvino_raspbian.html
还有同济子豪兄在达尔文的b站视频https://www.bilibili.com/video/BV17J41127L4?p=8
子豪兄视频中参考了这篇大佬的博文因此我也参考了下https://blog.csdn.net/qqqzmy/article/details/85213414
/*
吐槽,整这个花了大半个星期,到处都是坑,太难受了。跟着官方文档走cmake总是出错,然后跟着子豪兄的视频,4B和3B+还是有点小区别,按照视频来到build那一步会不一样,有点小问题。我稍微改了一下,现在应该没有问题了。另外过程中没有依赖问题这还是让人舒服的。下面将我的过程分享出来。
温馨提示:一定要注意是在哪个路径下操作的
*/
目录
- 摘要
- 〇、用到的材料
- 一、树莓派配置
- 1、官网下载镜像文件
- 2、格式化tf卡
- 3、烧入镜像文件
- 4、将卡插入树莓派,开机
- 5、连接VNC
- 6、换源
- 7、将根目录扩展
- 二、Openvino 安装
- 1、先装外部软件依赖项cmake
- 2、下载和处理Openvino包
- 3、设置环境
- 4、添加USB规则
- 5、将英特尔神经棒插到蓝色usb口(蓝色是3.0)
- 6、生成并运行物体检测示例
- 7、应用于python中
- 8、使用其他模型
摘要
本文详细描述了树莓派4B配合英特尔神经棒2代的配置过程。
〇、用到的材料
硬件
- 树莓派4B
- 树莓派显示屏(非必要)
- tf卡和读卡器
- 英特尔神经棒2代
- Windows电脑
- 路由器
软件
- SDFormatter(格式化tf卡)
- Win32DiskImager(烧入镜像)
- putty(远程ssh连接工具)(可选)
- VNC Viewer(远程连接树莓派桌面)
- FileZilla(远程传输文件到树莓派)
一、树莓派配置
1、官网下载镜像文件
我下载了树莓派官网上2020-02-13-raspbian-buster-full.img的镜像文件
2、格式化tf卡
将tf卡插入读卡器插上电脑
打开SDFormatter
格式化之后电脑显示tf卡大小变成真实大小了
拔出
再插入
3、烧入镜像文件
打开Win32DiskImager,选择镜像,单击“write”

静待几分钟完成
4、将卡插入树莓派,开机
我有显示屏,如果没有也没关系,网上很多办法我就不加赘述了

Next
选中国

设置你的密码

我直接插网线了就没连wifi
不更新

进入首选项

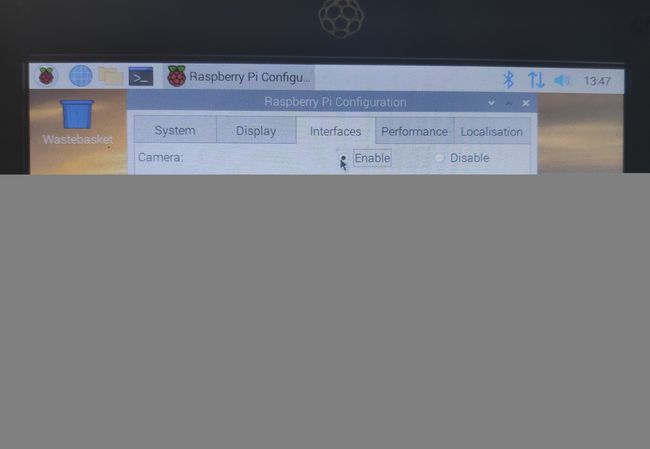
VNC和SSH一定要打开,其他你看着需要打开
5、连接VNC
鼠标放到网络标志上可以看到ip
 打开VNC Viewer输入ip
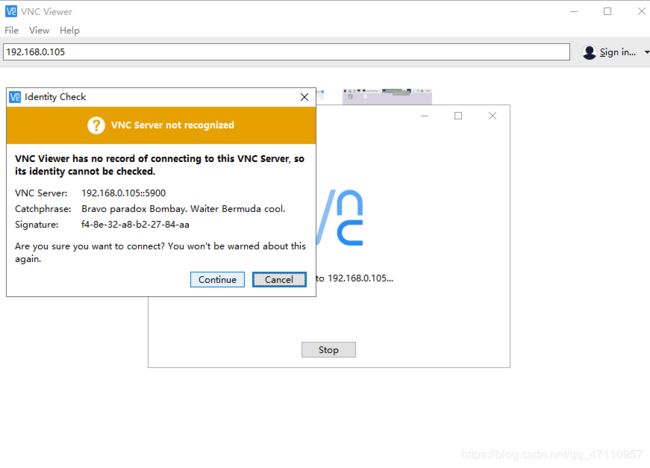
继续
用户名是pi
密码填你刚刚设置的,如果刚刚没设置的话默认raspberry

6、换源
打开命令行输入
sudo nano /etc/apt/sources.list
替换为清华的
deb http://mirrors.tuna.tsinghua.edu.cn/raspbian/raspbian/ buster main contrib non-free rpi
deb-src http://mirrors.tuna.tsinghua.edu.cn/raspbian/raspbian/ buster main contrib non-free rpi
如图修改
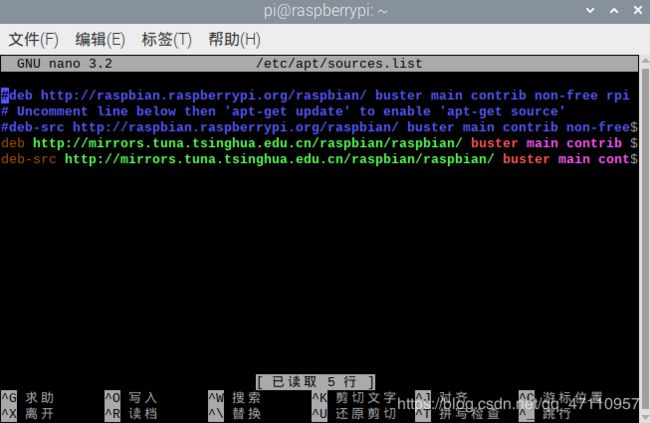
保存退出(Ctrl O, 回车, Ctrl X)
然后修改下一个
sudo nano /etc/apt/sources.list.d/raspi.list
替换
deb http://mirror.tuna.tsinghua.edu.cn/raspberrypi/ buster main ui
deb-src http://mirror.tuna.tsinghua.edu.cn/raspberrypi/ buster main ui
如图

保存退出
下一个
sudo mkdir ~/.pipcd .pipsudo nano pip.conf
写入
[global]
timeout = 10
index-url =  http://mirrors.aliyun.com/pypi/simple/
extra-index-url= http://pypi.douban.com/simple/
[install]
trusted-host=
    mirrors.aliyun.com
    pypi.douban.com
保存退出
sudo apt-get update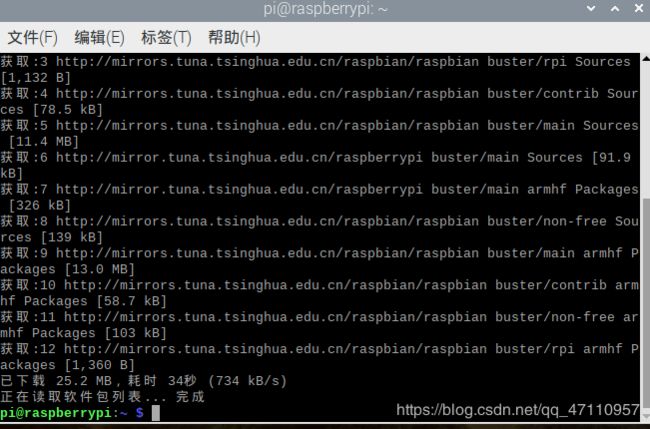
7、将根目录扩展
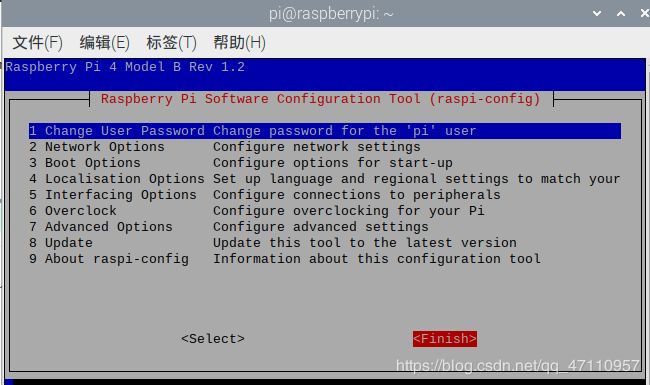
sudo raspi-config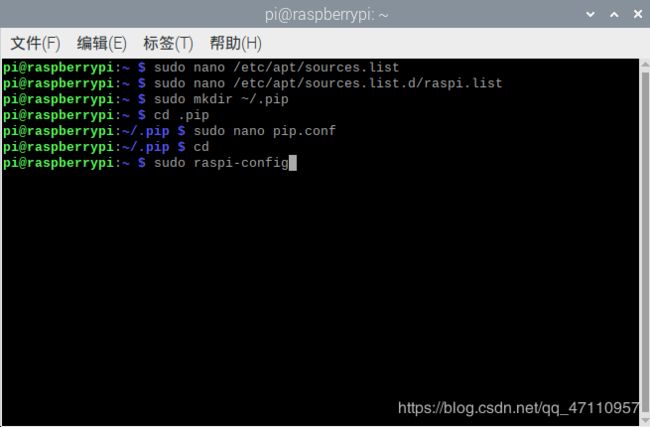
进入第七个

选第一个

好了然后左右方向键选finish回车,提示重启
另外树莓派4B和3不一样,如果没有连接显示屏,亲测这里选5修改分辨率是没用的,用远程屏幕大小不会变,如果连了显示屏,那么会跟着显示屏大小来,修改分辨率反而会使屏幕变小,很无语
二、Openvino 安装
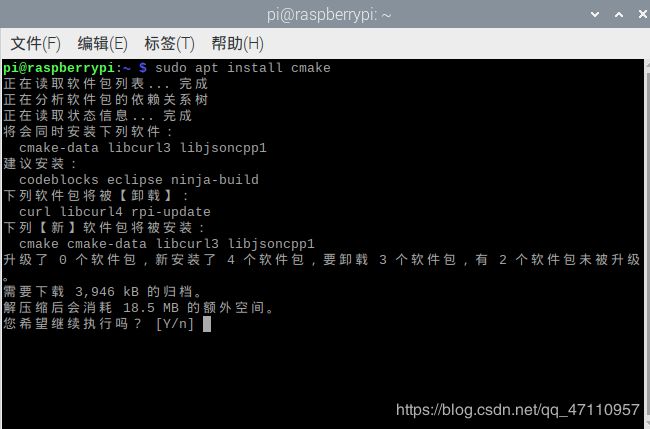
1、先装外部软件依赖项cmake
sudo apt install cmake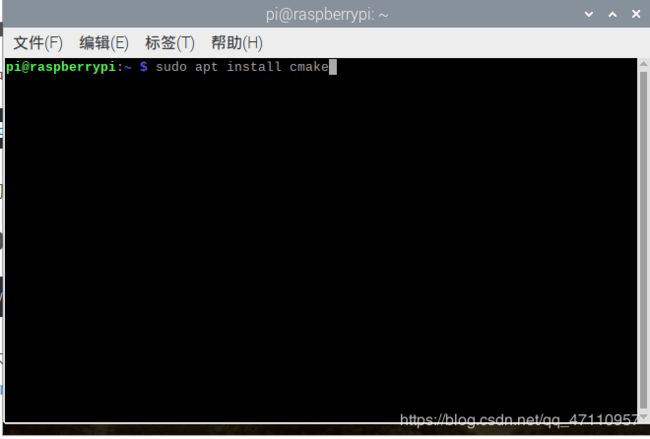
回车确认
2、下载和处理Openvino包
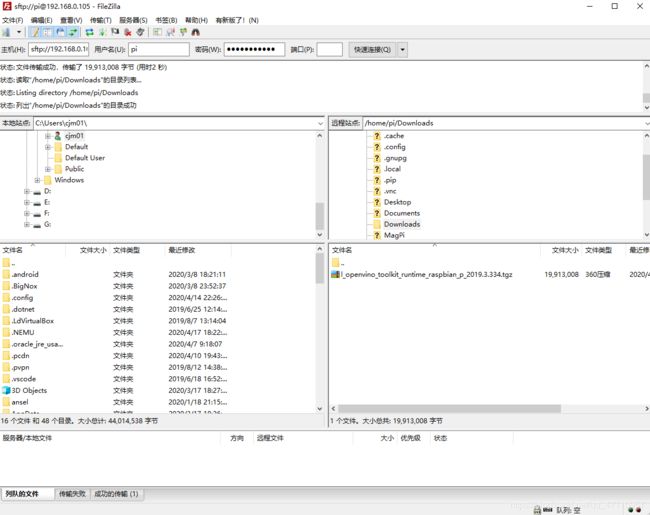
直接下有点慢可以用FileZilla传过去
打开FileZilla输入信息连接到树莓派
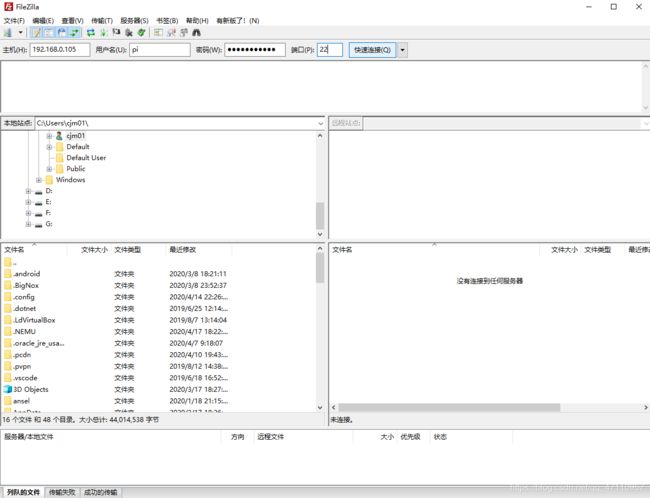
把下载好的包传到Downloads下面
树莓派上进入Downloads
cd Downloads解压
tar -xf l_openvino_toolkit_runtime_raspbian_p_2019.3.334.tgz
进入图形化文件管理器找到解压后的文件重命名为
inference_engine_vpu_arm
3、设置环境
先修改setupvars.sh文件
sed -i "s||$(pwd)/inference_engine_vpu_arm|" inference_engine_vpu_arm/bin/setupvars.sh
然后设置环境,下面选一个
这种是临时的
source /home/pi/Downloads/inference_engine_vpu_arm/bin/setupvars.sh这种是永久的
echo "source /home/pi/Downloads/inference_engine_vpu_arm/bin/setupvars.sh" >> ~/.bashrc
永久的设置了打开新终端就会看到如下图顶部这一串

4、添加USB规则
将当前的Linux用户添加到该users组
sudo usermod -a -G users "$(whoami)"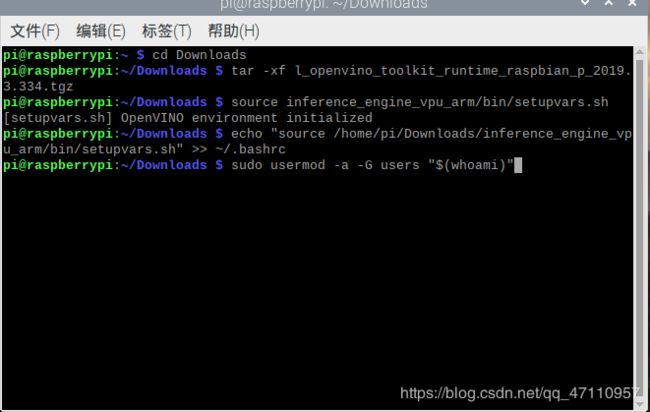
安装运行install_NCS_udev_rules.sh脚本的USB规则
sh inference_engine_vpu_arm/install_dependencies/install_NCS_udev_rules.sh
5、将英特尔神经棒插到蓝色usb口(蓝色是3.0)
6、生成并运行物体检测示例
进入此目录
cd inference_engine_vpu_arm/deployment_tools/inference_engine/samples并创建样本构建目录build并进入
mkdir build && cd build
构建对象检测样本
cmake .. -DCMAKE_BUILD_TYPE=Release -DCMAKE_CXX_FLAGS="-march=armv7-a"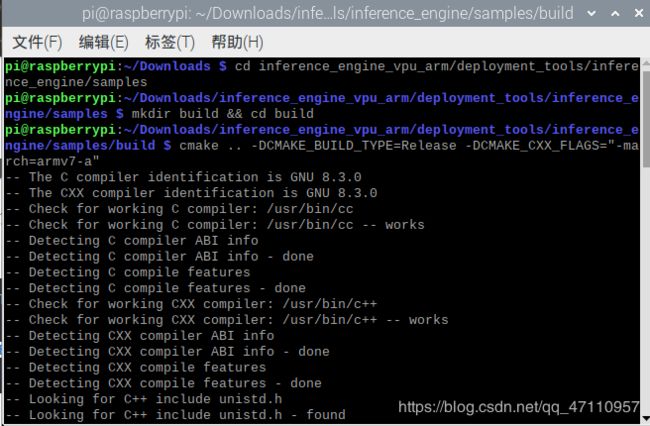
编译对象检测示例
make -j2 object_detection_sample_ssd
耐心等待几分钟

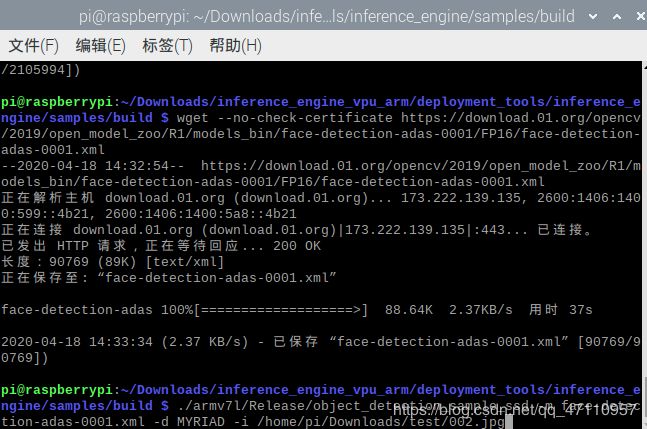
下载预训练的人脸检测模型(因特尔良心啊)
wget --no-check-certificate https://download.01.org/opencv/2019/open_model_zoo/R1/models_bin/face-detection-adas-0001/FP16/face-detection-adas-0001.bin
wget --no-check-certificate https://download.01.org/opencv/2019/open_model_zoo/R1/models_bin/face-detection-adas-0001/FP16/face-detection-adas-0001.xml
好了自己准备一张人脸图片,用这段代码看看样本能否成功运行
./armv7l/Release/object_detection_sample_ssd -m face-detection-adas-0001.xml -d MYRIAD -i <path_to_image>


输出了一些信息,置信度、位置等等
然后你进入build文件夹会发现输出了一张out_0.bmp

给你画好了框框,不靠谱这下特靠谱啊233
到此恭喜你成功了
7、应用于python中
建一个文件夹,把之前下载的xml和bin文件、准备的图片、py文件都放进去
下面是官方示例代码,注意这个cv2,Openvino自带Opencv,不需要再自己去下
import cv2 as cv

# Load the model.可以在这里修改要使用的模型文件
net = cv.dnn.readNet('face-detection-adas-0001.xml', 'face-detection-adas-0001.bin')

# Specify target device.
net.setPreferableTarget(cv.dnn.DNN_TARGET_MYRIAD)

# Read an image.替换成你的图片相对路径
frame = cv.imread('/path/to/image')
if frame is None:
    raise Exception('Image not found!')

# Prepare input blob and perform an inference.
blob = cv.dnn.blobFromImage(frame, size=(672, 384), ddepth=cv.CV_8U)
net.setInput(blob)
out = net.forward()

# Draw detected faces on the frame.
for detection in out.reshape(-1, 7):
    confidence = float(detection[2])
    xmin = int(detection[3] * frame.shape[1])
    ymin = int(detection[4] * frame.shape[0])
    xmax = int(detection[5] * frame.shape[1])
    ymax = int(detection[6] * frame.shape[0])

    if confidence > 0.5:
        cv.rectangle(frame, (xmin, ymin), (xmax, ymax), color=(0, 255, 0))

# Save the frame to an image file.
cv.imwrite('out.png', frame)
然后运行,一定要用python3,2没有OpenCV
还有一个细节要注意
如果你这样运行就会报错,说找不到xml文件(我被这个坑了好久emm)
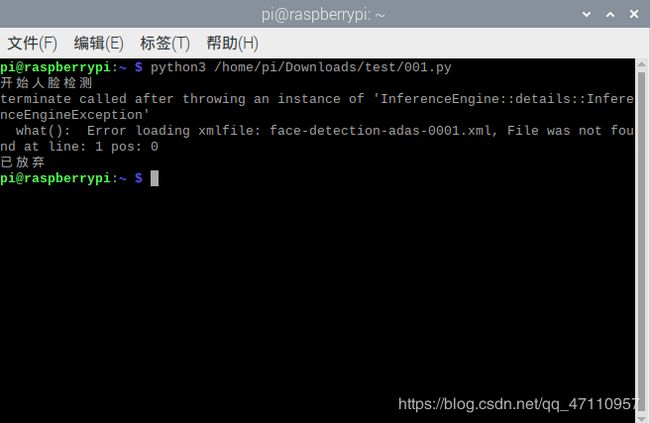
要先进到文件夹里面再运行

Nice!
8、使用其他模型
你可以去因特尔官网下载

点击“资源“就可以找到很多预训练模型,每个模型官方也都做了介绍
只需要把xml和bin文件下下来和前面示例一样的方式使用即可
如果不想只做物体检测可以编译其他文件(前面只编译了object_detection_sample_ssd)
//希望这能帮到你