Zynq-Linux移植学习笔记之20-Zynq linux can驱动开发
1、 硬件配置
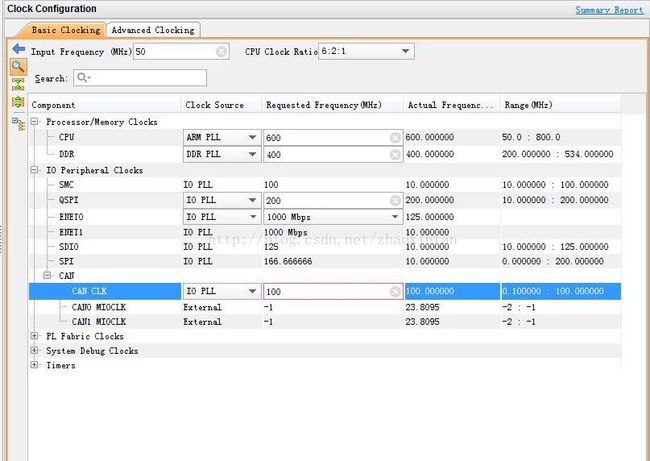
在vivado中选择启用ps端的can控制器,如下图
设置can总线的主频
2、 devicetree配置
在devicetree中需要增加can的配置信息,如下:
can@e0008000 {
                            compatible= "xlnx,zynq-can-1.0";
                            status= "okay";
                            clocks= <0x1 0x13 0x1 0x24>;
                            clock-names= "ref_clk", "aper_clk";
                            reg = <0xe00080000x1000>;
                            interrupts= <0x0 0x1c 0x4>;
                            interrupt-parent= <0x3>;
                            tx-fifo-depth= <0x40>;
                            rx-fifo-depth= <0x40>;
};
实际场景中只使用了can0,故devicetree中只配置can0即可。
3、 kernel配置
在kernel中需要增加can驱动的支持
编译内核即可。
4、 测试
加载镜像后,通过ifconfig –a能够看到can0的打印信息,如下:
设置can0的波特率,这里设置的是100k
>ip link set can0 type can bitrate100000
启用can0
>ip link set can0 up
显示can0状态信息
>ip -d -s link show can0
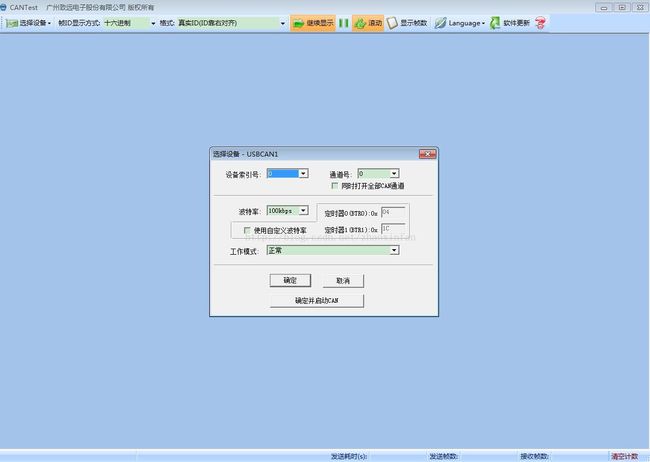
可以通过Cantest测试工具连接开发板进行发送包测试
选择与开发板can总线相同速率的波特率100k
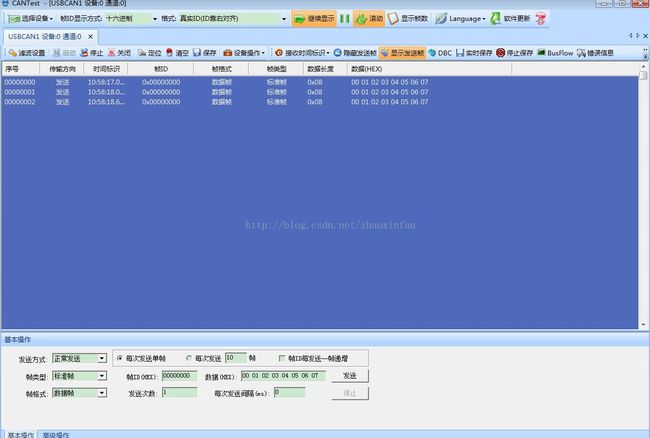
发送报文测试,发送成功
开发板上RX有相应的计数
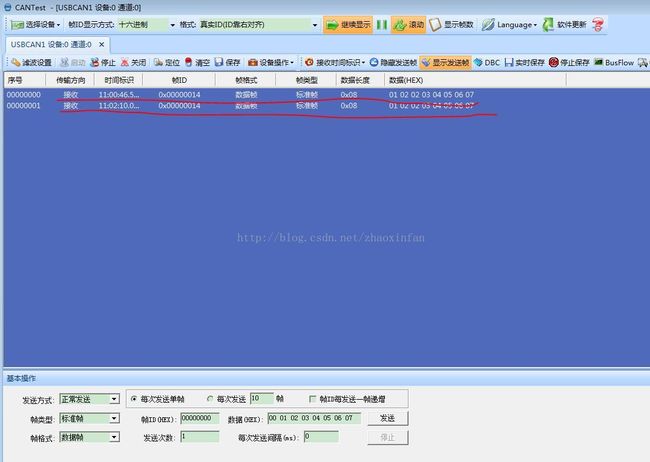
开发板使用cansend函数进行数据发送
收发正常,至此测试完成。
5、 相关函数
ifconfig -a
可以查到当前can网络can0 can1,包括收发包数量、是否有错误等等
//ip link set can0 type can--help
ip link set can0 up type canbitrate 800000
设置can0的波特率为800kbps,CAN网络波特率最大值为1Mbps
ip link set can0 up type canbitrate 800000 loopback on
设置回环模式,自发自收,用于测试是硬件是否正常,loopback不一定支持
ip link set can0 down
关闭can0 网络
cansend can0 0x11 0x22 0x33 0x440x55 0x66 0x77 0x88
发送默认ID为0x1的can标准帧,数据为0x11 22 33 44 55 66 77 88
每次最大8个byte
cansend can0 -i 0x800 0x11 0x220x33 0x44 0x55 0x66 0x77 0x88 -e
-e 表示扩展帧,CAN_ID最大29bit,标准帧CAN_ID最大11bit
-i表示CAN_ID
cansend can0 -i 0x02 0x11 0x12--loop=20
--loop 表示发送20个包
candump can0
接收CAN0数据
附:Xilinx官网上can操作命令
Usage For CAN
1. Set bit-timing
Can supports bitrates upto 1Mb/s. Xilinx CAN h/w and driver supports these bitrates
Note: Triple sampling is not supported by Xilinx CAN H/W.
$ ./ip link set can0 type can bitrate 200000
or
$ ./canconfig can0 bitrate 200000
2. Bring up the device
$ ./ip link set can0 up
or
$ ./canconfig can0 start
3. Bring down the device
$ ./ip link set can0 down
or
$ ./canconfig can0 stop
4. Transmit and receive packetswith standard id number
$ ./cansend can0 -i 0x14
$ ./candump can0
5. Transmit and receive packetswith extended id number (--loop argument here)
$ ./cansend can0 -i 0x333
$ ./candump can0
6. Loopback mode
$ ./canconfig can0 ctrlmode loopback on
7. Checking link state (checkingbitrate/errors/packets)
$ ./ip -d -s link show can0
8. Checking net device state
$ ifconfig can0
9. Getting statistics via proc
$ cat /proc/net/can/stats
10. Socket CAN core uses severalfilter lists to deliver received CAN frames to CAN protocol modules. These receivelists, their filters and the count of filter matches can be checked in theappropriate receive list. All entries contain the device and a protocol moduleidentifier:
$ cat /proc/net/can/rcvlist_all
rcvlist_all - list for unfiltered entries (no filter operations)
rcvlist_eff - list for single extended frame (EFF) entries
rcvlist_err - list for error message frames masks
rcvlist_fil - list for mask/value filters
rcvlist_inv - list for mask/value filters (inverse semantic)
rcvlist_sff - list for single standard frame (SFF) entries


