Ubuntu18.04安装集锦2(caffe,GPU版本)
主要参考文献:https://blog.csdn.net/CAU_Ayao/article/details/83536320
1、终端输入
sudo apt install caffe-cuda
这个语句能够在Ubuntu18.04上安装还caffe
但是安装的caffe不完善
2、安装依赖库
sudo apt-get install libprotobuf-dev libleveldb-dev libsnappy-dev libopencv-dev
sudo apt-get install libhdf5-serial-dev protobuf-compiler
sudo apt-get install --no-install-recommends libboost-all-dev
sudo apt-get install libopenblas-dev liblapack-dev libatlas-base-dev
sudo apt-get install libgflags-dev libgoogle-glog-dev liblmdb-dev
3、首先我们要从GitHub的远端下载caffe的源码
git clone https://github.com/BVLC/caffe.git
4、配置Makefile.config文件
cd caffe
sudo cp Makefile.config.example Makefile.config
sudo vim Makefile.config
进入Makefile.config后,点击 i 可以进行编辑,点击ESC退出,输入:wq 保存并退出
USE_CUDNN:= 1  (取消这行的注释)
OPENCV_VERSION :=3  (取消这行的注释)

BLAS:= atlas 注销, 换成 BLAS := open.
将 这两行删除掉      -gencode arch=compute_20,code=20 \
                                     -gencode arch=compute_21,code=sm_21 \
删除后剩余的部分是这样子的:
CUDA_ARCH := -gencode arch=compute_30,code=sm_30 \
                -gencode arch=compute_35,code=sm_35 \
                -gencode arch=compute_50,code=sm_50 \
                -gencode arch=compute_52,code=sm_52 \
                -gencode arch=compute_60,code=sm_60 \
                -gencode arch=compute_61,code=sm_61 \
                -gencode arch=compute_61,code=compute_61
将Python2环境注销,换成Anaconda3下的Python环境.
# NOTE: this is required only if you will compile the python interface.
# We need to be able to find Python.h and numpy/arrayobject.h.
#PYTHON_INCLUDE := /usr/include/python2.7 \      **(注释掉)**
                /usr/lib/python2.7/dist-packages/numpy/core/include
# Anaconda Python distribution is quite popular. Include path:
# Verify anaconda location, sometimes it's in root.
 ANACONDA_HOME := $(HOME)/anaconda3  **(去掉注释,设置为anaconda3)**
 PYTHON_INCLUDE := $(ANACONDA_HOME)/include \             **(去掉注释,设置为自己的python3.7)**
                $(ANACONDA_HOME)/include/python3.7m \                **(去掉注释,设置为自己的python3.7)**
                $(ANACONDA_HOME)/lib/python3.7/site-packages/numpy/core/include (**去掉注释,设置为自己的python3.7)**
# Uncomment to use Python 3 (default is Python 2)
 PYTHON_LIBRARIES := boost_python3 python3.7m   (去掉注释,设置为自己的python)
# PYTHON_INCLUDE := /usr/include/python3.5m \
#                 /usr/lib/python3.5/dist-packages/numpy/core/include

# We need to be able to find libpythonX.X.so or .dylib.
#PYTHON_LIB := /usr/lib   (加上注释)
PYTHON_LIB := $(ANACONDA_HOME)/lib (去掉注释)
若要使用python来编写layer,则将#WITH_PYTHON_LAYER := 1取消注释.
将以下两句后边加上东西
INCLUDE_DIRS := $(PYTHON_INCLUDE) /usr/local/include
LIBRARY_DIRS := $(PYTHON_LIB) /usr/local/lib /usr/lib
修改后为如下
INCLUDE_DIRS := $(PYTHON_INCLUDE) /usr/local/include /usr/include/hdf5/serial
LIBRARY_DIRS := $(PYTHON_LIB) /usr/local/lib /usr/lib /usr/lib/x86_64-linux-gnu /usr/lib/x86_64-linux-gnu/hdf5/serial
OK啦~ vim命令行中输入:wq,可以保存并退出
5、配置Makefile文件
sudo vim Makefile
按 i 开始编辑
PYTHON_LIBRARIES ?= boost_python python2.7
修改为:
PYTHON_LIBRARIES ?= boost_python-py3 python3.7m
NVCCFLAGS +=-ccbin=$(CXX) -Xcompiler-fPIC $(COMMON_FLAGS)
修改为:
NVCCFLAGS += -D_FORCE_INLINES -ccbin=$(CXX) -Xcompiler -fPIC $(COMMON_FLAGS)
将:
LIBRARIES += glog gflags protobuf boost_system boost_filesystem m hdf5_hl hdf5
改为:
LIBRARIES += glog gflags protobuf boost_system boost_filesystem m hdf5_serial_hl hdf5_serial
这个我的不太一样,我的原本的就没有hdf5_hl hdf5,所以我就直接换成hdf5_serial_hl hdf5_serial,但是在下边将有hdf5_hl hdf5这个换成了hdf5_serial_hl hdf5_serial
OK啦~ vim命令行中输入:wq,可以保存并退出
6、Caffe源码中安装Python的必要项
cd /home/li.guangyao/Programming/caffe/python
pip install --upgrade python-dateutil
for req in $(cat requirements.txt); do pip install $req; done
这里要是出现如下错误
pandas 0.22.0 has requirement python-dateutil>=2, but you'll have python-dateutil 1.5 which is incompatible.
matplotlib 2.1.2 has requirement python-dateutil>=2.1, but you'll have python-dateutil 1.5 which is incompatible.
jupyter-client 5.2.2 has requirement python-dateutil>=2.1, but you'll have python-dateutil 1.5 which is incompatible.
bokeh 0.12.13 has requirement python-dateutil>=2.1, but you'll have python-dateutil 1.5 which is incompatible.
anaconda-client 1.6.9 has requirement python-dateutil>=2.6.1, but you'll have python-dateutil 1.5 which is incompatible.
则https://blog.csdn.net/CAU_Ayao/article/details/83538024按照这个修改一下重新执行for req in $(cat requirements.txt); do pip install $req; done结果图如下:

7、编译caffe
cd /home/luming/caffe
sudo make clean
sudo make all -j16 		//-j16表示使用16核处理器执行当前指令
结果图如下,这个过程我刚开始安装遇到过很多错误,在网上找找也会有答案,但最后一次重新安装可能按照之前顺序来的,make的很顺利,遇到错误别灰心,多来几次,哈哈哈哈哈

(1)这里有个问题,如果遇到以下错误:/usr/bin/ld: 找不到 -lboost_python3
CXX examples/cifar10/convert_cifar_data.cpp
AR -o .build_release/lib/libcaffe.a
LD -o .build_release/lib/libcaffe.so.1.0.0
/usr/bin/ld: 找不到 -lboost_python3
collect2: error: ld returned 1 exit status
Makefile:585: recipe for target '.build_release/lib/libcaffe.so.1.0.0' failed
make: *** [.build_release/lib/libcaffe.so.1.0.0] Error 1
可以参考https://blog.csdn.net/u012505617/article/details/88556621
https://blog.csdn.net/bodybo/article/details/79962814两个文字的内容结合
(2)在编译caffe时,遇到以下问题:
/usr/local/lib/libopencv_imgcodecs.so.3.2.0: undefined reference to `TIFFReadDirectory@LIBTIFF_4.0'
/usr/local/lib/libopencv_imgcodecs.so.3.2.0: undefined reference to `TIFFWriteEncodedStrip@LIBTIFF_4.0'
可以参考https://blog.csdn.net/qiqzhang/article/details/83051203(亲测)
sudo make test -j16
结果如下:
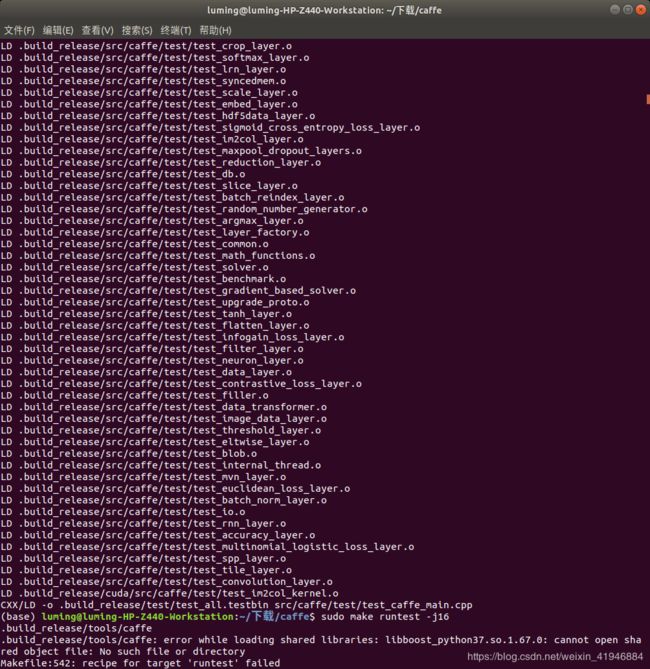
sudo make runtest -j16
如果遇到.build_release/tools/caffe
.build_release/tools/caffe: error while loading shared libraries: libhdf5_hl.so.100: cannot open shared object file: No such file or directory
Makefile:545: recipe for target ‘runtest’ failed
make: *** [runtest] Error 127
参照https://blog.csdn.net/CAU_Ayao/article/details/83538794完美解决
结果如下:

sudo make pycaffe -j16 		//配置pycaffe
vim ~/.bashrc
export PYTHONPATH=~/Programming/caffe/python:$PYTHONPATH
source ~/.bashrc
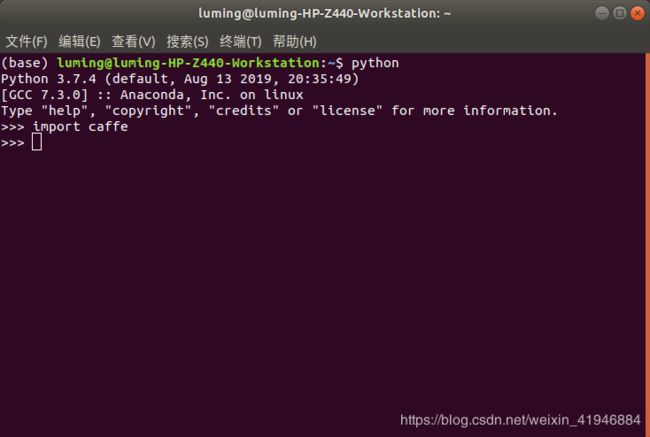
8、测试是否成功
import caffe