通过SDK的方式调用百度API
from aip import AipFace
import base64
import pprint
import cv2
import matplotlib.pyplot as plt
'''''
实例化一个人脸检测对象,即创建AipFace(AipFace是人脸识别的Python SDK客户端,为使用人脸识别的开发人员提供了一系列的交互方法)
APP_ID、APP_KEY、SECRET_KEY在百度AI中创建应用所对应的ID
网址:https://ai.baidu.com/tech/face/detect
'''''
APP_ID  = '修改为自己所使用的的ID'
APP_KEY = '修改为自己所使用的的ID'
SECRET_KEY = '修改为自己所使用的的ID'
client = AipFace(APP_ID,APP_KEY,SECRET_KEY)
'''''
人脸检测:检测图片中的人脸返回人脸参数:有定位到人脸位置的信息 年龄 表情等参数
返回的信息是文字,尚未图像化
'''''
#以二进制方式读取一张图片
with open("待识别的图片",'rb') as f:
    img_jpg = f.read()
    img64 = base64.b64encode(img_jpg).decode()  #base64编码
    imgType = 'BASE64'

    # options为可选参数
    # 参数设置参考 https://cloud.baidu.com/doc/FACE/s/ek37c1qiz
    options = {}
    #引号中的参数可以改为“age,beauty,expression,face_shape,gender,
    glasses,landmark,landmark72,landmark150,race,quality,eye_status,
    emotion,face_type” 这里选取的是beauty
    options['face_field'] = 'beauty'
    options['max_face_num'] = 6  #最大检测到的人脸数  随意设置

    content = client.detect(img64,imgType,options)
    #此行可以看见返回的参数,可以注释掉, 也可以取消注释
    pprint.pprint(content)

#用opencv的方式读取图片
img_open = cv2.imread('自己所检测的图片')

'''''
通过之前人脸检测返回的各种参数  找到其中的位置参数
有了位置参数便可以利用opencv画矩形框
也可以利用你自己返回的参数,来添加你想要表达的信息,比如年龄等
'''''
if content['error_code'] == 0:
    result = content['result']
    for face in result['face_list']:
        if face['face_probability'] > 0.8:
            loc = face['location']
            #获取人脸框的坐标
            pt1 = (int(loc['left']),int(loc['top']))
            pt2 = (int(loc['left'] + loc['width']),int(loc['top'] + loc['height']))
    #画边框
    cv2.rectangle(img_open,pt1,pt2,(255,0,0),2)
    #画 expression 和  beauty
    cv2.putText(img_open,"{}".format(face['beauty']),(pt1[0],pt1[1] - 10),
                fontFace=cv2.FONT_HERSHEY_SIMPLEX,fontScale=0.5,color=(255,0,0),thickness=2)
    if face['beauty'] >60:
    cv2.putText(img_open,'mei',(pt1[0]+45,pt1[1]-15),cv2.FONT_HERSHEY_SIMPLEX,1,(255,0,0),2)
else:
    cv2.putText(img_open, 'chou', (pt1[0]+45, pt1[1]-15), cv2.FONT_HERSHEY_SIMPLEX,1, (255, 0, 0), 2)
    plt.figure(figsize=(10,8), dpi=100)
    plt.imshow(img_open)
    plt.axis('off')
    plt.show()
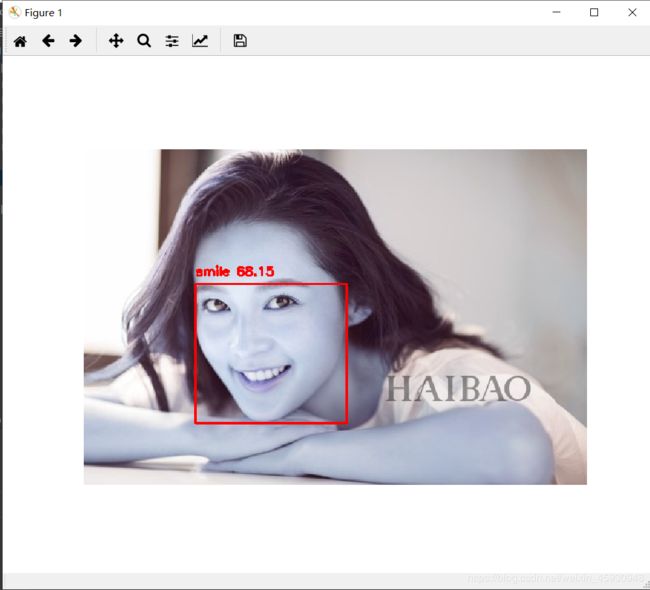
检测结果如下图:

