1.pom文件探究
为什么我的项目中没有导入任何有关web的包,程序就能跑起来呢?
其实是springboot帮我们导入了所有关于web项目所需要的jar包依赖
让我们来从源码看看吧!
首先打开我们的pom.xml文件,找到父项目.
接着点进去我们可以看到它又依赖一个父项目 spring-boot-dependencies这个依赖
spring-boot-dependencies这个是真正管理springboot里面所有版本依赖也称为 SpringBoot的版本仲裁中心.
接着我们点进去spring-boot-dependencies
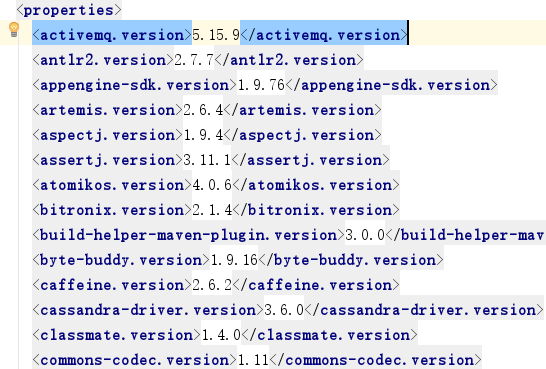
我们点进去后发现了一个 properties的标签里面放着的就是springBoot所需要的所有jar包.
以后我们导入的依赖是默认不用写版本号的(当然dependencies中没有的我们是需要声明版本的)
接着我们在pom文件中看到了spring-boot-starter-web这个依赖是什么呢?
      <dependencies>
        <dependency>
            <groupId>org.springframework.bootgroupId>
            <artifactId>spring-boot-starter-webartifactId>
        dependency>
它就是springBoot的场景启动器帮助我们导入web开发相关的所有Jar包.
2.主程序类,入口探究
@SpringBootApplication
public class DemoApplication {

    public static void main(String[] args) {


        SpringApplication.run(DemoApplication.class, args);
    }

}
注解SpringBootApplication标注在某个类上这说明是springboot的主程序类,springboot就应该运行在这个类上启动springboot项目.
我们点进去个注解可以看到:
SpringBootConfiguration
@EnableAutoConfiguration
@ComponentScan(excludeFilters = {@org.springframework.context.annotation.ComponentScan.Filter(type = org.springframework.context.annotation.FilterType.CUSTOM, classes = {org.springframework.boot.context.TypeExcludeFilter.class}), @org.springframework.context.annotation.ComponentScan.Filter(type = org.springframework.context.annotation.FilterType.CUSTOM, classes = {org.springframework.boot.autoconfigure.AutoConfigurationExcludeFilter.class})})
public @interface SpringBootApplication {

}
它是一个组合注解,包括SpringBootConfiguration,EnableAutoConfiguration,ComponentScan大体这么三个注解配置.
其中SpringBootConfiguration表示的是:springBoot的配置类,配置类也是容器中的一个组件.
接着我们点进去EnableAutoConfiguration注解中看一看,它是开启springBoot的自动配置功能.EnableAutoConfiguration告诉springBoot开启自动配置,这样自动配置才能生效.
接着我们在点进去EnableAutoConfiguration这个注解中可以看到
@org.springframework.boot.autoconfigure.AutoConfigurationPackage
@org.springframework.context.annotation.Import({org.springframework.boot.autoconfigure.AutoConfigurationImportSelector.class})
public @interface EnableAutoConfiguration {
}
它也是一个组合注解,AutoConfigurationPackage自动配置包,继续点进去我们可以看到
@Import(AutoConfigurationPackages.Registrar.class)
public @interface AutoConfigurationPackage {

}
Import这个注解就是springboot的底层注解了,我们继续点进去Registrar注册可以看到
static class Registrar implements ImportBeanDefinitionRegistrar, DeterminableImports { @Override public void registerBeanDefinitions(AnnotationMetadata metadata, BeanDefinitionRegistry registry) { register(registry, new PackageImport(metadata).getPackageName()); } @Override public Set
它的意思就是给容器中spring的容器中添加一些组件.添加的这个组件是什么呢?
就是new PackageImport(metadata)我们可以开启debug模式查看,其实就是这个注解,主配置类它的包及其它的自包下的所有组件扫描到spring的容器中.
AutoConfigurationImportSelector这个注解就是给容器中导入自动配置的类.
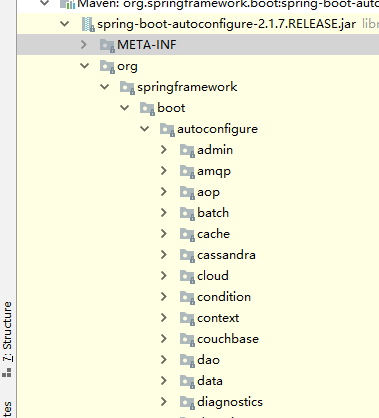
他会在MEAT-ING下将我们自动配置的类导入,这样就实现了自动配置我们就不需要在自动配置了.


