近日研究了下React-Native,一路走来真是!!!全是眼泪啊!!! 记录下走过的坑,现在把填坑方法送给大家,如果有别的问题,还请多多探讨,多多指教!
1.集成,集成我就不多说了,网上多的是我是参考这位作者的,很全面,就是有点老,要说咱就说点不一样的,首先遇到的第一个坑,创建React-Native项目语句:
//创建RN项目
react-native init NewDemo

// 创建指定RN版本的项目
react-native init NewDemo --verbose --version 0.47.0
做为一个iOS开发,我选择的是原生项目集成ReactNative,所以创建这个项目只为为了拿到他的package.josn
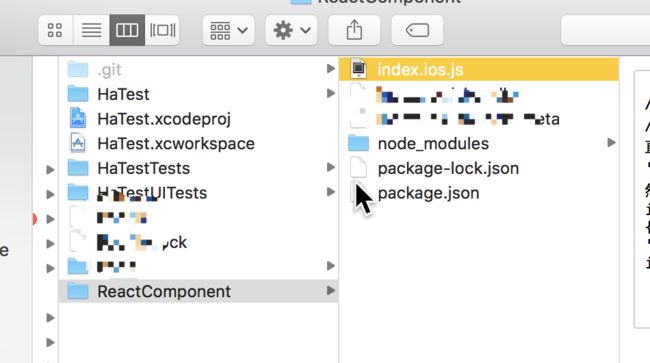
创建iOS项目之后 我是这么做的(打码的地方是后来的步骤,不能剧透!)
创建package.json文件,文件内容如下:name对应项目名!!!!
{
    "name": "HaTest",
    "version": "0.0.1",
    "private": true,
    "scripts": {
        "start": "node node_modules/react-native/local-cli/cli.js start",
        "test": "jest"
    },
    "dependencies": {
        "react": "16.0.0-alpha.12",
        "react-native": "0.47.0"
    },
    "devDependencies": {
        "babel-jest": "22.0.4",
        "babel-preset-react-native": "4.0.0",
        "jest": "22.0.5",
        "react-test-renderer": "16.0.0-alpha.12"
    },
    "jest": {
        "preset": "react-native"
    }
}
接下来安装React Native依赖包
在ReactComponent目录下运行命令行:
npm install
然后复制RN项目中的index.ios.js到ReactComponent目录下
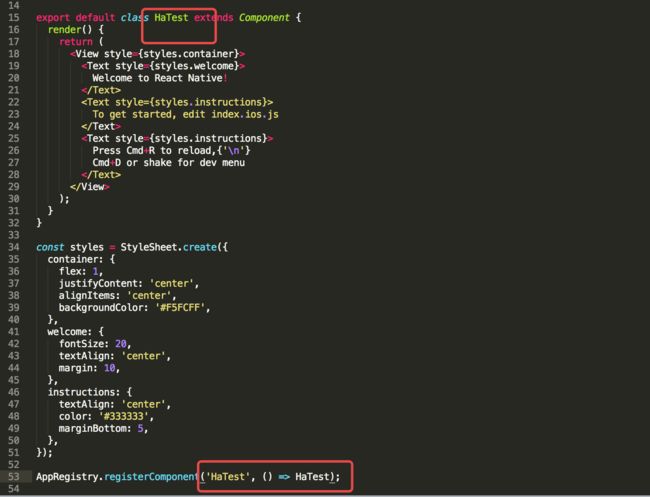
其中要注意的是!!!
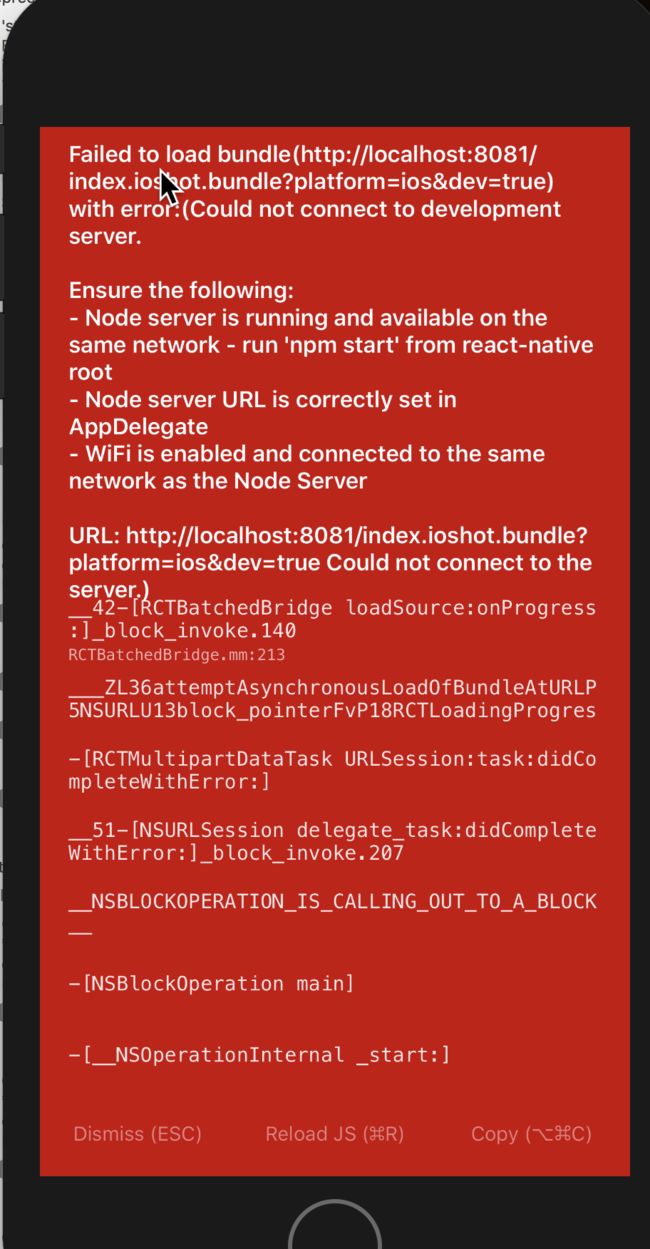
这三个位置一定要和项目名相同,本人最开始大意了,下面两个相同而忽略了上面那个,导致报错,报错截图就不上了,注意就行!
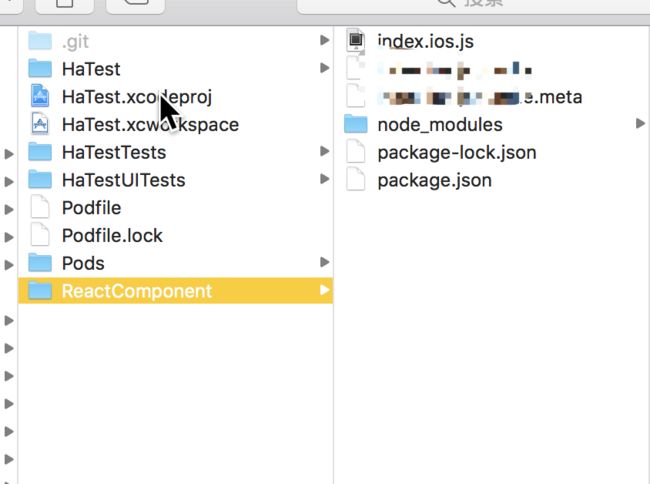
下一步则是要根目录下创建Podfile
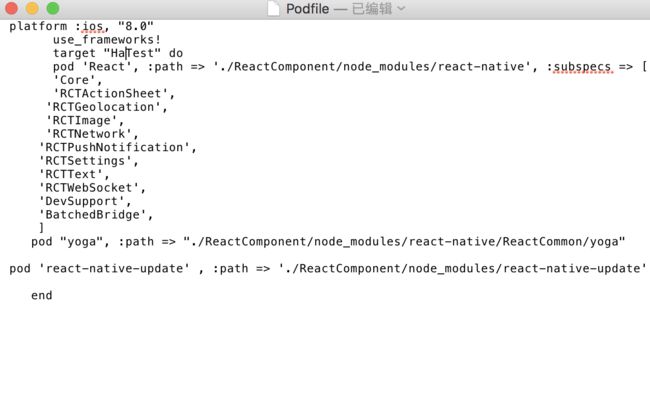
Podfile文件内容为
 platform :ios, "8.0"
       use_frameworks!
       target "HaTest" do
       pod 'React', :path => './ReactComponent/node_modules/react-native', :subspecs => [
       'Core',
       'RCTActionSheet',
      'RCTGeolocation',
      'RCTImage',
      'RCTNetwork',
     'RCTPushNotification',
     'RCTSettings',
     'RCTText',
     'RCTWebSocket',
     'DevSupport',
     'BatchedBridge',
     ]
    pod "Yoga", :path => "./ReactComponent/node_modules/react-native/ReactCommon/yoga"
    end
这是最最最正确的,这其中我走的两个坑
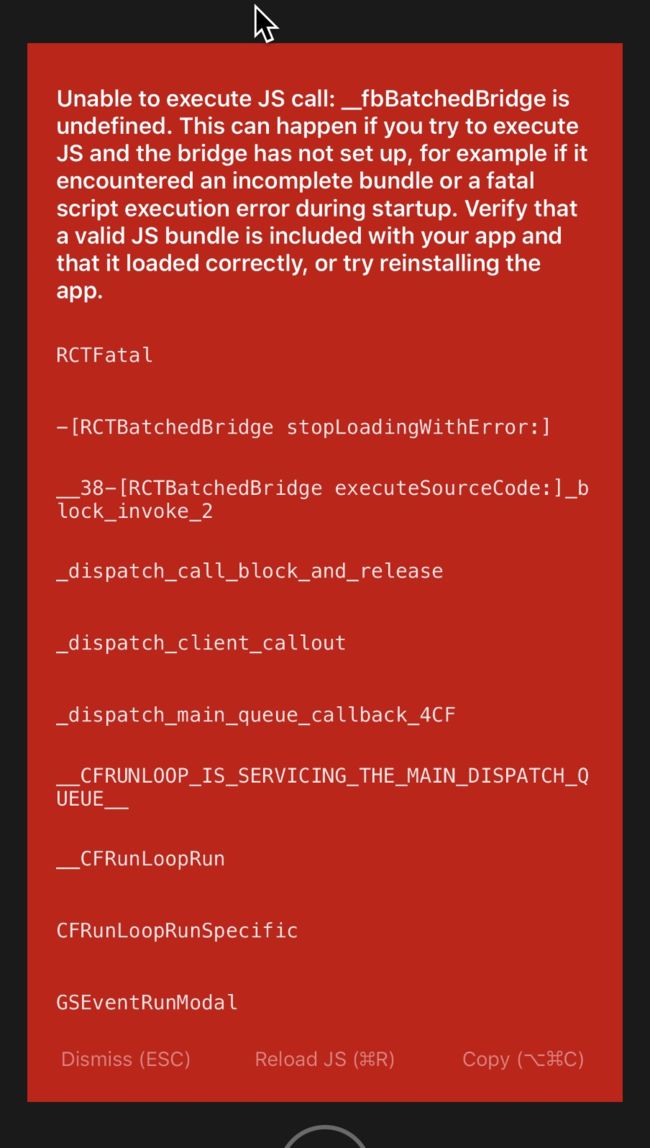
1.没有BatchedBridge 如果没有BatchedBridge会报错#import
下面就要开始撸代码了奥!
info.plist配置
//加载RN界面
    //真机  注意ip地址
    //    NSString * strUrl = @"http://192.168.0.122:8081/index.ios.bundle?platform=ios&dev=true";
    //本地
        NSString * strUrl = @"http://localhost:8081/index.ios.bundle?platform=ios&dev=true";

// props  为字典 给index.ios.js 传值,必须是字典
    NSURL * jsCodeLocation = [NSURL URLWithString:strUrl];

    RCTRootView * rootView = [[RCTRootView alloc] initWithBundleURL:jsCodeLocation
                                                         moduleName:@"HaTest"
                                                  initialProperties:props
                                                      launchOptions:nil];

    self.view = rootView;
其中跑真机要电脑和手机联同一个wifi下 ,在运行项目前,cd到ReactComponent目录 执行react-native start
下面是一丢丢js的代码
import React, { Component } from 'react';
import {
  AppRegistry,
  StyleSheet,
  View,
  Image,
  ListView,
  Text,
} from 'react-native';

class HaTest extends Component {


  constructor(props) {
    super(props);
    var ds = new ListView.DataSource({rowHasChanged: (r1, r2) => r1 !== r2});
    this.state = {
      dataSource: ds.cloneWithRows(this.props.advert),
    };
  }


  render() {
    return (


      )

  }
 _renderRow(rowData, sectionid, rowid) {
    return (


      rowData.title


      );
}


  }


  const styles = StyleSheet.create({
    container: {   //根View样式
      marginTop:64,
      flex: 1,
        // justifyContent: 'center',
        // alignItems: 'center',

        backgroundColor: '#63BAE0'
      },
      imageeee:{
        width:100,
        height:100,
        alignItems: 'center',
      },
      itemLayout:{
   flex:1,
   alignItems:'center',
   justifyContent:'center',

   borderColor: '#eaeaea'
 },
    });


AppRegistry.registerComponent('HaTest', () => HaTest);
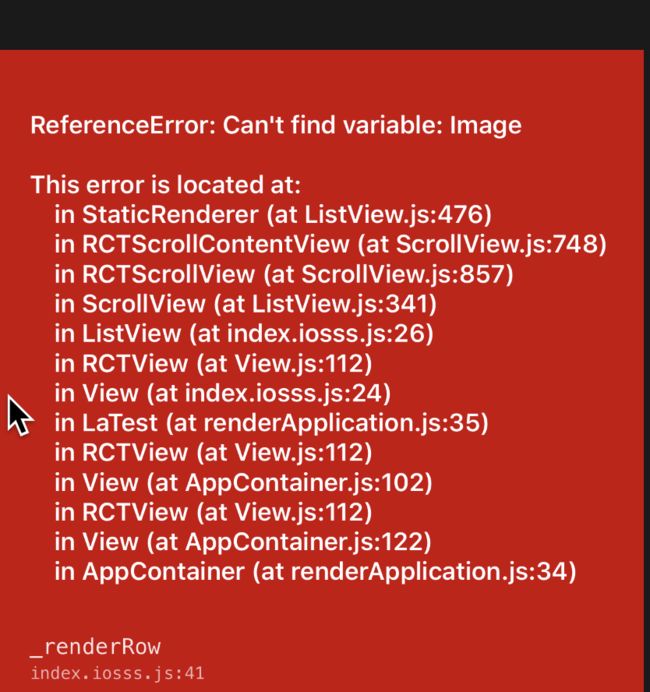
上面是一段ListView的代码,iOS叫TableView,其中需要注意的是 比如我想添加图片 则一定要
  AppRegistry,
  StyleSheet,
  View,
  Image,
  ListView,
  Text,
} from 'react-native';
你会看见可恶的红色,如果加载图片,有的图片能够加载出来,有的加载不出来,看info.plist中的App Transport Security Settings不要有Allow Arbitrary Loads in Web Content这个字段,我就是不小心添加了,所以在加载图片链接时,图片经常加载不出来
下面在来说下热更新和打包,
,正确的做法是将index.ios.jsbundle打包成压缩包,然后下载压缩包,解压文件,就可以啦,下面说打包的方法
cd到ReactComponent目录
react-native bundle --entry-file index.ios.js  --bundle-output index.ios.jsbundle --platform ios --dev false --assets-dest
// entry-file 打包的文件名  bundle-output  输出的名字
打包之后
这个index.ios.jsbundle放在项目中加载则
NSURL * jsCodeLocation = [NSURL URLWithString:[[NSBundle mainBundle] pathForResource:@"index.ios.jsbundle" ofType:nil]];
基本上就是这些内容啦,其中代码和交互部分我还在研究,暂时先不写上,以免误人子弟!
还有一点是集成pushy热更官网链接 写的很详细,但是到第三步配置Bundle URL(iOS)时,找不到RCTHotUpdate.h的解决方法,参考文章
终端cd到node_modules->react-native-update路径下,执行touch react-native-update.podspec
在react-native-update.podspec这个文件中编辑
require "json"
package = JSON.parse(File.read(File.join(__dir__, "package.json")))
Pod::Spec.new do |s|
s.name = "react-native-update"
s.version = package["version"]
s.summary = "hot update for react-native"
s.author = "author (https://github.com/reactnativecn)"
s.homepage = "https://github.com/reactnativecn/react-native-pushy"
s.license = "MIT"
s.platform = :ios, "7.0"
s.source = { :git => "https://github.com/reactnativecn/react-native-pushy.git", :tag => "#{s.version}" }
s.source_files = "ios/**/*.{h,m,c}"
s.libraries = "bz2"
s.dependency "React"
end
然后在项目主Podfile添加
pod 'react-native-update' , :path => './node_modules/react-native-update'
不过我还是没意识到pushy的热更有什么用,虽然集成了,但是还没有应用,希望知道的人可以告诉下

