QT5创建应用程序插件
主机环境:Windows XP
QT版本:QT5.3.2
本文主要是根据Qt Creator快速入门中9.3.2创建应用程序插件一节,文中是基于Qt4来编写的,我这里是用Qt5,有一点点区别,在此记录下,以便查找。
创建应用程序通过插件扩展一般分为以下几步:
1. 定义接口类,提供功能函数(纯虚函数)
2. 使用Q_DECLARE_INTERFACE()宏来声明该接口
3. 在应用程序中使用QPluginLoader来加载插件
4. 使用qobject_cast()来测试插件是否实现了给定的接口
创建插件一般分为以下几步:
1. 定义插件类继承QOBJECT类和所需接口类
2. 使用Q_INTERFACES()宏来告诉meta-object system有关该接口
3. 使用Q_PLUGIN_METADATA()宏来导出该插件
4. 构建该插件
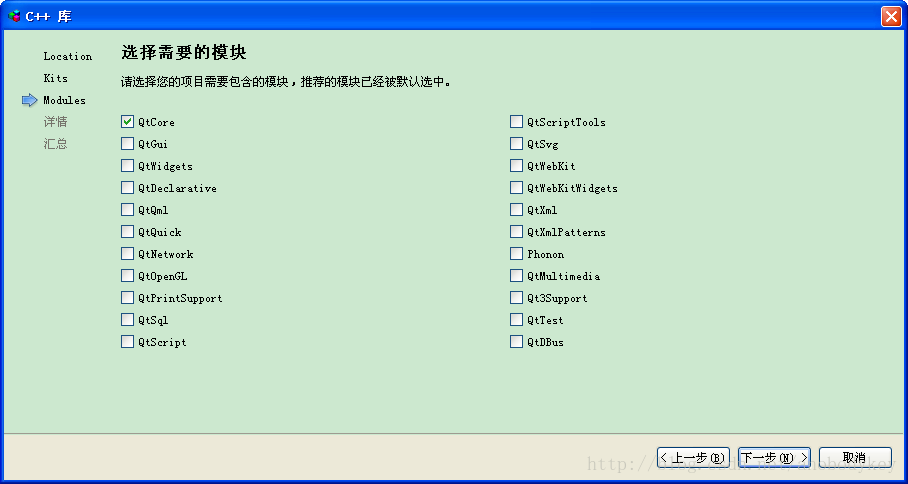
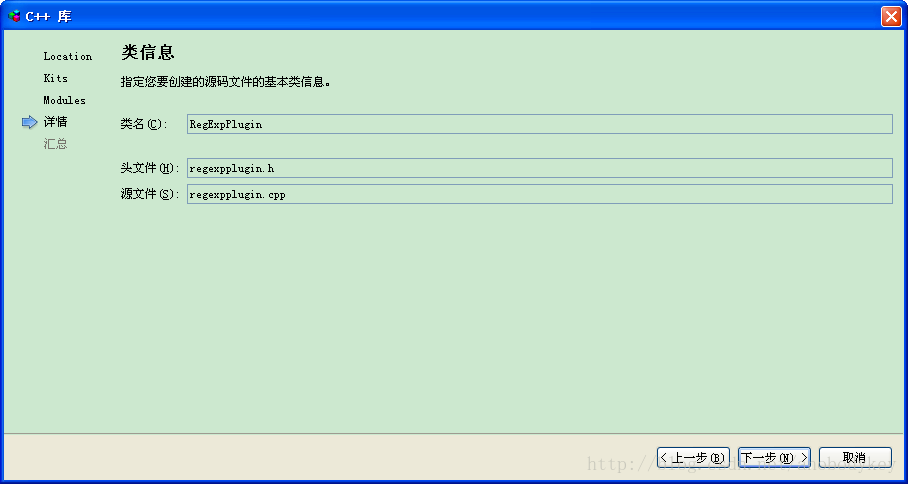
首先先创建插件工程,新建一个共享库工程,工程名称为plugin,类名为RegExpPlugin,如下
接着增加一个C++头文件声明接口,代码如下
#ifndef REGEXPINTERFACE_H
#define REGEXPINTERFACE_H

#include

#define RegExpInterface_iid "anobodykey.RegExpInterface/1.0"
//声明纯虚函数的一般形式是 virtual 函数类型 函数名 (参数表列) =0;
class RegExpInterface
{
public:
    virtual ~RegExpInterface(){}
    virtual QString regexp(const QString &message)=0;
};
Q_DECLARE_INTERFACE(RegExpInterface, RegExpInterface_iid)
#endif // REGEXPINTERFACE_H
插件头文件以及源代码如下
头文件:
#ifndef REGEXPPLUGIN_H
#define REGEXPPLUGIN_H

#include "plugin_global.h"
#include
#include "regexpinterface.h"

class PLUGINSHARED_EXPORT RegExpPlugin :public QObject,RegExpInterface
{
    Q_OBJECT
    Q_PLUGIN_METADATA(IID "anobodykey.RegExpInterface/1.0" FILE "regexpplugin.json")
    Q_INTERFACES(RegExpInterface)
public:
    RegExpPlugin();
    QString regexp(const QString &message);
};

#endif // REGEXPPLUGIN_H
源代码文件:
#include "regexpplugin.h"
#include
#include

RegExpPlugin::RegExpPlugin()
{
}
QString RegExpPlugin::regexp(const QString &message)
{
    QRegExp rx("\\d+");
    rx.indexIn(message);
    QString str = rx.cap(0);
    return str;
}
修改pro文件修改TARGET为regexpplugin,不修改也行,但为了与原文一直,SO。。。如下
#-------------------------------------------------
#
# Project created by QtCreator 2014-10-24T17:19:41
#
#-------------------------------------------------

QT       -= gui

TARGET = regexpplugin
TEMPLATE = lib

DEFINES += PLUGIN_LIBRARY

SOURCES += regexpplugin.cpp

HEADERS += regexpplugin.h\
        plugin_global.h \
    regexpinterface.h

unix {
    target.path = /usr/lib
    INSTALLS += target
}
最后在plugin目下下创建regexpplugin.json文件,内容如下:
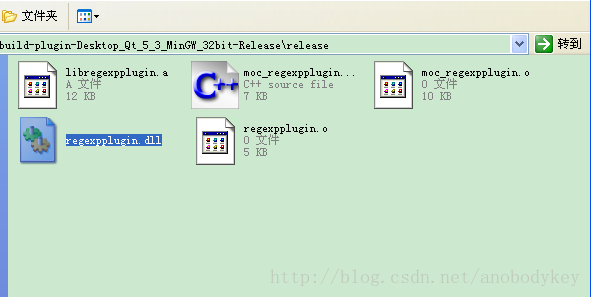
{"keys":["regexpplugin"]}构建该工程生成regexpplugin.dll文件,如下
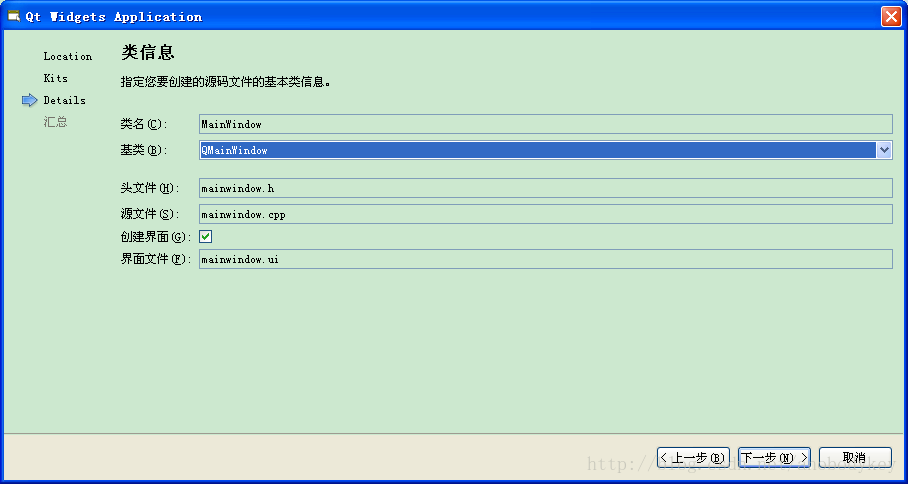
下面创建应用工程,新建一个Qt Widgets Application,名称为window,基类为MainWindow,默认即可。
为了方便把前面的regexpinterface.h接口头文件拷贝到window目下,修改mainwindow.h文件如下
#ifndef MAINWINDOW_H
#define MAINWINDOW_H

#include
#include "regexpinterface.h"

namespace Ui {
class MainWindow;
}

class MainWindow : public QMainWindow
{
    Q_OBJECT

public:
    explicit MainWindow(QWidget *parent = 0);
    ~MainWindow();

private slots:
    void on_pushButton_clicked();

private:
    Ui::MainWindow *ui;
    RegExpInterface *regExpInterface;
    bool loadPlugin();
};

#endif // MAINWINDOW_H
mainwindow.cpp文件如下
#include "mainwindow.h"
#include "ui_mainwindow.h"
#include
#include
#include
#include


MainWindow::MainWindow(QWidget *parent) :
    QMainWindow(parent),
    ui(new Ui::MainWindow)
{
    ui->setupUi(this);
    if(!loadPlugin())
    {
        //如果无法加载插件
        QMessageBox::information(this,"Error","Could not load the plugin");
        ui->lineEdit->setEnabled(false);
        ui->pushButton->setEnabled(false);
    }
}

MainWindow::~MainWindow()
{
    delete ui;
}
bool MainWindow::loadPlugin()
{
    QDir pluginsDir("./");

    //遍历插件目录
    foreach (QString fileName, pluginsDir.entryList(QDir::Files)) {
        qDebug()<(plugin);
            if(regExpInterface)
            {
                qDebug()<<"fint the plugin";
                return true;
            }
        }
        qDebug()<<"isn't the plugin";
    }
    return false;
}

void MainWindow::on_pushButton_clicked()
{
    QString str = regExpInterface->regexp(ui->lineEdit->text());
    ui->labNum->setText(str);
}
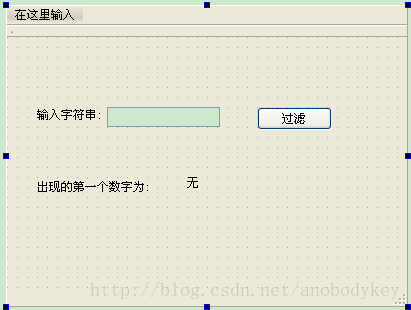
ui界面参考文中ui即可,如下
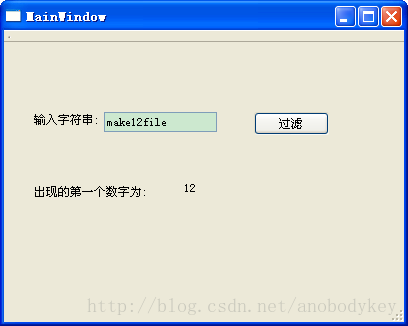
构建该工程,并把前面的热个小屁plugin.dll文件拷贝到release路径下,运行应用程序。结果如下
运行正常。
PS:两个工程都是构建的release版本
参考文献:Qt Creator 快速入门
参考链接:http://qt-project.org/doc/qt-5/plugins-howto.html

