1. 创建类库项目
你可以使用现有的 .NET 类库项目用于要打包的代码,或者创建一个简单的项目,.NET CORE 2.1 项目的 类库如下所示:
NugetDemo.class
using System;

namespace NugetTest
{
    public class NugetDemo
    {
        public static String ReturnInfo()
        {
            return "生成自己的安装包";
        }

    }
}
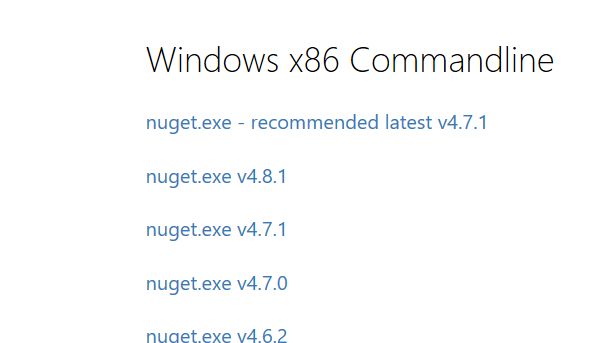
2:下载NuGet.exe
使用之前,需要先下载NuGet.exe, 设置机器的PATH环境变量,将其NuGet.exe的路径添加到PATH变量中。我放在D:\system下,所以路径为D:\system
https://www.nuget.org/downloads
选择版本即可
4 打开 类库项目文件 NugetTest.AssemblyInfo.cs
然后打开AssemblyInfo.cs文件 NugetTest.AssemblyInfo.cs,将assembly的属性设置好,记得再设置一下AssemblyVersion特性,以指定我们类库的版本。
using System;
using System.Reflection;
using System.Runtime.InteropServices;

[assembly: System.Reflection.AssemblyCompanyAttribute("Cloud")]
[assembly: System.Reflection.AssemblyConfigurationAttribute("Debug")]
[assembly: System.Reflection.AssemblyDescriptionAttribute("在线引用包")]
[assembly: System.Reflection.AssemblyFileVersionAttribute("1.0.0.0")]
[assembly: System.Reflection.AssemblyInformationalVersionAttribute("1.0.0")]
[assembly: System.Reflection.AssemblyProductAttribute("Cloud")]
[assembly: System.Reflection.AssemblyTitleAttribute("NugetTest")]
[assembly: System.Reflection.AssemblyVersionAttribute("1.0.0.0")]

[assembly: System.Runtime.InteropServices.ComVisible(false)]

[assembly: Guid("20182b9f-91de-4515-9c8c-ced3d61589e1")]

// 由 MSBuild WriteCodeFragment 类生成。
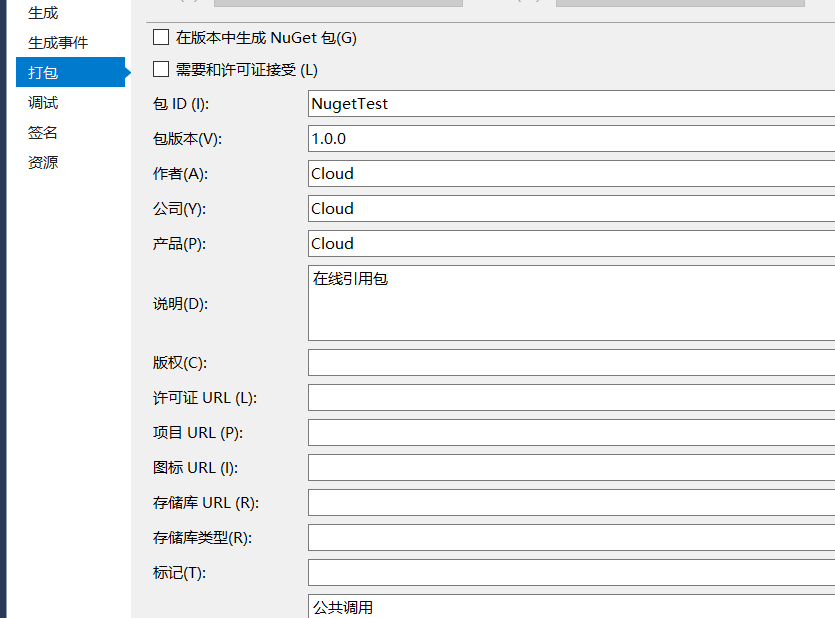
其实也可以在 项目属性中设置
通过CMD命令 执行
5 产生并修改nuspec
nuspec是NuGet将项目打包成nupkg的输入文件,可以通过nuget spec命令产生。在命令提示符下,进入NugetTest.csproj文件所在目录,然后执行:
类库项目目录就是自己项目存放的路径地址
执行 nuget spec
生成的文件如下:
![]()
C:\Users\>cd C:\Users\Desktop\NugetTest\NugetTest
C:\Users\Desktop\NugetTest\NugetTest>nuget spec
已成功创建“NugetTest.nuspec”。
用记事本打开NugetTest.nuspec文件,注意里面的$xxx$宏,这些就是引用了AssemblyInfo.cs中的设置值,在编译产生package的时候,会使用AssemblyInfo.cs中的相应值进行替换。完成编辑后,我们的nuspec文件如下:
xml version="1.0"?>
<package >
  <metadata>
    <id>$id$id>
    <version>$version$version>
    <title>$title$title>
    <authors>Northauthors>
    <owners>$author$owners>
    <licenseUrl>http://LICENSE_URL_HERE_OR_DELETE_THIS_LINElicenseUrl>
    <projectUrl>http://PROJECT_URL_HERE_OR_DELETE_THIS_LINEprojectUrl>
    <iconUrl>http://ICON_URL_HERE_OR_DELETE_THIS_LINEiconUrl>
    <requireLicenseAcceptance>falserequireLicenseAcceptance>
    <description>$description$description>
    <copyright>Copyright 2018copyright>
  metadata>
package>
不需要的节点去掉即可 以免下面执行 会有警告错误信息
6.产生类库包(Library Package)
在NugetTest.csproj的路径下,使用下面的命令产生类库包:
nuget pack NugetTest.csproj
C:\Users\Desktop\NugetTest\NugetTest>nuget pack NugetTest.csproj
正在尝试从“NugetTest.csproj”生成程序包。
MSBuild auto-detection: using msbuild version '15.8.169.51996' from 'C:\Program Files (x86)\Microsoft Visual Studio\2017\Enterprise\MSBuild\15.0\bin'.
正在打包“C:\Users\Desktop\NugetTest\NugetTest\bin\Debug\netcoreapp2.1”中的文件。
正在对元数据使用“NugetTest.nuspec”。
Successfully created package 'C:\Users\Desktop\NugetTest\NugetTest\NugetTest.1.0.0.nupkg'.
生成文件:
![]()
7.这样就完整的生成一个类库包 把这个包改成ZIP格式后就可以看到里面的DLL相关信息


