Hough变化:将图像转换到参数空间
参考链接:https://blog.csdn.net/u010312937/article/details/78526977
Hough变换的原理很多博客都写了,由于更好奇图像转到参数空间后的图像,所以根据原理简单的实现。因为之前在找原理的时候发现很少有人会进行这一步的记录,所以自己完成后也就发篇博客记录一下:
实现步骤:
1、建立一个参数(rho, theta)的二维数组【由于借助opencv,这里直接使用矩阵Mat,每个像素相当于累加器】;
2、遍历图像的像素值(灰度图),像素值不为0则带入参数方程:rho = x*cos(theta)+y*sin(theta),参数空间中对应位置(rho,theta)的像素值累计加1;
下面直接上代码:
#include
#include

#define HOUGH_SPACE 500

using namespace std;
using namespace cv;

void Hough(Mat src, Mat &hough2D, Mat &dst)
{
	int width = src.cols;
	int height = src.rows;
	int centerX = width / 2;
	int centerY = height / 2;
	double hough_interval = CV_PI / (double)HOUGH_SPACE;

	int nMax = max(width, height);
	//define temp hough 2D array and initialize the hough 2D
	Mat hough_2D = Mat::zeros(HOUGH_SPACE, 2 * nMax, CV_8UC1);

	//start hough transform
	for (int row = 0; row < height; row++)
	{
		for (int col = 0; col < width; col++)
		{
			int thresh = src.at(row, col);
			if (thresh == 0)
				continue;
			//rho = x*cos(theta) + y*sin(theta)
			for (int k = 0; k < HOUGH_SPACE; k++)
			{
				int rho = (int)((col - centerX)*cos(k*hough_interval) + (row - centerY) *sin(k*hough_interval));   //以图像中心作为参考原点
				rho += nMax;                                                                                   //完整显示霍夫空间图像
				if ((rho >= 2 * nMax) || rho < 0)
					continue;
				hough_2D.at(k, rho) += 1;
			}
		}
	}
	hough2D = hough_2D;

	////阈值:hough空间中的点大于该阈值才被认为是直线
	int _nThreshold = 230;
	float k, b;
	for (int row = 0; row < HOUGH_SPACE; row++)
	{
		for (int col = 0; col < 2 * nMax; col++)
		{
			int temp = hough_2D.at(row, col);
			if (temp < _nThreshold)
				continue;

			float dy = sin(row*hough_interval);
			float dx = cos(row*hough_interval);

			//rho - nMax = (x - centerX)*cos(theta) + (y - centerY)* sin(theta)
			int rho = col - nMax;
			k = -dx / dy;
			b = (rho + centerX*dx + centerY*dy) / dy;
			cout << "k:" << k << "; b:" << b << endl;
		}
	}

	///简单的画线:可以根据上面判断直线数量再进行绘制
	float x1 = 0, x2 = width;
	float y1 = b;  //x1=0
	float y2 = k*width + b;    //x2=width
	dst = src.clone();
	cvtColor(dst, dst, COLOR_GRAY2BGR);
	line(dst, Point(x1, y1), Point(x2, y2), Scalar(255, 255, 0), 1);
}

int main()
{
	Mat img = imread("直线2.bmp", 0);
	if (img.empty())
	{
		cout << "读取图片失败\r\n" << endl;
		return 1;
	}
	if (img.channels() != 1)
	{
		cvtColor(img, img, COLOR_BGR2GRAY);
	}
	imshow("img", img);
	Mat hough_img, dst;
	Hough(img, hough_img, dst);
	//HoughTransform(img, hough_img, dst);
	namedWindow("hough_img", 0);
	imshow("hough_img", hough_img);
	imshow("dst", dst);
	waitKey(0);
	return 0;
}
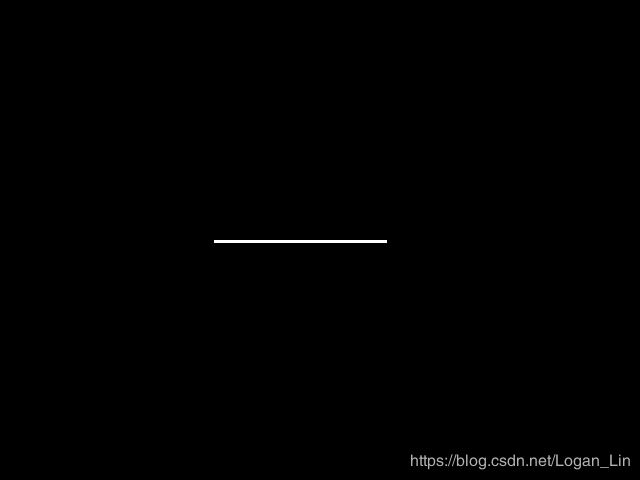
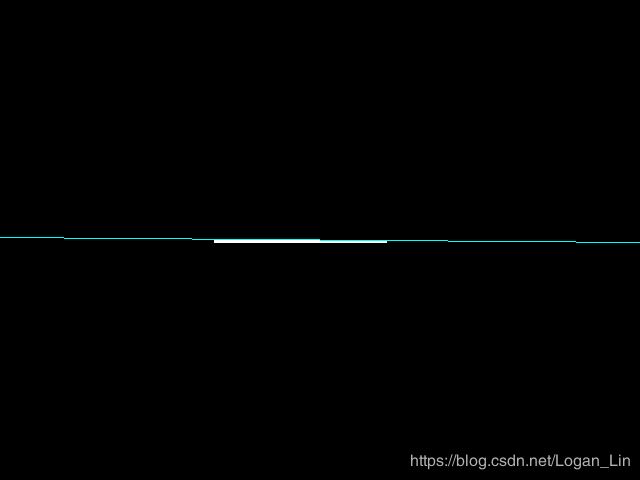
上面所用的图片很简单,其结果图如下:
其参数空间图需要进行均衡化处理才能更直观,如下:
上面画线只是为了简单验证是否准确,后续可自行完善。
我同时参照上面链接完成画线的功能,代码如下:
void HoughTransform(Mat src, Mat &hough2D, Mat &dst)
{
	int width = src.cols;
	int height = src.rows;

	//prepare for hough transform
	int centerX = width / 2;
	int centerY = height / 2;
	double hough_interval = CV_PI / (double)HOUGH_SPACE;
	int nMax = max(width, height);
	int max_Length = (int)(/*sqrt(2)**/nMax);

	//define temp hough 2D array and initialize the hough 2D
	Mat hough_2D = Mat::zeros(HOUGH_SPACE, 2 * max_Length, CV_8UC1);

	//start hough transform
	dst = src.clone();
	for (int row = 0; row < height; row++)
	{
		for (int col = 0; col < width; col++)
		{
			int thresh = src.at(row, col);
			if (thresh == 0)        //background color
				continue;
			//since we does not know the theta angle and r value,
			//we have to calculate all hough space for each pixel point
			//then we got the max possible theta and r pair.
			//r = x* cos(theta) + y* sin(theta)
			for (int k = 0; k < HOUGH_SPACE; k++)
			{
				nMax = (int)((col - centerX)*cos(k*hough_interval) + (row - centerY)*sin(k*hough_interval));   //以图像中心作为参考原点
				nMax += max_Length;                //start from zero ,not(-max_Length)                         //完整显示霍夫空间图像
				if (nMax < 0 || (nMax >= 2 * max_Length))  //make sure r did not out of scope[0,2*max_Length]
					continue;
				hough_2D.at(k, nMax) += 1;
			}
		}
	}
	hough2D = hough_2D;

	//find the max hough_value
	int max_hough = 0;
	for (int i = 0; i < HOUGH_SPACE; i++)
	{
		for (int j = 0; j < 2 * max_Length; j++)
		{
			int temp = hough_2D.at(i, j);
			//hough_1D[i*HOUGH_SPACING + j] = temp;
			if (temp > max_hough)
			{
				max_hough = temp;
			}
		}
	}
	cout << "max_hough_value:" << max_hough << endl;
	//transfer back to image pixels space from hough parameter space
	int count = 0;
	float thresh = 0.8;
	int hough_threshold = (int)(thresh*max_hough);
	for (int row = 0; row < HOUGH_SPACE; row++)
	{
		for (int col = 0; col < 2 * max_Length; col++)
		{
			int temp = hough_2D.at(row, col);
			if (temp < hough_threshold)
				continue;
			bool isLine = true;
			for (int i = -1; i < 2; i++)
			{
				for (int j = -1; j < 2; j++)
				{
					if (i != 0 || j != 0)
					{
						int yf = row + i;
						int xf = col + j;
						if (xf < 0) continue;
						if (xf < 2 * max_Length)
						{
							if (yf < 0)
							{
								yf += HOUGH_SPACE;
							}
							if (yf >= HOUGH_SPACE)
							{
								yf -= HOUGH_SPACE;
							}
							if (hough_2D.at(yf, xf) <= temp)
								continue;
							isLine = false;
							break;
						}
					}
				}
			}
			if (!isLine) continue;

			//transform back to pixel data now...
			double dy = sin(row*hough_interval);
			double dx = cos(row*hough_interval);
			if ((row <= HOUGH_SPACE / 4) || (row >= 3 * HOUGH_SPACE / 4))
			{
				for (int subrow = 0; subrow < height; ++subrow)
				{
					int subcol = (int)((col - max_Length - (subrow - centerY)*dx) / dy) + centerX;
					if (subrow < height && subrow >= 0)
					{
						dst.at(subrow, subcol) = 255;
					}
				}
			}
			else
			{
				for (int subcol = 0; subcol < width; subcol++)
				{
					int subrow = (int)((col - max_Length - (subcol - centerX)*dx) / dy) + centerY;
					if ((subrow < height) && (subrow >= 0))
					{
						dst.at(subrow, subcol) = 255;
					}
				}
			}
			count++;
		}
	}
	cout << "符合个数:" << count << endl;
}
代替一开始的Hough()即可。


