一, 准备三台服务器分别叫node1、node2、node3
二,分别在三台服务器上安装nginx
- 配置和安装相关软件 :
1.1 执行命令 yum install -y gcc gcc-c++ autoconf pcre pcre-devel make automake wget httpd-tools vim tree
1.2 vim /etc/yum.repos.d/nginx.repo 编辑并加入以下代码
[nginx]
name=nginx repo
#baseurl=http://nginx.org/packages/OS/OSRELEASE/$basearch/
baseurl=http://nginx.org/packages/centos/7/$basearch/
gpgcheck=0
enabled=1
1.3 安装NGINX命令: yum install nginx
查看nginx版本:rpm -q nginx
查看配置是否成功:nginx -t -c /etc/nginx/nginx.conf
nginx -s reload
三,连接到node1服务器
1.1 ,配置nginx.conf ,首先进去 vim /etc/nginx/nginx.conf 并加入以下代码:
    upstream allserver{
            server 192.168.80.130:80 weight=3;# node2
            server 192.168.80.132:80 weight=1;# node3
            server 192.168.80.80;   #node1
   }

    server{
        listen 80;     # 监听的端口
        server_name www.changjunyong.com;    # 监听的地址,多个域名用空格隔开
        location / {
            proxy_pass http://allserver;       # 代理转发
          }
    }
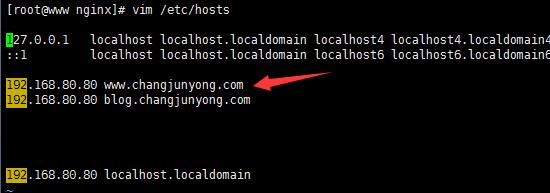
1.2,把server_name 域名发布出去 ,vim /etc/hosts 编辑
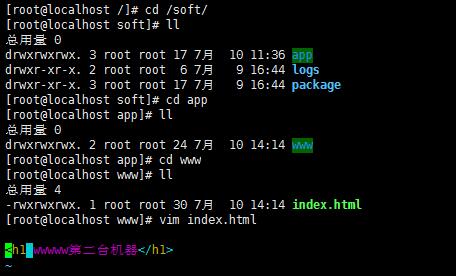
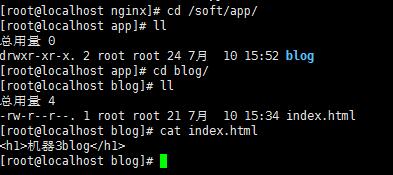
三,新建文件目录:mkdir /soft/{app,logs,package/src} -p 分别在node2和node3服务器上
并编辑文件: vim /soft/app/www/index.html #node2服务器
#node3服务器
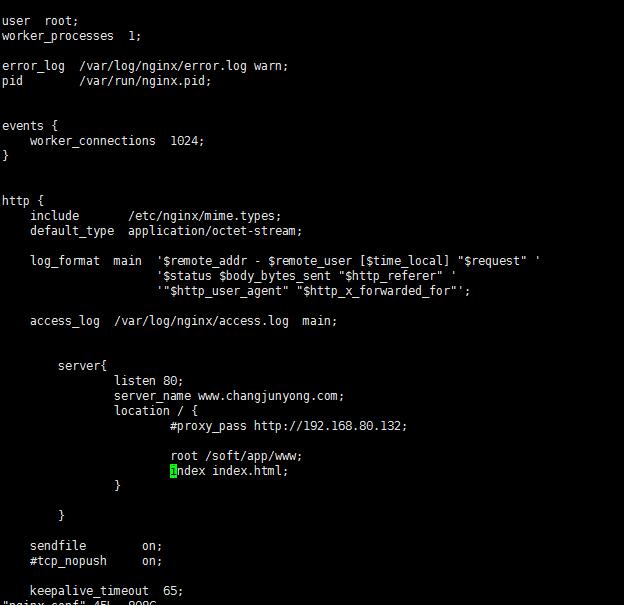
四:在node2上编辑nginx.conf 文件 : vim /etc/nginx/nginx.conf 加入以下代码保存退出
        server{
                listen 80;
                server_name www.changjunyong.com;
                location / {
                        root /soft/app/www;
                        index index.html;
                }
        }
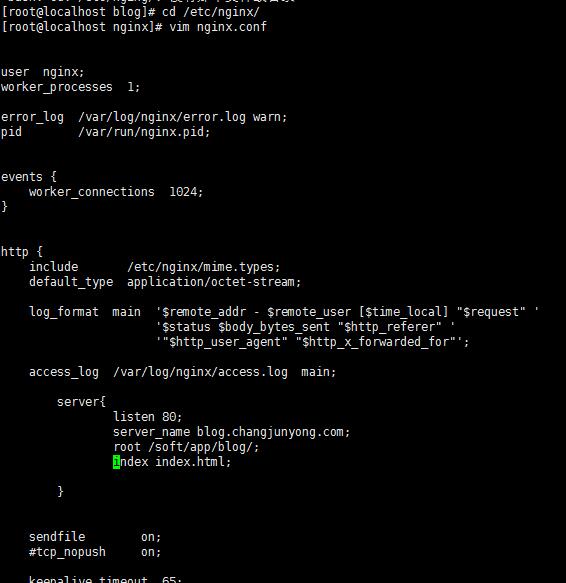
五:在node3上编辑nginx.conf 文件 : vim /etc/nginx/nginx.conf 加入以下代码保存退出
        server{
                listen 80;
                server_name blog.changjunyong.com;
                root /soft/app/blog/;
                index index.html;
        }
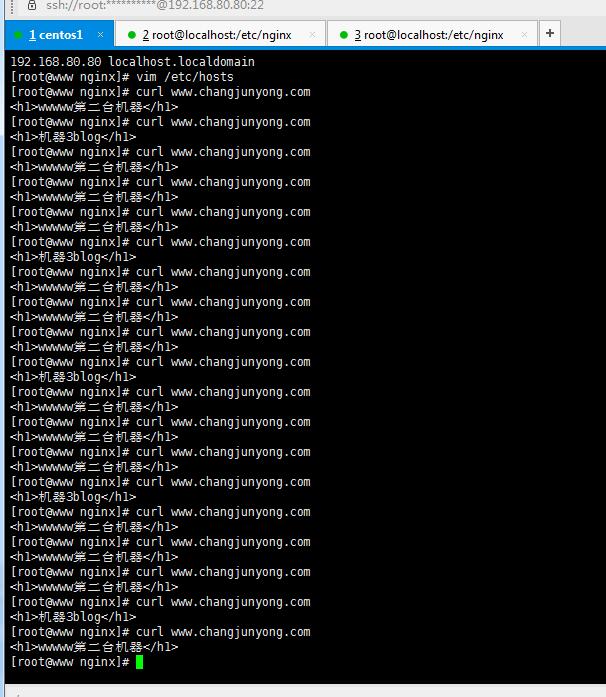
六:在node1服务器上测试:
七,总结以及一些注意事项:
1.1 如果出现nginx: [error] invalid PID number "" in "/var/run/nginx.pid" 错误
则用命令:sudo nginx -c /etc/nginx/nginx.conf
sudo nginx -s reload
1.2 node1,node2,node3 服务器之间通讯
//允许某端口放行
# firewall-cmd --permanent --add-port=80/tcp
需要留意的是在编写完规则之后,要运行--reload参数
# firewall-cmd --reload
1.3 常见命令:
查看防火墙状态 firewall-cmd --state
停止firewall systemctl stop firewalld.service
ps aux|grep nginx 查看进程
nginx -s stop 停止
ab -n 50 -c 20 http://192.168.80.80/index.html 压力测试
反向代理流程
浏览器访问www.changjunyong.com ,通过本地host文件域名解析,找到192.168.80.80 Nginx虚拟主机,Nginx接收客户机请求,找到server_name为www.changjunyong.com的节点,再根据proxy_pass对应的http路径,将请求转发到upstream allserver上,即端口号为8081的tomcat服务器。
客户机访问 --->www.changjunyong.com ---> host ---> Nginx ---> server_name ---> proxy_pass ---> upstream---> tomcat
