Grafana 插件开发入门 - 前端视角(React)
前言
接上一篇Grafana 入门、安装和命令 (mac),如果你木有安装的话,记得先安装一下哦
我自己觉得开发一个插件不难,但是开发一个通用化的插件有点小麻烦(主要是配置那块)
插件学习(参考)
1.官网插件
官网plugin Demo链接:https://grafana.com/docs/plugins/developing/development/
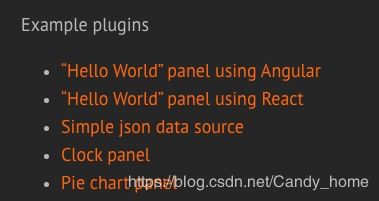
官网有五个demo可以给大家参考,有Angular和React
还有两个教程,讲解 Clock panel 的构建
2. Grafana github plugin参考
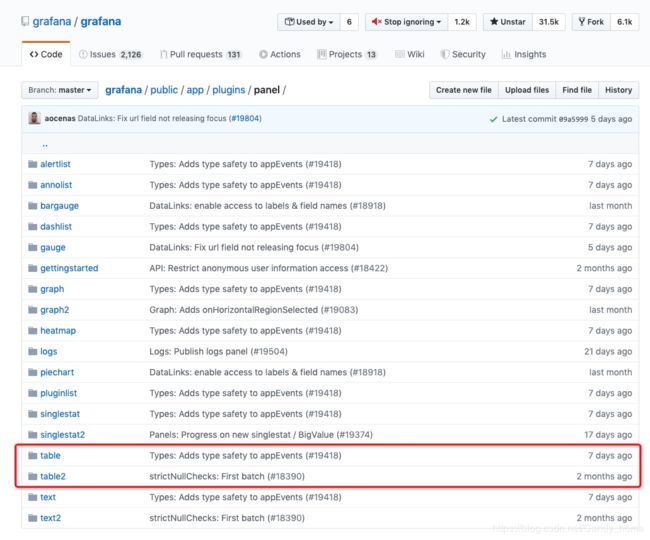
grafana github里有写默认的配置开发下载下来看了一下源码,感觉还OK, 没有辣么难看懂
Grafana github plugin链接:https://github.com/grafana/grafana/tree/master/public/app/plugins/panel
需求分析
开发哥哥跟我说,要的是log日志展示的一个插件,然后,给我展示的是表格(table)的样子。
我就去官网插件库,看到了两个table组件。
展开学习调研
table2 的插件更为容易上手,所以我先下载了一个 React的初始化模板以后,把内容移植了过去
放入插件编译位置
MAC电脑放入插件编译位置 - /usr/local/var/lib/grafana/plugins
放入这个Simple React Panel文件夹
Simple React Panel插件分析
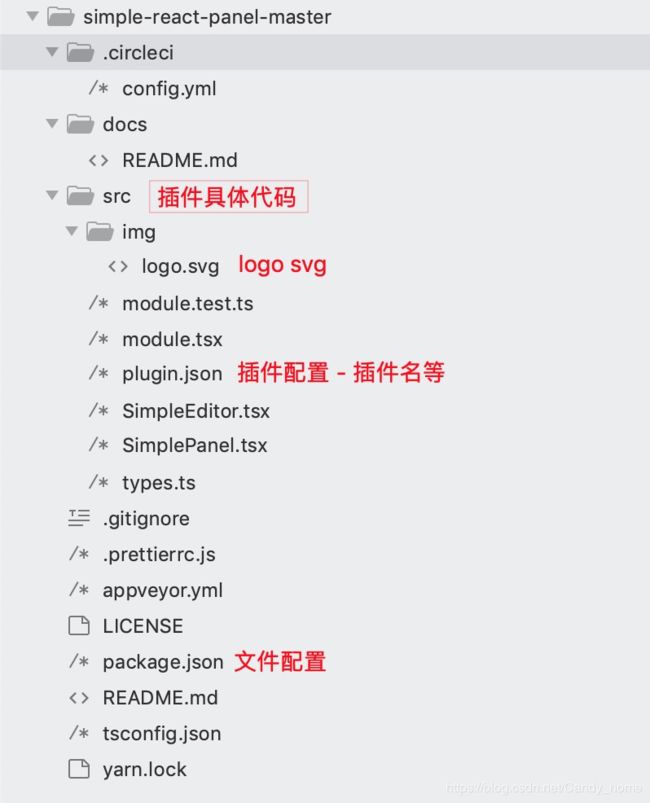
1.目录分析
package.json 文件
{
  "name": "simple-react-panel",
  "version": "1.0.0",
  "description": "Grafana RSS Panel",
  "scripts": {
    "build": "grafana-toolkit plugin:build",
    "test": "grafana-toolkit plugin:test",
    "dev": "grafana-toolkit plugin:dev",
    "watch": "grafana-toolkit plugin:dev --watch"
  },
  "author": "Grafana Labs",
  "license": "Apache-2.0",
  "devDependencies": {
    "@grafana/data": "latest",
    "@grafana/toolkit": "latest",
    "@grafana/ui": "latest"
  }
}
关注scripts中的内容
按照相关node_modules的内容,执行命令
npm install
通过运行命令(前提是:已经执行了启动服务命令 service grafana-server start ),进行自动化打包。后续修改完代码后,刷新就可以看到改变
npm run watch
执行重启grafana命令
brew services restart grafana
plugin.json 文件
修改name 为 Logs Panel(name为展示名称)
{
  "type": "panel",
  "name": "Logs Panel",
  "id": "myorgid-simple-panel",
  "info":
  {
    "description": "Simple React Panel",
    "author":
    {
      "name": "Your Name"
    },
    "keywords": ["Simple"],
    "logos":
    {
      "small": "img/logo.svg",
      "large": "img/logo.svg"
    },
    "links": [
    {
      "name": "Website",
      "url": "https://github.com/grafana/simple-react-panel"
    },
    {
      "name": "License",
      "url": "https://github.com/grafana/simple-react-panel/blob/master/LICENSE"
    }],
    "screenshots": [],
    "version": "%VERSION%",
    "updated": "%TODAY%"
  },

  "dependencies":
  {
    "grafanaVersion": "6.3.x",
    "plugins": []
  }
}
Grafana 界面登录、进入创建区域
打开链接http://localhost:3000/login,看到如下登录界面
用户名:admin / 密码:admin (未修改 会提示修改用户名密码)
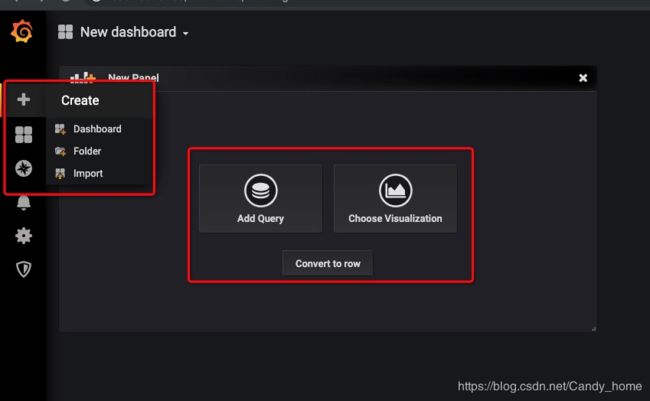
点击 + 进入创建区域,选择 "Choose Visualization"
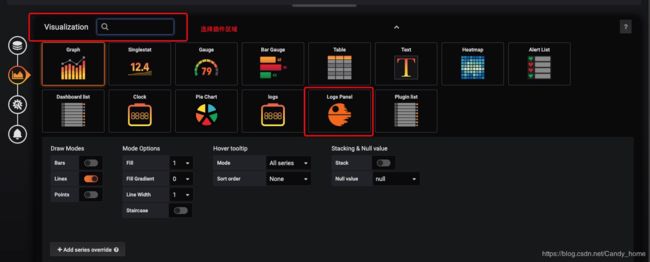
点击选择插件区域,可以看到加入的 Logs Panel
module.tsx -- 文件入口
除了 PanelPlugin 是官网的以外,别的都是自己编写的
import { PanelPlugin } from '@grafana/ui';
import { SimpleOptions, defaults } from './types';
import { SimplePanel } from './SimplePanel';
import { SimpleEditor } from './SimpleEditor';

export const plugin = new PanelPlugin(SimplePanel).setDefaults(defaults).setEditor(SimpleEditor);
来,我们看看其他文件
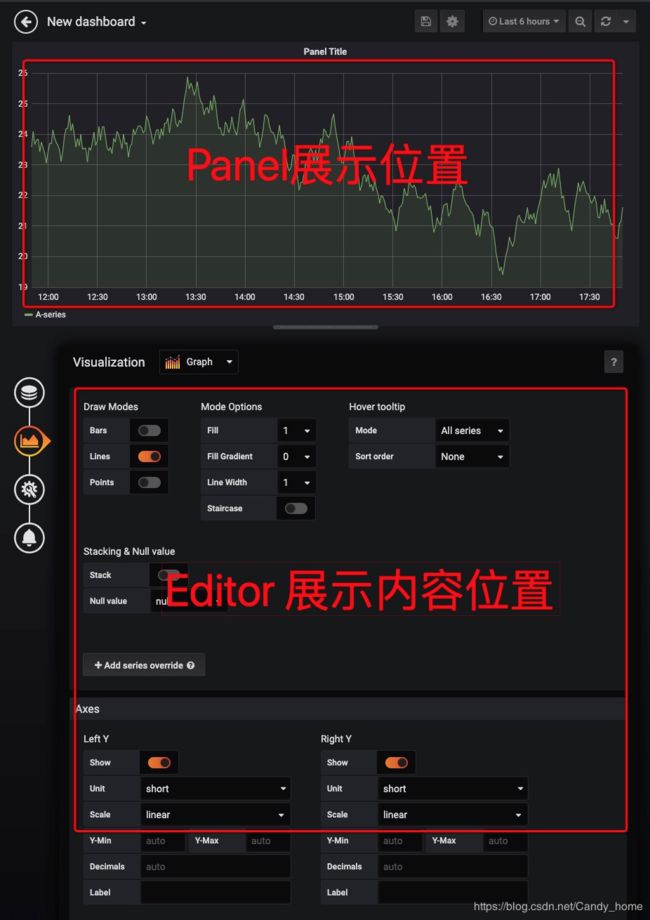
Editor 和 Panel 展示修改内容位置
SimplePanel.tsx -- 展示面板代码编写
import React, { PureComponent } from 'react';
import { PanelProps } from '@grafana/ui';
import { SimpleOptions } from 'types';

interface Props extends PanelProps {}

export class SimplePanel extends PureComponent {
  render() {
    const { options } = this.props;
    return Hello: {options.text};
  }
}
SimpleEditor.tsx -- 编辑 展示代码
主要注意下onTextChanged改变了props中的值
import React, { PureComponent } from 'react';
import { PanelEditorProps, FormField } from '@grafana/ui';
import { SimpleOptions } from './types';
export class SimpleEditor extends PureComponent> {
onTextChanged = ({ target }: any) => {
this.props.onOptionsChange({ ...this.props.options, text: target.value });
};
render() {
const { options } = this.props;
return (
Display
types.ts -- 传入类型定义
目测是typescript类型,会有类型定义检查
import React, { PureComponent } from 'react';
import { PanelProps } from '@grafana/ui';
import { SimpleOptions } from 'types';

interface Props extends PanelProps {}

export class SimplePanel extends PureComponent {
  render() {
    const { options } = this.props;
    return Hello: {options.text};
  }
}
table2 插件分析
看完了简单的展示以后,基本就已经了解了基本的展示了,下一步进阶看下table2,待我下回分解~
